Description
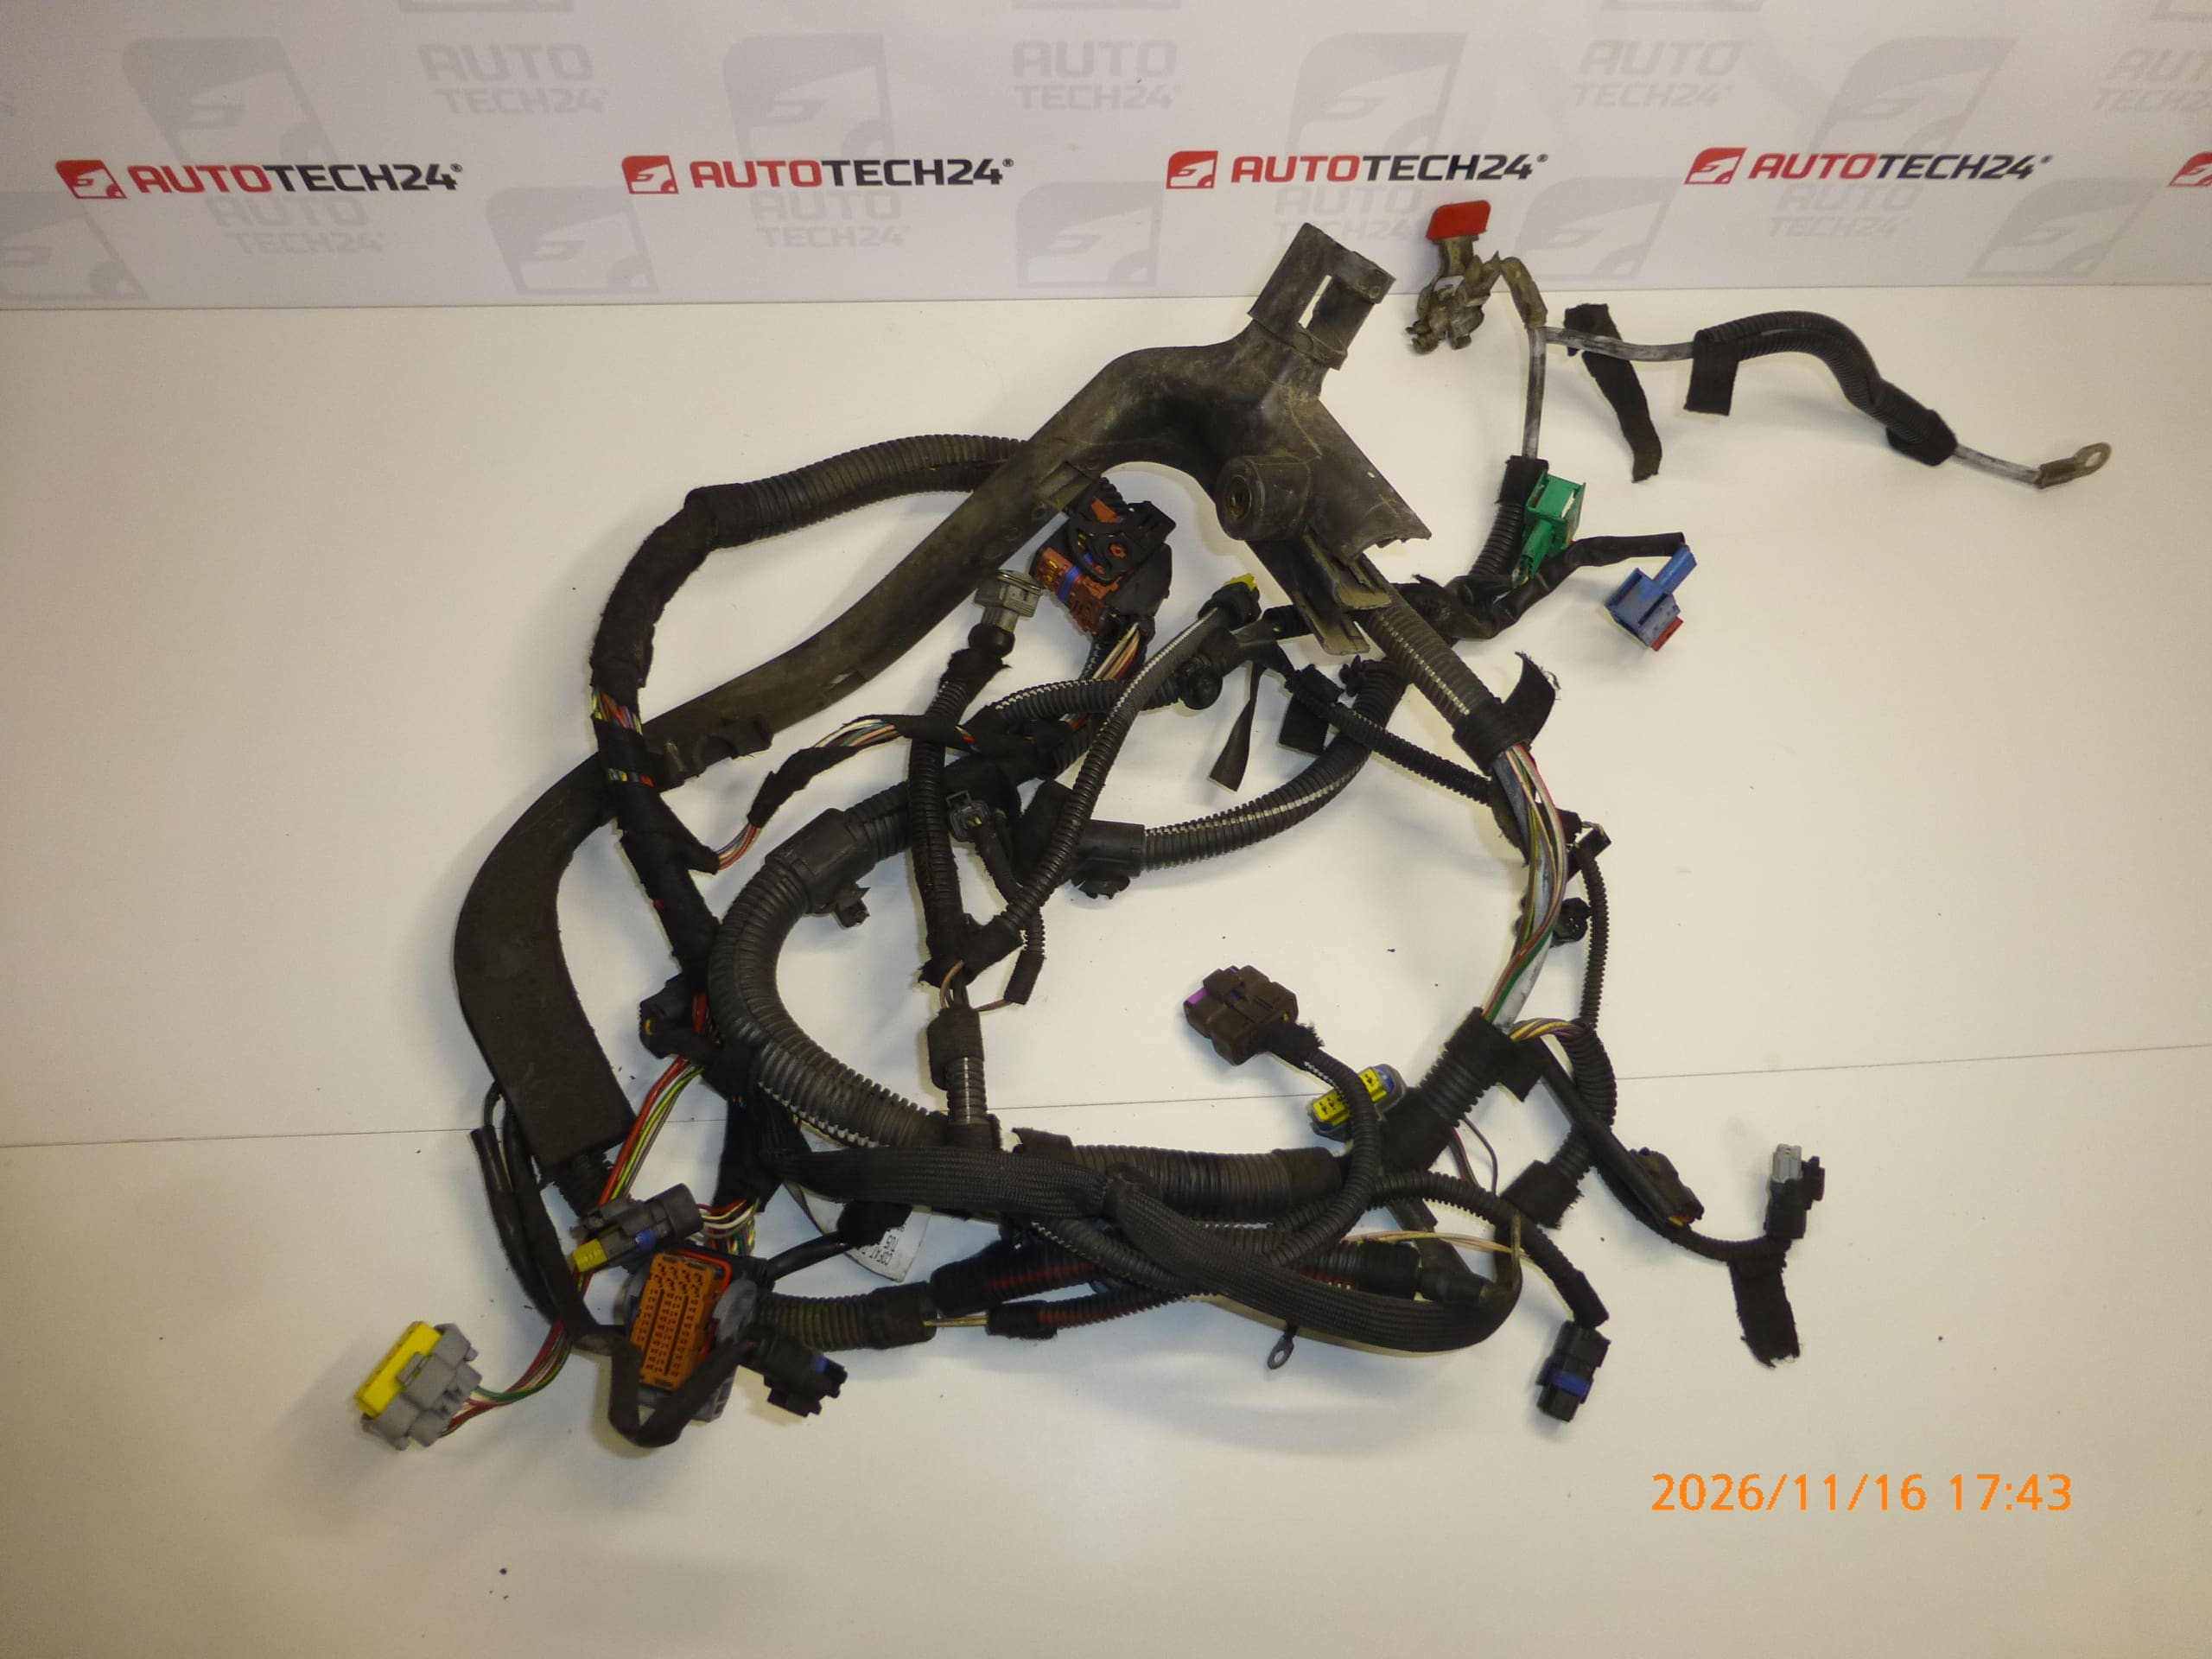
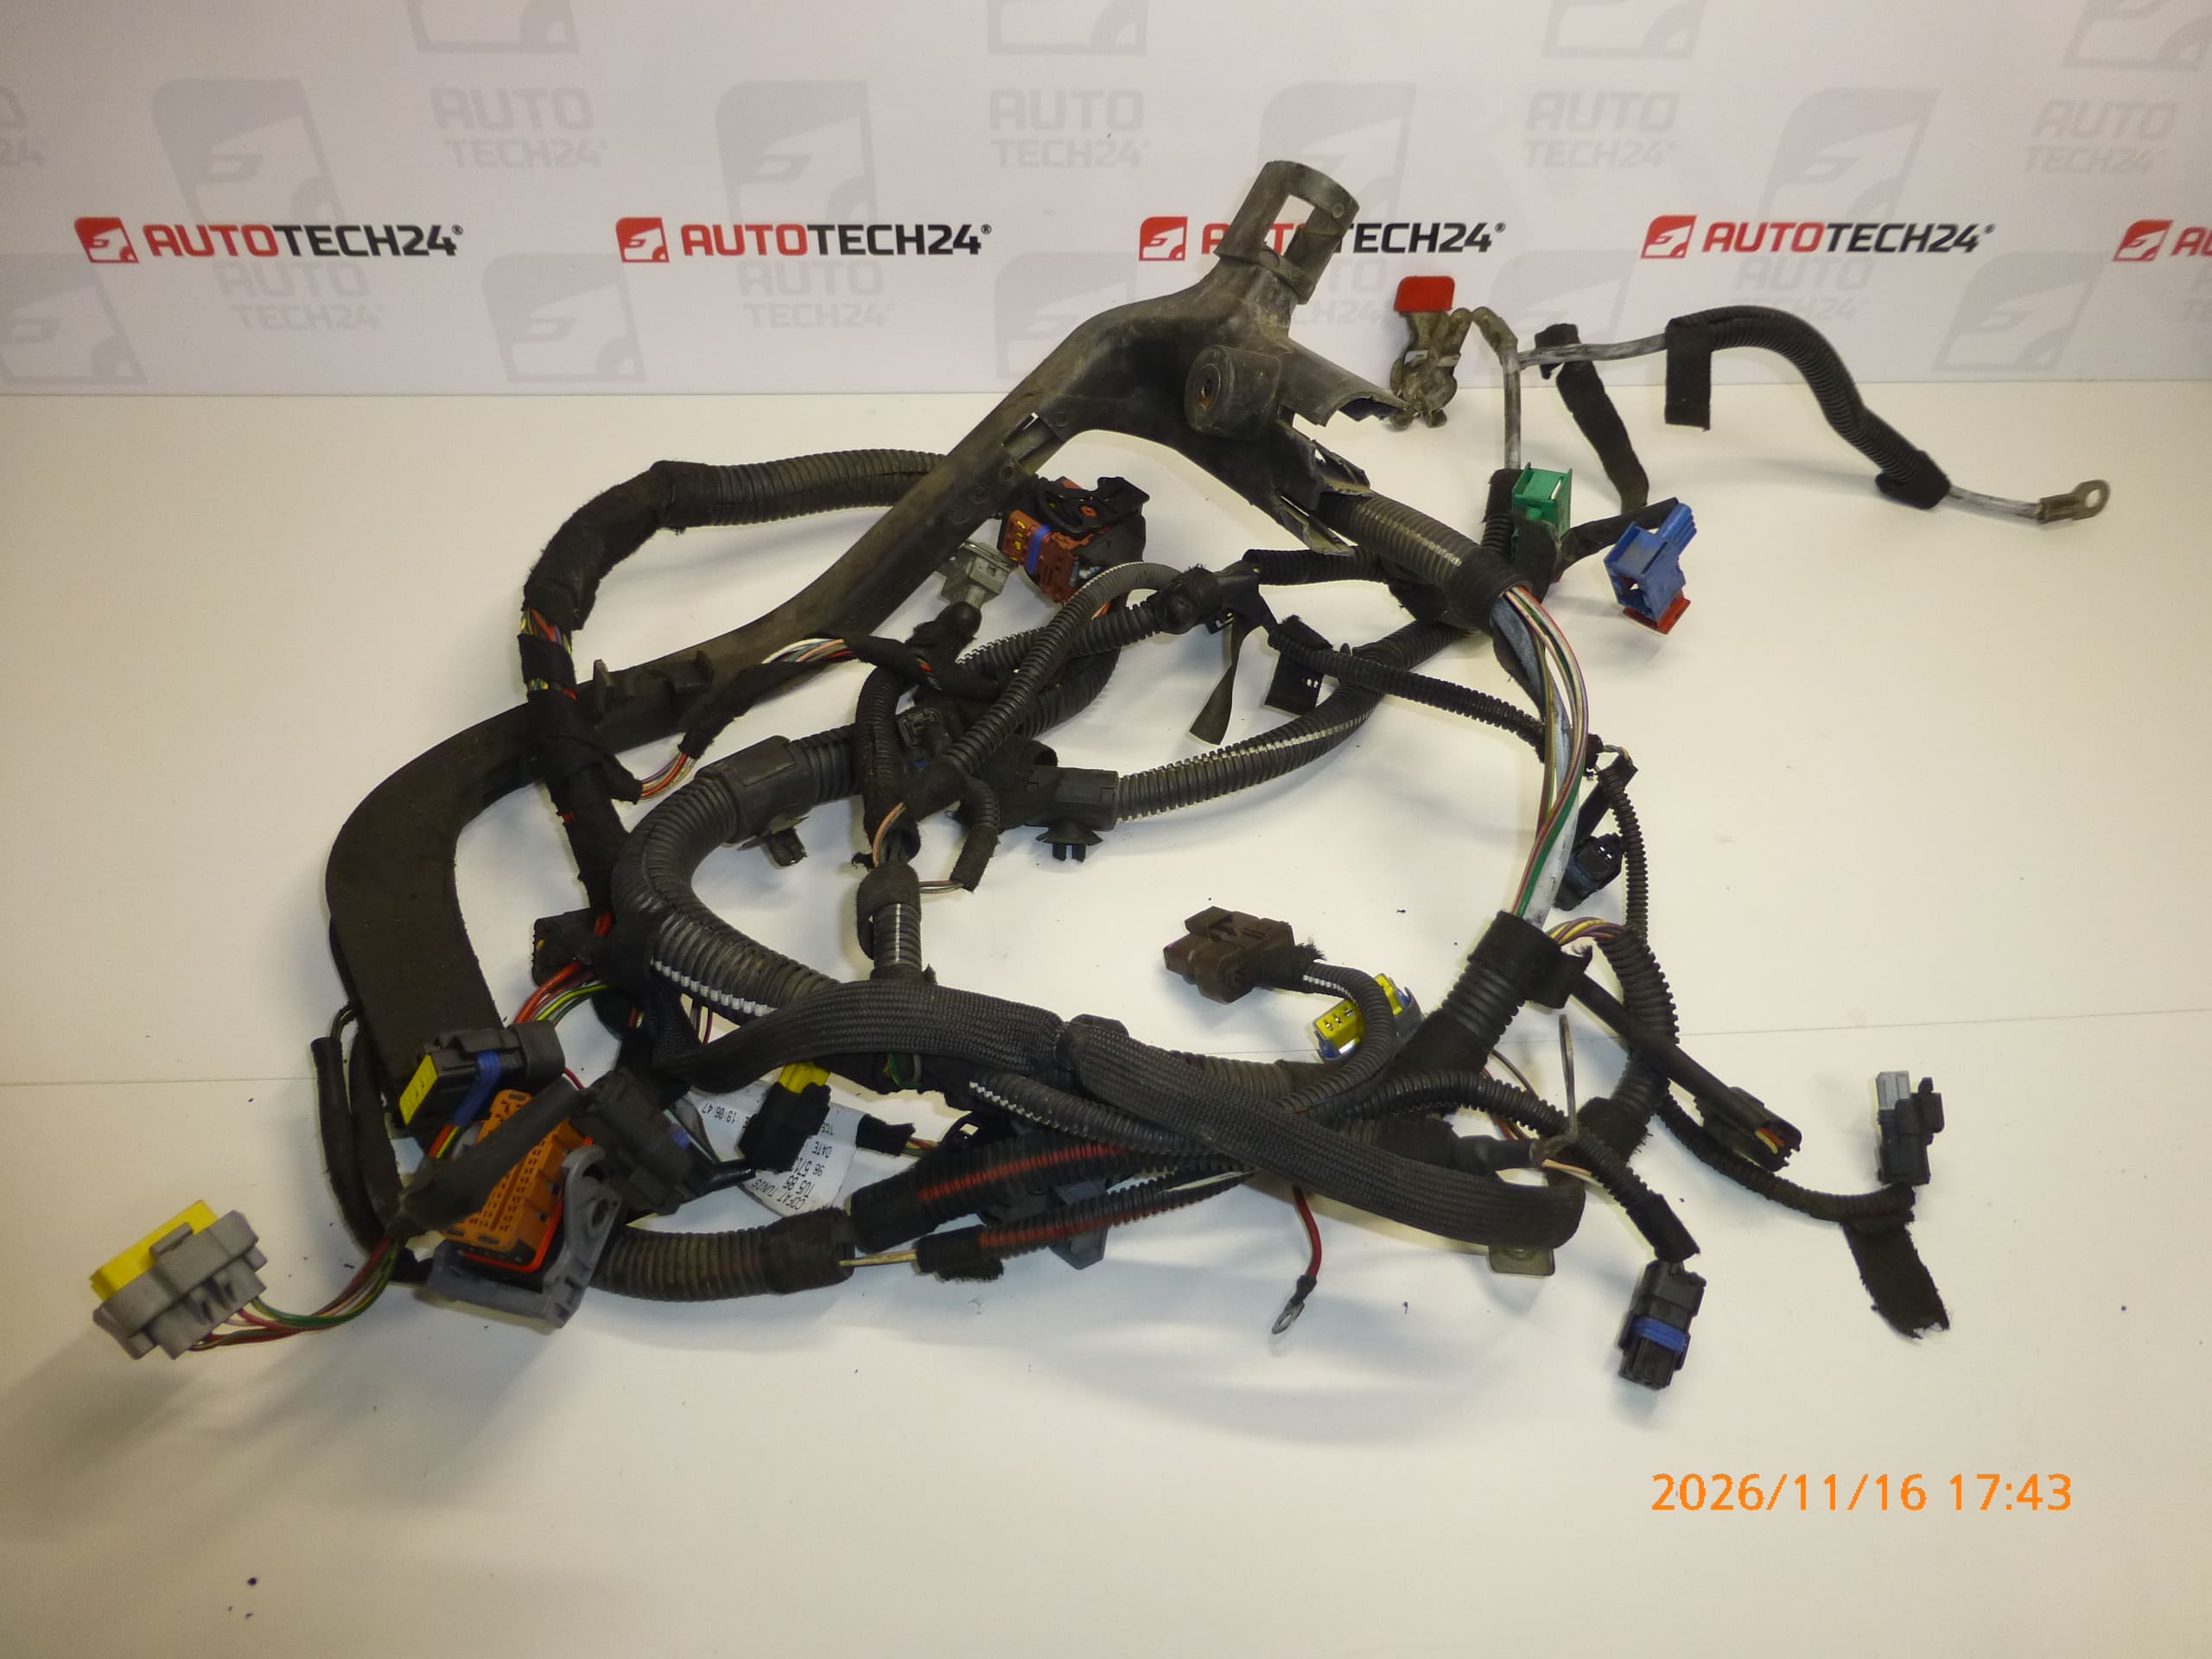
Complete engine wiring harness for CITROËN and PEUGEOT vehicles with a 1.6 16V NFU engine
It is from a 2006 CITROËN C4
Part description
Used Citroën Peugeot 1.6 16V NFU engine wiring harness connects the engine components electrically and transmits power and signals between them. It is a suitable solution when replacing damaged wiring, when repairs to individual wires and connectors are no longer worthwhile.
The part comes from a 2006 Citroën C4. The source information lists Citroën C4 and Peugeot 307 models and the numbers 9657134480 and 656940, which make the harness easy to find. Before selecting it, compare the part numbers, connector configurations and individual branches with the original harness; matching engine displacement alone is not sufficient.
Technical information
- Manufacturer: not specified; the source information lists the designation Stellantis CITROEN PEUGEOT.
- Model: Citroën C4, Peugeot 307.
- Engine: 1.6 16V NFU.
- Part type: complete engine wiring harness.
- Condition: used part.
- Part origin: Citroën C4, year 2006.
- Other numbers: not specified; additional designation in the source information: NFP.
Product codes
- Product codes: 9657134480, 656940.
- Additional designation: NFP.
- Models listed in the source information: Citroën C4, Peugeot 307.
When searching for a replacement harness, use numbers 9657134480 and 656940 in particular. The information that it came from a 2006 vehicle does not define compatibility with all vehicles from that year.
Installation recommendations
The following procedure applies generally to engine wiring harnesses. The exact scope of disassembly, wiring routing and battery disconnection and reconnection procedure depend on the specific model and vehicle configuration. Follow the manufacturer’s service procedure.
1) Before installation
- Compare the markings on the replacement and original harnesses, the number and shape of connectors, their mechanical keying, contact arrangement, branch lengths and mounting points.
- Inspect the insulation, protective sleeves, grommets and clips. Check for chafed, broken or heat-damaged wires.
- Check the connector contacts and locks. Address corrosion, pushed-in contacts or a cracked connector housing before installation.
- Determine the cause of the original wiring damage so that the same fault does not occur with the replacement part.
2) Tools and materials required
- Standard hand tools suitable for the fasteners and access available in the vehicle.
- A suitable tool for releasing connector locks and cable clips.
- Labels or marking tape and a camera to record the harness routing.
- Electrical contact cleaner and, if needed, suitable mounting and protective materials for automotive wiring.
- A multimeter and diagnostic equipment as needed; perform measurements according to the wiring diagram and service procedure.
3) Step-by-step installation procedure
- Secure the vehicle against movement, switch off the ignition and allow the engine to cool.
- Follow the prescribed procedure for allowing the electronics to shut down, and disconnect the battery according to the vehicle manufacturer’s instructions.
- Take photos of the original harness routing, its mounting points and the connections of the individual branches. Label similar connectors.
- Remove only the components that prevent safe access to the wiring, in accordance with the service procedure.
- Release the connectors one at a time and disconnect them by holding their housings. Do not pull on the wires or pry at the contacts.
- Release the clips, grommets and any bolted connections for the harness. Remove the original wiring without using force.
- Lay the two harnesses side by side and compare the connectors, branching, lengths and mounting points again. If anything does not match, do not proceed with installation.
- Check the mating connector halves and the wiring routes. Remove any dirt and address the cause of any chafing or contamination of the harness.
- Route the replacement harness along the original path and according to the service information. Secure it so that it is not stretched, pinched or in contact with hot or moving parts.
- Connect the corresponding connectors and check that their locks have engaged. Restore any bolted connections according to the manufacturer’s specifications.
- Check all branches, clips and grommets, reinstall the removed components and reconnect the battery using the prescribed procedure.
- Check the system with the ignition switched on, then verify engine operation. If you notice the smell of overheating insulation, smoke or abnormal behavior, stop the test immediately.
4) Post-installation checks and function verification
- Check starting, engine stability and the operation of components connected through the replaced harness.
- If necessary, use diagnostic equipment to check stored faults and related operating data. Clearing fault codes alone does not resolve their cause.
- If the stationary check shows no faults, take a short test drive. Then, with the engine switched off and cool, inspect the harness routing and mounting again.
5) Common installation mistakes and how to avoid them
- Mixing up similar connectors: label them before removal and follow the documentation when reconnecting them, rather than relying only on their position.
- Connector locks not fully engaged: always check that the connector is fully inserted and secured, without using excessive force.
- Overstretched branches or cable ties that are too tight: leave sufficient slack for engine movement and do not compress the insulation.
- Omitted clips and protective coverings: restore the specified mounting so that the harness does not chafe or overheat.
- Replacement without addressing the original cause: before putting the vehicle into operation, resolve issues such as fluid leaks, a damaged mating connector or an electrical fault in a connected component.
Reasons why the part can become damaged
Engine wiring harnesses are generally exposed to heat, vibration and dirt. Common causes of damage include:
- Insulation aging due to heat, which can cause the wire protection to become brittle and crack.
- Vibration and mechanical chafing due to missing clips or incorrect harness routing.
- Ingress of moisture and operating fluids, which can damage the insulation, seals and electrical contacts.
- Improper repairs and interventions, such as unsuitable splices, pulling on wires or damaging connector locks.
- Short circuits or excessive electrical load, which can cause wires and contacts to overheat.
- Damage caused by rodents or during a previous repair, especially wires being chewed through, pinched or cut.
These are general causes of damage to this type of part, not a description of faults with the item offered.