Description
Heating and air conditioning control for Citroën C8 and Peugeot 807 vehicles from 2005.
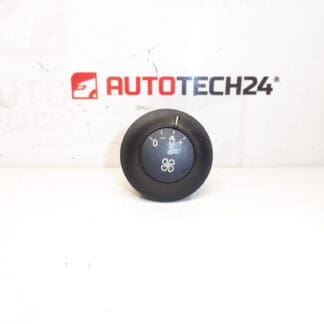
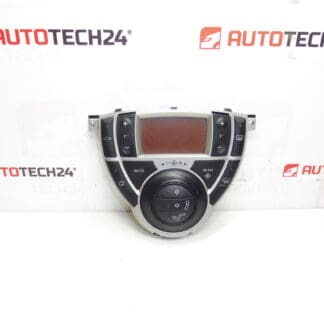
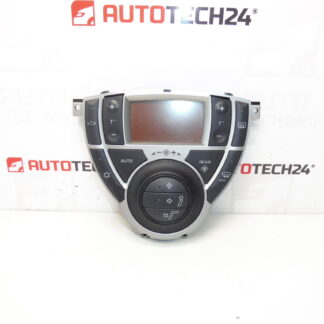
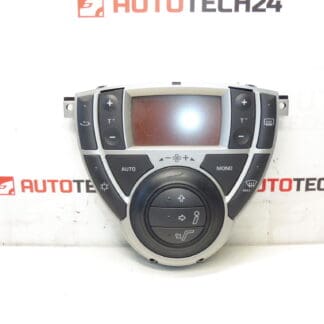
This HVAC control unit is a direct-fit replacement for the manual heating and air conditioning controls used on Citroën C8 and Peugeot 807 models. Designed for professional workshops and DIY mechanics, the unit restores full control over fan speed, temperature selection, air distribution (defrost/face/feet), recirculation and A/C activation. Commonly searched by part numbers, the controller is a practical spare for vehicles showing unresponsive buttons, intermittent blower control or incorrect mode selection.
Technical Information
- Manufacturer: Stellantis
- Model: Citroën C8; Peugeot 807
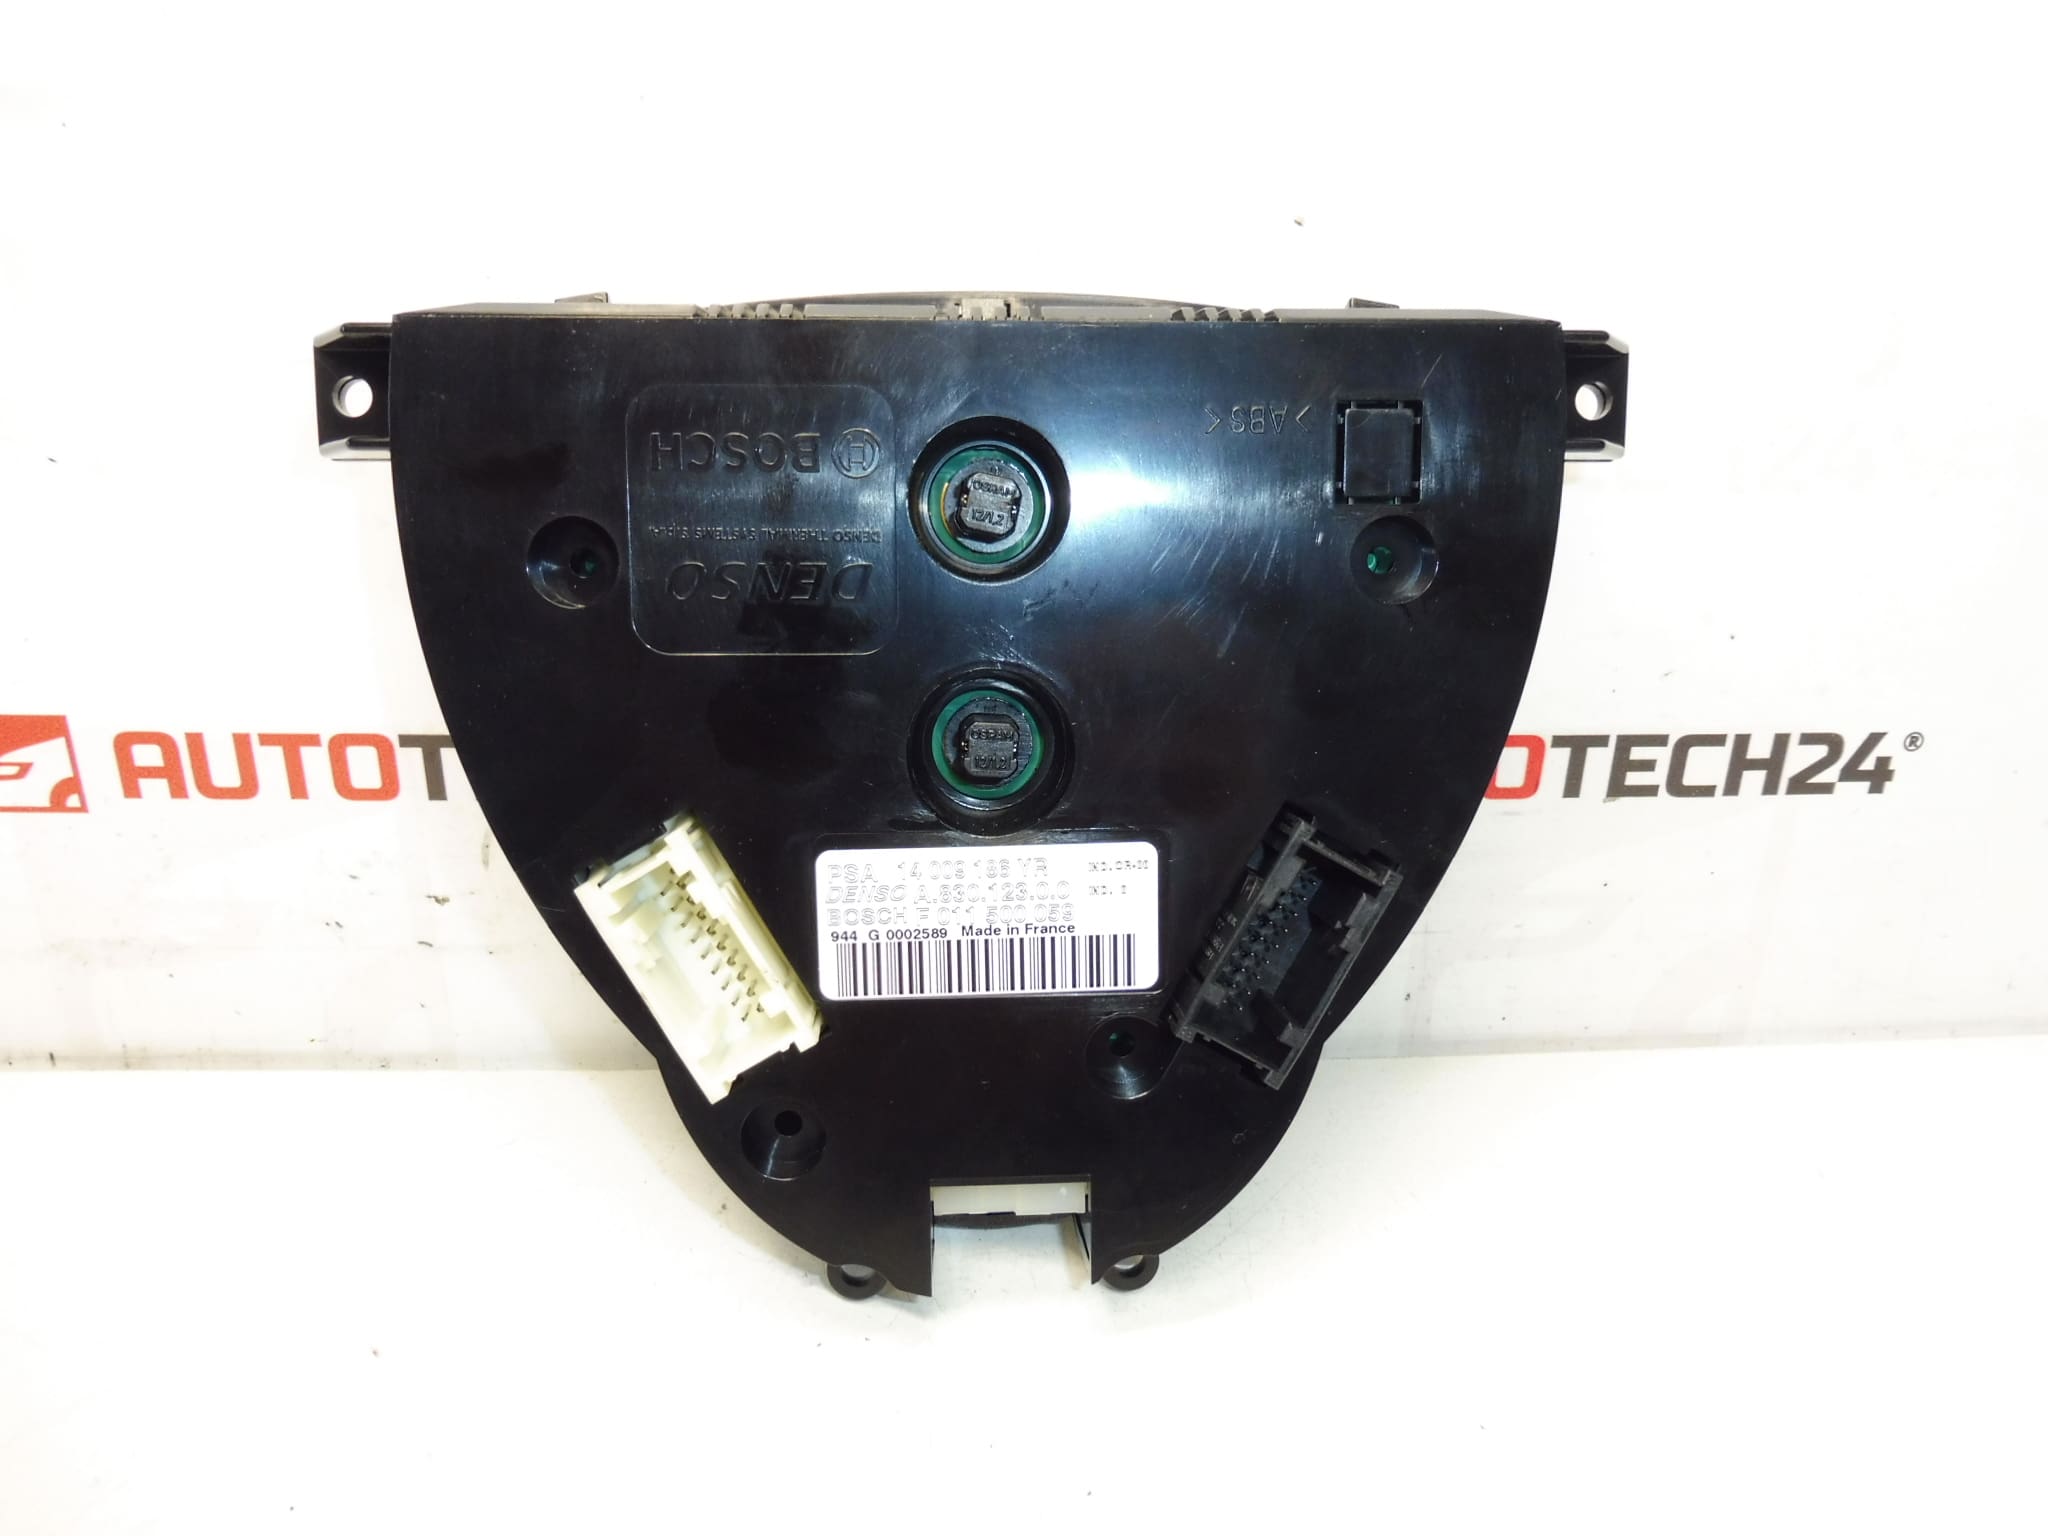
- Product Codes: 14009186YR
- Additional Numbers: 6452C9, F011500053, NFP
Function And Application
The unit operates the vehicle’s manual HVAC functions: it adjusts blower speed, sets cabin temperature (via the temperature control), switches the air conditioning compressor on/off, toggles recirculation, and selects air distribution modes including front windscreen defrost. It is intended for Citroën C8 and Peugeot 807 models from 2005 onward and is typically identified in parts catalogues by the listed product codes.
Installation Recommendations
Installation is straightforward for experienced technicians and competent DIYers. Recommended steps:
- Disconnect the negative terminal of the battery before beginning work to avoid short circuits.
- Remove the central trim panel or fascia around the heater controls—this usually requires removing a few screws and carefully unclipping plastic trim pieces to avoid damage.
- Unscrew and extract the old control unit, then carefully unplug the electrical connectors. Note connector orientations and any retaining clips.
- Fit the replacement unit, reconnect electrical plugs and secure with the original screws. Refit the trim and reconnect the battery.
- Verify all HVAC functions: blower speeds, temperature response, A/C compressor engagement and mode selection. Check for proper illumination of control elements.
For manual HVAC units of these models the control is generally plug-and-play. If the vehicle has additional climate control modules or automatic climate systems, consult model-specific repair information.
Why This Part Fails
Common causes of failure include mechanical wear of rotary encoders and switches, degraded internal potentiometers, accumulation of dirt or moisture inside the control panel, and cracked solder joints on the printed circuit board caused by vibration and thermal cycles. Corroded or loose connector pins can produce intermittent faults that mimic control unit failure.
Typical Lifetime And Symptoms
Failures most often appear after several years of use—commonly beyond 8–12 years depending on climate exposure and usage frequency. Symptoms include unresponsive or stuck knobs and buttons, loss of specific blower speeds, A/C not engaging, incorrect air distribution or intermittent operation. Replacing the control unit usually restores normal function when electrical supply and actuator systems are otherwise sound.
Notes For Purchase
Searchable keywords and part numbers: Citroën C8 HVAC control, Peugeot 807 heater control, 14009186YR, 6452C9, F011500053. Ideal for workshops and DIY repairs where a direct replacement control is required to restore manual climate functions.