Description
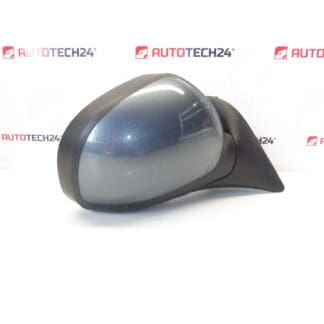
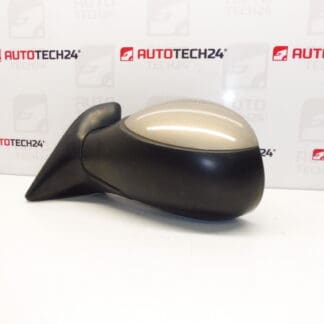
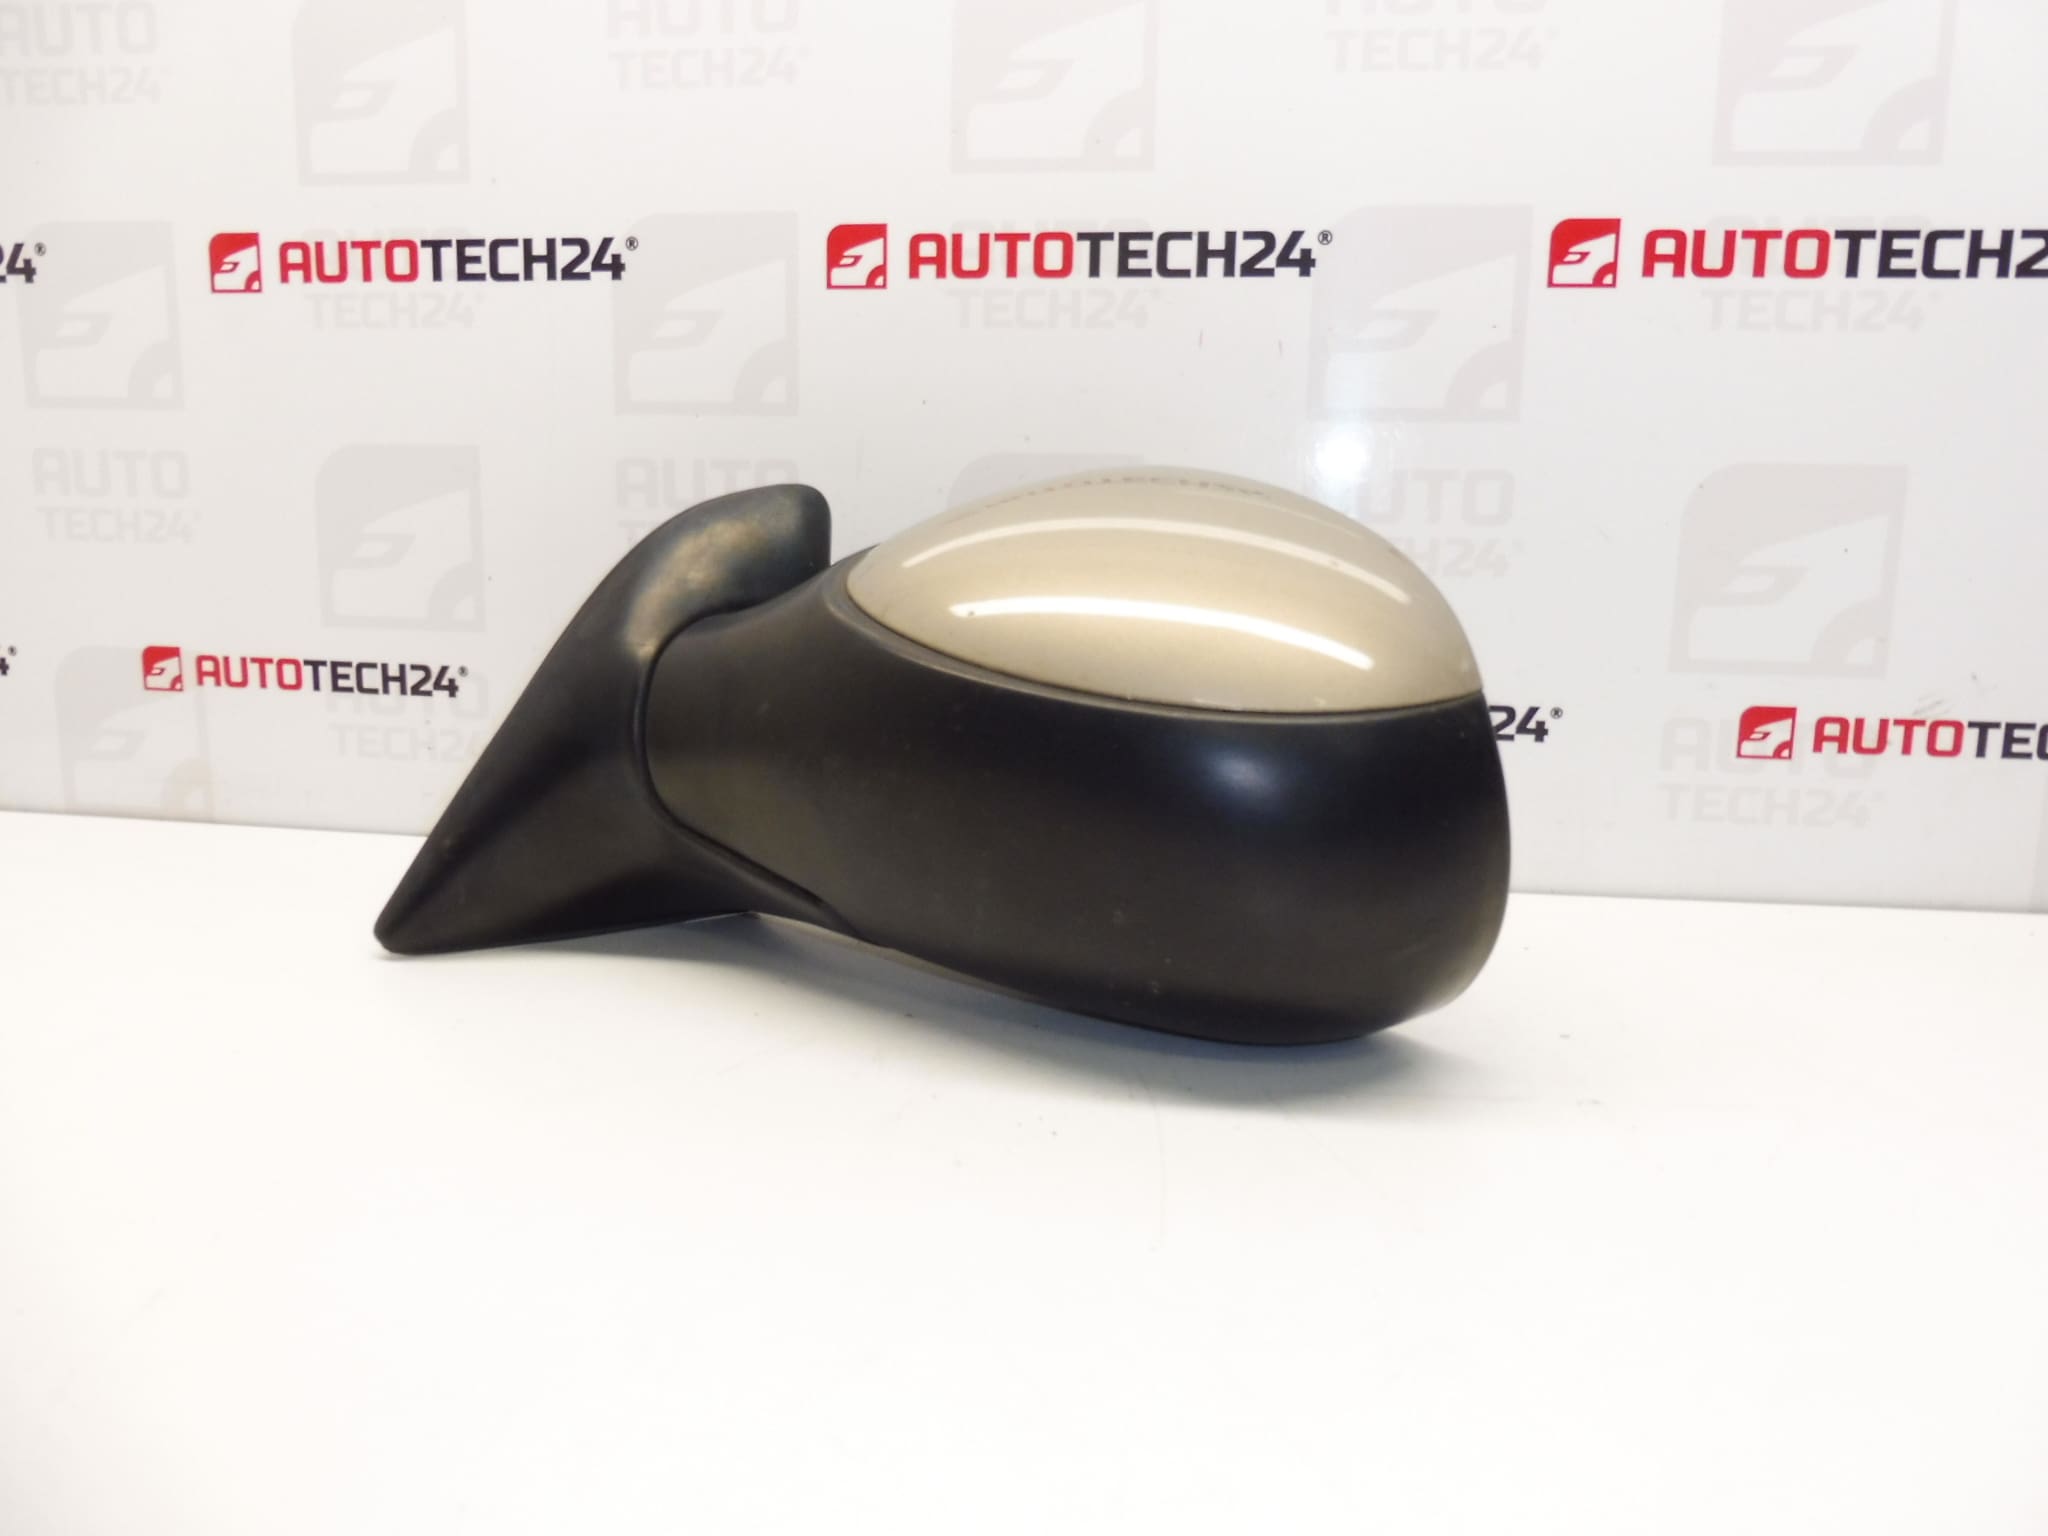
Left exterior mirror for CITROËN Xsara Picasso
Finish KDD – Sable Bivouac Sand Paint
Electrically Operated
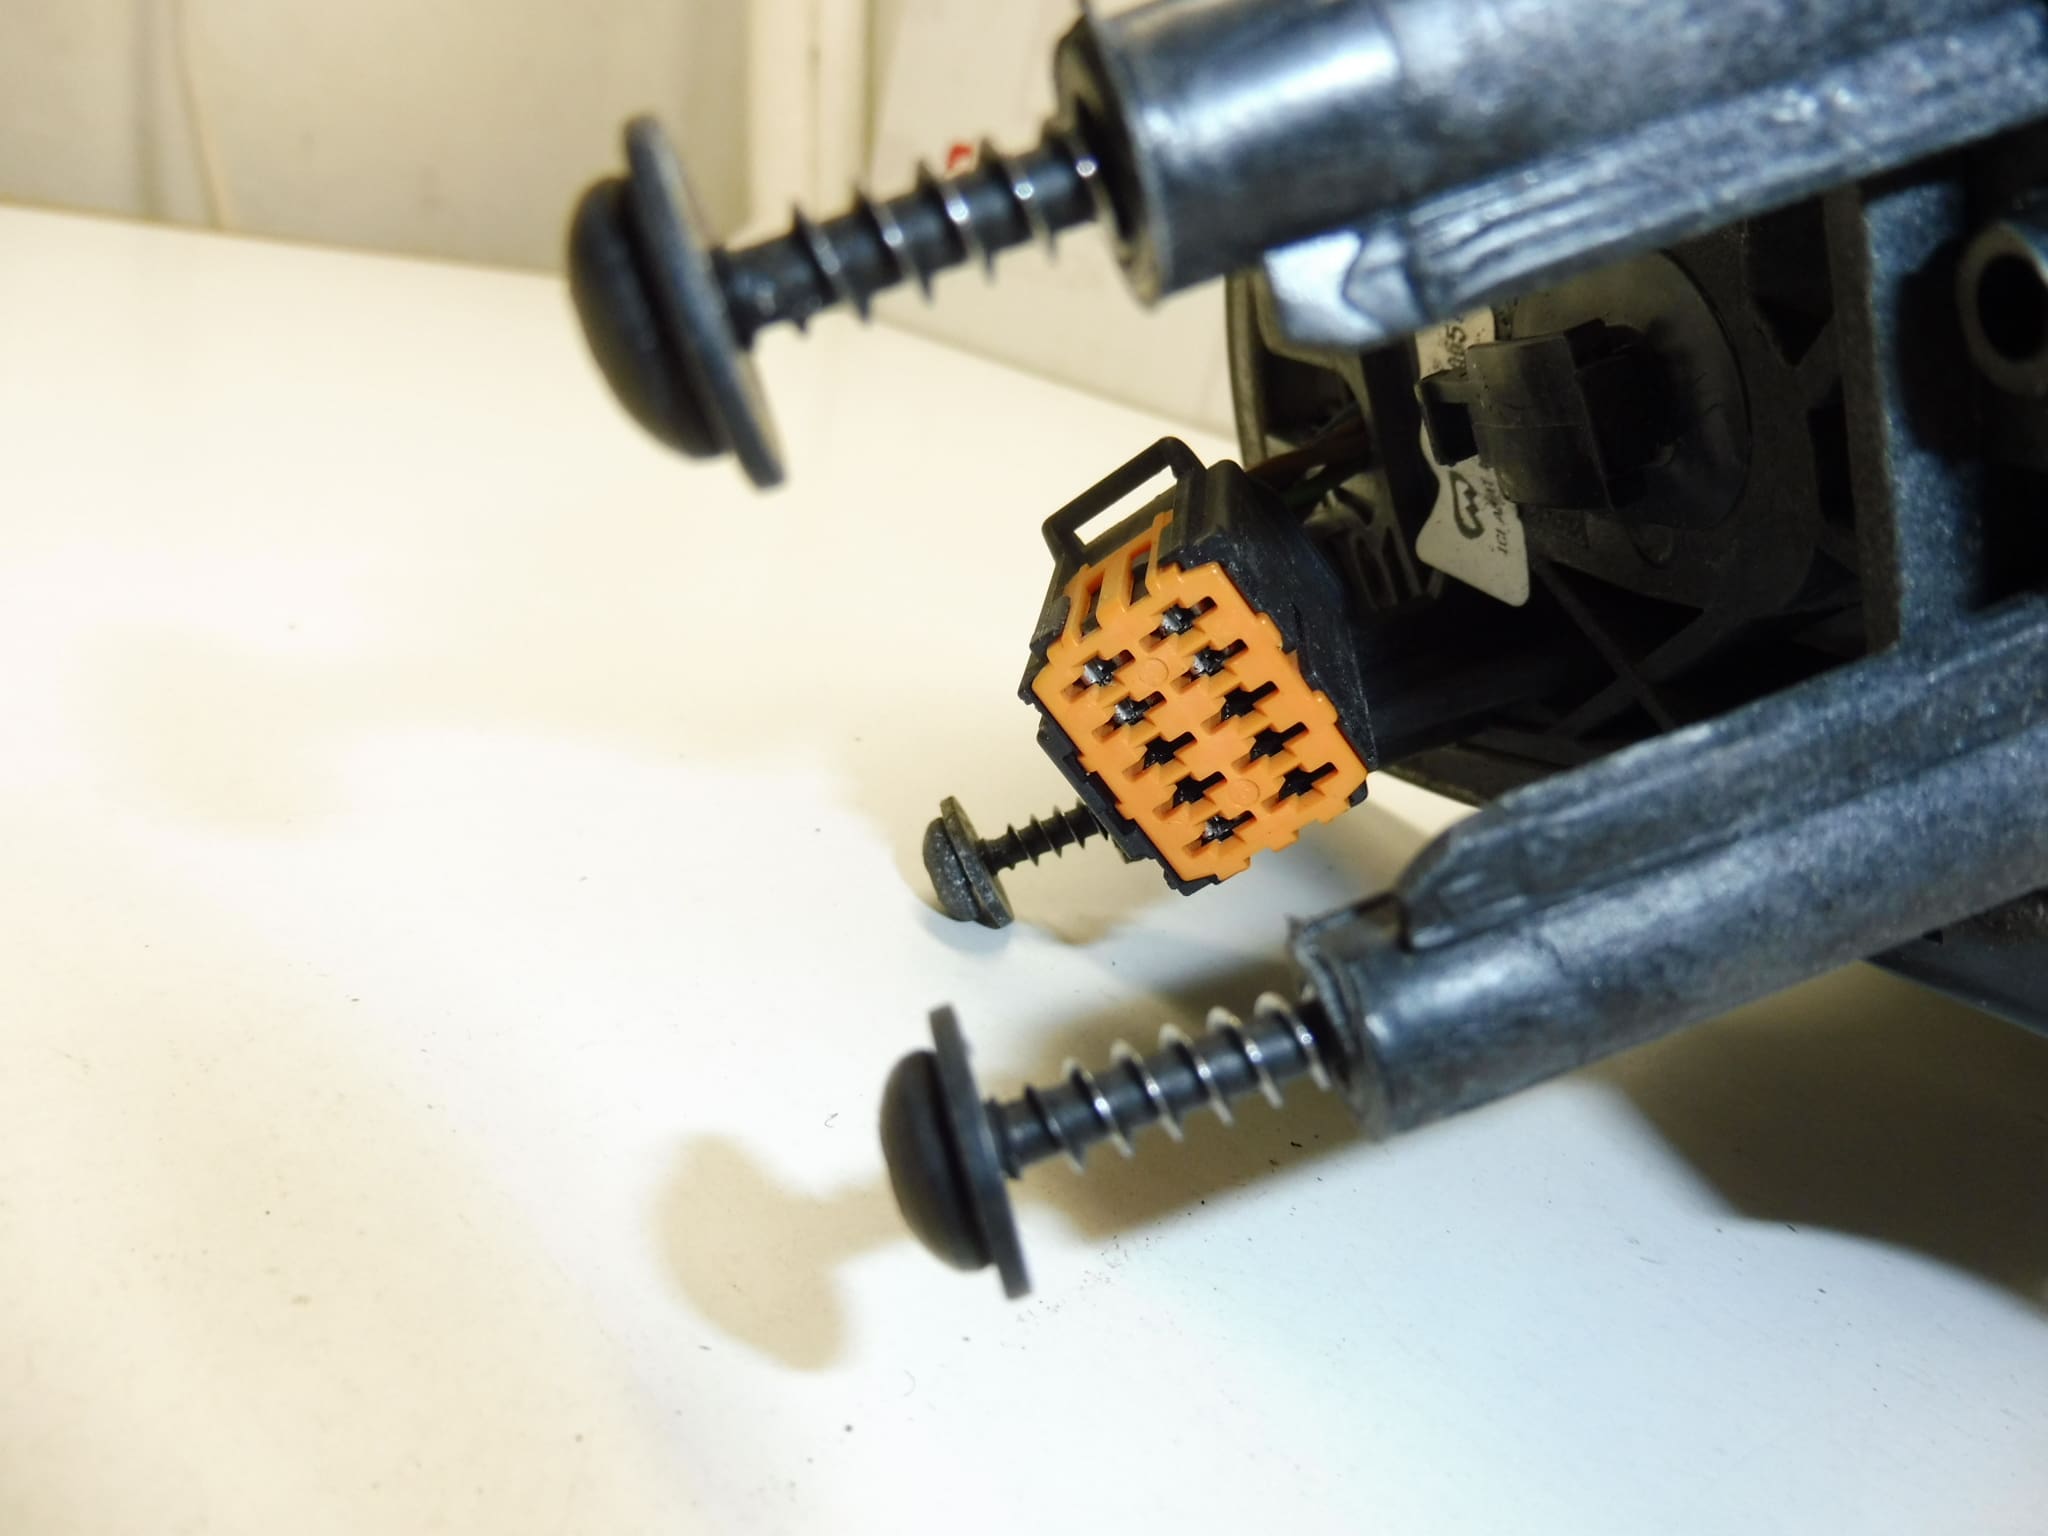
Driver’s Door – 5 Wires
Various Colors Available In Stock
Description
This left exterior mirror is a direct-fit replacement for Citroën Xsara Picasso models and is ideal for professional mechanics and DIY enthusiasts who need a reliable, OEM-compatible unit. The electrically operated mechanism provides smooth adjustment from the cabin and the KDD Sable Bivouac sand paint finish ensures a factory-look match for vehicles with that color option. Popularly searched by part numbers 96570954XT, 96570984XT and 815350, this mirror is supplied ready to install and available in multiple color variants to match your vehicle.
Technical Information
- Manufacturer: Citroën (Stellantis)
- Model: Xsara Picasso
- Product Codes: 96570954XT, 96570984XT, 815350
- Other Numbers: KKDC
Additional Technical Details: Left (Driver Side) Exterior Mirror; Electrically Operated; Connector Type: 5-Wire Connector; Finish: KDD Sable Bivouac Sand Paint. Fits complete mirror assembly category — includes mirror housing and adjustment motor as supplied.
Installation Recommendations
- Follow standard safety practice: work on a stable vehicle and protect painted surfaces with covers.
- Carefully remove the interior triangular trim panel on the door to access the mirror mounting nuts and electrical connector.
- Support the mirror while removing the mounting nuts (usually three) to prevent it dropping and damaging the glass or paint.
- Disconnect the 5-wire electrical connector before fully removing the mirror assembly.
- Install the new mirror, reconnect the connector, loosely fit mounting nuts, then align and tighten to the manufacturer’s recommended torque.
- Verify electric adjustment function from the switch and check mirror glass alignment. Replace door trim carefully.
- If the vehicle has additional features (heating, indicators), confirm those circuits are present and functional after installation.
Why Parts Most Commonly Fail
Exterior mirrors typically fail due to mechanical wear of the adjustment motor, corrosion from water ingress at the mounting/connector area, impact damage from collisions or folding, and broken wiring within the door harness caused by repeated door opening. Paint and plastic aging can also lead to cracking or cosmetic deterioration. Replacing the entire mirror assembly is often faster and more reliable than attempting individual motor repairs.
Practical Tips
- Inspect the door wiring loom and connector for corrosion or broken pins before fitting the new mirror.
- When matching painted mirrors, check color codes and compare in daylight to ensure a good visual match.
- Keep fasteners and clips from the original mirror where possible; replace any damaged clips to ensure a secure fit.