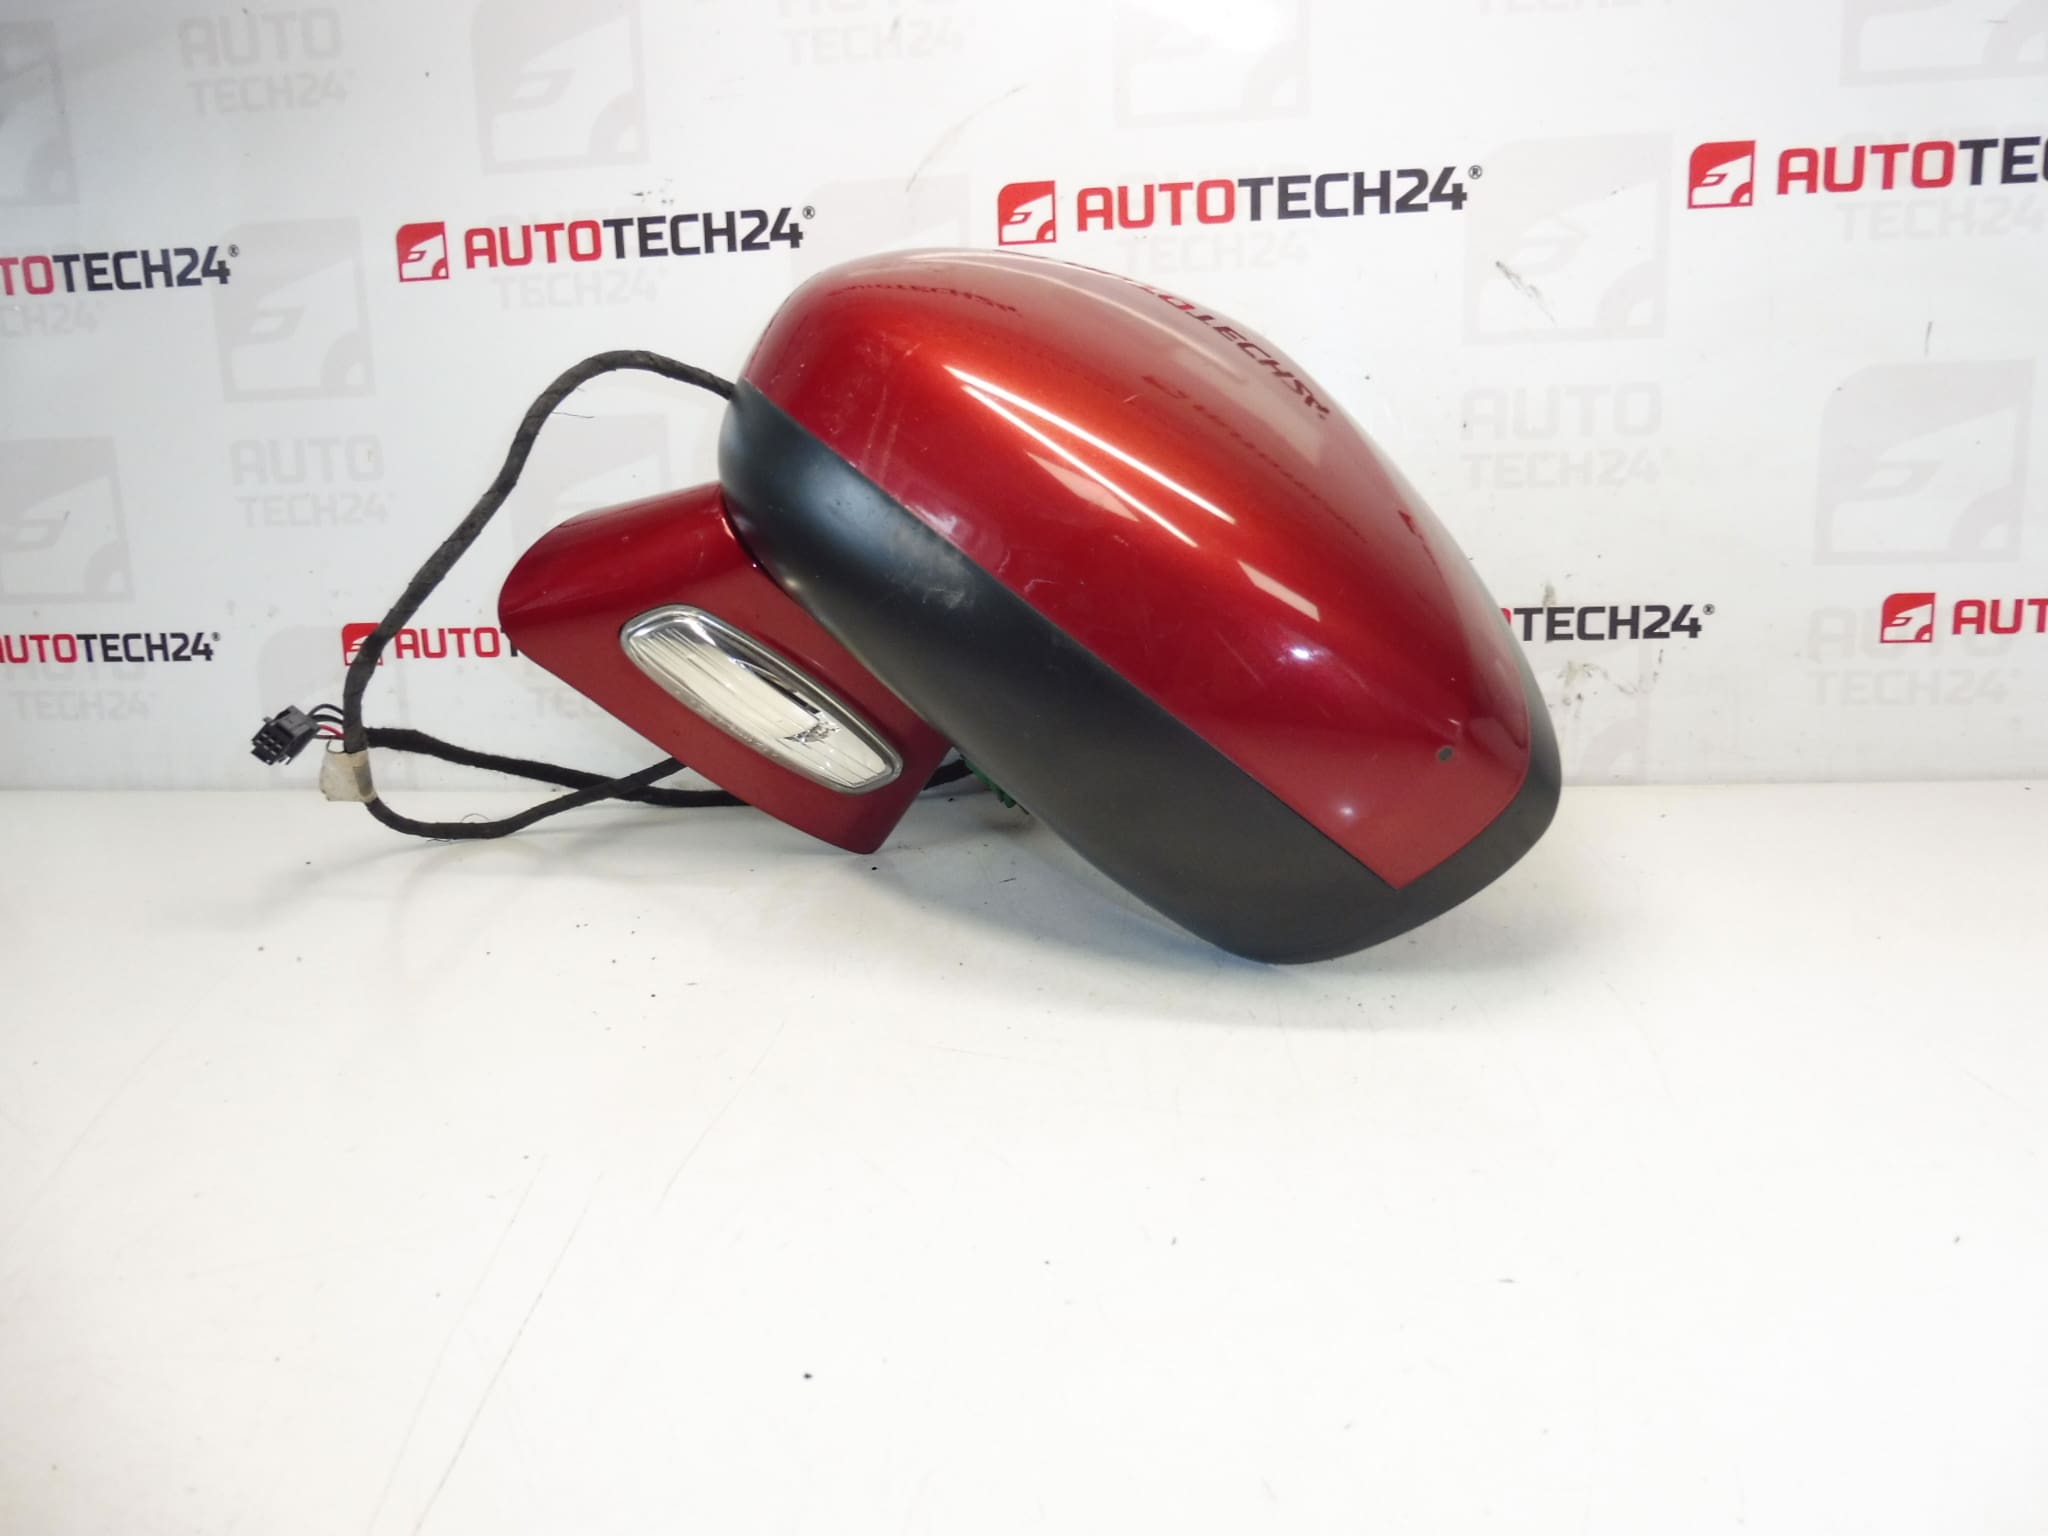
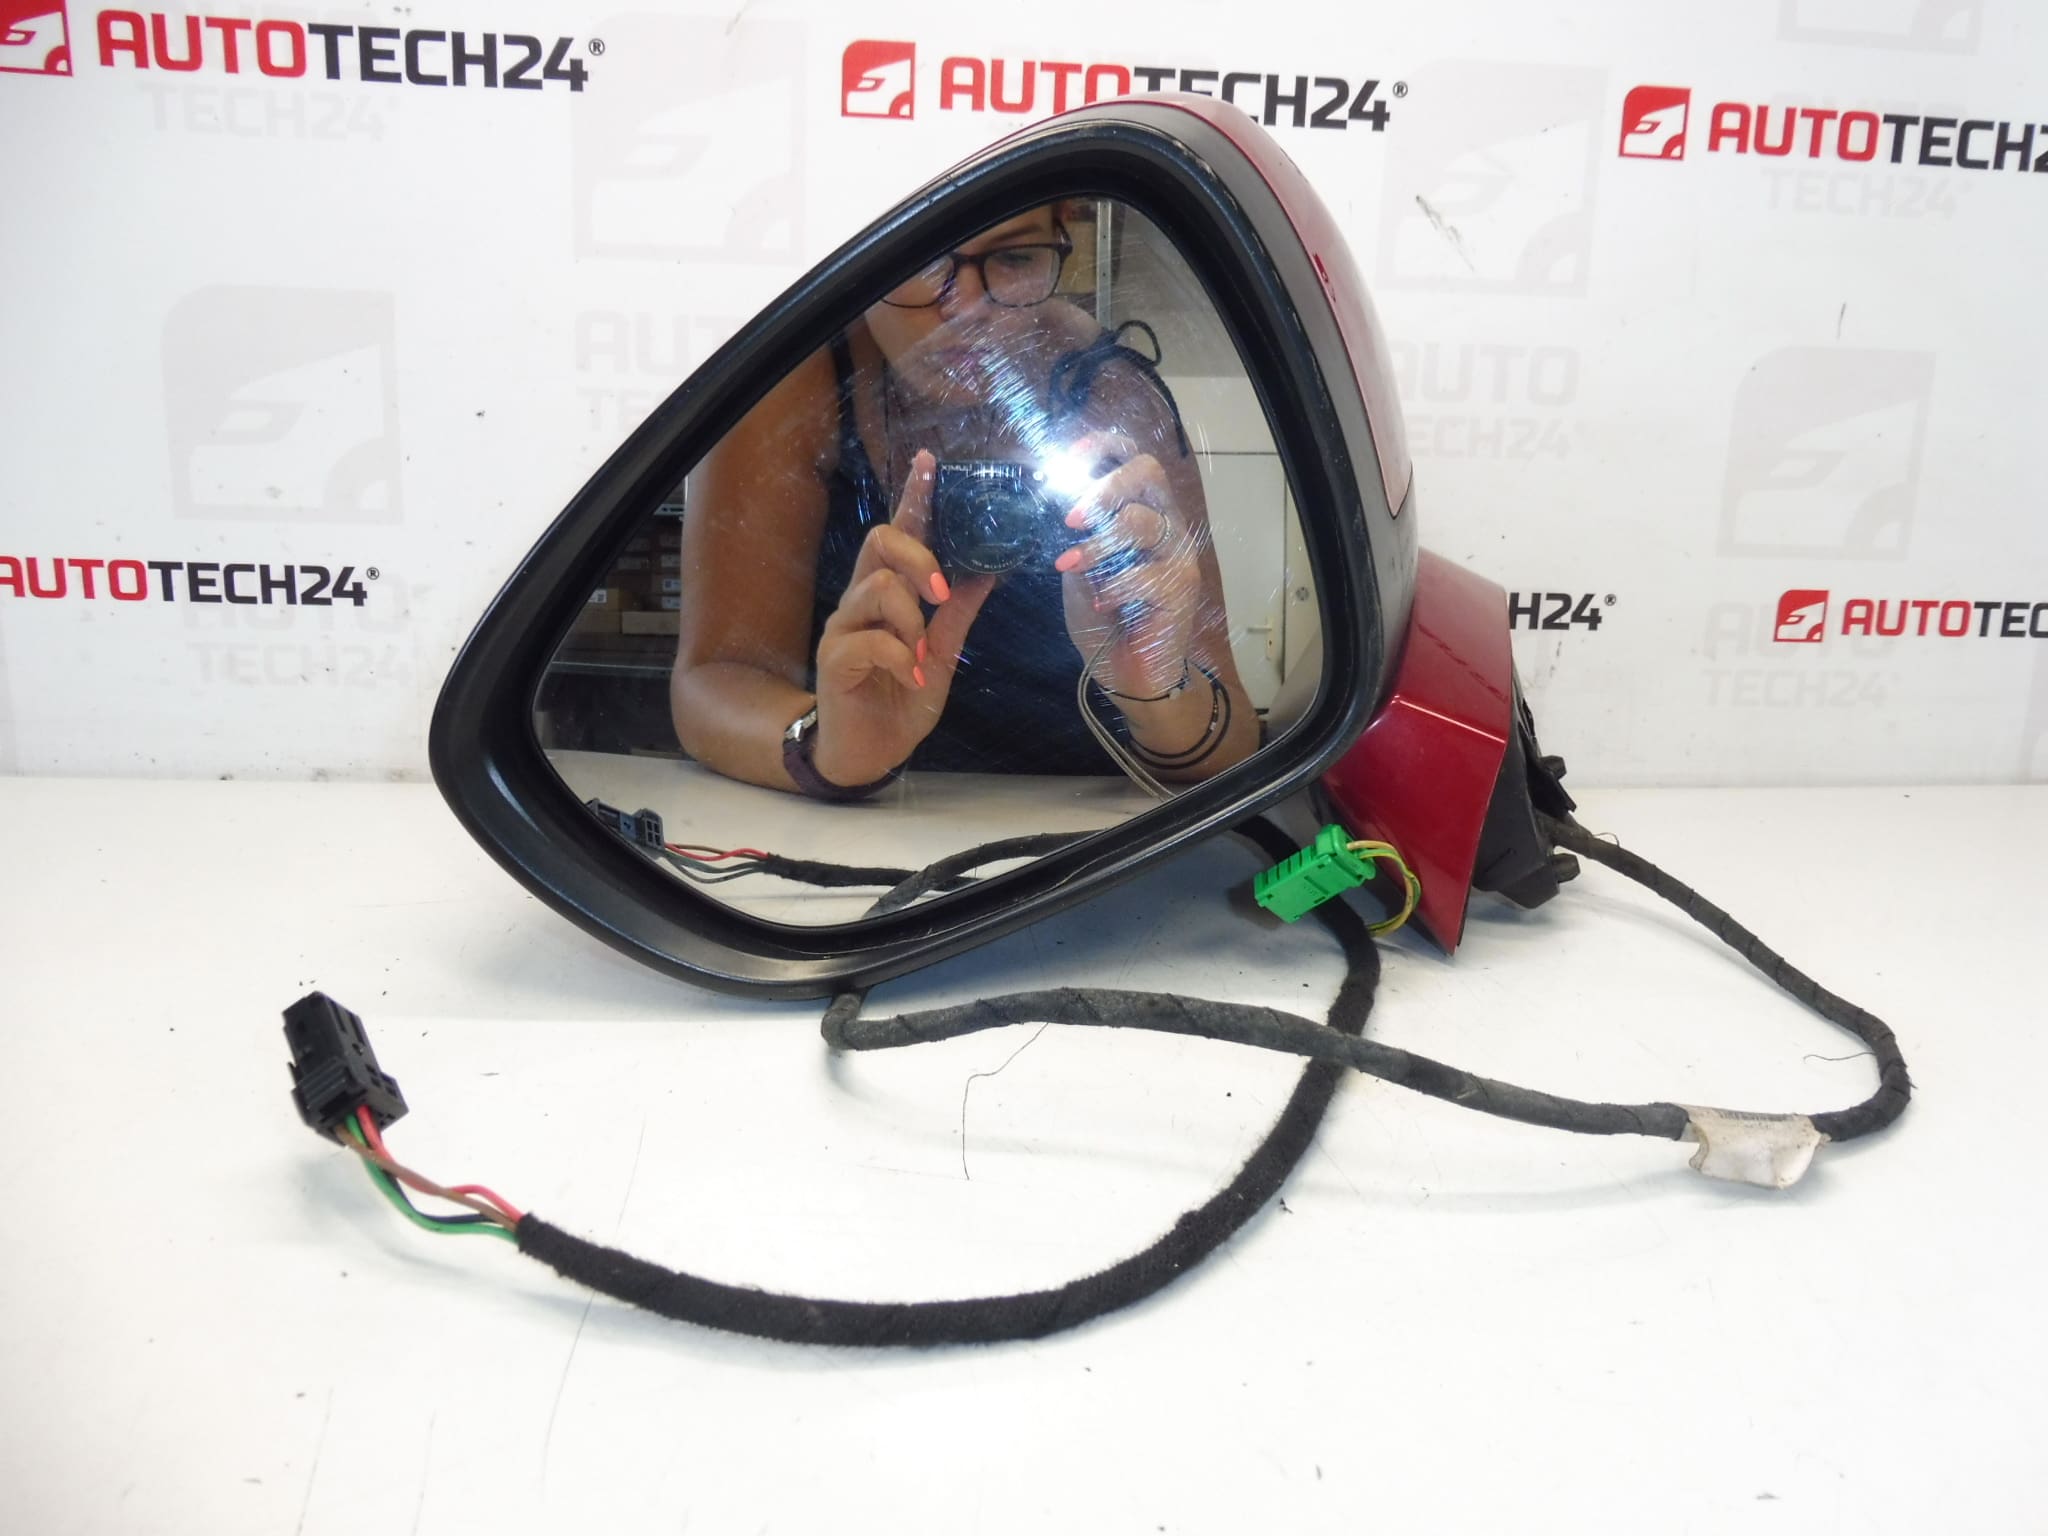
Description
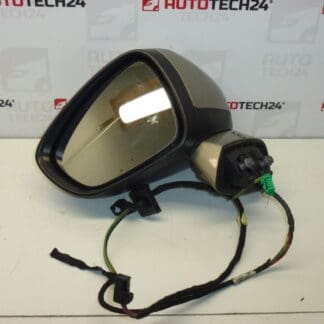
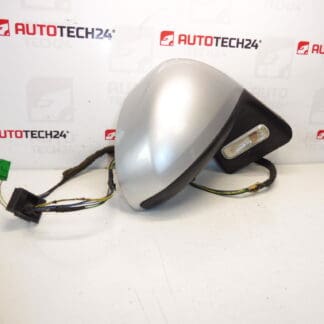
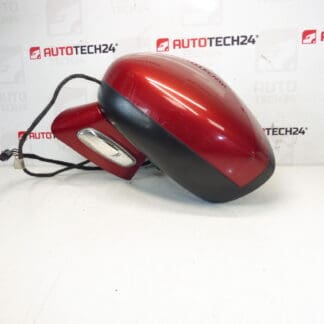
Left Side Rearview Mirror for Citroën C4 (Facelift)
Color KKQ – Paint Red Profond
Electrically Operated, Heated
Driver Door
7-Pin (5+2)
High-quality replacement left side mirror designed for Citroën C4 facelift models. This electrically adjustable and heated exterior mirror with color code KKQ provides direct-fit functionality for driver-door applications and is ideal for professional workshops and experienced DIY mechanics. The mirror restores visibility and comfort while maintaining the vehicle’s original appearance thanks to the factory paint code and compatible connector. Typical search terms: Left Mirror Citroën C4, 8154EJ, KKQD, Electric Heated Mirror.
Features
- Left (Driver) Side Exterior Mirror, Direct Fit For Citroën C4 Facelift.
- Color KKQ – Paint Red Profond, Painted To Match Original Finish.
- Electrically Operated Adjustment With Integrated Heating Element For Demisting.
- 7-Pin Connector Configuration (5+2) For Power And Heating Circuits.
- Durable Construction Suitable For Road Use And Professional Replacement.
Technical Information
- Manufacturer: Stellantis / Citroën
- Model: Citroën C4 (Facelift)
- Product Codes: 8154EJ, KKQD
- Other Numbers: Connector 7-Pin (5+2); Color Code KKQ (Paint Red Profond); Side: Left (Driver)
Installation Recommendation
Prior To Any Work, Disconnect The Vehicle Battery To Prevent Short Circuits When Handling Electrical Connectors. Remove The Interior Door Trim Carefully To Access The Mirror Mounting Bolts. Unplug The Mirror Connector And Unscrew The Mounting Fasteners. Fit The New Mirror, Secure Fasteners To Manufacturer Torque Specifications, Reconnect The Electrical Connector, And Refit The Door Trim. After Installation, Verify Mirror Adjustment, Heating Function, And Any Electrical Folding If Applicable. Use Proper Trim Tools To Avoid Damaging Clips And Interior Panels.
How To Replace
- Park The Vehicle Securely And Disconnect The Negative Battery Terminal.
- Remove The Interior Mirror Triangle Cover And Door Trim As Required To Reach Mounting Bolts.
- Disconnect The 7-Pin Connector Carefully, Noting Connector Orientation.
- Remove The Mounting Bolts And Extract The Old Mirror From The Door.
- Position The New Mirror, Tighten Mounting Bolts To Specified Torque, And Reconnect The Electrical Connector.
- Reinstall Door Trim And Interior Covers, Reconnect The Battery, And Test Mirror Adjustment And Heating.
Why The Part Most Commonly Fails
Exterior Mirrors Usually Fail Due To Impact Damage From Collisions Or Parking Incidents. Electrical Failures Can Occur Because Of Corrosion Or Water Ingress At The Connector, Broken Wiring In The Door Harness, Or Worn Actuators From Frequent Use. Paint Damage And Mechanical Wear Of The Housing Or Mounting Points Are Also Common Causes For Replacement. Regular Inspection After Minor Impacts Helps Prevent Progressive Damage.