Description
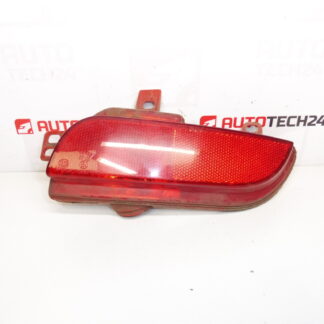
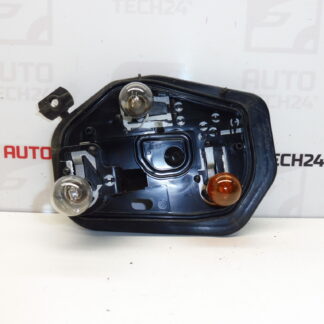
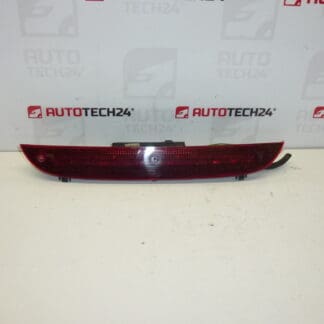
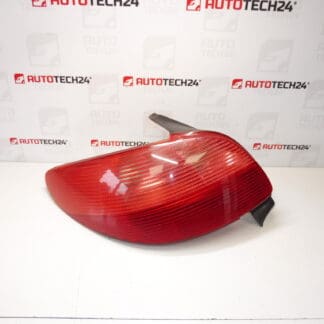
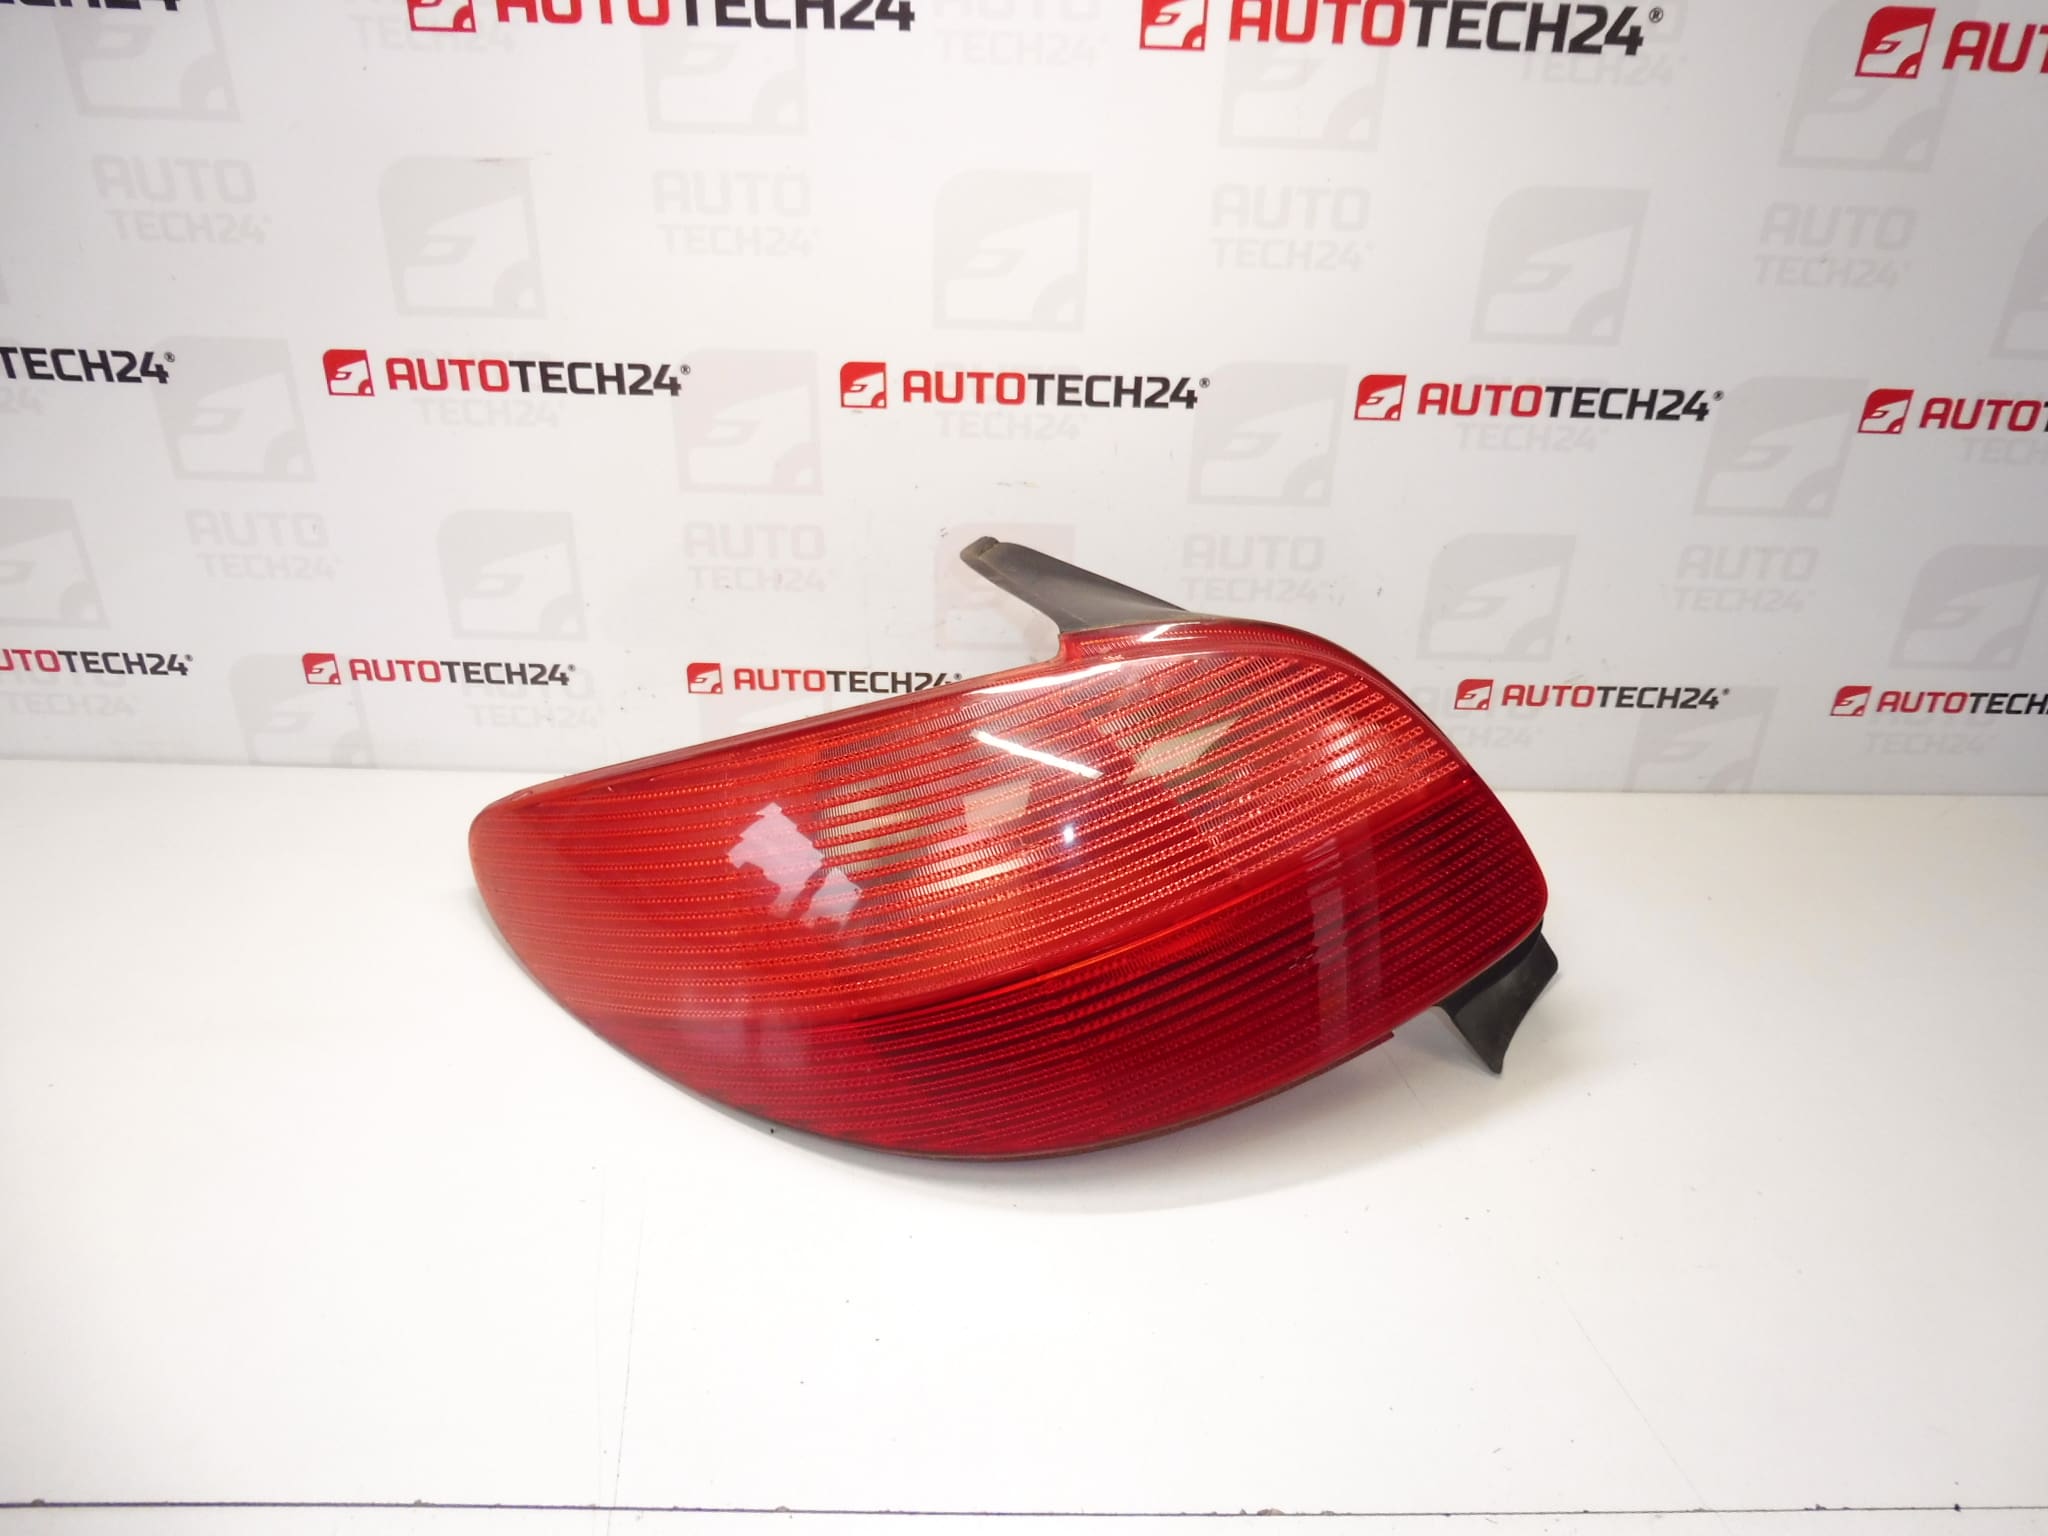
Left rear lamp for Peugeot 206 3/5-door models. Up To Production Date 6/2003. Driver’s Side.
Overview
This left rear lamp assembly is designed for Peugeot 206 3- and 5-door versions manufactured up to June 2003. It is a direct-fit replacement for the driver-side (left) rear light cluster and is ideal for professional garages and DIY mechanics looking to restore full rear lighting functionality after impact damage, lens cracking or electrical faults. Common search term: Peugeot 206 left rear lamp 6350P1.
Key Features And Functions
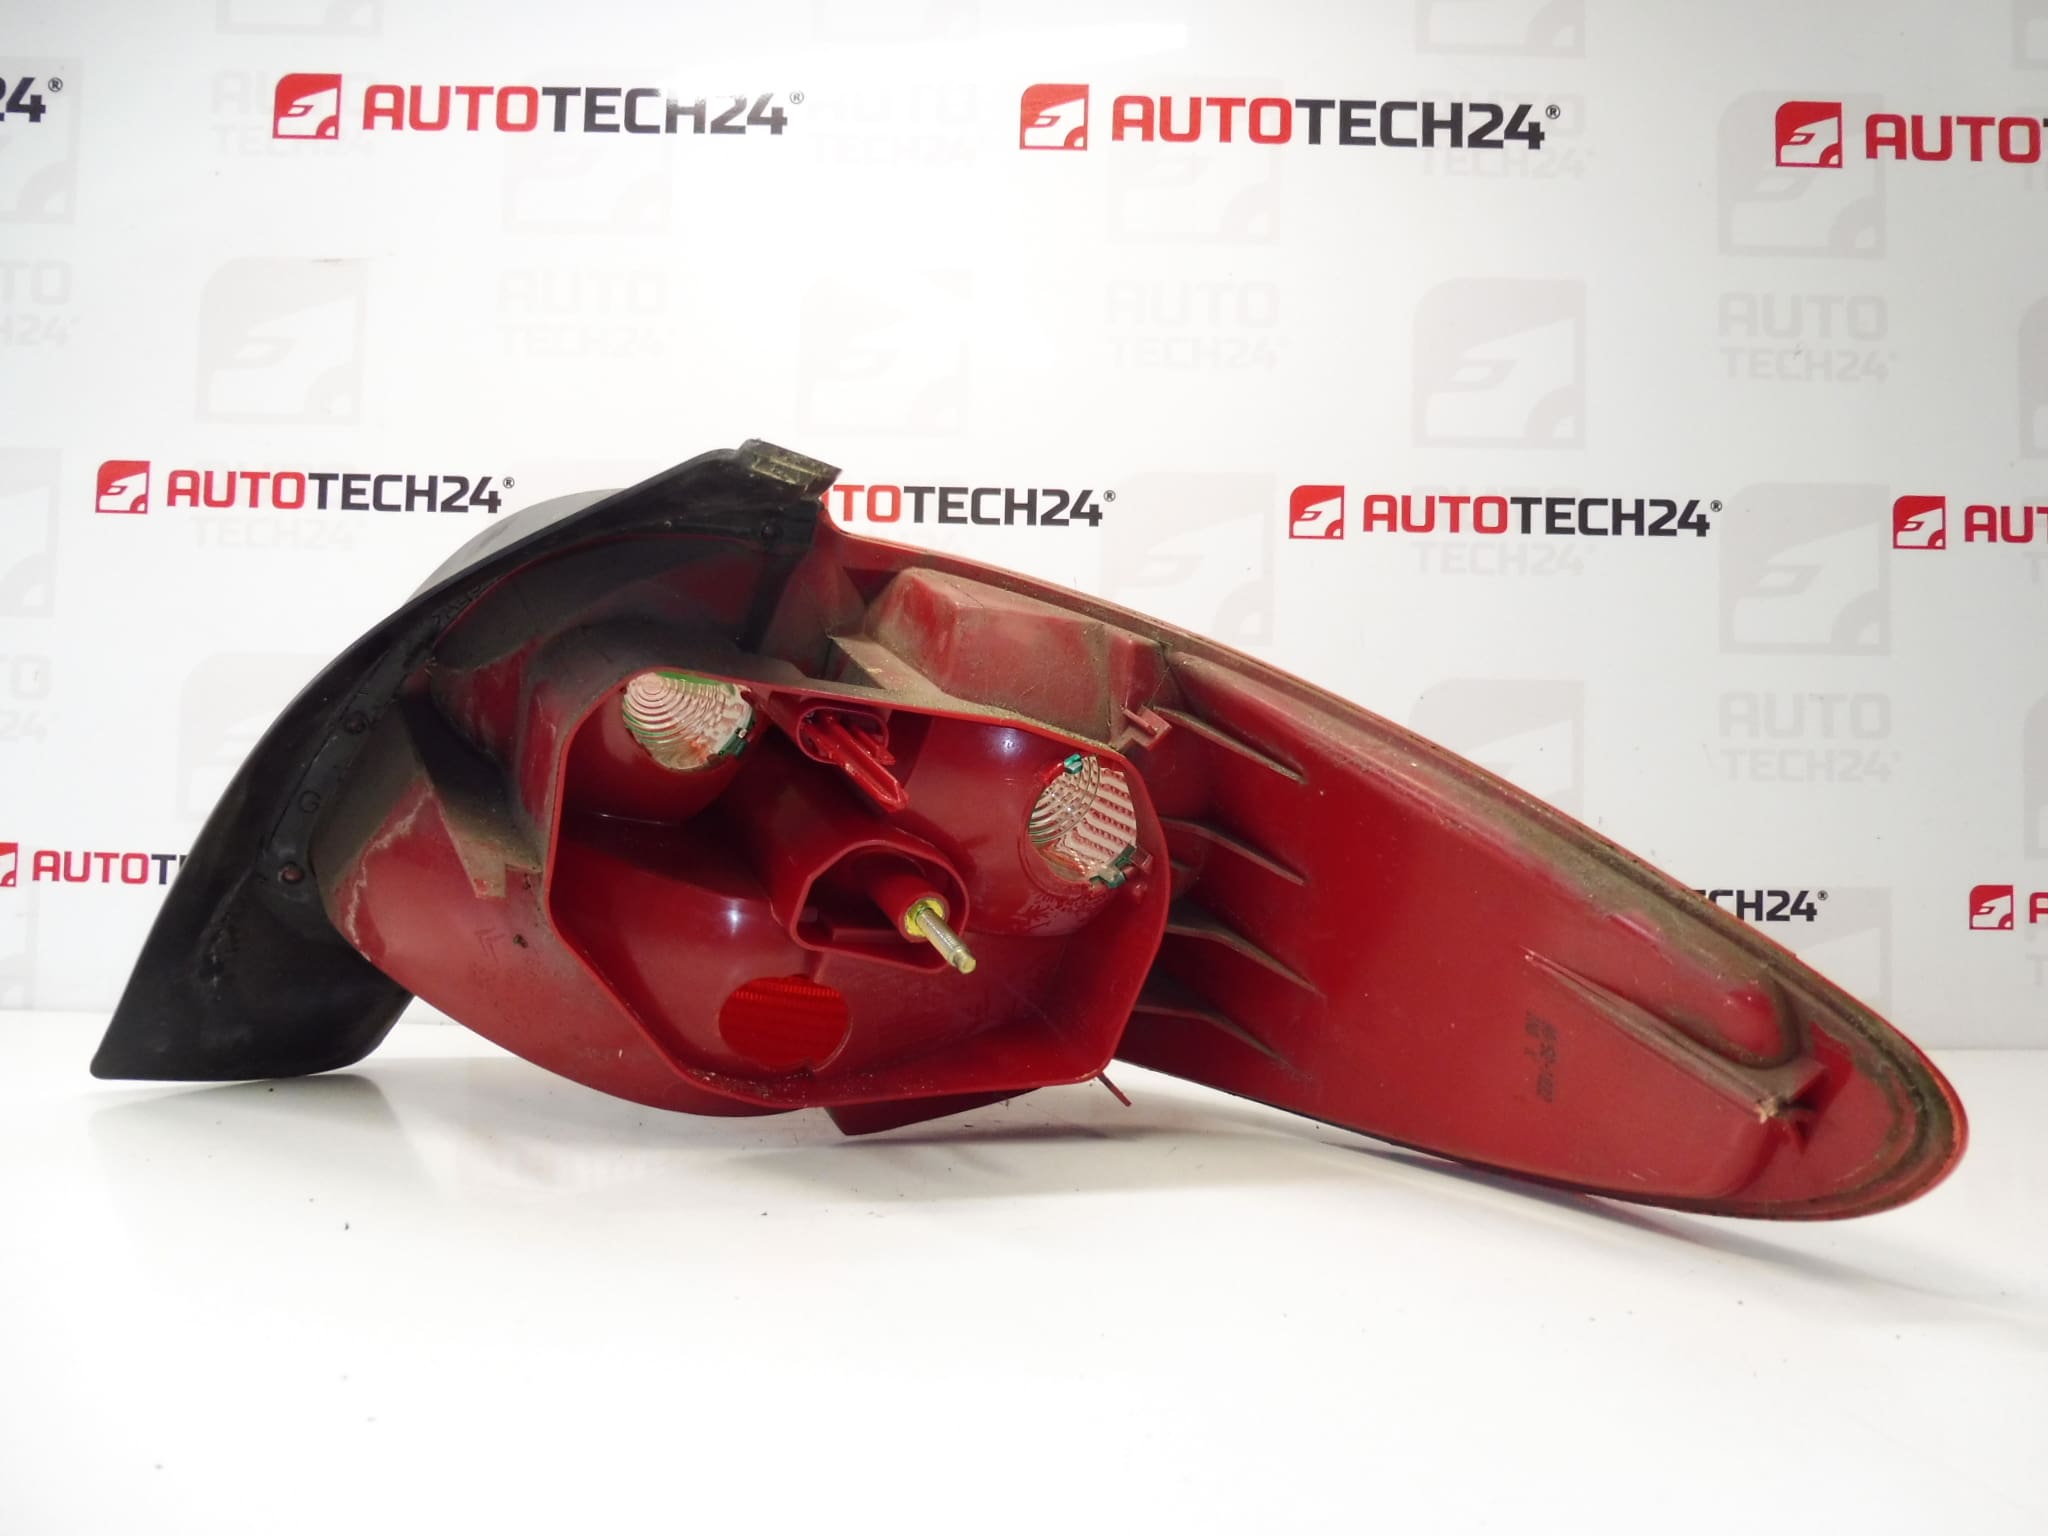
The assembly typically houses the tail/position light, stop/brake light and turn signal functions; in some variants the reverse lamp may be integrated or fitted separately. It provides correct beam orientation, sealing and mounting points specific to early Peugeot 206 body shells for reliable fitment and road-legal signaling performance.
Technical Information
- Manufacturer: Stellantis (Peugeot)
- Model: Peugeot 206 3-Door / 5-Door (Up To 06/2003), Left Side
- Product Codes: 6350P1
- Additional Numbers: NFP
Fitment Notes
Fits Peugeot 206 models with production dates up to June 2003. Ensure the unit matches the vehicle body style (3-door or 5-door) and the left/driver side location before installation. Searchable part number: 6350P1.
Replacement Procedure
- Park Vehicle On A Level Surface And Switch Off Ignition.
- Open The Boot/Trunk And Remove The Interior Trim Or Protective Covering To Access The Rear Lamp Fasteners.
- Remove Retaining Screws Or Clips Securing The Lamp Assembly (Keep Fasteners For Reuse If Undamaged).
- Carefully Pull The Lamp Assembly Outwards A Few Centimetres And Disconnect The Electrical Connector(s).
- Replace Bulbs If Required Or Fit The New Lamp Assembly, Reconnect The Connector(s) And Test All Light Functions (Tail, Brake, Indicator, Reverse If Present).
- Refit Fasteners And Interior Trim, Ensure Lamp Sits Flush And Is Properly Sealed.
Installation Recommendations
- Turn Off Ignition And, If Possible, Disconnect The Negative Battery Terminal To Avoid Short Circuits While Working On Electrical Connectors.
- Handle The Lens Carefully To Avoid Scratches; Use Gloves To Keep Bulbs Free From Oil And Contamination.
- Check Bulb Types And Replace With Correct Wattage OEM-Equivalent Bulbs. Verify Connector Pins For Corrosion And Clean Or Replace As Necessary.
- After Installation, Test All Functions (Position/Tail, Brake, Indicator, Reverse) And Ensure Proper Alignment And Sealing To Prevent Moisture Ingress.
- Use Correct Torque For Fasteners To Avoid Cracking The Housing Or Causing Misalignment.
Why This Part Fails
Rear lamp assemblies commonly fail due to physical damage (bumper impacts or stone chips), lens cracking from UV exposure, and water ingress leading to condensation, bulb holder corrosion or short circuits. Bulbs themselves are wear items and can blow; electrical connector corrosion or broken mounting tabs are frequent reasons for replacement. Regular visual inspection and prompt repair of minor damage will extend service life.
Practical Tips For Mechanics And DIYers
When replacing the lamp in a workshop environment, keep replacement bulbs and a small contact cleaner on hand to address corroded pins. If the lamp shows signs of persistent moisture, inspect the boot seals and body mounting points for deformations that allow water entry. Always verify light function with the vehicle in normal operating voltage to avoid false diagnostics.