Description
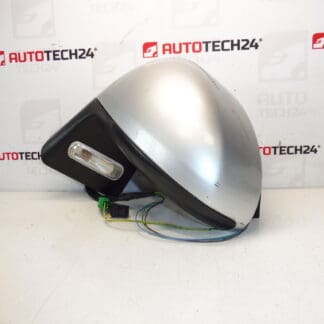
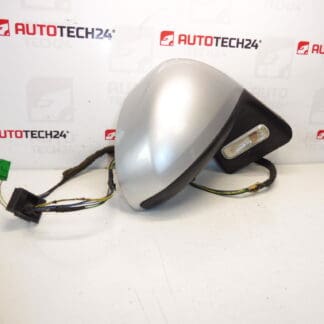
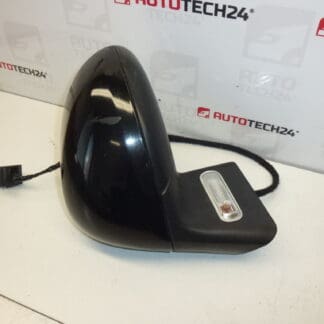
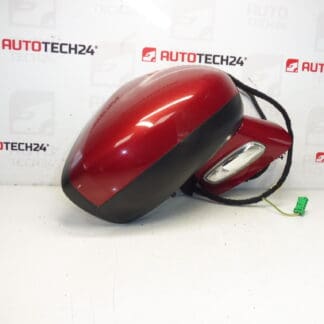
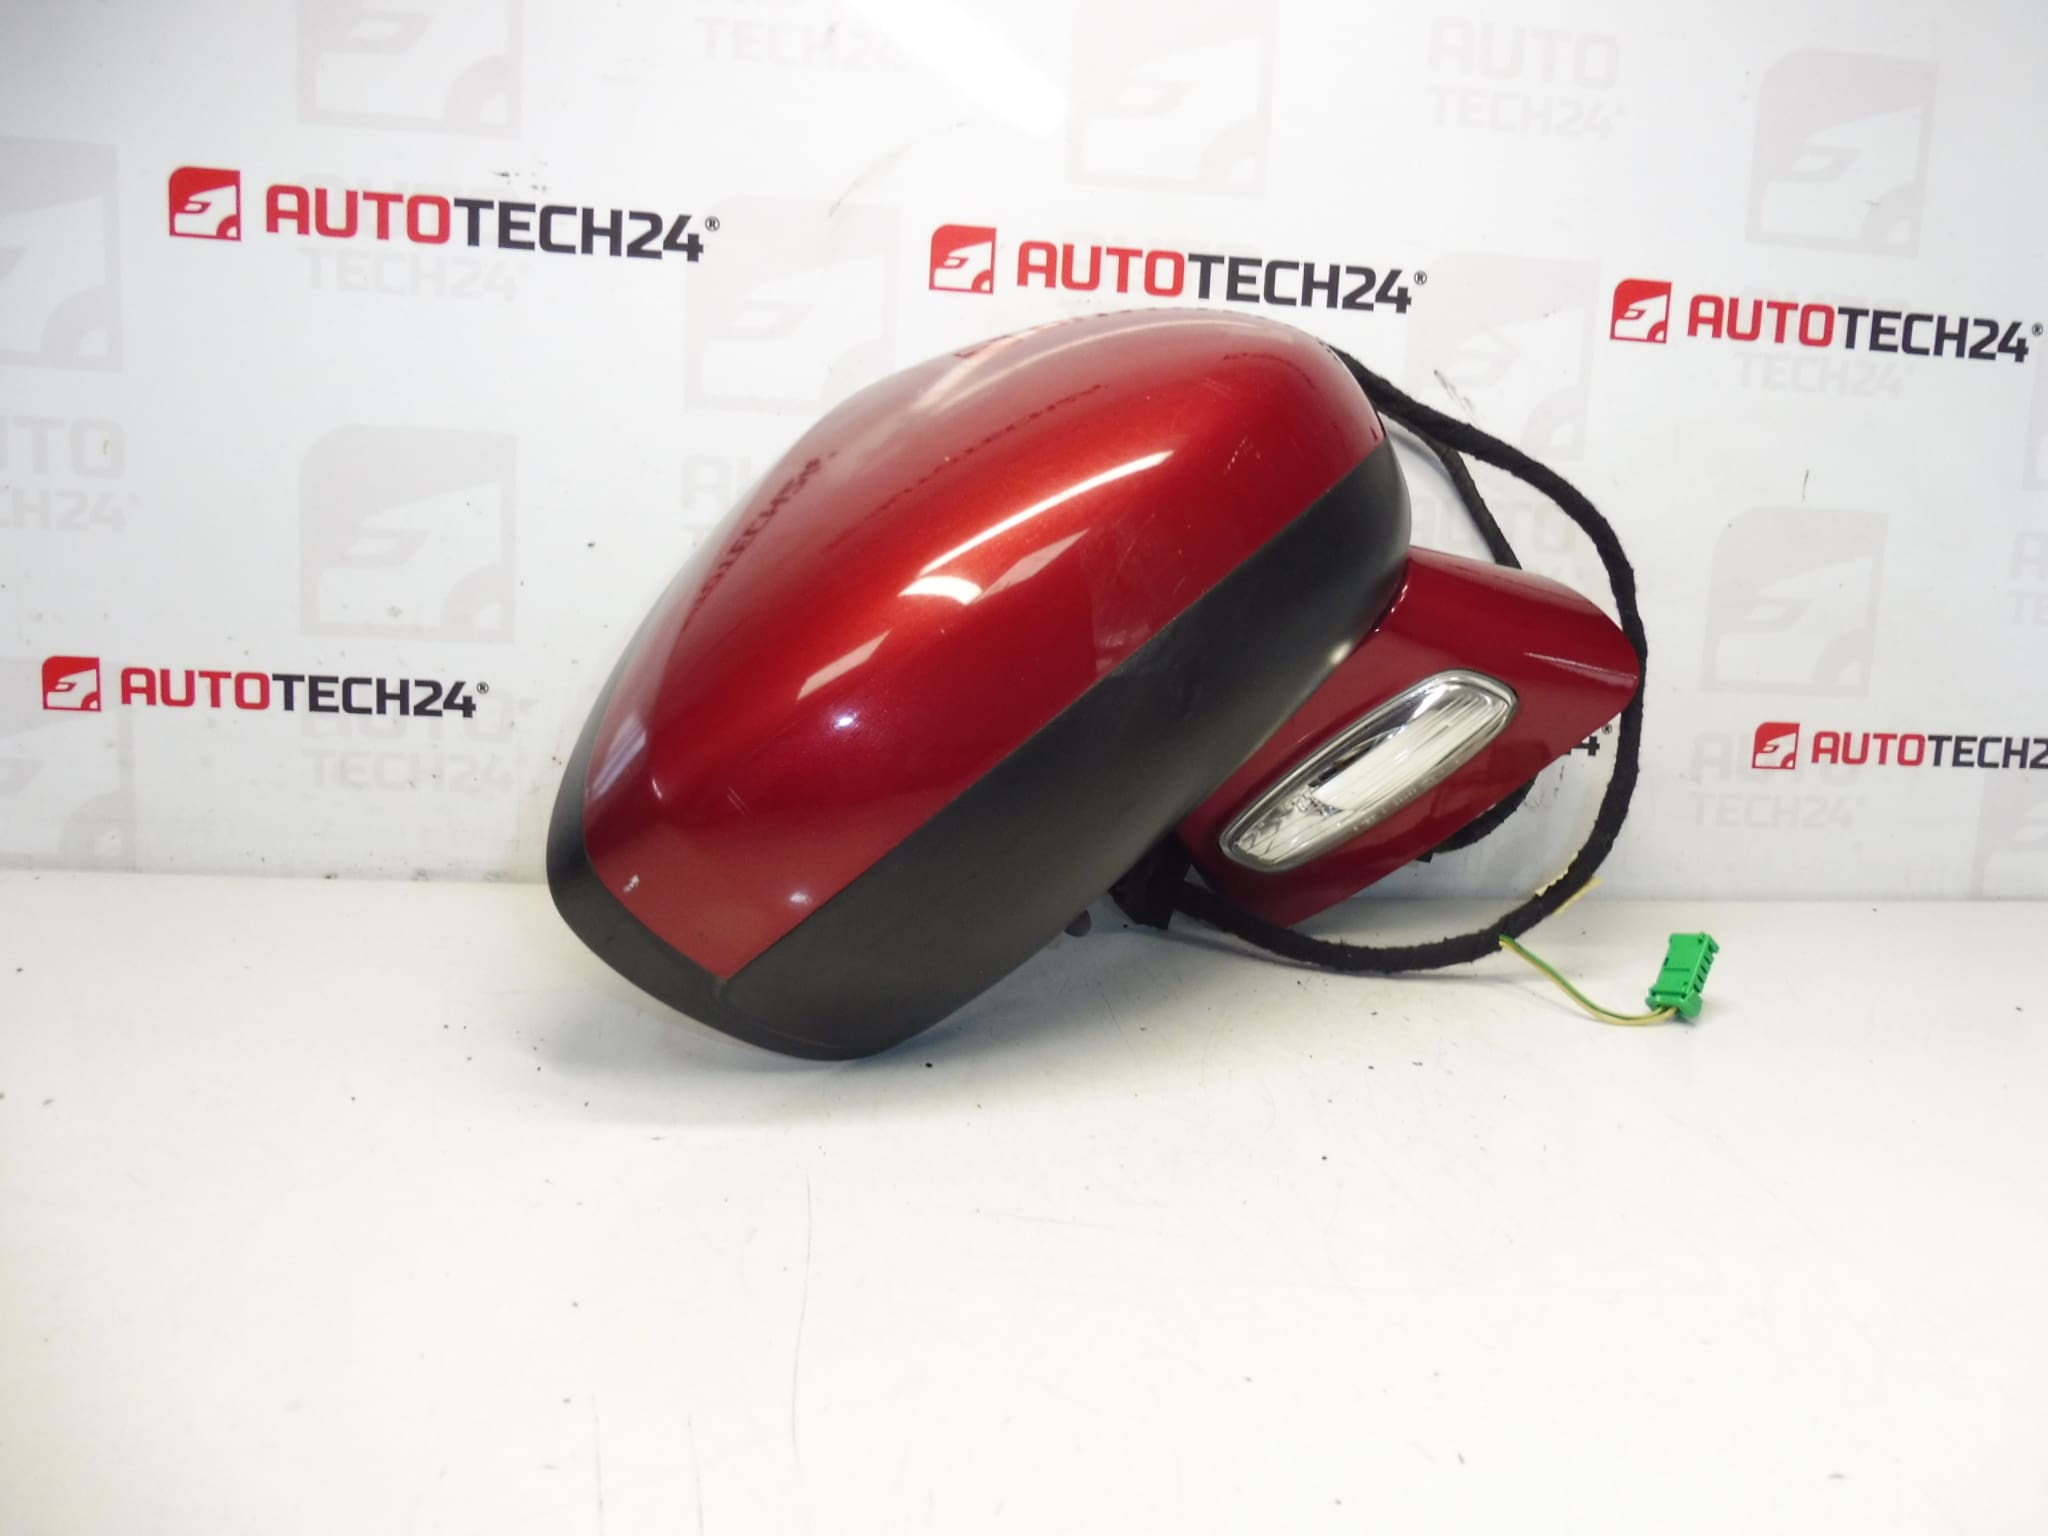
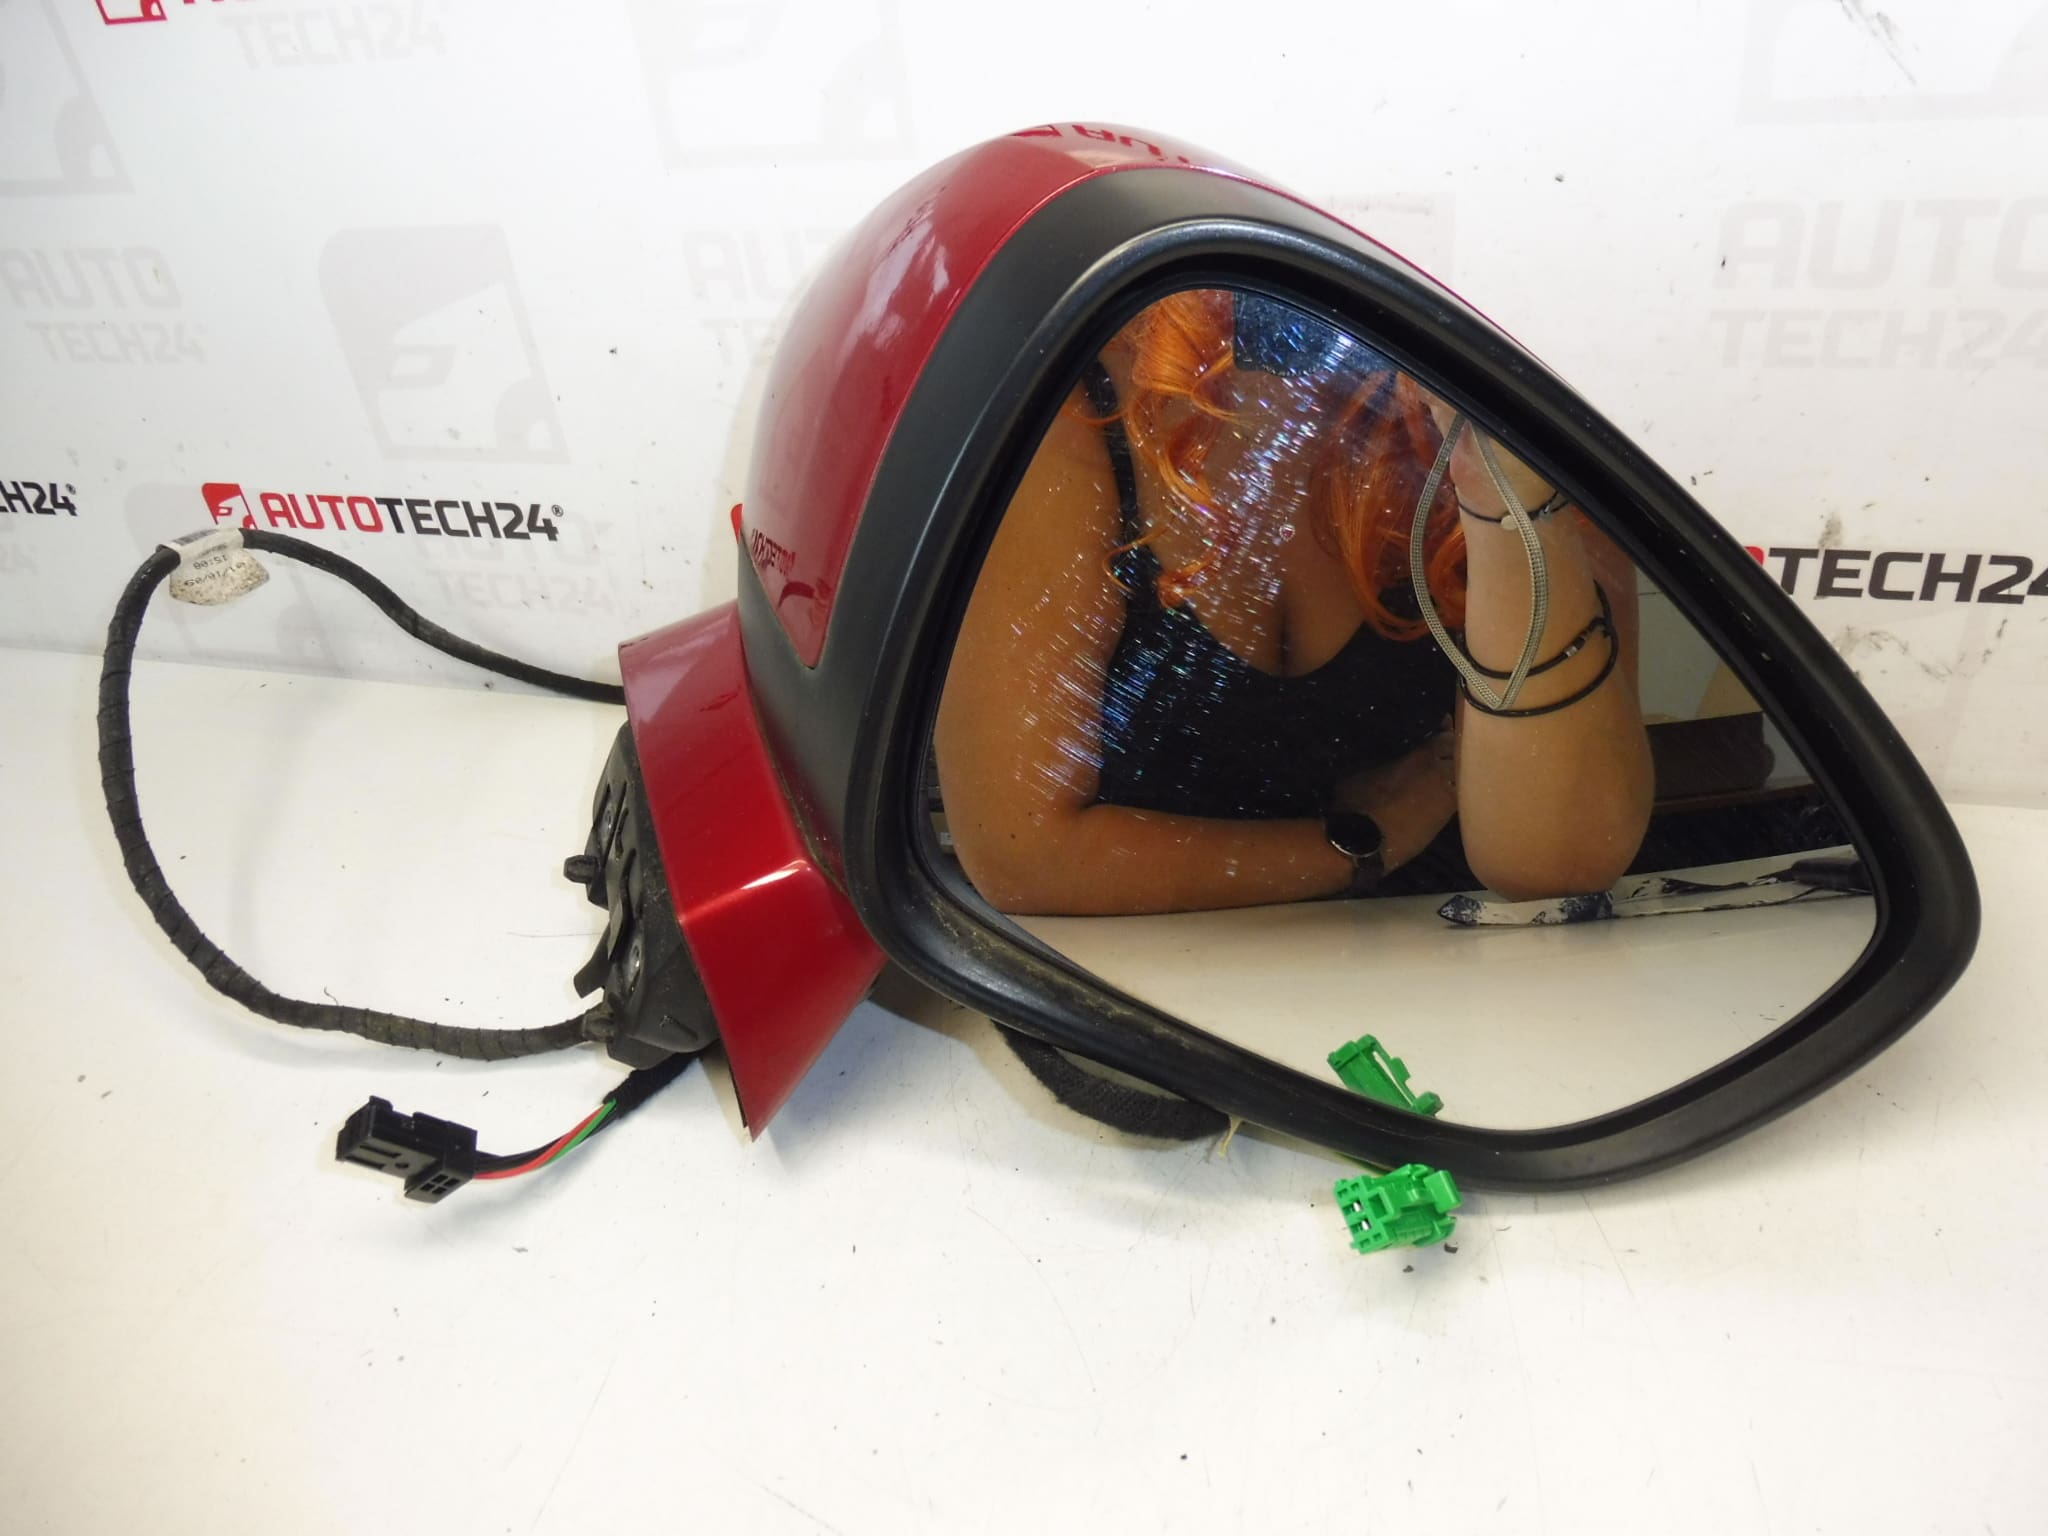
Right side rear-view mirror for CITROEN C4 facelift. Color KKQ – Profond Red paint. Electrically adjustable, heated, temperature sensor. Passenger door. 8 PIN (6+2).
Overview
This genuine-style replacement right (passenger-side) exterior mirror is designed for Citroën C4 facelift models. It combines electric adjustment, a heating element and an integrated temperature sensor to ensure clear visibility in cold or wet conditions. The mirror housing is painted in KKQ Profond Red to match factory finishes and connects via an 8-pin (6+2) connector for power, heater and sensor signals.
Why Choose This Mirror
Perfect for professional workshops and DIY mechanics looking to replace a damaged or malfunctioning mirror. Supplied with original product codes referenced frequently in parts searches (9687130977 / 8154EH), this unit reduces diagnostic time and ensures a close fit to OEM standards. Ideal when the original mirror has suffered impact damage, failed motors, or heater problems.
Function And Common Faults
Function: Provides electrically controlled mirror adjustment, defogging/heating via an integrated heating element and ambient/temperature sensing for climate-related functions or auto-fold/defrost logic where applicable.
Common Faults: Mechanical damage from collisions or knocks, water ingress leading to connector corrosion, motor wear causing poor or no adjustment, heating element failure, and broken wiring in the folding mechanism. Corroded terminals or damaged pins in the 8-pin connector are frequent causes of intermittent operation.
Replacement Guidance
Basic Replacement Steps (overview):
- Remove interior door trim or triangular mirror cover to access mirror mounting bolts and electrical connector.
- Disconnect the 8-pin (6+2) connector from the mirror. Inspect connector pins for corrosion or damage.
- Unscrew mirror mounting bolts and remove the old mirror assembly.
- Position the new mirror, secure bolts to the manufacturer’s torque settings, and reconnect the electrical connector.
- Reassemble door trim and test all mirror functions: adjustment, heating, and sensor signals if applicable.
Practical Tips: Avoid operating the adjustment motor repeatedly with the glass removed. Use dielectric grease on connector pins to reduce future corrosion. If the vehicle has memory or auto-fold functions, verify the features operate correctly after installation.
Installation Recommendations
Recommended For: Skilled technicians and experienced DIYers. Although this is a direct-fit style unit, work in a clean, dry environment and keep fasteners and trim clips organized during reassembly.
Safety Note: Before beginning work, isolate the vehicle electrical system according to safe workshop practice (disconnect battery if required by your workshop procedures) and follow the vehicle manufacturer’s instructions to avoid electrical damage.
Technical Information
- Manufacturer: Citroën / Stellantis
- Model: Citroën C4 (facelift) — Right Side (Passenger Door)
- Product Codes: 9687130977, 8154EH
- Additional Numbers: Color Code KKQ
- Features: Electrically adjustable, Heated Mirror, Temperature Sensor
- Connector: 8-Pin (6+2)
Why Parts Fail Most Often
External mirrors are exposed to impacts, moisture and road debris. The most frequent failure modes are mechanical damage from collisions, corrosion of electrical contacts from water ingress, and wear of the small electric motors or heating elements. Regular inspection after minor impacts and protecting connectors from moisture significantly extends service life.
Compatibility And Search Tips
Customers often search by product codes 9687130977 or 8154EH — include these numbers when looking for this exact replacement. Confirm the side (right/passenger) and color code (KKQ) when ordering to ensure proper fit and finish.