Description
Battery state-of-charge unit for CITROEN, PEUGEOT and other Stellantis models
Part description
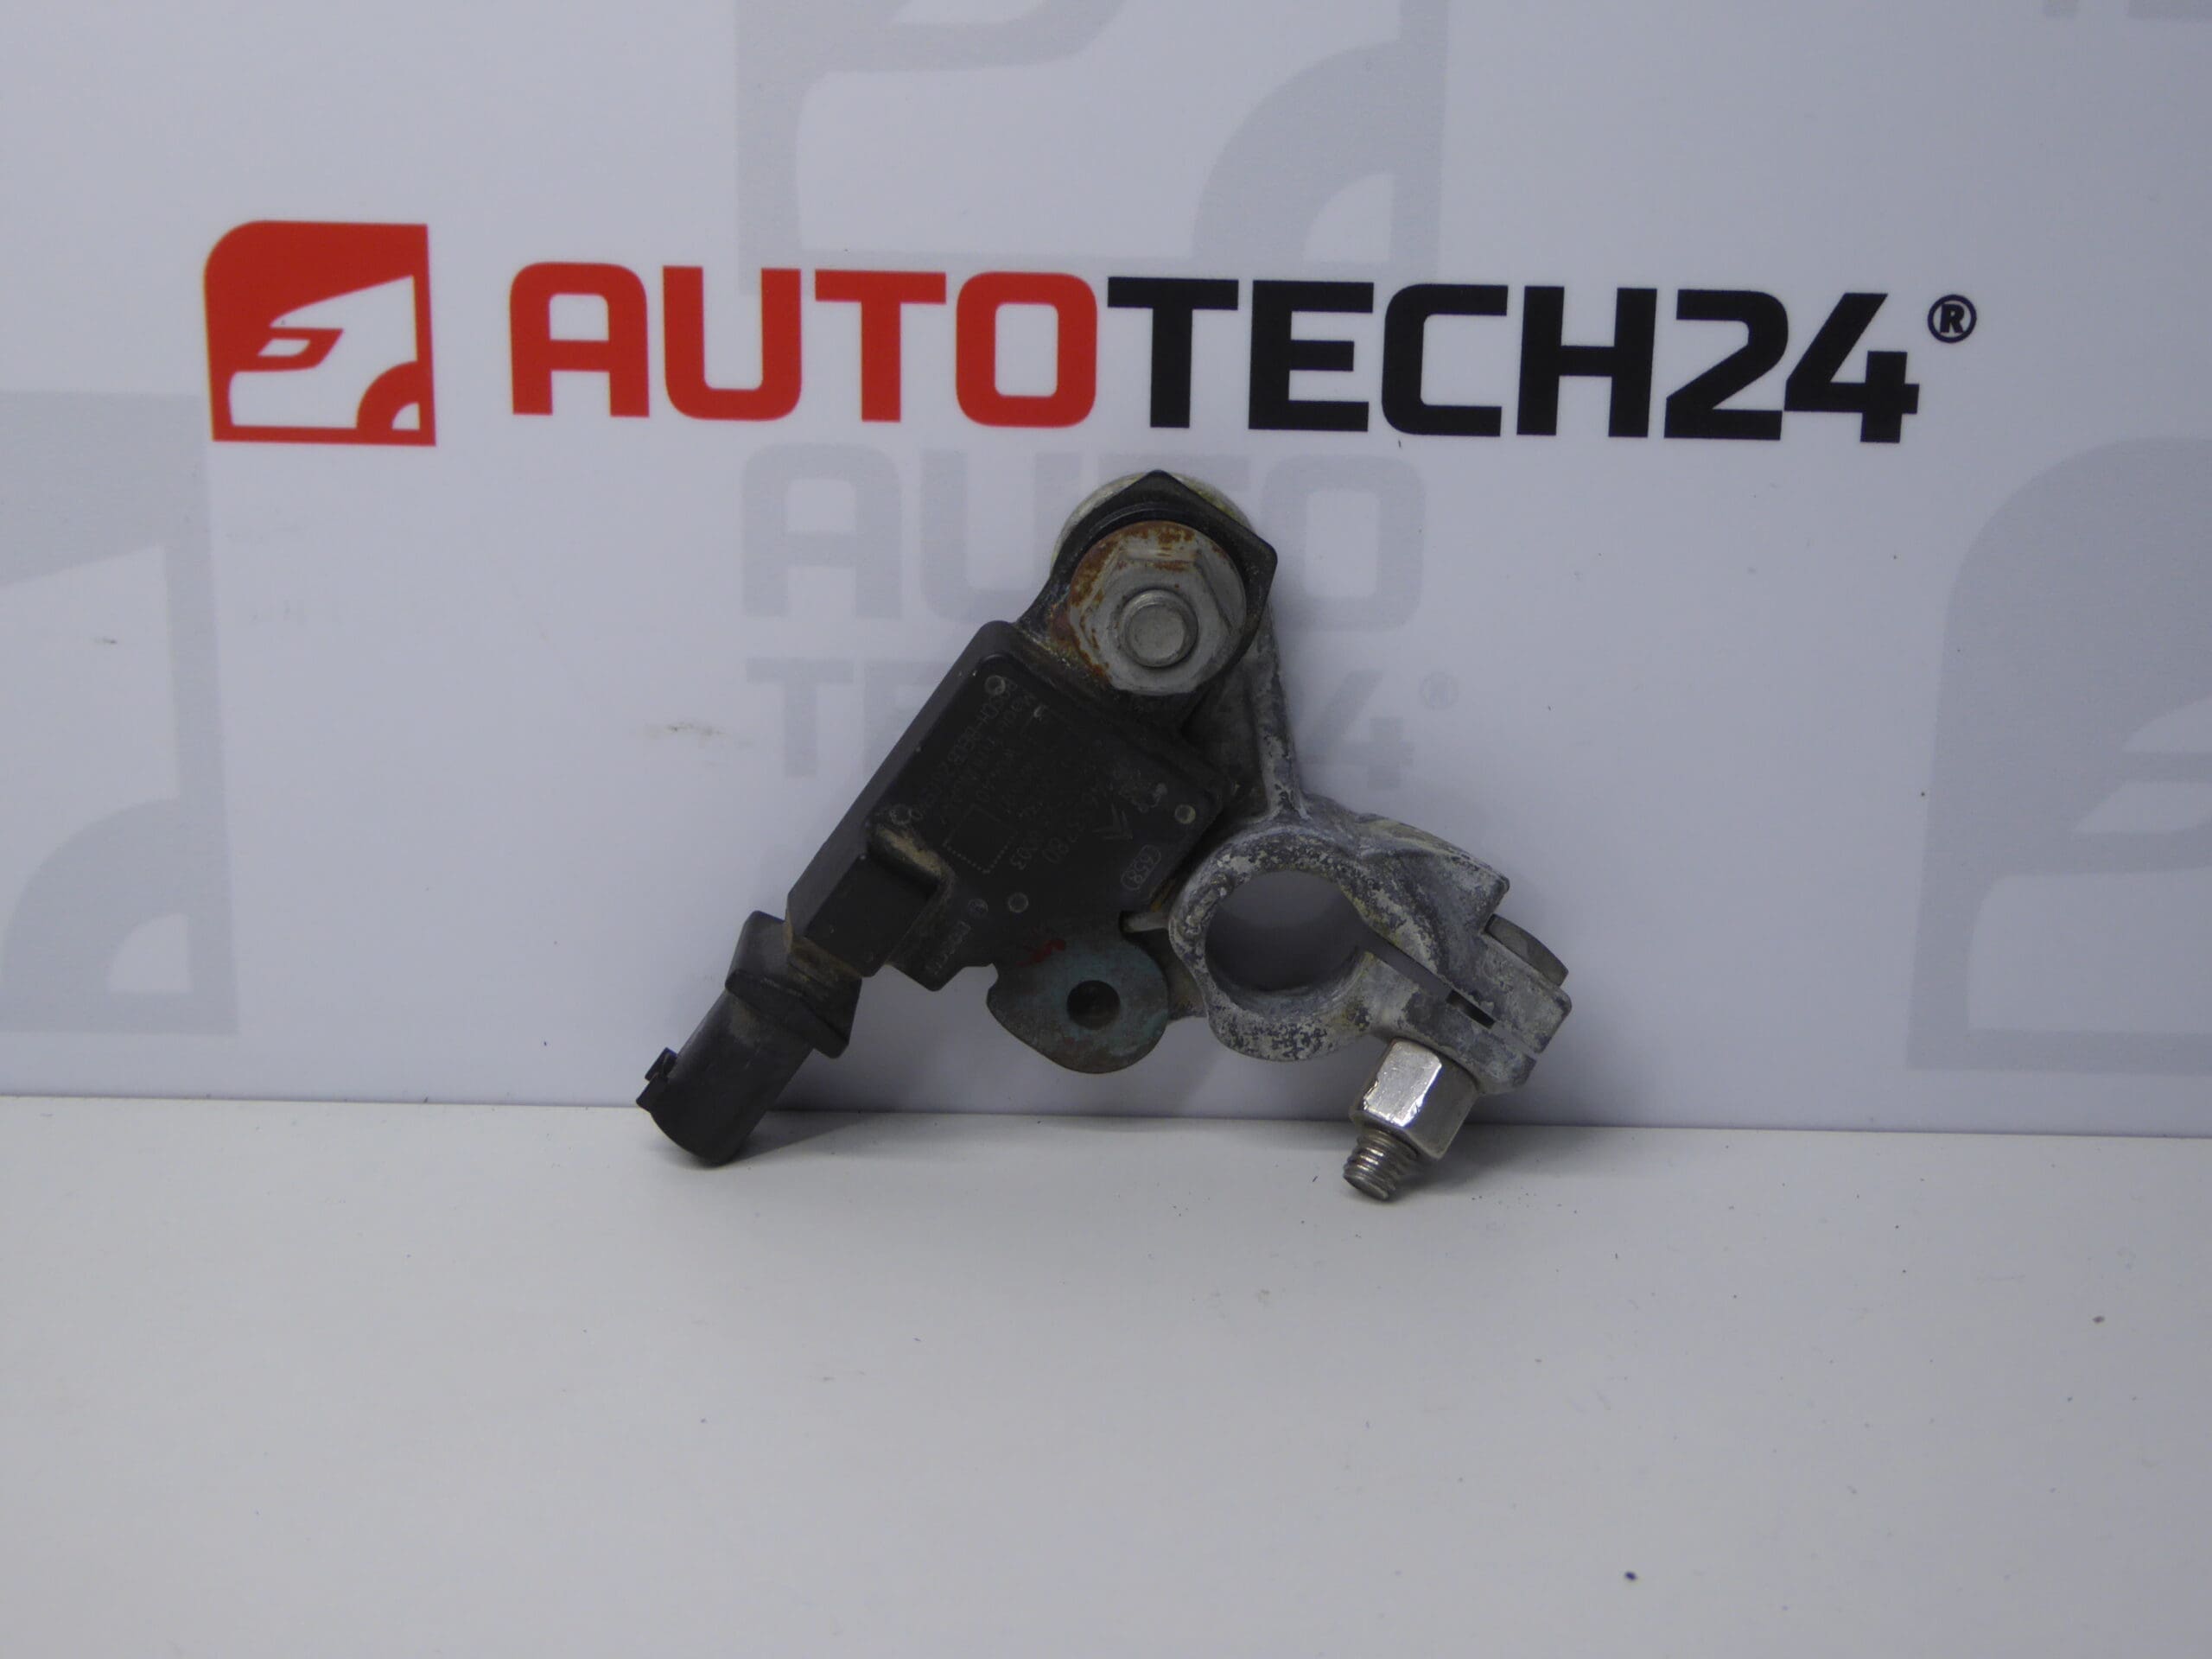
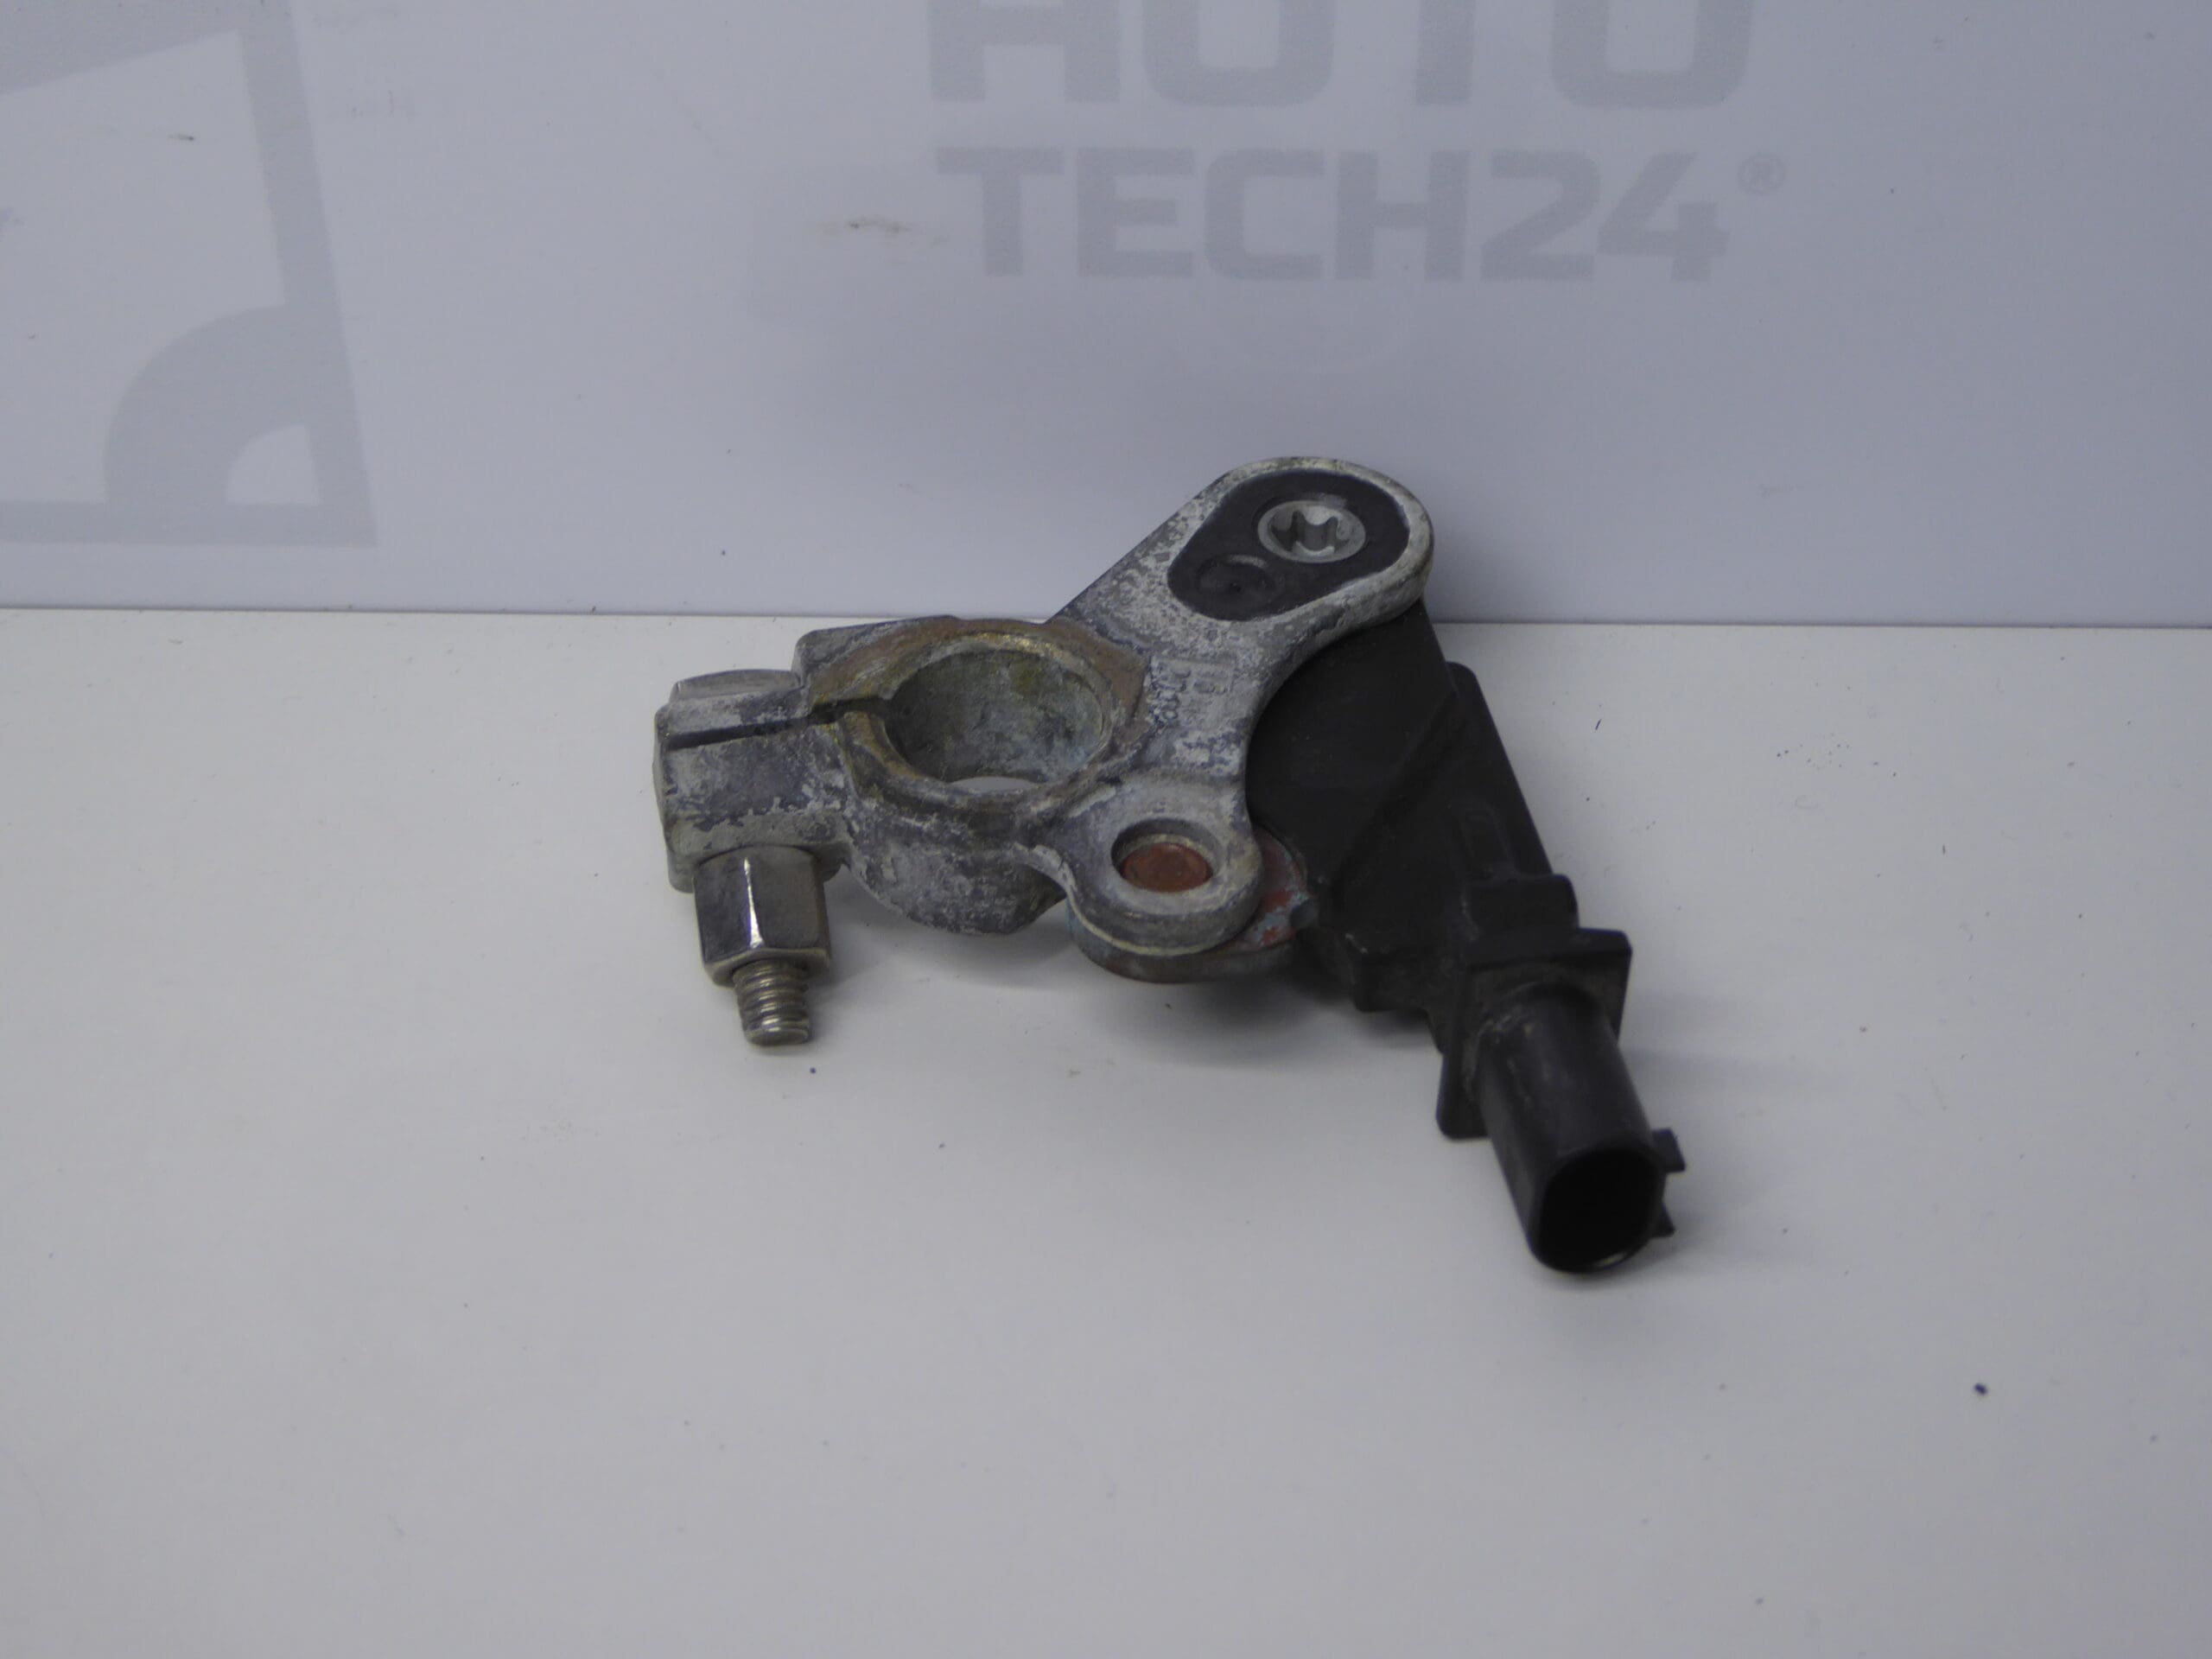
The used battery state-of-charge unit 9814653780 is designed to monitor the battery’s condition. For this type of part, the data collected is used to manage the vehicle’s electrical system. The unit must therefore function correctly to assess the battery’s condition and manage the available electrical energy.
When looking for a replacement part, focus primarily on product number 9814653780 and ensure that its design matches the original unit. A used part is a cost-effective option for replacing a faulty component. However, a matching model name alone is not enough to determine whether it is suitable for a specific vehicle configuration.
Technical information
- Manufacturer: not specified
- Model: Citroën Berlingo K9; FIAT DOBLO III; OPEL COMBO E K9; Peugeot 308 T9; PEUGEOT RIFTER; Toyota ProAce City
- Part type: battery state-of-charge unit
- Condition: used part
- Other numbers: not specified
The models are taken from the supplied labels. The documentation does not specify particular model years, engine types or electrical equipment variants.
Product codes
- Product codes: 9814653780
Compare the number with the marking on the removed part. Also check the connectors, mounting points and overall design of the unit.
Installation recommendations
The following procedure is a general guide for replacing an electrical battery state-of-charge monitoring unit. The exact steps, power disconnection procedure and any service operations depend on the specific vehicle model and configuration. Follow the manufacturer’s service documentation.
1) Before installation
- Compare the part number, housing shape, mounting points, connectors and contact layout with the old unit.
- Inspect the used unit: it should not have a cracked housing, damaged contacts, loose connections or visible signs of moisture or overheating.
- Check the condition of the battery, wiring and electrical connections. Similar symptoms can also be caused by a fault outside the unit itself.
2) Required tools and materials
- Standard hand tools suitable for the fasteners used.
- Suitable tools for carefully releasing connector locks and any covers.
- Protective gloves, eye protection and products for safely cleaning electrical connections, if cleaning is required.
- A suitable measuring instrument and diagnostic equipment that supports the vehicle in question, for verifying the fault and the resulting operation.
3) Step-by-step installation procedure
- Park the vehicle safely, switch off the ignition and turn off electrical consumers.
- Following the manufacturer’s procedure, allow the electronic systems to enter sleep mode and safely disconnect the battery. Prevent the power supply from being accidentally restored.
- Access the unit according to the service documentation. Remove any covers without using force.
- Record the original wiring routing and connection orientation, for example by taking a photograph.
- Release the connector locks and disconnect the connections. Do not pull on the wires or short-circuit the contacts with tools.
- Release the mounting points and remove the original unit without damaging the surrounding wiring.
- Inspect the seating and mounting points, as well as the mating connector parts. Address any corrosion or damaged connections before installing the replacement part.
- Position the replacement unit, secure it according to the manufacturer’s instructions and connect the connectors until they are properly locked.
- Return the wiring and covers to their original positions. Check that the wires are not stretched, pinched or exposed to abrasion.
- Restore the power supply according to the manufacturer’s procedure. If the service documentation specifies initialization or another diagnostic operation, perform it.
4) Post-installation checks and functional verification
Check that the unit is securely mounted and all connections are locked in place. Use suitable diagnostic equipment to verify communication and the available data related to battery monitoring. Check for any warning messages. If everything is in order, take a short test drive and check the vehicle again afterwards; the warning message going out by itself does not necessarily confirm that the cause of the fault has been resolved.
5) Common installation errors and how to avoid them
- Confusing similar units: compare the markings and physical design, not just the vehicle model.
- Working while powered: follow the prescribed procedure for disconnecting and reconnecting the battery.
- Damaging connectors: release the locks first and do not use excessive force.
- Overlooking faulty wiring or a faulty battery: check related parts of the electrical system before replacing the unit.
Reasons why the part may be damaged
In general, this type of electrical part may be damaged or malfunction due in particular to:
- Moisture and corrosion on contacts, which impair the electrical connection.
- Voltage spikes, a short circuit or incorrect handling when connecting the battery.
- Mechanical stress on the housing, connectors or connected wires.
- Vibration, thermal stress and gradual ageing of electronic components.
- Loose or damaged electrical connections in the associated wiring.
Before replacement, it is advisable to also address the cause of the original fault to prevent damage to the replacement unit.