Description
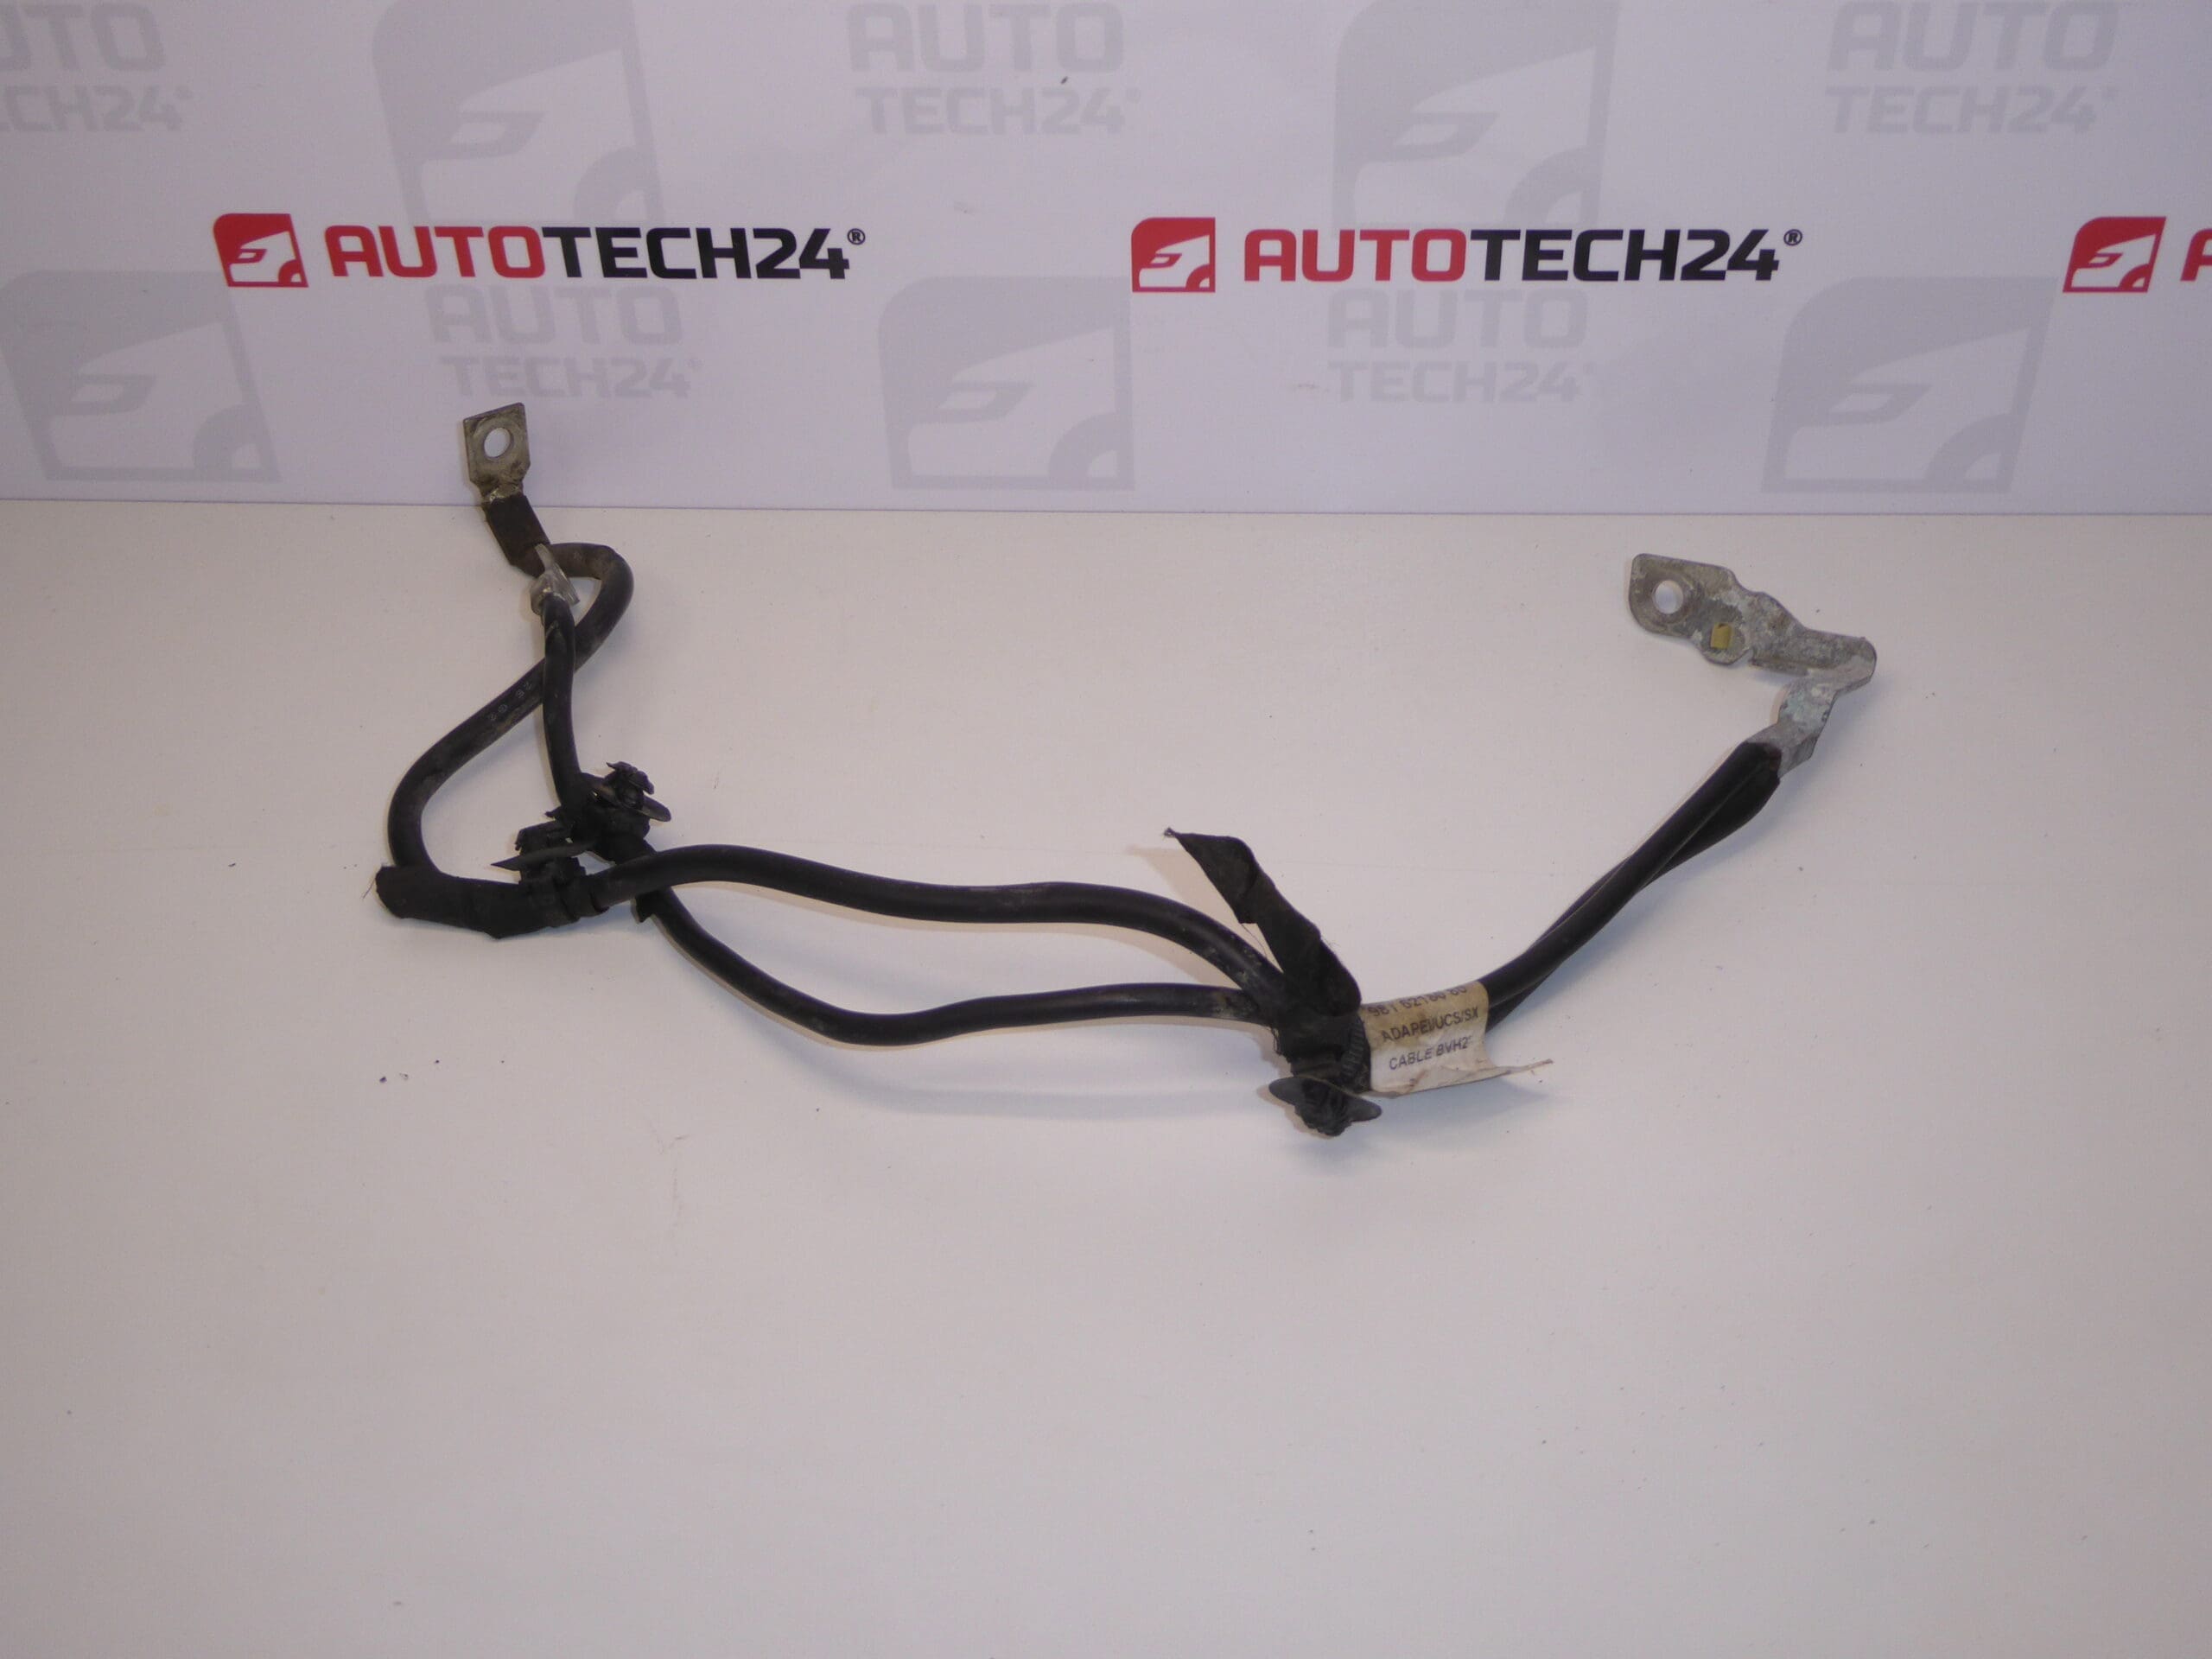
Negative battery cable for CITROEN, PEUGEOT and other Stellantis models
Part description
The used negative battery cable 9816218080 connects the negative terminal of the vehicle battery to the vehicle’s electrical ground. Reliable grounding is important for starting and for the proper operation of electrical accessories. Replacing a damaged cable may help resolve problems caused by a broken wire, corrosion, or increased contact resistance at its connections.
This part is a suitable choice when repairing damaged battery wiring. When selecting a part, refer primarily to the product number 9816218080 and compare the cable design, terminals, and mounting points with the original part. The model name alone is not sufficient to identify a matching version.
Technical information
- Manufacturer: not specified; listed in the source materials as Stellantis / CITROEN / PEUGEOT.
- Model: Citroën Berlingo K9, FIAT DOBLO III, OPEL COMBO E K9, PEUGEOT RIFTER, Toyota ProAce City.
- Part type: negative battery cable.
- Condition: used automotive part.
- Catalog classification: 1.6 HDI, electrical components, wiring harnesses, engine harnesses. This classification alone does not confirm suitability for a specific engine variant.
- Other numbers: not specified.
Product codes
- Product codes: 9816218080.
Compare the number with the marking on the original part, if it is legible. Also check that the shape, length, connection points, and any electrical connectors match.
Installation recommendations
The following general procedure applies to this type of part. The exact access to the cable, mounting method, and procedure for disconnecting and reconnecting the battery depend on the specific vehicle model and version. Follow the manufacturer’s service instructions, especially the requirements for allowing the onboard electronics to enter sleep mode.
1) Before installation
- Compare the product number, cable length and routing, terminal shape, connection lugs, and mounting points with the original part.
- Inspect the insulation along its entire accessible length. The cable must not have exposed wires, signs of overheating, or damage around the terminals.
- Check the terminal and lugs for corrosion, cracks, and deformation. Check that the wires are not loose at the terminals.
- If the wiring includes a connector or sensor, compare its design and check that it is undamaged. The source materials do not specify whether this part includes these components.
- Also check the condition of the battery terminal and the opposing contact surfaces. Installing a new cable will not resolve a fault at a damaged connection point.
2) Tools and materials required
- Hand tools suitable for the fasteners used, and a torque wrench for tightening according to the manufacturer’s service specifications.
- Materials for gently cleaning electrical contacts and a clean cloth.
- Protective gloves, safety glasses, and suitable insulating protection for the disconnected lead.
- A multimeter for checking electrical continuity and, if necessary, measuring voltage drop.
3) Step-by-step installation procedure
- Park the vehicle safely, switch off the ignition and all electrical accessories. Keep the key away from the vehicle.
- Following the manufacturer’s instructions, allow the onboard electronics to enter sleep mode. Do not activate electrical systems unnecessarily while waiting.
- Gain access to the battery and cable routing. Before removal, take photos of the routing, mounting points, and orientation of the terminals.
- Disconnect the battery according to the manufacturer’s procedure; on a standard system, disconnect the negative terminal first. Secure the disconnected terminal to prevent accidental contact with the post.
- If the positive lead also needs to be disconnected, do so only after disconnecting the negative lead, and cover it securely. Prevent tools from bridging the terminals.
- Disconnect any other cable connections and connectors. Disconnect connectors by their housings after releasing the latches, not by pulling on the wires.
- Release the cable from its holders and carefully remove it. Do not damage nearby wiring or mounting components.
- Clean the contact surfaces and inspect the mounting connections. Resolve any significant corrosion or mechanical damage to the opposing contacts before installation.
- Route the replacement cable along the original path without tension, twisting, or sharp bends. Secure it in the holders so that it cannot chafe or touch hot or moving parts.
- Attach the terminals away from the battery and connect any connectors. Tighten the connections according to the manufacturer’s specifications; do not deform the terminals or lugs with excessive force.
- Reconnect the battery according to the manufacturer’s instructions. If both terminals were disconnected, on a standard system connect the positive terminal first and the negative terminal last. Carry out the prescribed procedures after power is restored.
4) Post-installation checks and functional verification
- Check that the terminal is seated firmly, the connections are tight, and the cable is routed safely.
- Check starting and the operation of electrical accessories. A professional test can be used to check voltage drop on the negative lead under load, according to the service procedure.
- After a short period of operation, check for the smell of overheated insulation or other signs that the connections are heating up. If a fault is suspected, switch off the engine and do not operate the vehicle further until the cause has been resolved.
- If everything is in order, take a short test drive and then visually check that the cable remains secured correctly.
5) Common installation mistakes and how to avoid them
- Installing on corroded contacts: clean and inspect both contact surfaces before assembly.
- Insufficient or excessive tightening: follow the service specifications to prevent the connection from being loose or the terminal from cracking.
- Incorrect routing: follow the original routing and use the designated holders so the cable is not stretched or exposed to chafing.
- Disconnecting the battery without allowing the electronics to sleep: follow the manufacturer’s procedure and do not work with the ignition switched on.
- Confusing it with a similar-looking cable: before installation, compare the part number and all terminals and connections.
Reasons for part damage
The following are common causes of damage to negative battery cables in general; they do not describe the condition of this specific part:
- Corrosion of terminals and connection lugs caused by moisture and dirt, which impairs electrical contact.
- Loose connections, which increase contact resistance and can cause localized heating.
- Vibration and mechanical stress, especially when the cable is stretched or incorrectly secured.
- Insulation chafing against nearby parts when mounting is missing or damaged.
- Rough handling when replacing the battery, such as prying at the terminal, pulling on the wire, or overtightening.
- Aging and heat stress, which can cause the insulation to become brittle and the wiring to weaken at the terminals.