Description
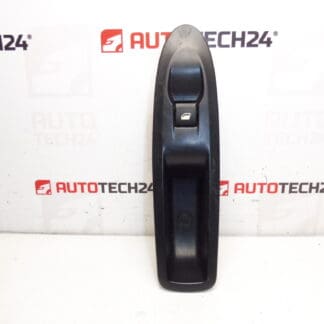
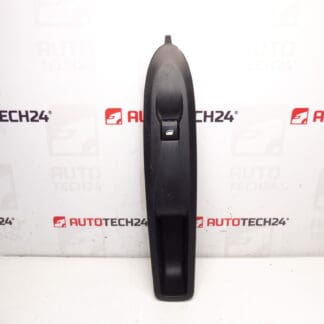
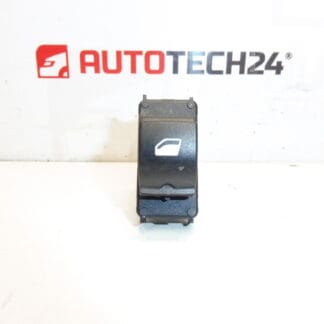
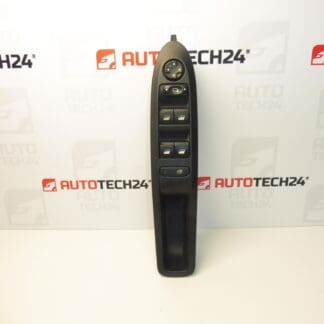
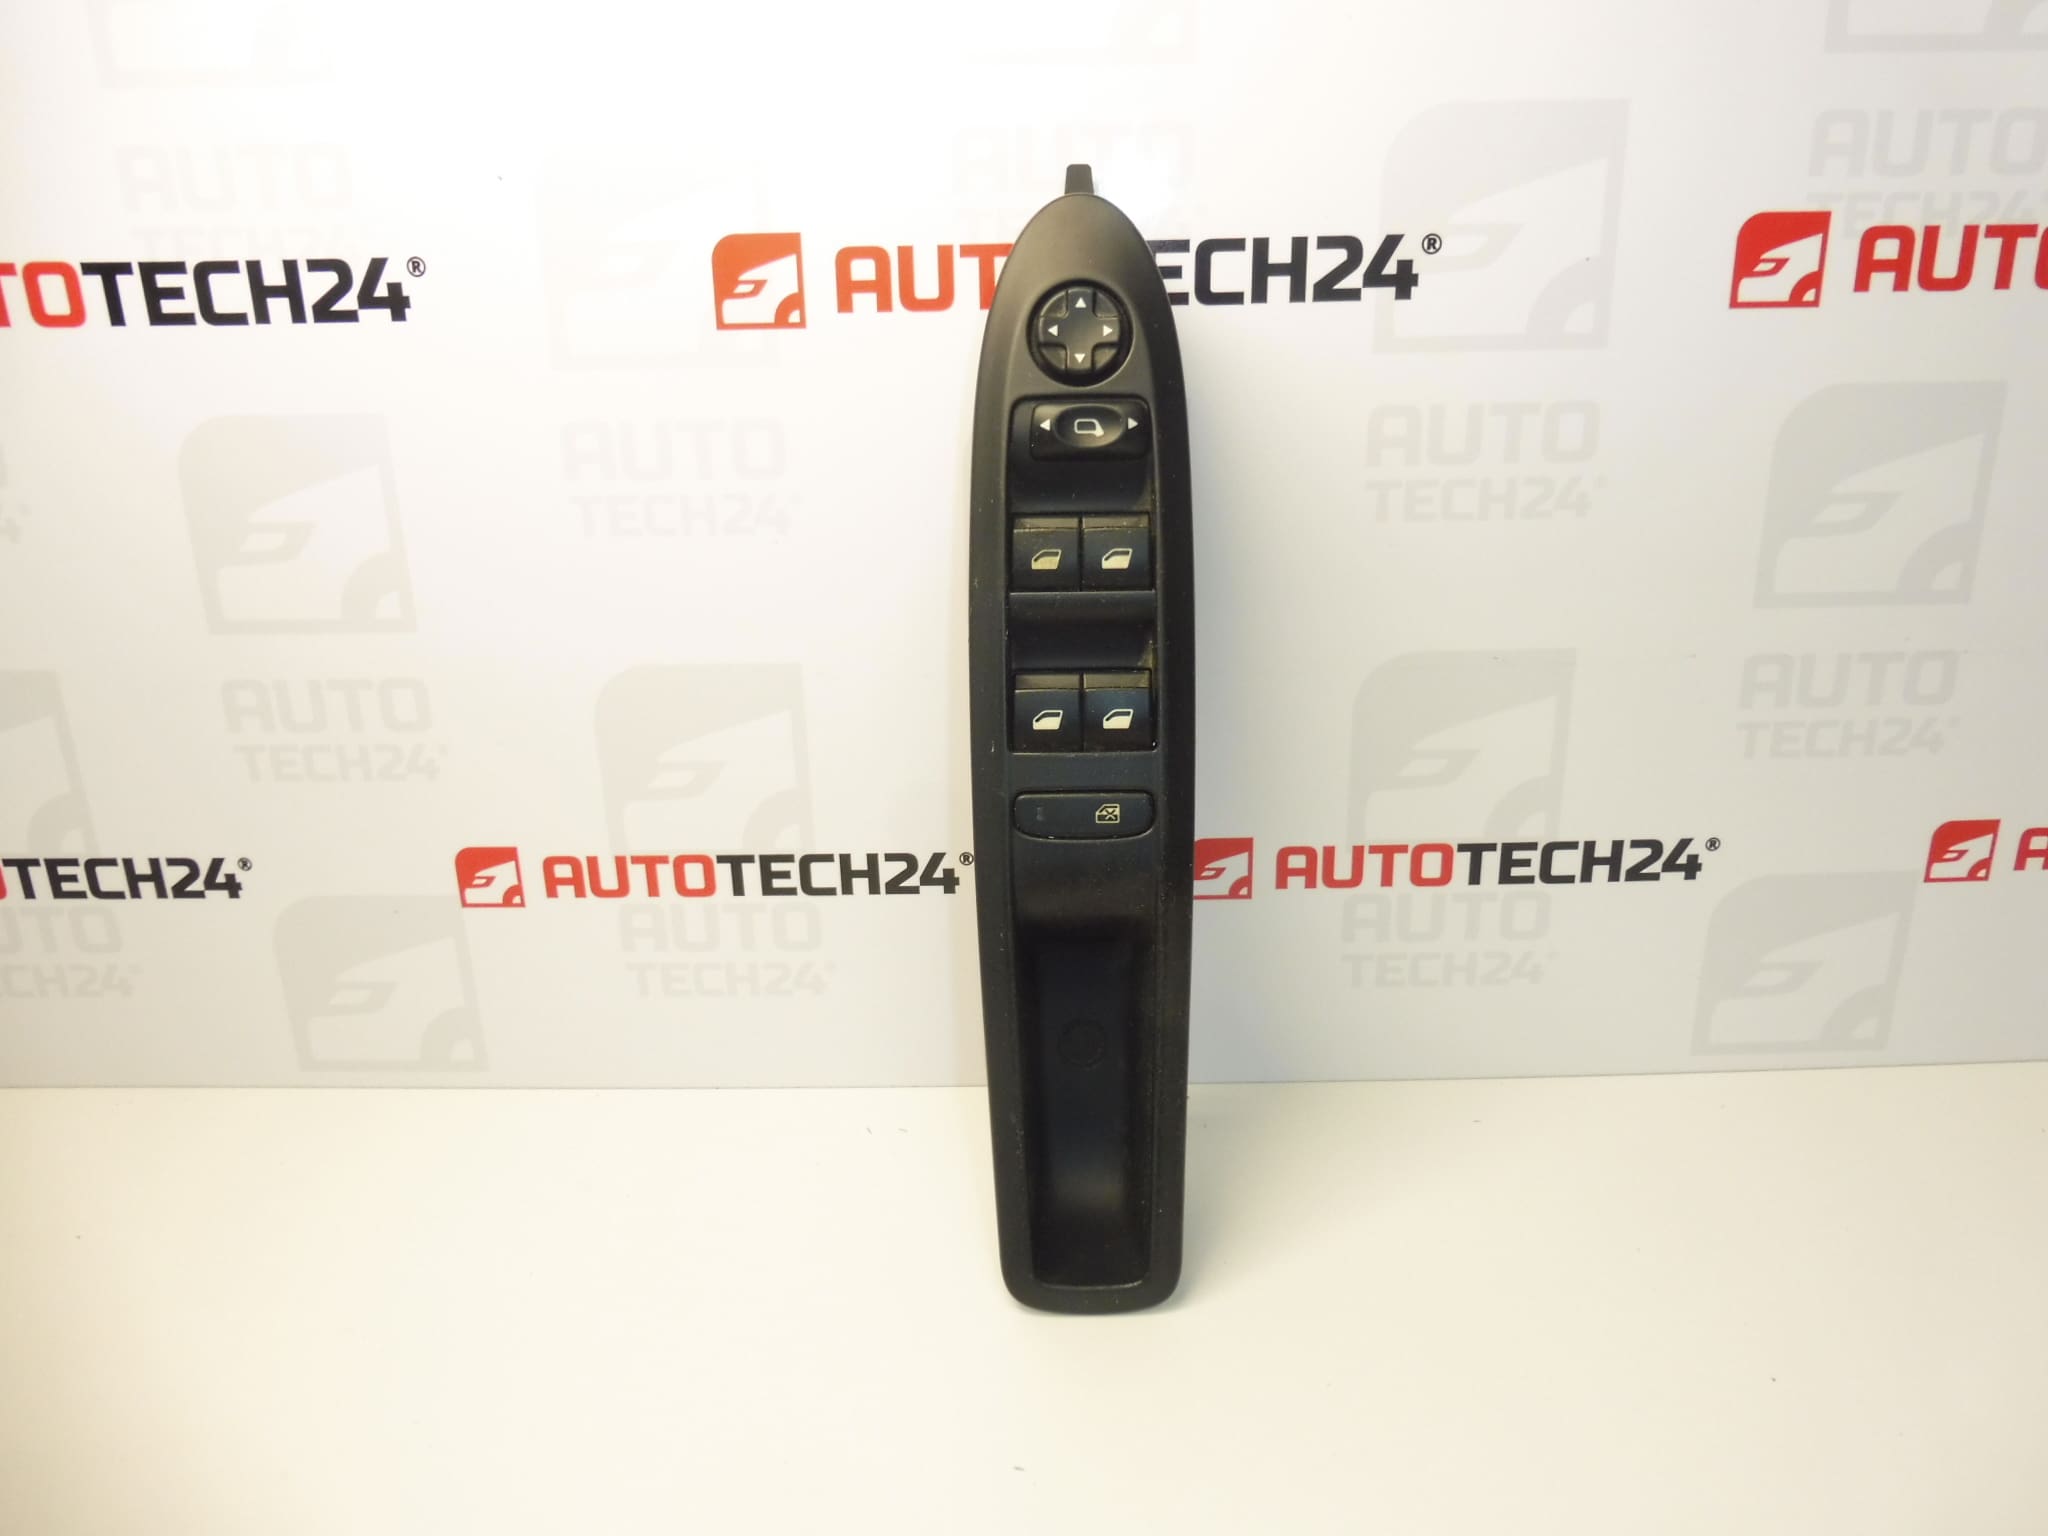
Window control for CITROEN C4 II B7, DS4 cars – driver’s door
Controls front windows, mirrors
Color HZD- – BLACK MISTRAL
Fully functional – shows signs of use
Part description
Used driver’s door window and mirror control for Citroën C4 II B7 and DS4. It combines the control of the front windows and mirrors into one panel. It is a suitable replacement when the original controller fails, for example if the buttons do not respond or work irregularly and the cause is the panel itself.
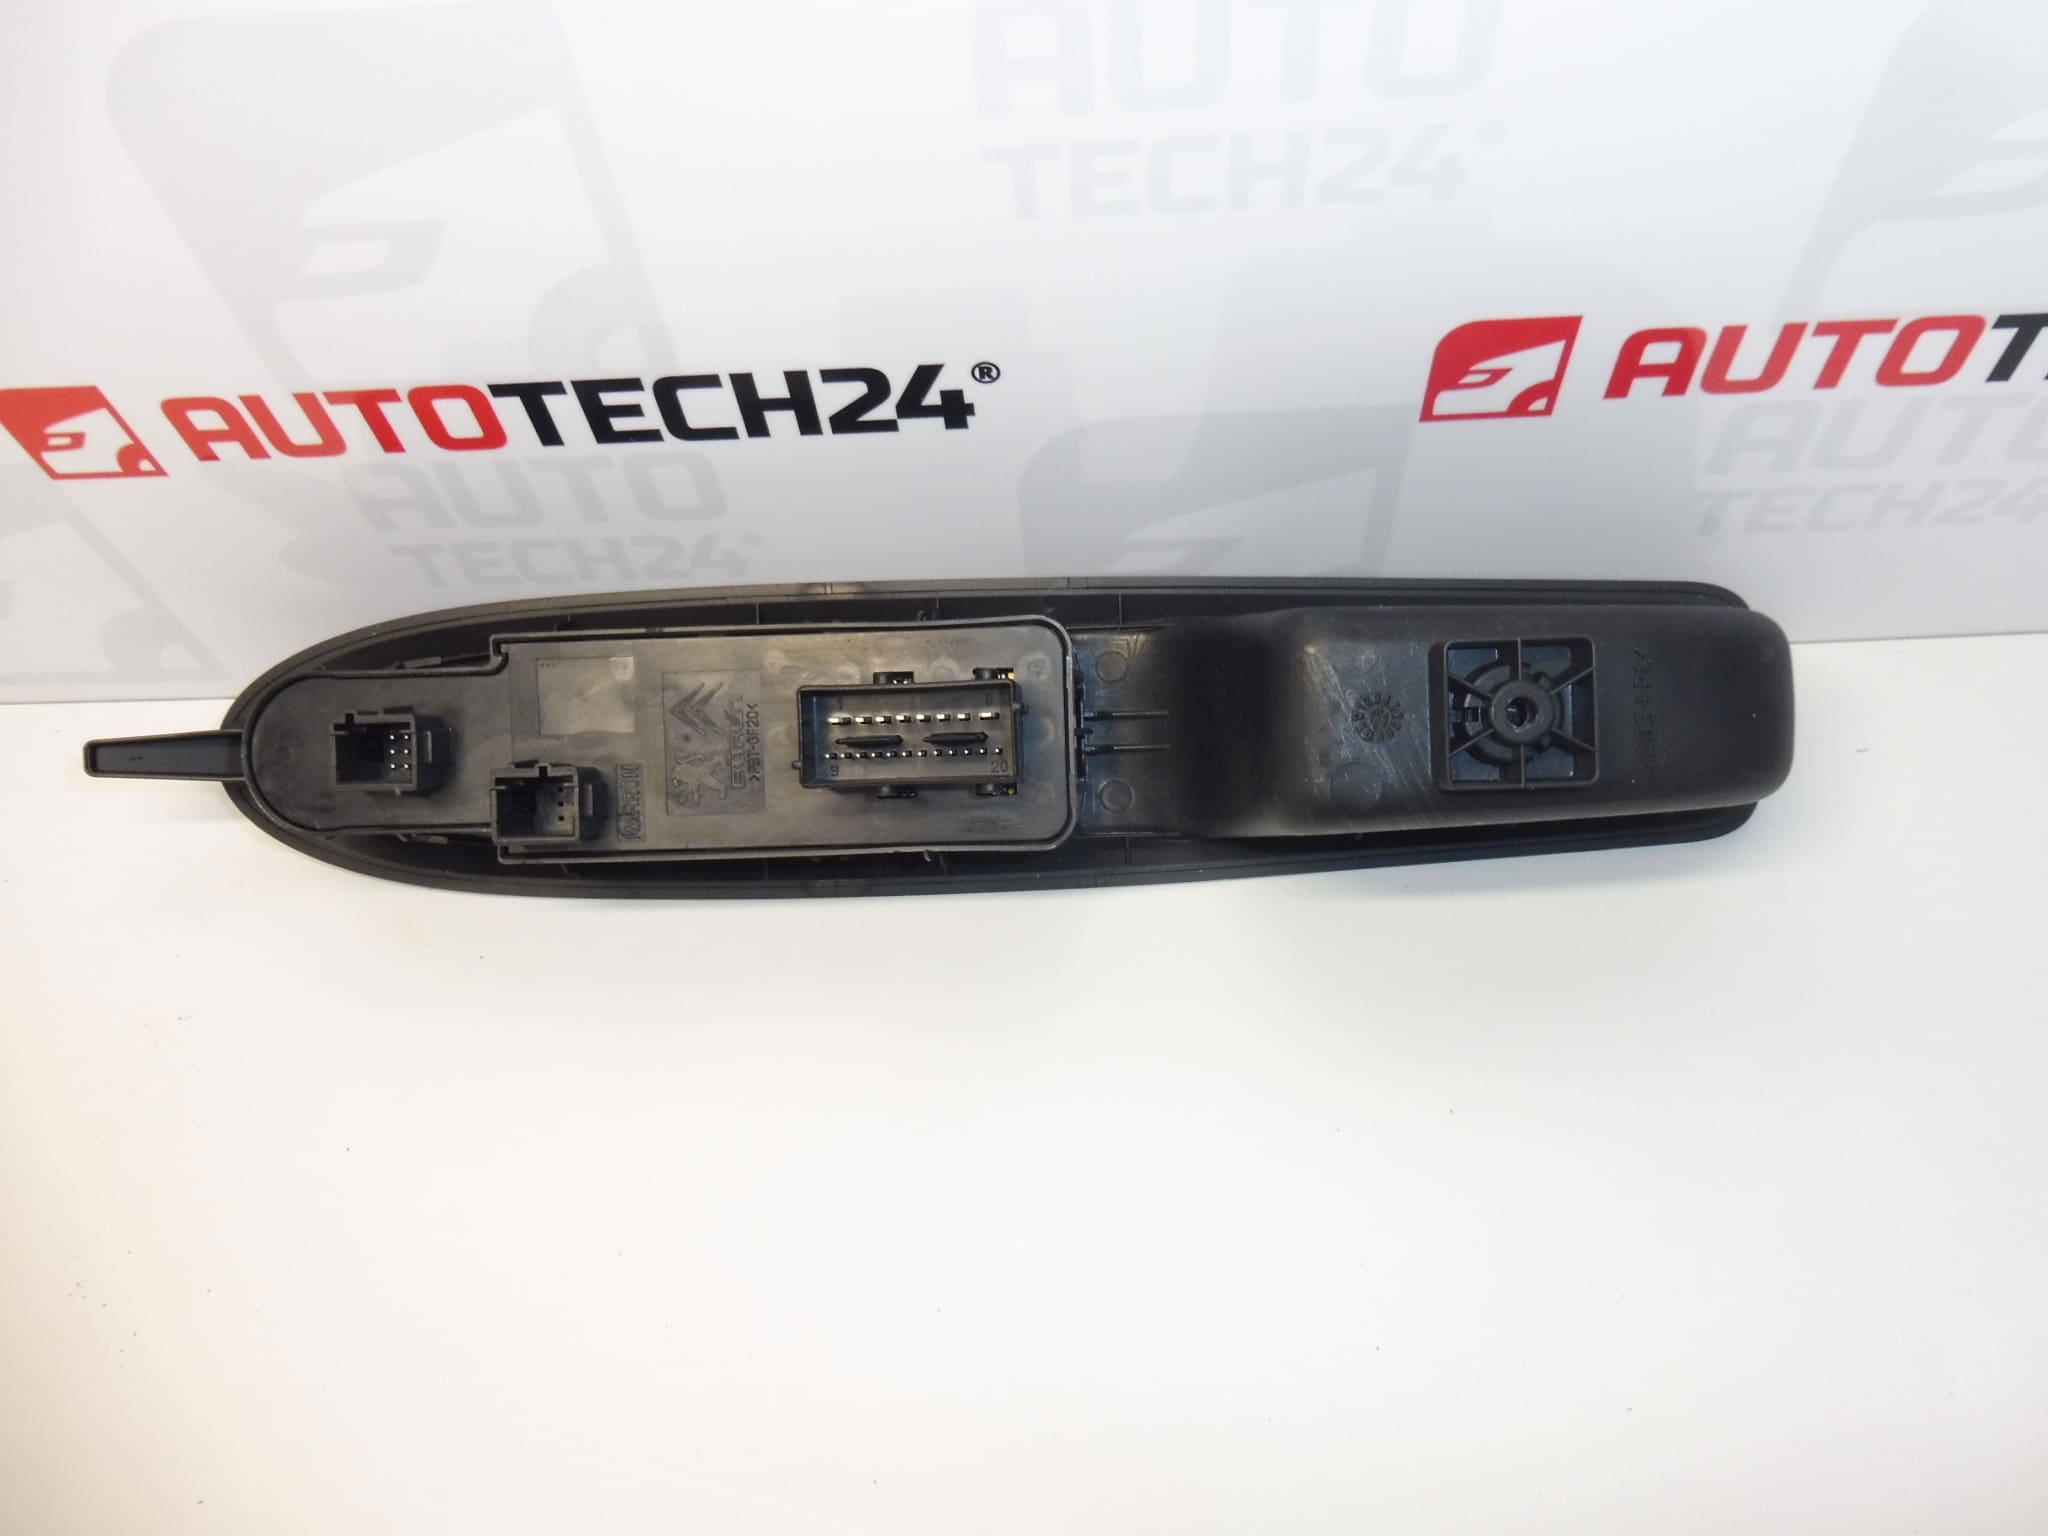
According to the description, the part is fully functional and shows signs of use. The black version of the Mistral is marked with the HZD code. When choosing, compare in particular the numbers 96669830ZD and 6490JX, the design of the connector and the layout of the control elements with the original piece.
Technical information
- Manufacturer: not specified
- Model: Citroen C4 II, DS4; C4 II B7
- Type of part: electric window and mirror control
- Location: driver’s door
- Controlled functions: front windows and mirrors
- Color: HZD – BLACK MISTRAL
- Condition: used, fully functional, with signs of use
- Other numbers: not specified
‘s design is mentioned in the long description
Product codes
Product numbers serve as an important basis for selecting a replacement driver. In addition to the marking, also compare its design, mounting and electrical connection.
Installation recommendations
The following procedure is general for this type of electric controller. The exact method of releasing the panel, accessing the connector and possibly setting the functions depends on the specific model and design of the car. Follow the manufacturer’s service procedure.
1) Before assembly
- Compare the part numbers, panel shape, button layout, fasteners and connector designs with the old piece.
- Check the controller used: plastic latches, button movement and connector contacts. Look for cracks, corrosion and traces of moisture or overheating.
- Check if the error really comes from the driver. Similar problems can also generally be caused by the wiring, power supply or mechanism of the controlled device.
2) Necessary tools and materials
- Plastic tools for gentle release of interior parts.
- Suitable screwdrivers or bits according to the actual fastening design.
- A working light and a clean lint-free cloth.
- Possibly, a cleaning agent intended for electrical contacts and a multimeter for checking the electrical circuit.
3) Step-by-step assembly procedure
- Before starting work, note which functions of the original driver do not work. Only perform the test if the driver is safe to use.
- Secure the vehicle against movement and prepare the work area so that the door trim is not damaged.
- Turn off the ignition and follow the manufacturer’s procedure for putting the electrical system to rest and disconnecting the battery.
- According to the service procedure, find out how to attach the controller. Do not blindly force the panel loose.
- Release the appropriate fasteners or latches with a suitable tool and carefully slide the panel up without straining the wiring.
- Unlock the connector and disconnect it by grasping the body, not pulling the wires.
- Check the condition of the connector, wiring and space under the controller. Address any moisture or damage first; do not plug the new part into the damaged connection.
- Once again, compare the two controllers, especially the connection and attachment. Do not modify the connector or panel by force.
- Plug in the replacement controller and verify that the connector fuse is properly engaged. Route the cabling so that it is not pinched or stretched.
- Reseat the controller and return the loose trim parts to their original position. Tighten the fastening according to the manufacturer’s instructions, without overloading the plastics.
- Restore power according to manufacturer’s procedure and verify functions. If window initialization is prescribed, do it according to the documentation for the specific car.
-
4) Post-assembly checks and function verification
- With the vehicle stationary, try operating both front windows and adjusting the mirrors within the range of available functions.
- When moving windows, keep hands and objects out of their path. Verify smooth and repeatable button response.
- Check that the panel fits tightly, the buttons do not stick and there are no dropouts during normal door movement.
- A test drive is usually not necessary to verify the controller itself. Solve any breakdowns before normal use of the car.
5) The most common assembly mistakes and how to avoid them
- Choose by looks only: also compare product numbers, connector and controls.
- Breaking out the latches: first find out the attachment method and use a plastic disassembly tool.
- Unsocked connector or pinched wires: before installing the panel, check the securing and routing of the wiring.
- Replacement without removing moisture or faulty wiring: remove the cause first, otherwise the problem may recur.
- Wear of buttons and contacts from frequent use, which can lead to erratic response.
- Intrusion of water or spilled liquids, subsequent corrosion of contacts and damage to electronics.
- Impurities around the buttons that limit their movement and correct return.
- Mechanical stress, impacts or careless disassembly causing plastic and fastening latches to crack.
- Damaged or loose electrical connection which can cause blackouts or overheating contacts.
Reasons why the part is damaged
Window controls of this type can generally experience the following causes of damage. It is not a description of the detected defects of the offered piece, which is listed as fully functional in the documents.