Description
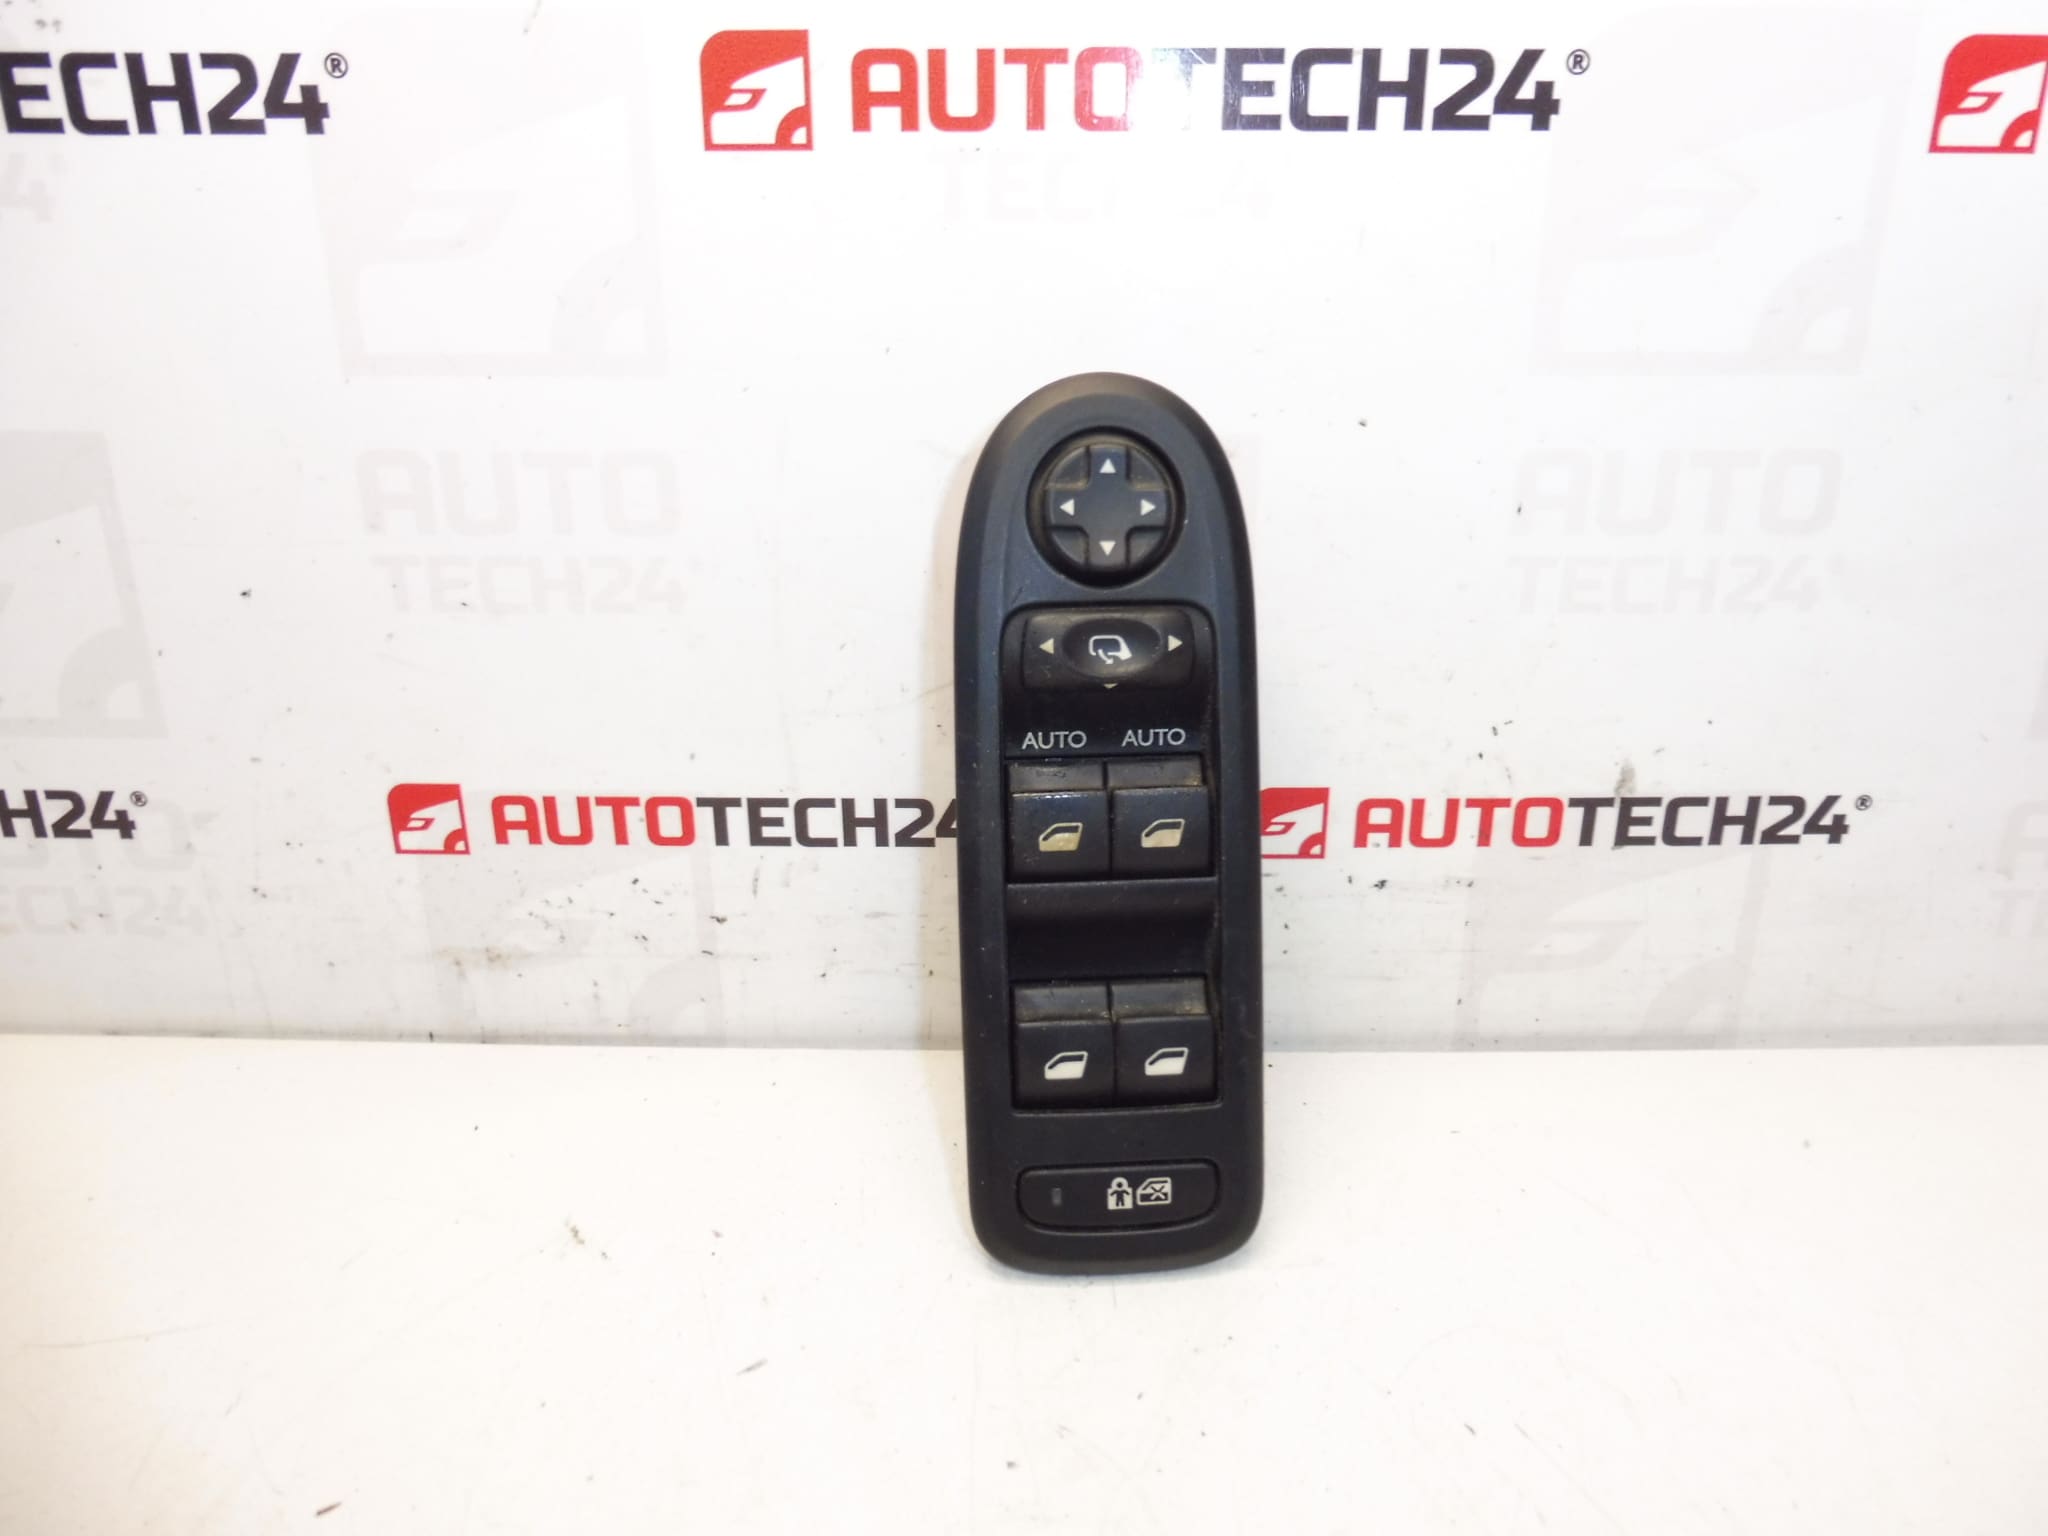
Window And Mirror Switch For Citroën C3 II 2009–2016 With Comfort One-Touch Operation And Electrically Adjustable And Folding Mirrors
This replacement window and mirror control switch is designed for Citroën C3 II models (2009–2016). It provides reliable control of driver and passenger windows with comfort one-touch functionality and operates electrically adjustable and folding exterior mirrors. Built to fit the original mounting points and electrical connectors, the unit is intended for mechanics and experienced DIYers looking for a direct-fit solution to restore central window and mirror functions.
Key Benefits
- Direct replacement for the original switch assembly, preserving factory ergonomics and functionality.
- Comfort one-touch window operation for improved convenience during driving.
- Integrated controls for electrically adjustable and electrically folding mirrors.
- Suitable for garage technicians and competent DIY installers — straightforward swap with standard tools.
Function And Typical Use
The switch assembly controls the power windows (including one-touch/comfort operation) and mirror adjustment and folding. It interfaces with the vehicle wiring harness via the factory connector and communicates mirror positions to the mirror motors. On models equipped with mirror folding, the switch sends the folding command to the relevant motor/relay circuit.
How The Part Is Replaced
- Prepare: Park the vehicle on a level surface, engage the handbrake and remove the ignition key.
- Safety: Disconnect the negative battery terminal before starting to avoid short circuits and to protect vehicle electronics.
- Access: Remove the door trim/panel to reach the switch—this commonly requires removal of trim clips and a few screws. Use appropriate trim tools to avoid damaging plastic clips.
- Remove Old Unit: Pry out the switch bezel, unscrew any fasteners, and unplug the electrical connector(s).
- Install New Unit: Connect the wiring harness to the replacement switch, secure the switch into the bezel, and re-fit the door trim in reverse order.
- Test: Reconnect the battery, verify window one-touch operation, mirror adjustment and folding function before final assembly.
- Tools Recommended: Trim removal tool, Torx/Phillips screwdrivers, socket set, and multimeter for electrical checks if needed.
Installation Recommendations
- Always Disconnect The Battery Before Working On Electrical Components To Prevent Short Circuits And Possible Damage.
- Handle The Switch Connector Carefully—Bent Pins Or Damaged Clips Can Cause Poor Contact.
- When Removing Door Trim, Keep Track Of Fasteners And Clips To Ensure Correct Reassembly.
- If Mirror Folding Or Window Functions Do Not Operate After Fitment, Re-check Connectors And Fuses Before Replacing The Switch.
Most Common Failure Reasons
- Wear Of Internal Contact Surfaces From Frequent Use Leading To Intermittent Operation.
- Moisture Ingress Or Corrosion, Especially In Older Vehicles Or Where Door Seals Are Compromised.
- Broken Plastic Clips Or Mechanical Damage During Door Trim Removal/Reinstallation.
- Faulty Solder Joints Or Connector Problems Causing Loss Of Electrical Continuity.
Technical Information
- Manufacturer: Citroën (Stellantis)
- Model: Citroën C3 II (2009–2016)
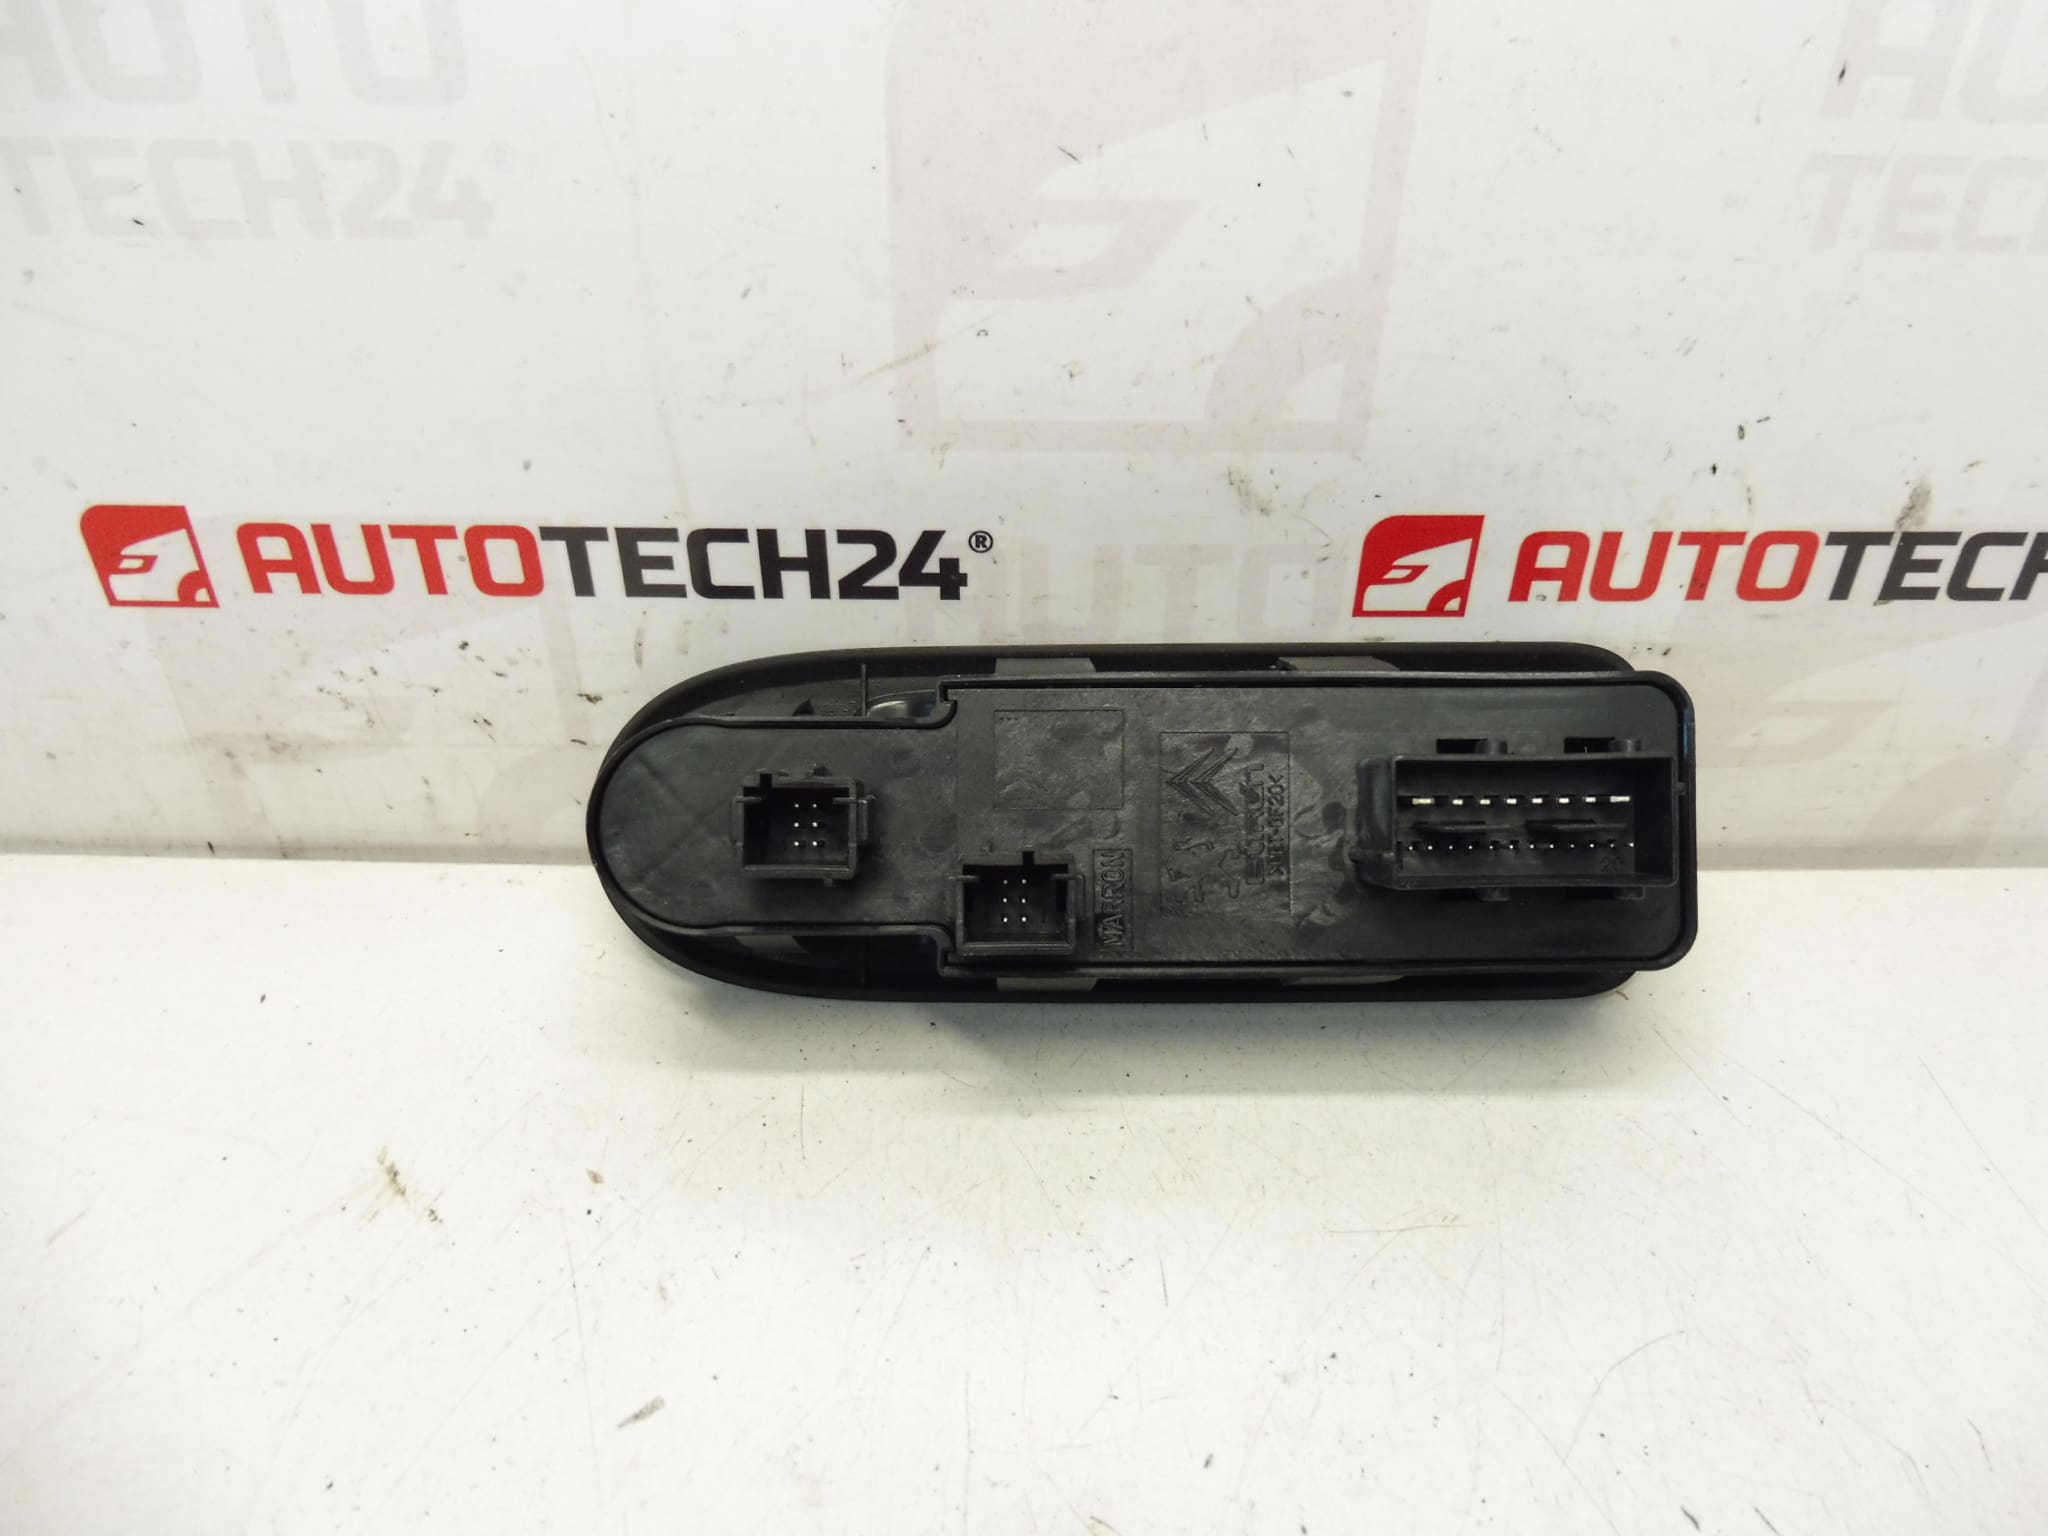
- Product Codes: 96652236XT, 6490AZ
- Additional Numbers: 96652236 XT; 6490 AZ
This switch is intended as a replacement part for the specified model years. It restores driver controls for windows and mirrors to factory-style operation when fitted correctly by a competent technician or experienced DIYer.