Description
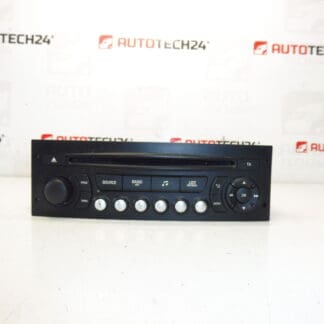
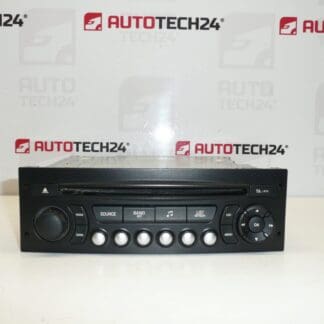
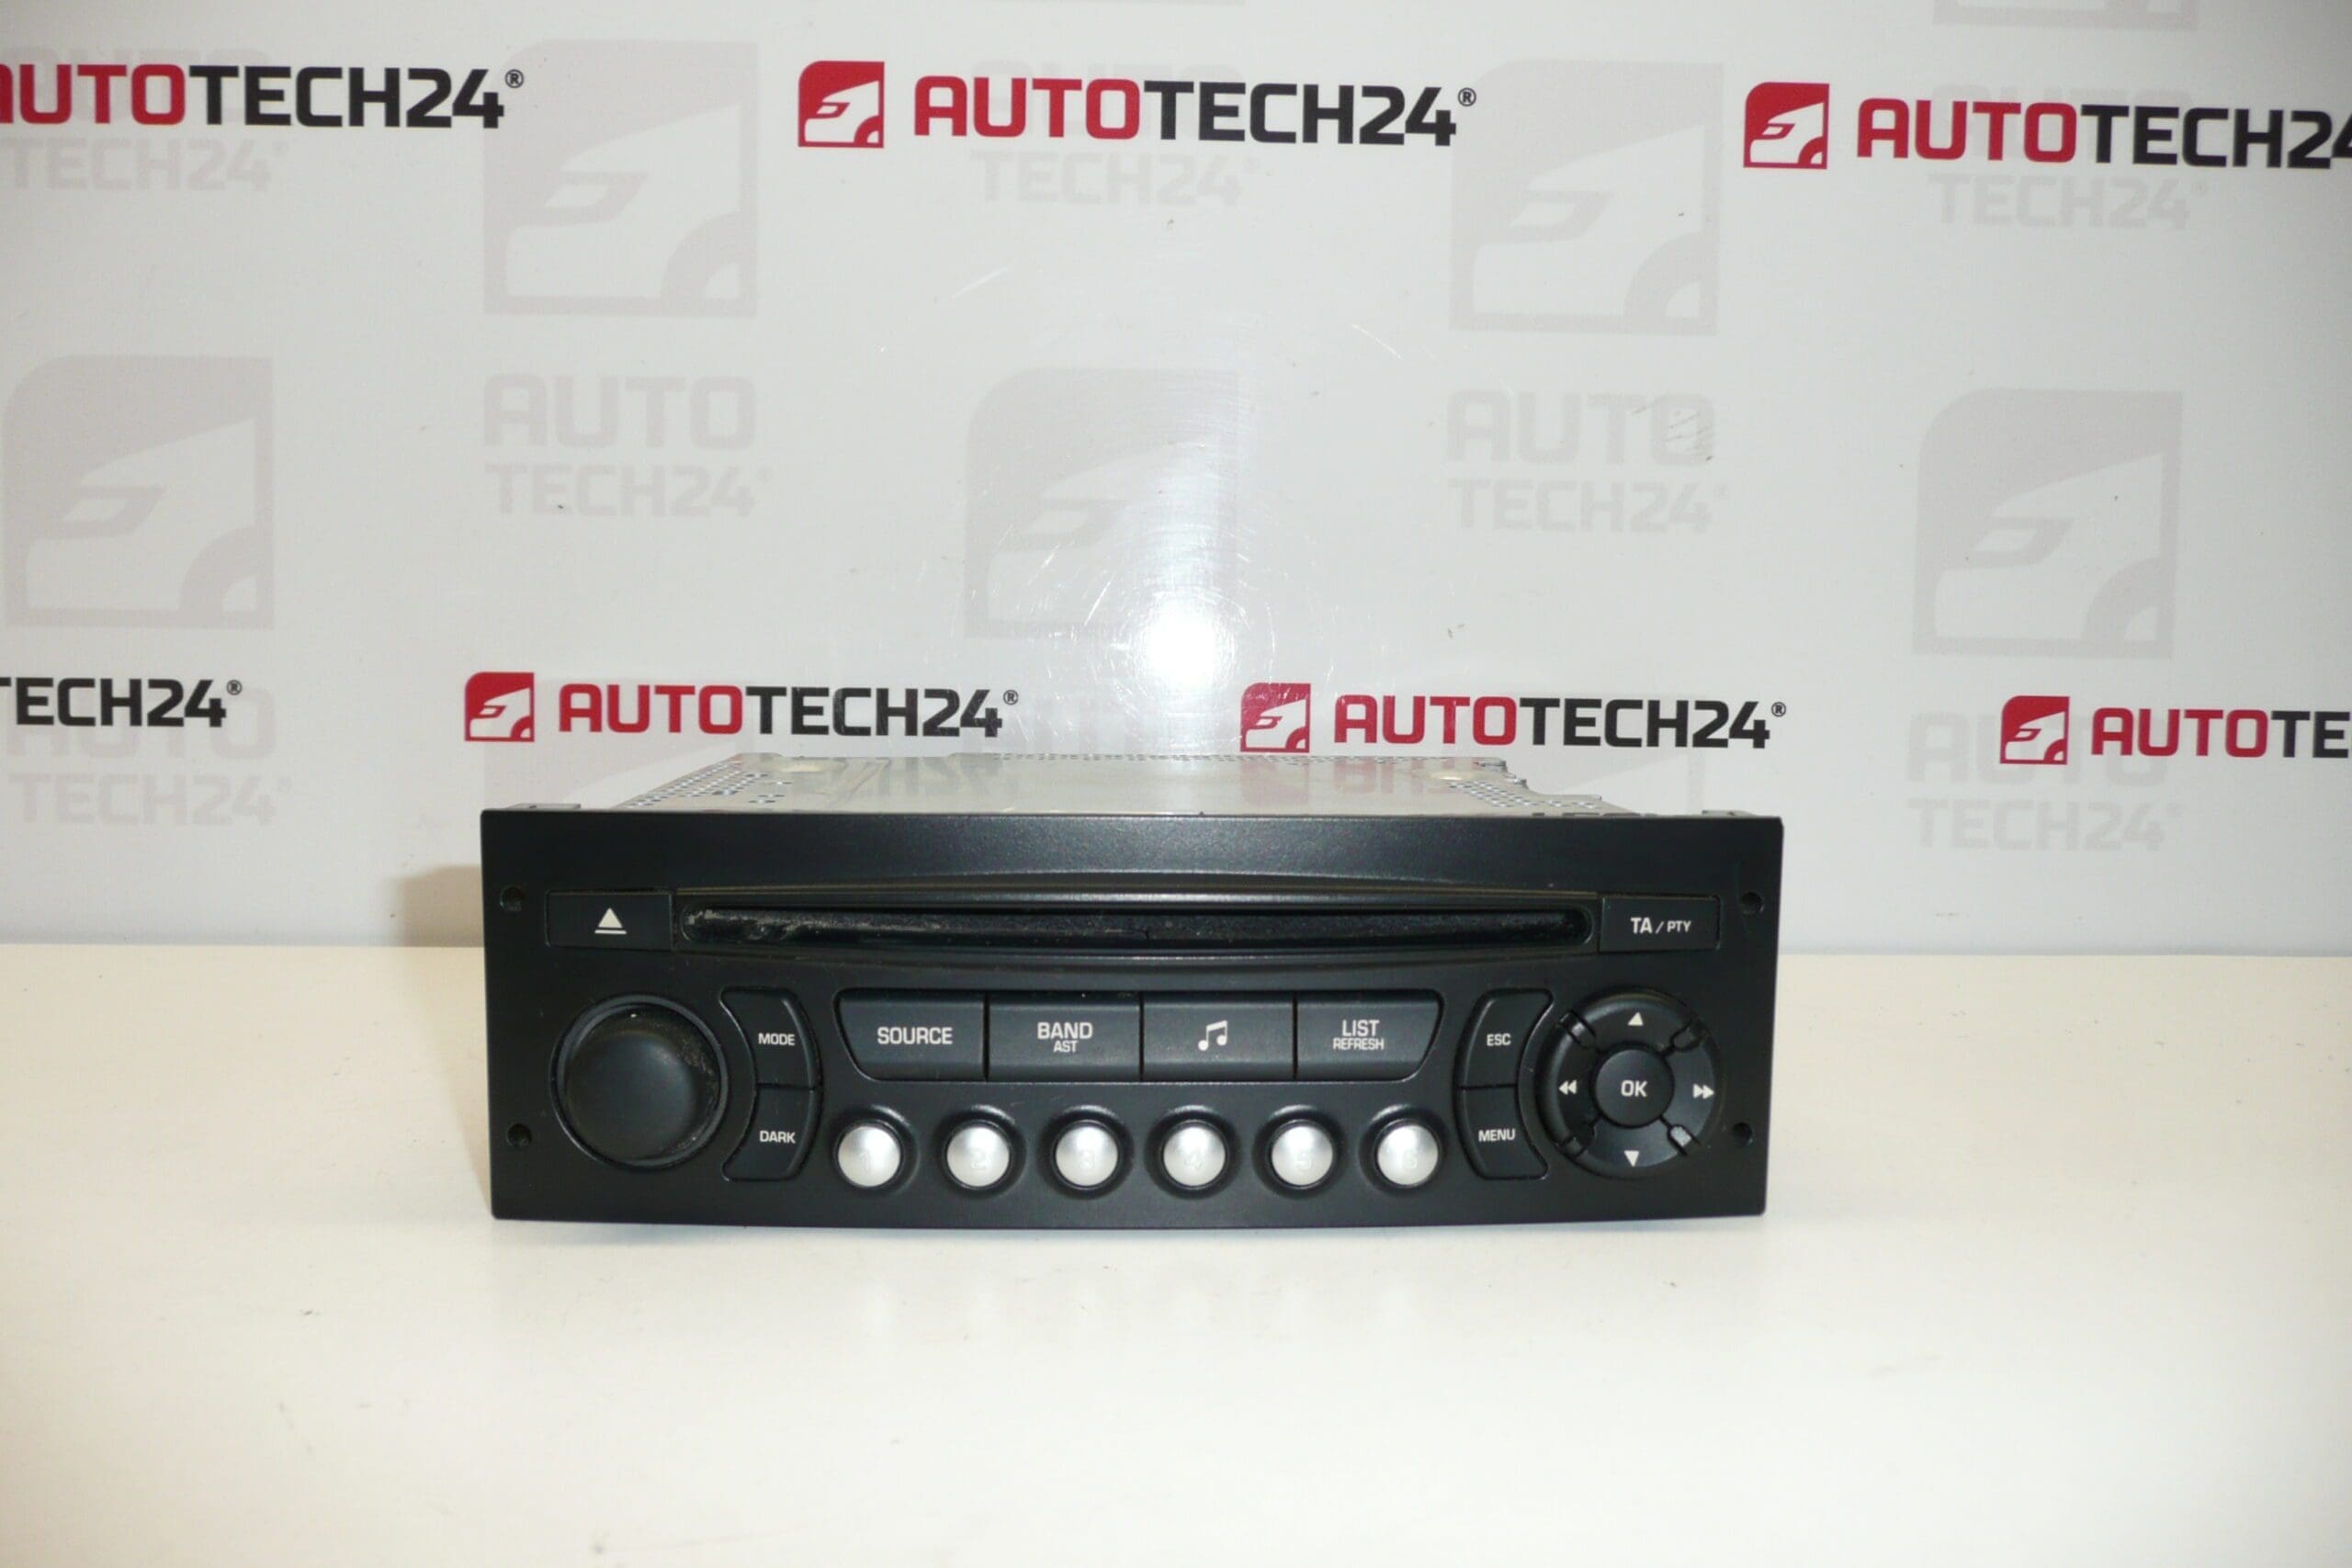
Car Radio CONTINENTAL RD4 RD4N1M-03 CD for Citroën and Peugeot vehicles. The radio must be programmed to the vehicle using diagnostic equipment.
Overview
Continental RD4N1M-03 is a factory-style CD radio unit commonly found in older PSA Group vehicles. This unit offers standard FM/AM reception and a CD player, and it is built to the original equipment specifications for a flush fit in the dashboard. Many buyers search for this unit by part number (for example 96750215XT, 16106912XT, 6574PW, 6574PX, 16077504XT), so the listing includes all common references to make finding the right replacement easier.
Compatibility
Commonly fitted to Citroën C3 II and Peugeot 207 models and other PSA vehicles equipped with the RD4 radio platform. Verify the part number shown on your existing unit before purchase — this radio is often identified and ordered by product code.
How It Works And Why It May Need Replacement
The RD4 radio provides radio reception and CD playback and interfaces with the vehicle’s wiring harness for power, speakers and antenna. It also often requires a software/parameter transfer to be recognized by the vehicle’s electrical system. Typical failure modes include mechanical wear of the CD mechanism, failing display/backlight, connector corrosion or intermittent power due to worn solder joints, and software/locking issues after replacement.
How To Replace
- Park the vehicle on a level surface and ensure ignition is off.
- Disconnect the negative battery terminal before starting work to avoid short circuits.
- Remove dashboard trim panels using appropriate trim tools to avoid damage.
- Unscrew the radio retaining bolts and gently slide the unit out of the dash.
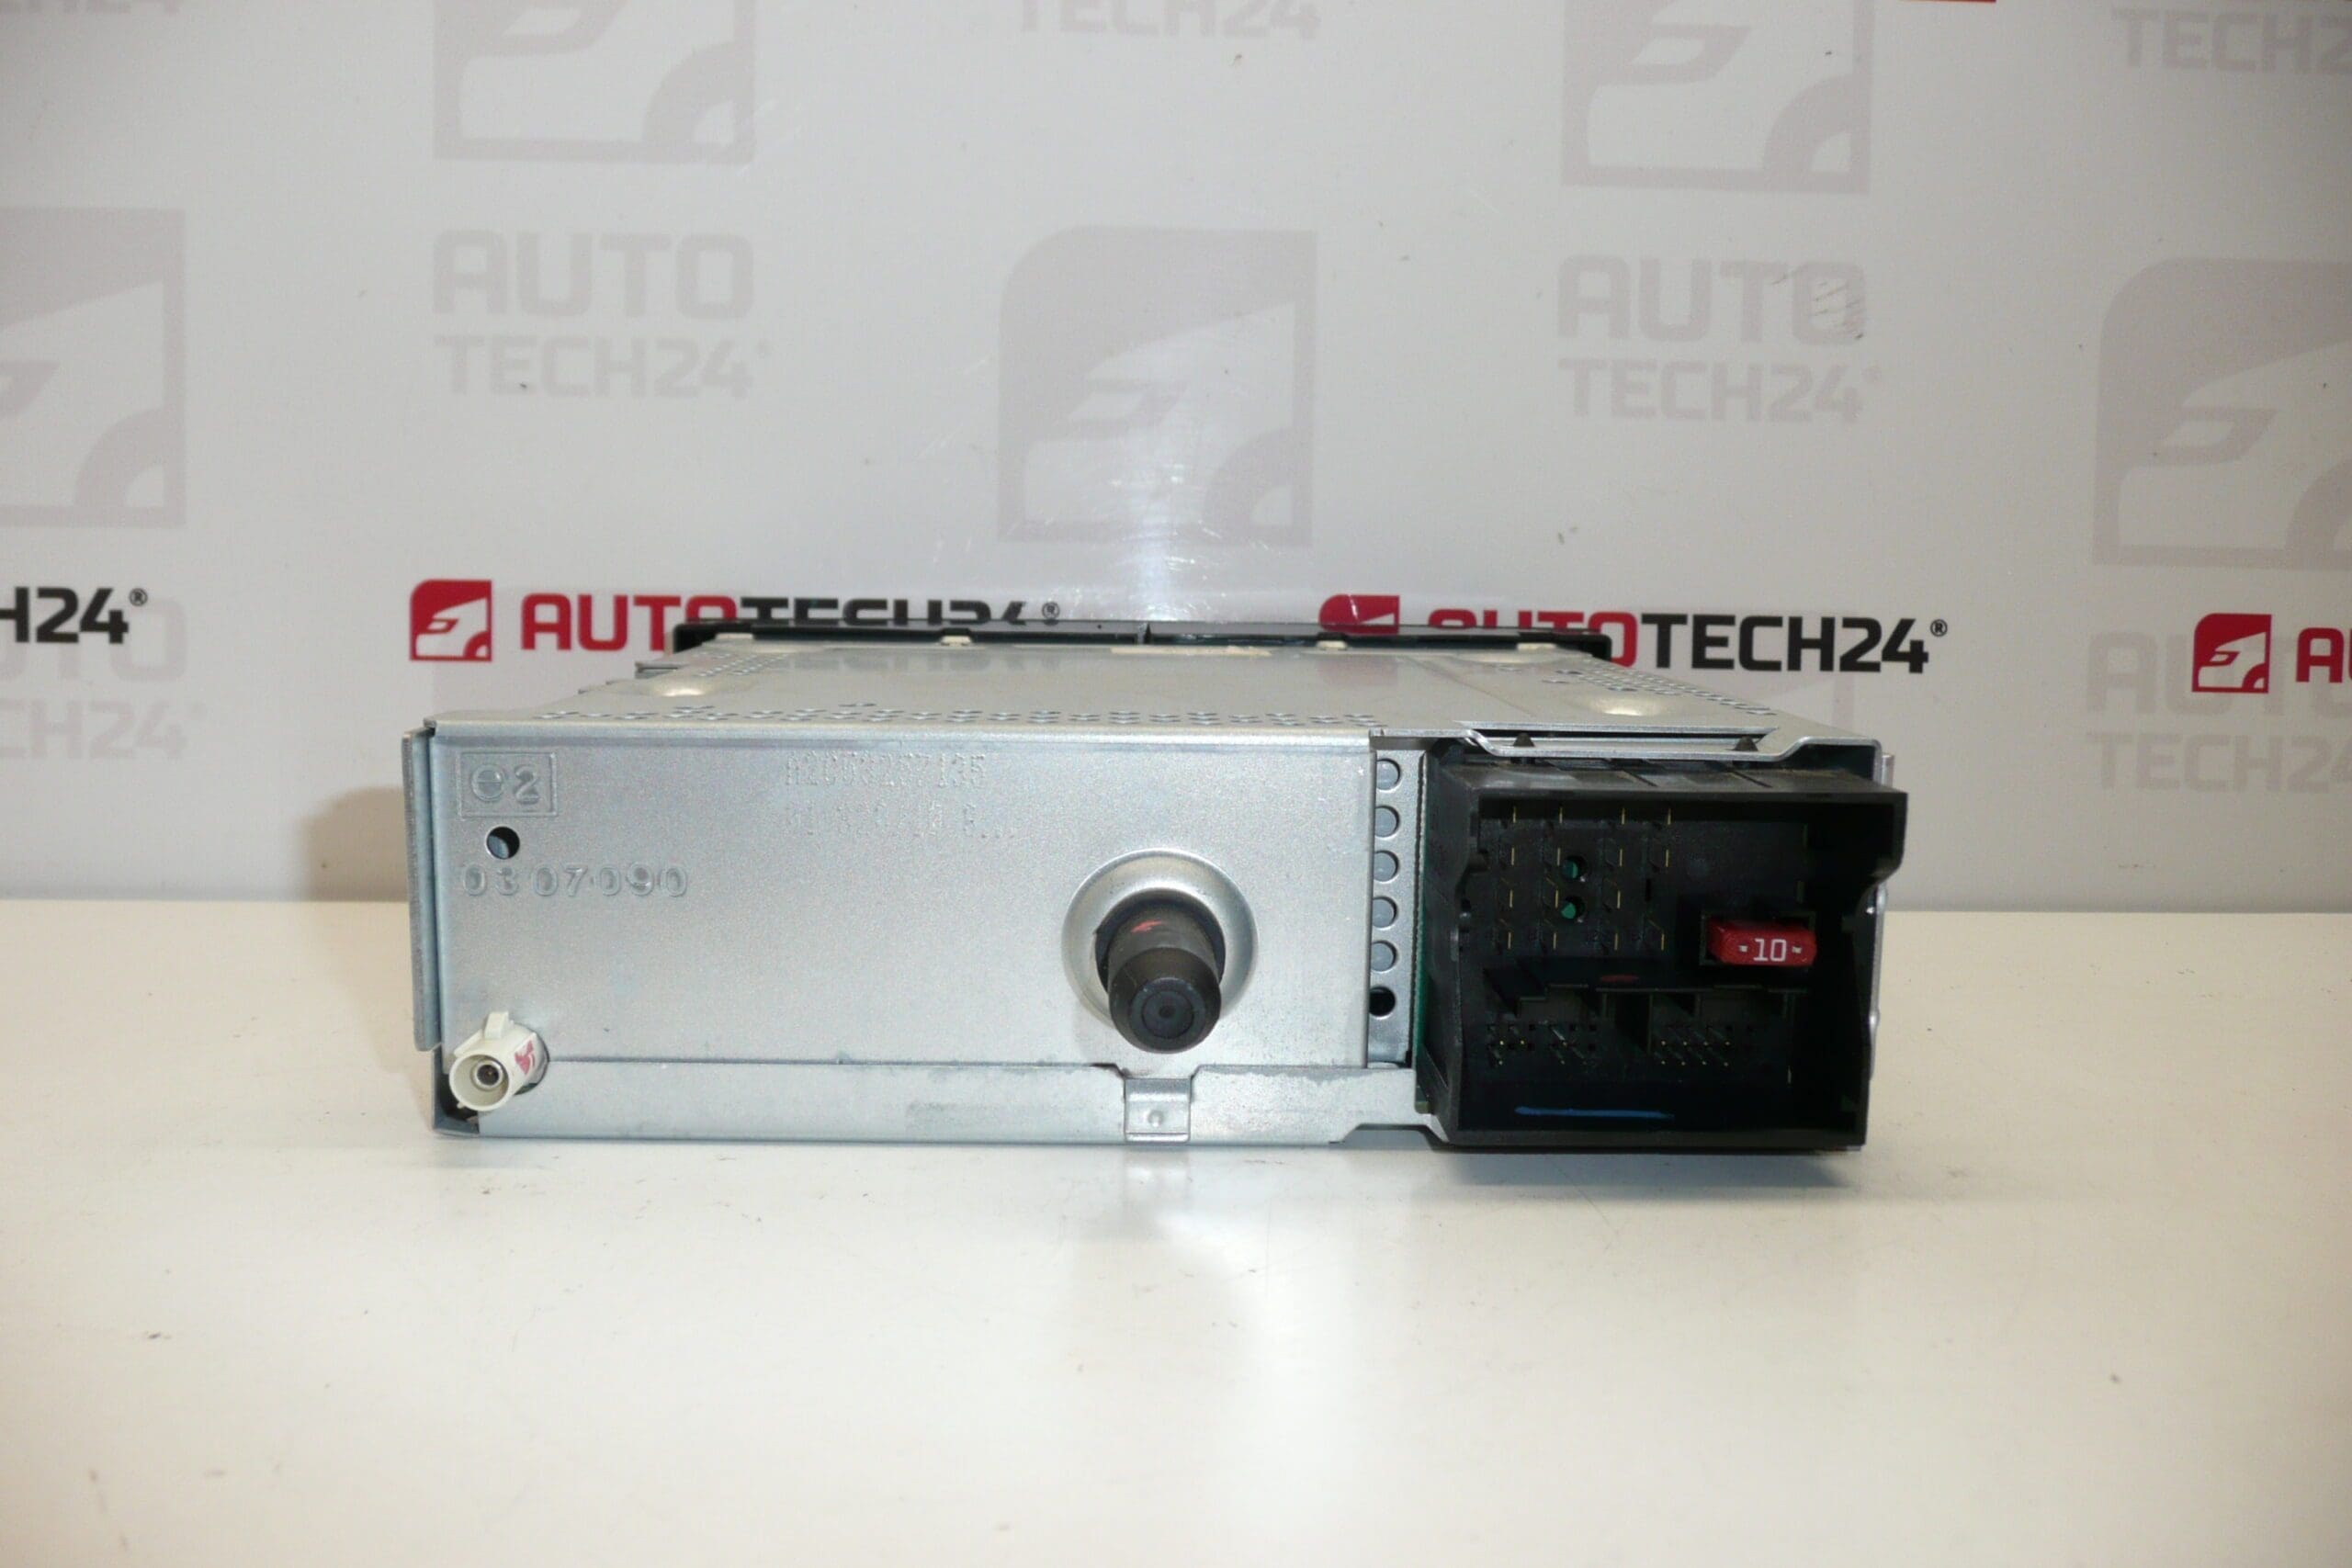
- Disconnect the electrical connectors, antenna cable and any external amplifier leads.
- Install the replacement unit by reversing removal steps; connect all plugs and antenna securely.
- Reassemble trim panels and reconnect the battery.
- Perform diagnostic programming (see below) so the vehicle recognizes the new radio.
Installation Recommendations
Always disconnect the battery before starting and use proper trim tools to prevent damage to panels. Ensure connectors and the antenna socket are clean and free of corrosion. After mechanical installation, the radio must be programmed to the vehicle with PSA-compatible diagnostic equipment (DiagBox/Lexia/PP2000) to restore full functionality and remove any security locks.
Technical Information
- Manufacturer: Continental
- Model: RD4 RD4N1M-03
- Product Codes: 96750215XT, 16106912XT, 6574PW, 6574PX, 16077504XT
- Additional Numbers: 6574PW, 6574PX, 16077504XT (other cross-references may apply)
Why This Part Most Often Fails
Mechanical wear of the CD mechanism is the most frequent cause of failure, especially in high-mileage units or where moisture/dust has penetrated the case. Electrical faults such as degraded connector contacts, failed capacitors on the power supply board or worn solder joints are also common. Finally, when replacing a radio, improper coding or lack of diagnostics can make the unit appear nonfunctional until it is correctly programmed to the vehicle.
Notes For Professionals and DIYers
This is a direct-fit factory radio intended for vehicles originally equipped with the RD4 system. Because many customers search by part number, the product codes listed above are included for clarity. Suitable for experienced DIY mechanics and professional workshops; diagnostic equipment is required to complete the installation and ensure full functionality after fitment.
Search And Ordering Tips
Search using the part numbers 96750215XT, 16106912XT, 6574PW, 6574PX or 16077504XT to quickly find the correct item. The listing includes multiple cross-references to help identify the exact unit used by your Citroën or Peugeot.