Description
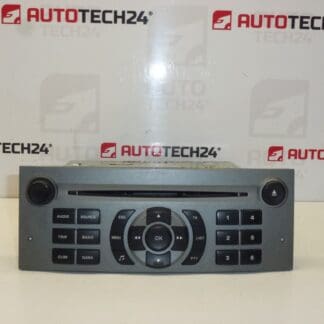
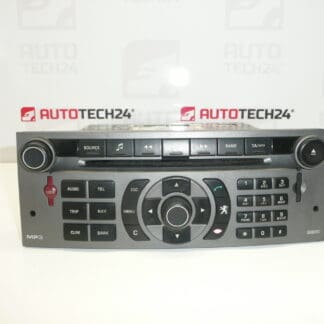
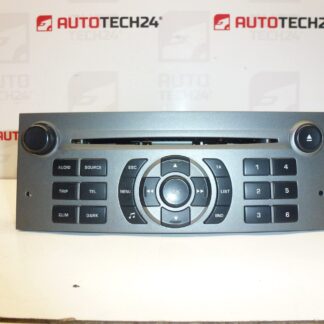
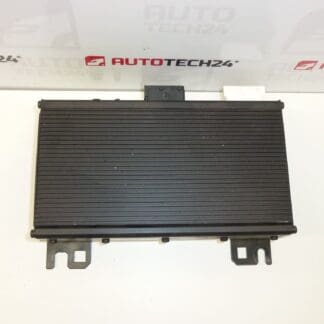
JBL amplifier from CITROEN C5 II is also suitable for PEUGEOT 607 and others
Part description
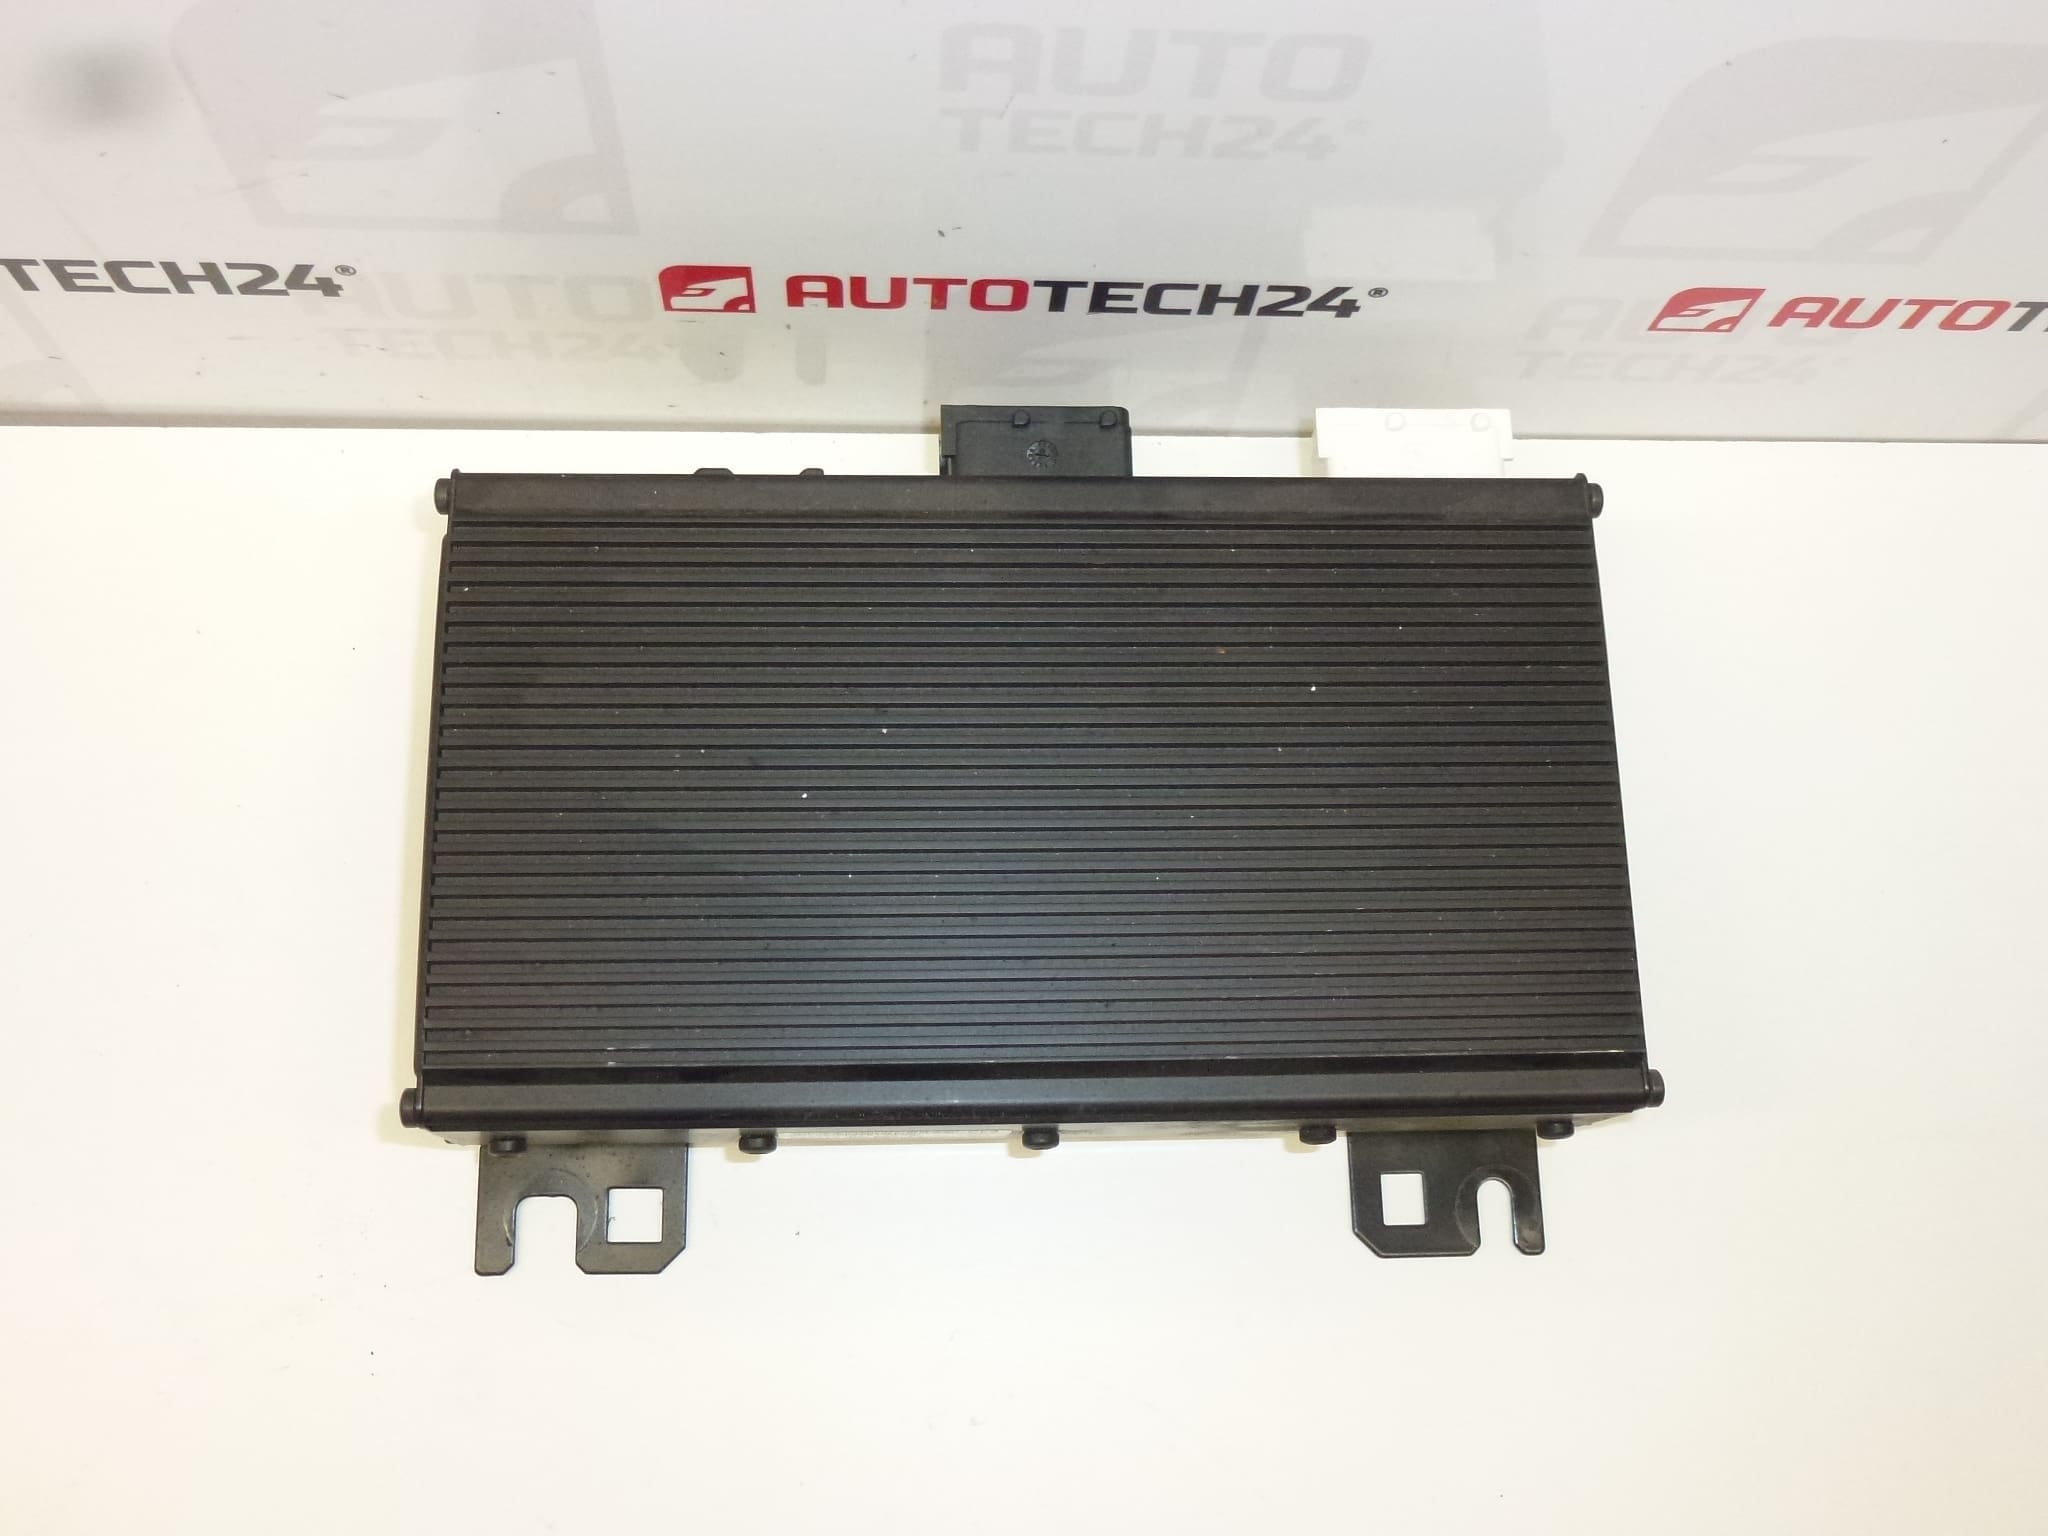
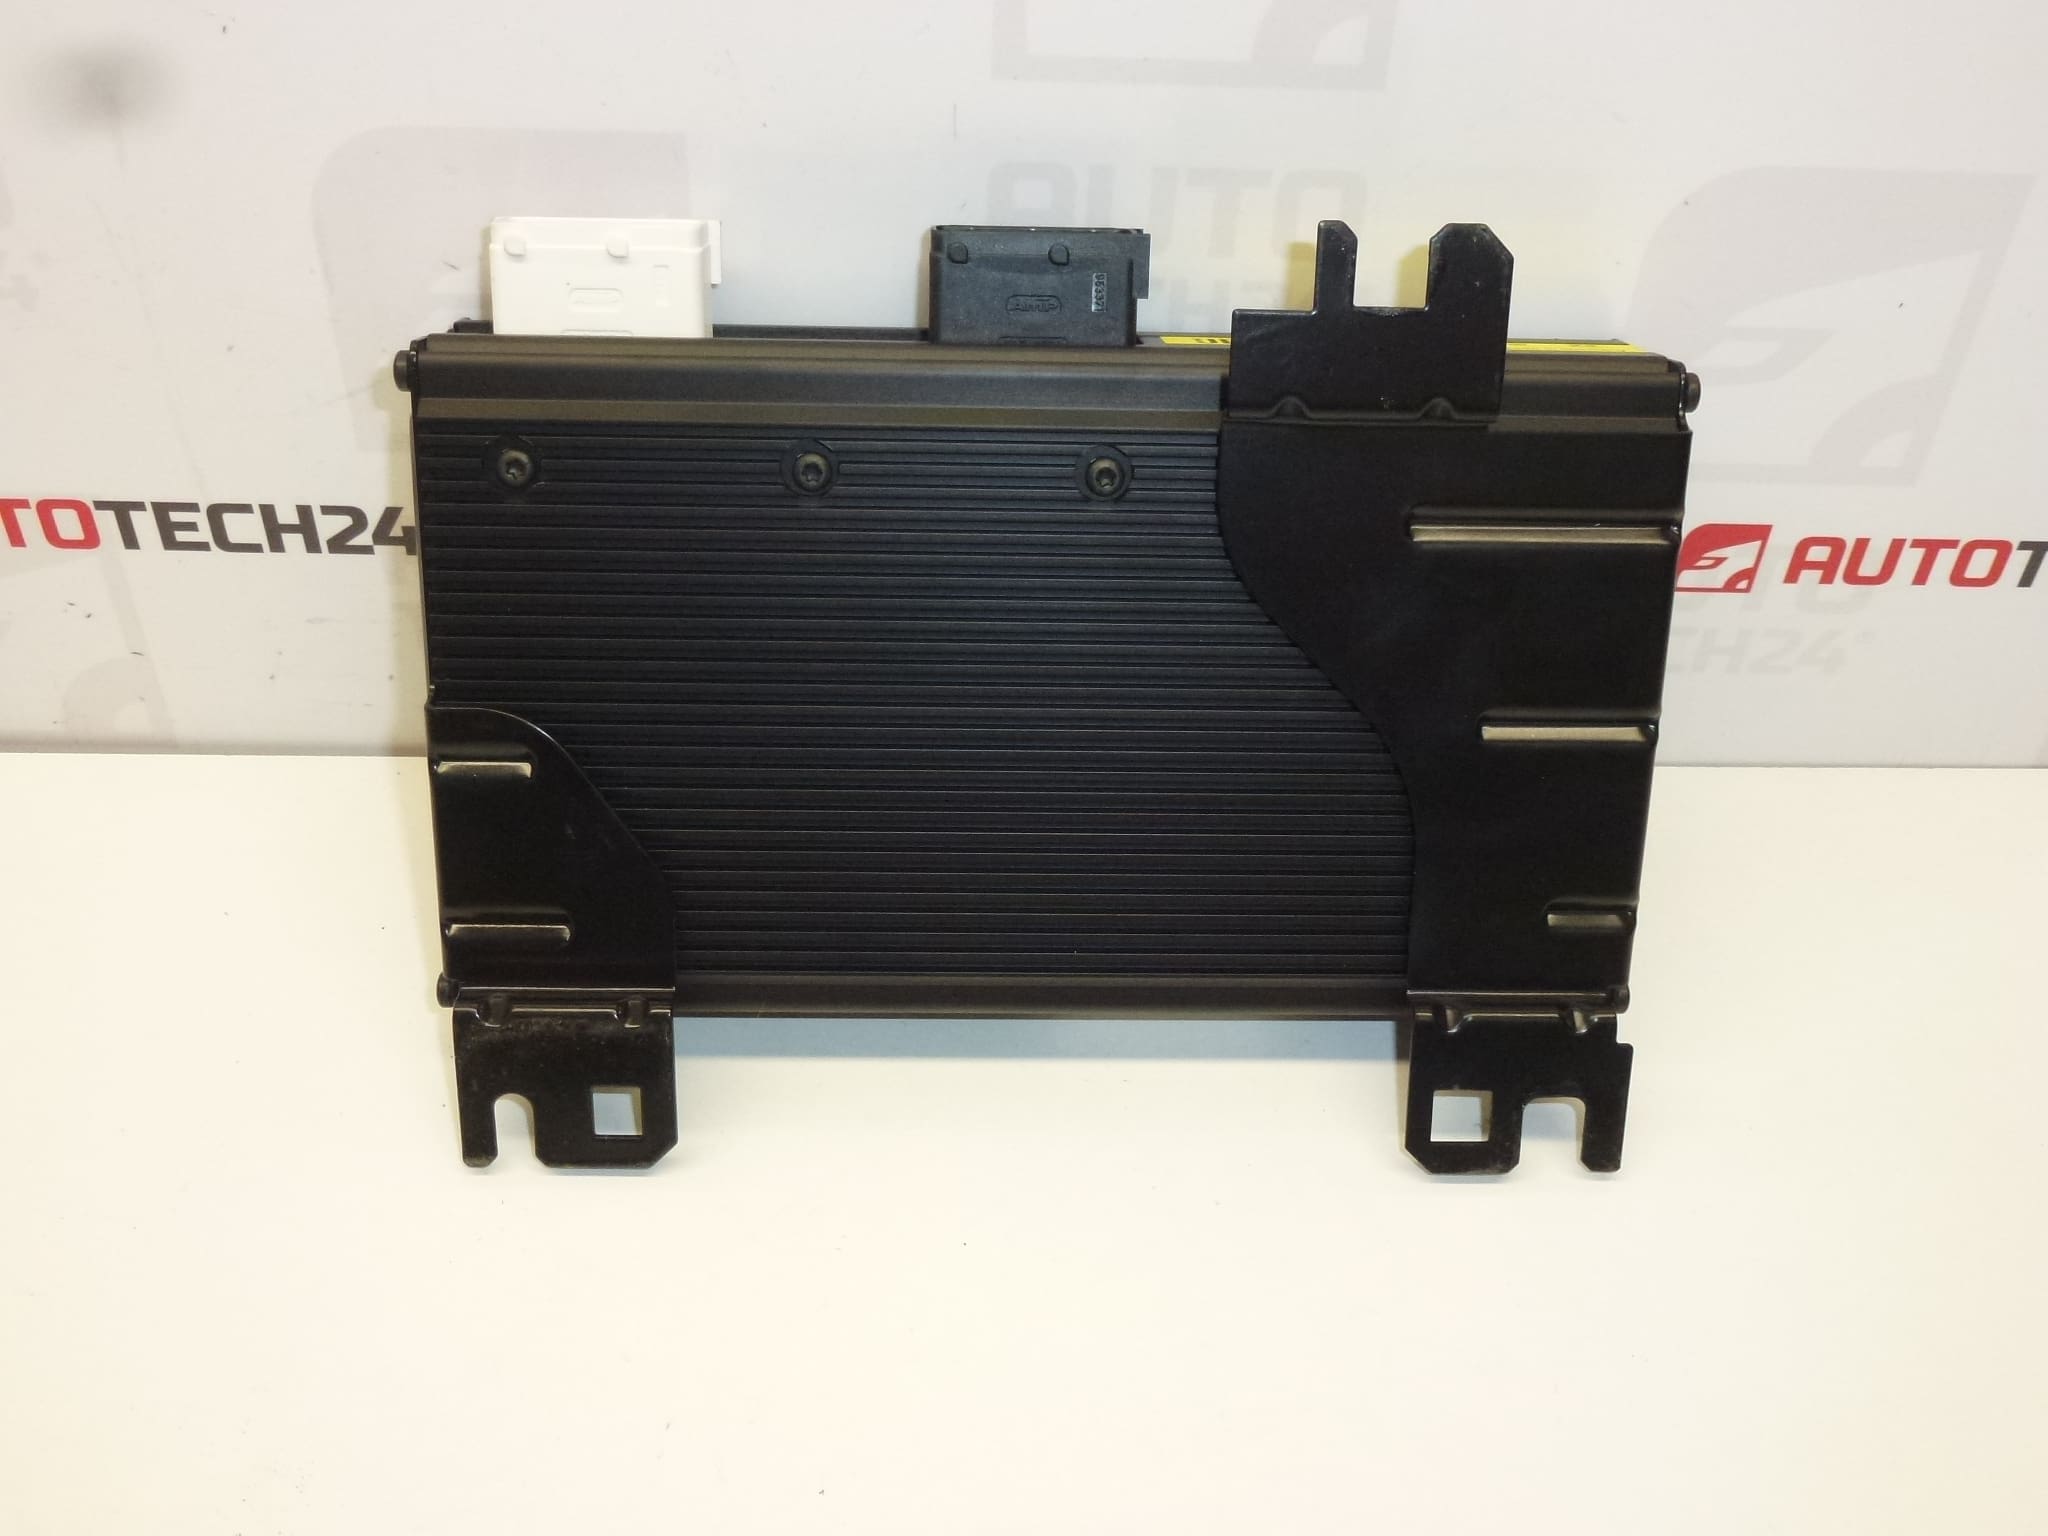
Used original JBL amplifier for Citroën/Peugeot (PSA/Stellantis) cars. It is a part from the field of car audio, which is used to amplify the signal for the speakers and the proper functioning of the JBL sound system. With the codes listed, it is often searched directly by part number, making it easy to quickly pair with existing vehicle wiring and equipment.
According to the available documents, it comes from the Citroën C5 II and it is stated to also be suitable for the Peugeot 607 (and others – without further specification).
Technical information
- Manufacturer: not mentioned (JBL designation mentioned in documents)
- Model: Citroën C5 II; Peugeot 607 (according to documents)
- Other numbers: 6560LZ, NFP
Product codes
- Product codes: 9653383680, 6560LZ
Installation recommendations
In general/typical for audio amplifiers the exact procedure may vary by specific model and equipment (JBL). Below is a practical general procedure for a safe exchange.
1) Before assembly (checks of used part)
- Compare codes 9653383680 and 6560LZ with the old part.
- Check the compatibility of the connectors (number, shape, securing) and whether there are bent pins, cracks in the plastic or signs of corrosion.
- Visually check the condition of the cabinet: dents, traces of overheating, moisture or oxidation.
2) Necessary tools and materials
- Basic bit/ratchet and screwdriver set
- Plastic pry bar for removing upholstery/lining (according to location)
- Electrical contact cleaner (if the connectors are dirty)
- Insulating tape / cable ties to secure the bundle (as needed)
3) Step-by-step assembly procedure
- Turn off the ignition and wait for the vehicle to “sleep” (the control units go to rest).
- Disconnect the battery (for safety reasons when working with the wiring).
- Get access to the amplifier by removing the relevant cover/trim (according to the specific car and model).
- Take a photo of the connection and wiring so that you can return everything exactly during assembly.
- Unlock the connectors and carefully disconnect them (don’t pull on the cables, but on the body of the connector).
- Unscrew the amplifier mounting and remove the old piece.
- Compare the old and new part (codes, connectors, mounts).
- Sit the amp in place and secure with the original screws/mounts.
- Connect the connectors – make sure they fit correctly and secure the fuses.
- Check that the wiring harness is not chafed, pinched and routed as originally.
- Reinstall the removed covers/trims.
- Connect the battery.
-
4) Post-assembly checks and test drive/function verification
- Verify audio functionality at low and high volume (no rattling, dropouts, or crackling).
- Check if the sound behaves evenly (typically all channels/speakers depending on equipment).
- During a short drive, check that the fault does not manifest itself on bumps (a common problem with enabled connectors).
5) The most common assembly mistakes + how to avoid them
- Battery not disconnected → risk of short circuit/damage to electronics; always disconnect.
- Badly clicked connector → sound drops; after connection, check the security.
- Pinched or stretched bundle → interruption of wires over time; route the cabling as from the factory.
- Ignoring oxidation in connectors → noise/crack; gently clean the contacts.
Reasons why the part is damaged
- Moisture and leaks into the space where the amplifier is located – corrosion of connectors and electronics.
- Overvoltage or unstable power supply (e.g. a problem in the electrical installation, inappropriate starting/disconnecting the battery).
- Bad contacts in connectors and wiring – transition resistances, heating, blackouts.
- Mechanical damage (impact, loose fitting, vibration) leading to cracks in connections and connectors.