Description
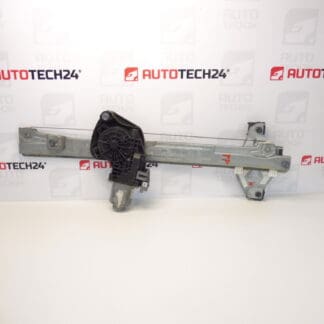
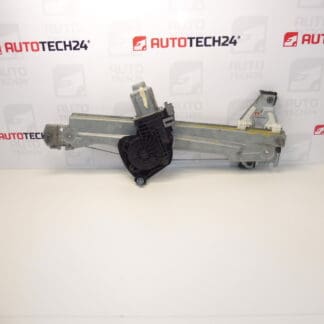
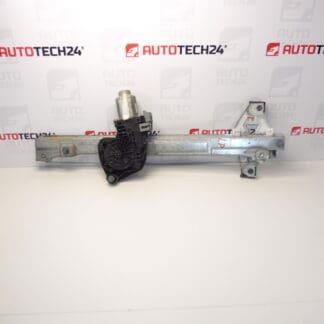
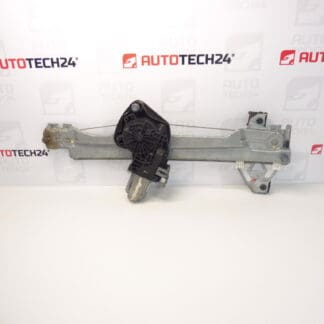
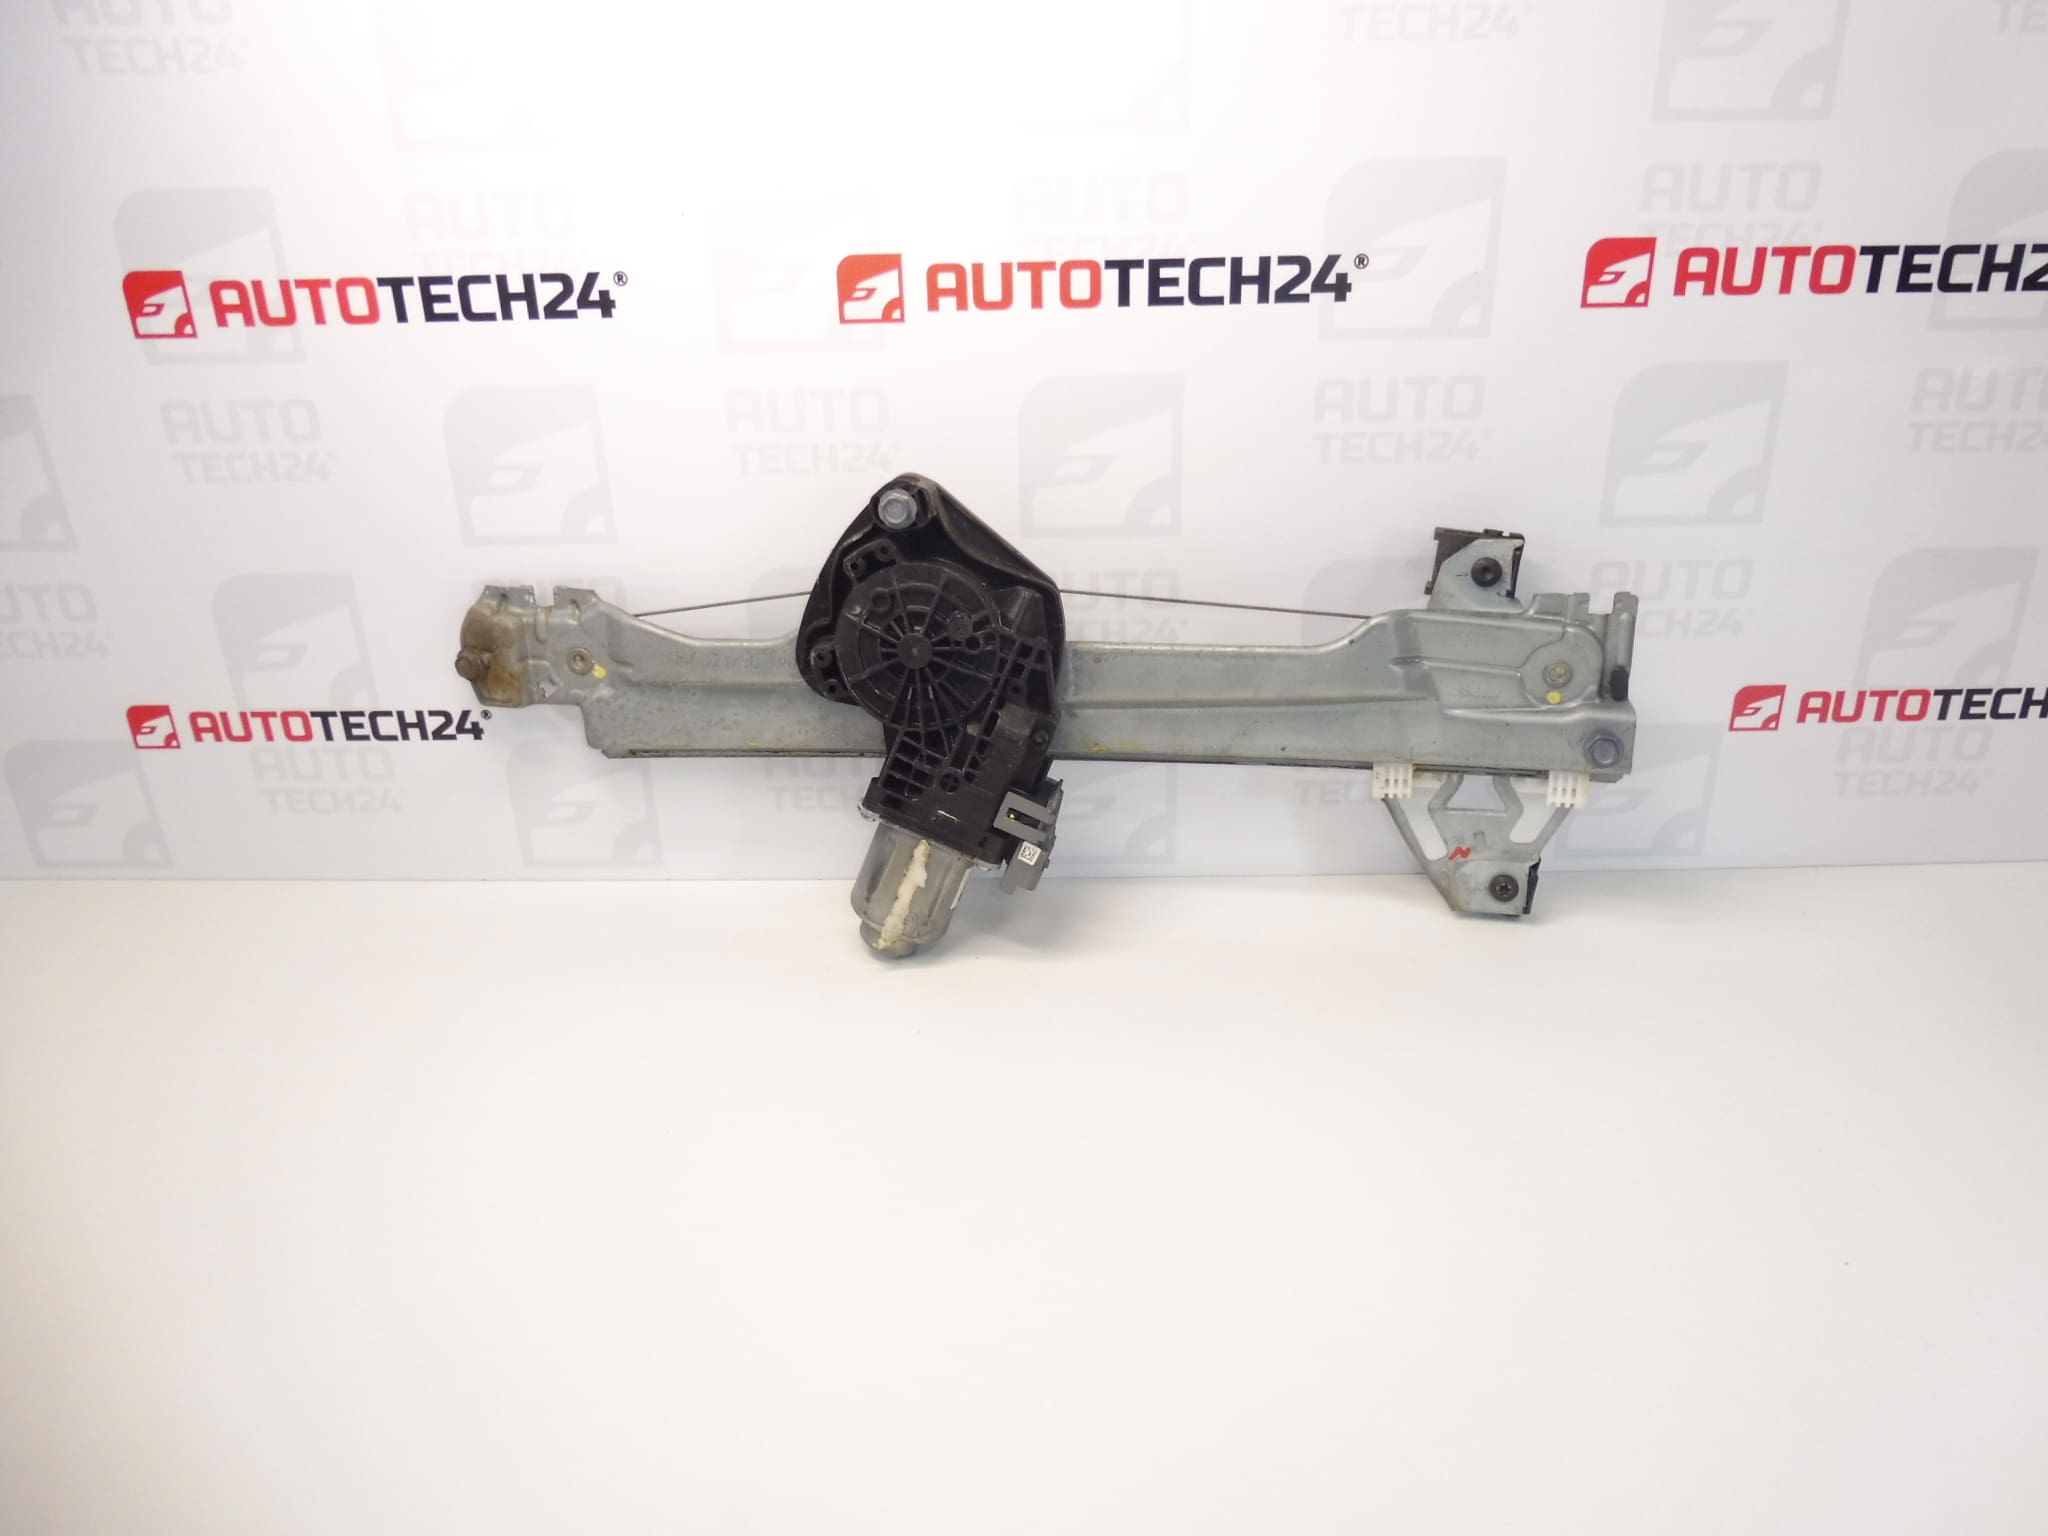
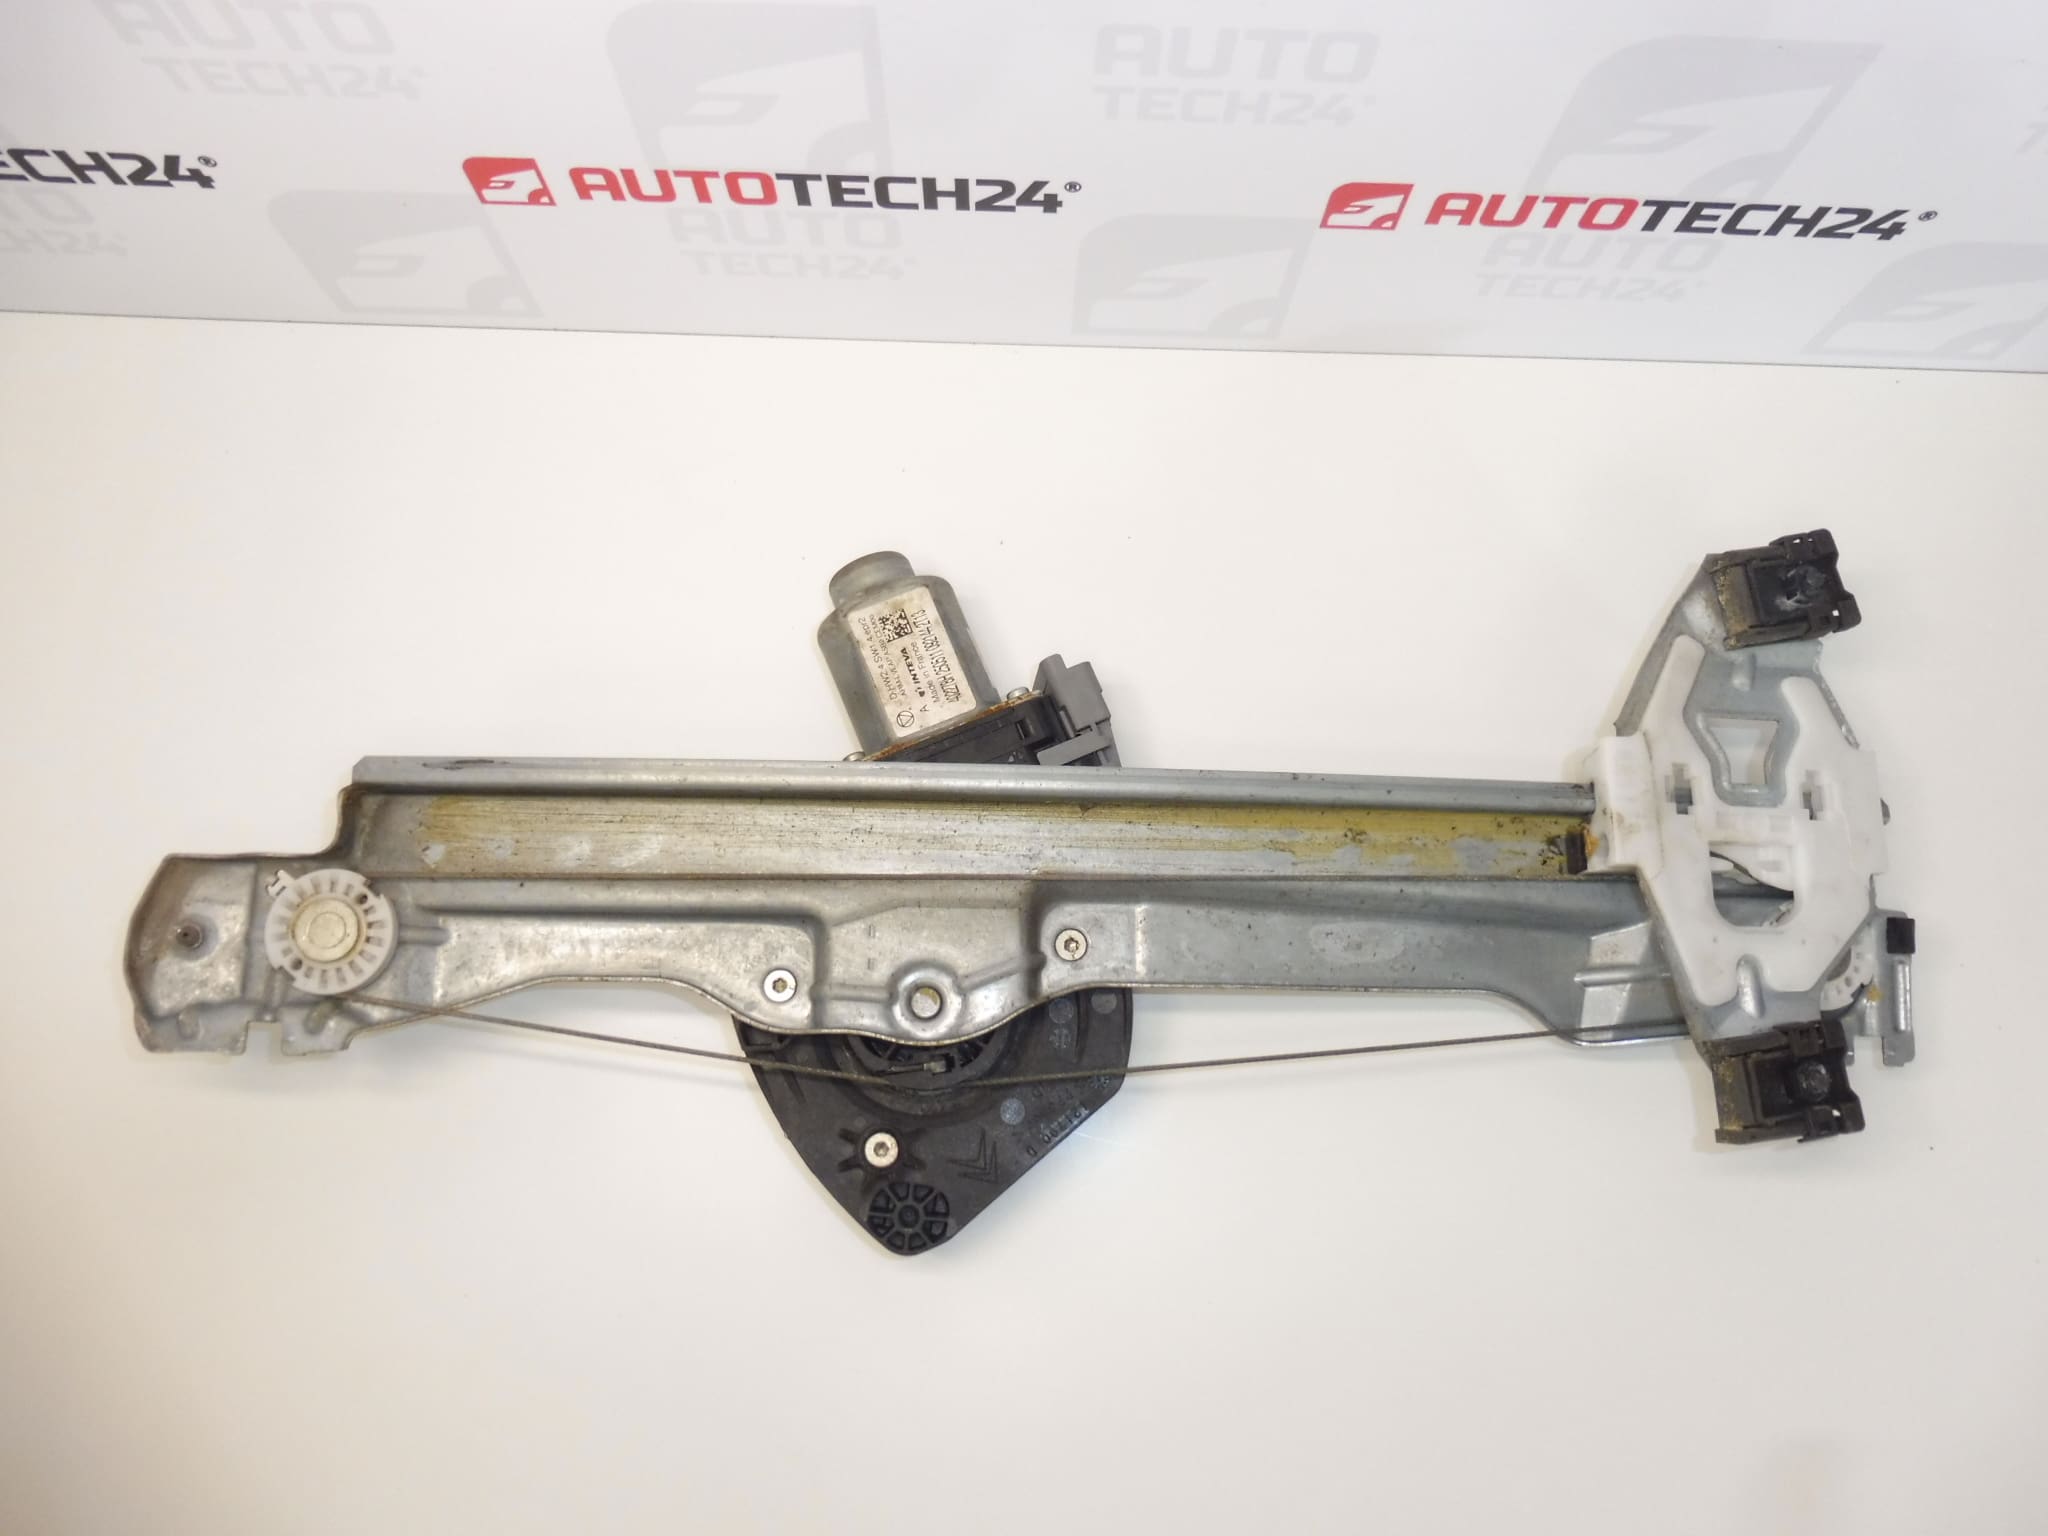
Electric lower right rear window for CITROEN C4 B7 cars
The plastic slider is cracked (common for most cars), but solid and fully functional
Door behind the passenger
Part description
Used electric lowering of the right rear window for Citroën C4 B7 serves to lower and raise the glass in the door behind the passenger. When looking for a replacement mechanism, the 9820885080 and 9224H4 designations that you can compare with the original part numbers are important.
Condition Note: the plastic slider is cracked according to the supplied description, but is solid and fully functional. So it is not a piece without damage. Before installation, it is important to check the consistency of the slider and its ability to safely guide or hold the glass. If the cracks open during handling or the slider shows play, do not mount the mechanism in this condition.
Technical information
- Manufacturer: not specified
- Model: Citroen C4 II; CITROEN C4 B7
- Type of part: electric starter / window retract mechanism
- Location: right rear door, behind the passenger
- Condition: used part; the plastic slider is cracked, according to the documents solid and fully functional
- Other numbers: not specified
is mentioned in the description
Product codes
Before choosing, compare the given numbers with the original mechanism and also verify the conformity of design, mounting and possible electrical connection. Similarity in appearance alone does not guarantee interchangeability.
Installation recommendations
Generally for this type of part: replacing the puller requires access to the door, securing the glass securely and carefully seating the mechanism. The following procedure is general; the exact disassembly of the lining, the method of fastening and any control settings depend on the specific design of the car. Follow the manufacturer’s service procedure.
1) Before assembly
- Compare the codes, mechanism shape, attachment points, glass attachment and any connectors with the old piece.
- Check the guide parts, fixings and any cable for deformation, looseness or damage.
- Pay special attention to the cracked plastic slider. Do not rely solely on the stated functionality; assess its actual condition before loading with glass.
- Check whether the original fault is not caused by the power supply, the controller or the glass stuck in the line.
2) Necessary tools and materials
Typically, a set of common hand tools is used according to the fixing, plastic pry bars for removing the trim, tools to secure the glass, protective gloves and cleaning cloths. Choose the tools for the fastening elements and any material to restore the protective film of the door according to the actual design.
3) Step-by-step assembly procedure
- Secure the vehicle against movement and prepare a space for the safe storage of trim and small fasteners.
- If the original mechanism still works, move the glass to the service position according to the manufacturer’s procedure. In the event of a malfunction, do not move the glass by force.
- Turn off the ignition and disconnect the battery according to the vehicle manufacturer’s procedure.
- Carefully remove the door trim. Release the related connection and protective film or cover so as not to damage them.
- Reliably secure the glass against falling before releasing its connection with the pull-down mechanism. Do not put your hands under unsecured glass.
- Unfasten the glass, disconnect any electrical connection to the mechanism and dismantle its fastening. Make a note of the wiring and the position of the individual parts.
- Remove the original part and check the glass guide and the door area. Remove dirt and the cause of any stuttering.
- Insert the replacement mechanism and secure it according to the service procedure. The part must fit without tension and without forcefully adjusting the holes.
- Connect the glass to the mechanism, verify its proper seating and restore any electrical connections. Cabling must not interfere with moving parts.
- After securely fixing the glass, remove its temporary securing. Connect the battery according to the manufacturer’s procedure and perform a controlled test with both hands and tools out of the way of the mechanism.
- If the movement is smooth and the attachment is stable, renew the protective film or cover and install the door trim.
-
4) Post-assembly checks and function verification
- Try lowering and raising the window. The glass must not cross, skip or snag.
- Watch for unusual sounds, will and behavior of the cracked rider. Stop the test immediately if the cracks worsen or the glass is unstable.
- Check the closing of the window, the seat of the gasket and the fastening of the trim.
- If a particular car requires window controls to be initialized, do so according to the manufacturer’s instructions. The functional check can be carried out on a stationary vehicle.
5) The most common assembly mistakes + how to avoid them
- Unremoved cause of resistance: check the lines and seals, otherwise the replacement mechanism may be overloaded again.
- Damaged protective film or pinched wiring: before closing the door, restore moisture protection and verify secure wiring.
- Aging of plastic parts and repeated loading when opening and closing the window.
- Contaminated or damaged glass guide which increases the strain on the mechanism.
- Attempts to download a frozen or blocked window causing excessive load.
- Wear of guiding and transmission parts, possibly cables in cable mechanisms.
- Misfit of glass or mechanism during previous repair.
- Moisture and corrosion when the protection of the interior of the door is disturbed.
Reasons why the part is damaged
In general, window winders are damaged mainly due to mechanical wear and increased resistance during the movement of the glass. The exact cause of the cracking of the slider of this piece is not stated in the documents.