Description
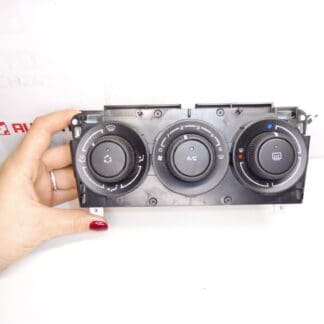
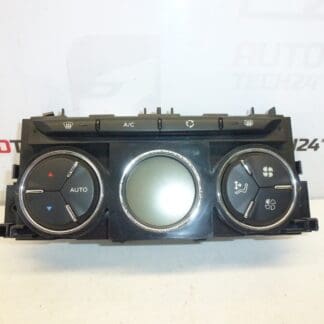
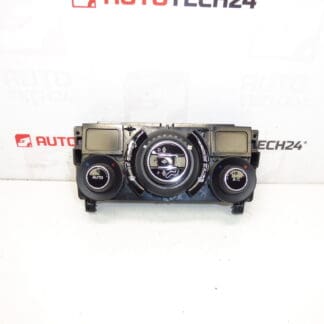
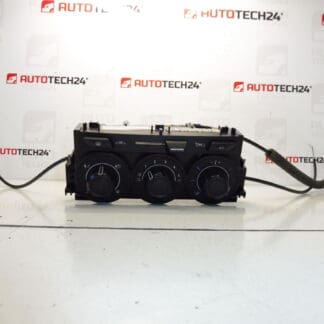
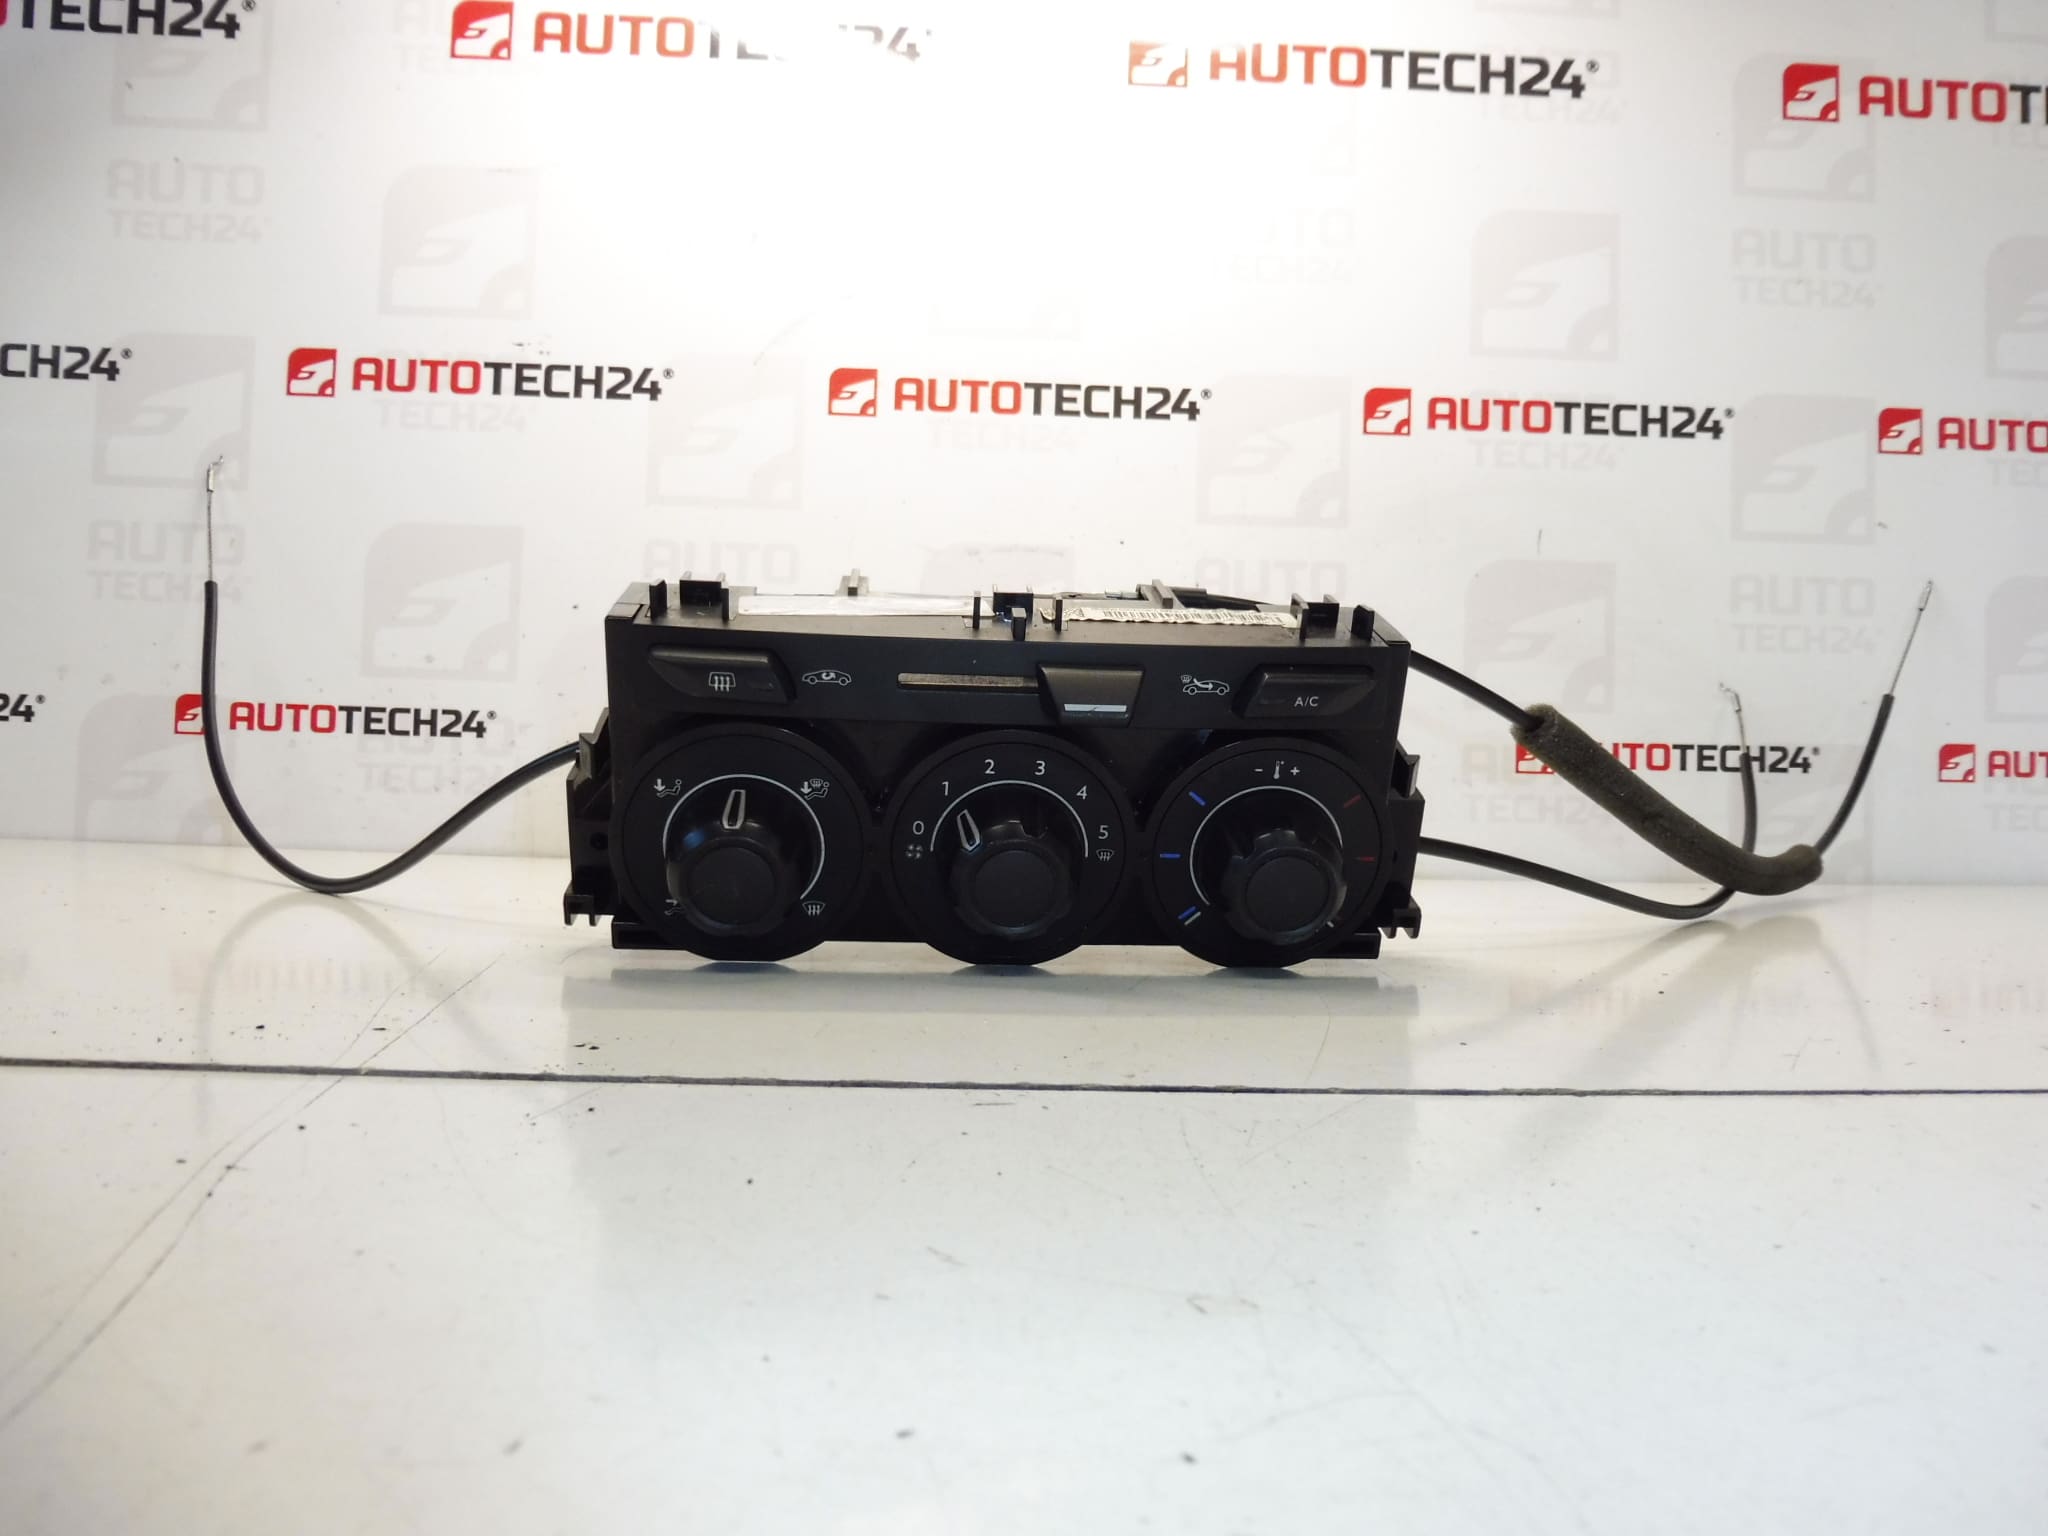
Heating and air conditioning control for Citroën C3 II (A51) and DS3. With cable controls 6452R3.
This heater and climate control unit is a direct-fit solution for Citroën C3 II and DS3 models, designed to restore precise manual control over cabin temperature, airflow direction and fan speed. Ideal for professional workshops and DIY mechanics who need a reliable replacement part listed under references 9675400280, 400018005 or 6452R3. The unit is compatible with cable-operated HVAC linkages and offers straightforward installation into original dashboard mounting points, helping you get the climate system back to proper working order quickly.
Technical Information
- Manufacturer: Stellantis (Citroën/Peugeot)
- Model: Citroën C3 II (A51), DS3
- Product Codes: 9675400280
- Other Numbers: 400018005, 6452R3
Fitment And Compatibility
Intended for vehicles using the manual heater/climate control panel with mechanical cable actuators. Confirm the part numbers 9675400280 / 400018005 / 6452R3 against the unit currently fitted to the vehicle when possible. Common applications include Citroën C3 II (A51) and DS3 dashboards that use cable linkages for temperature and flap control.
Function And Features
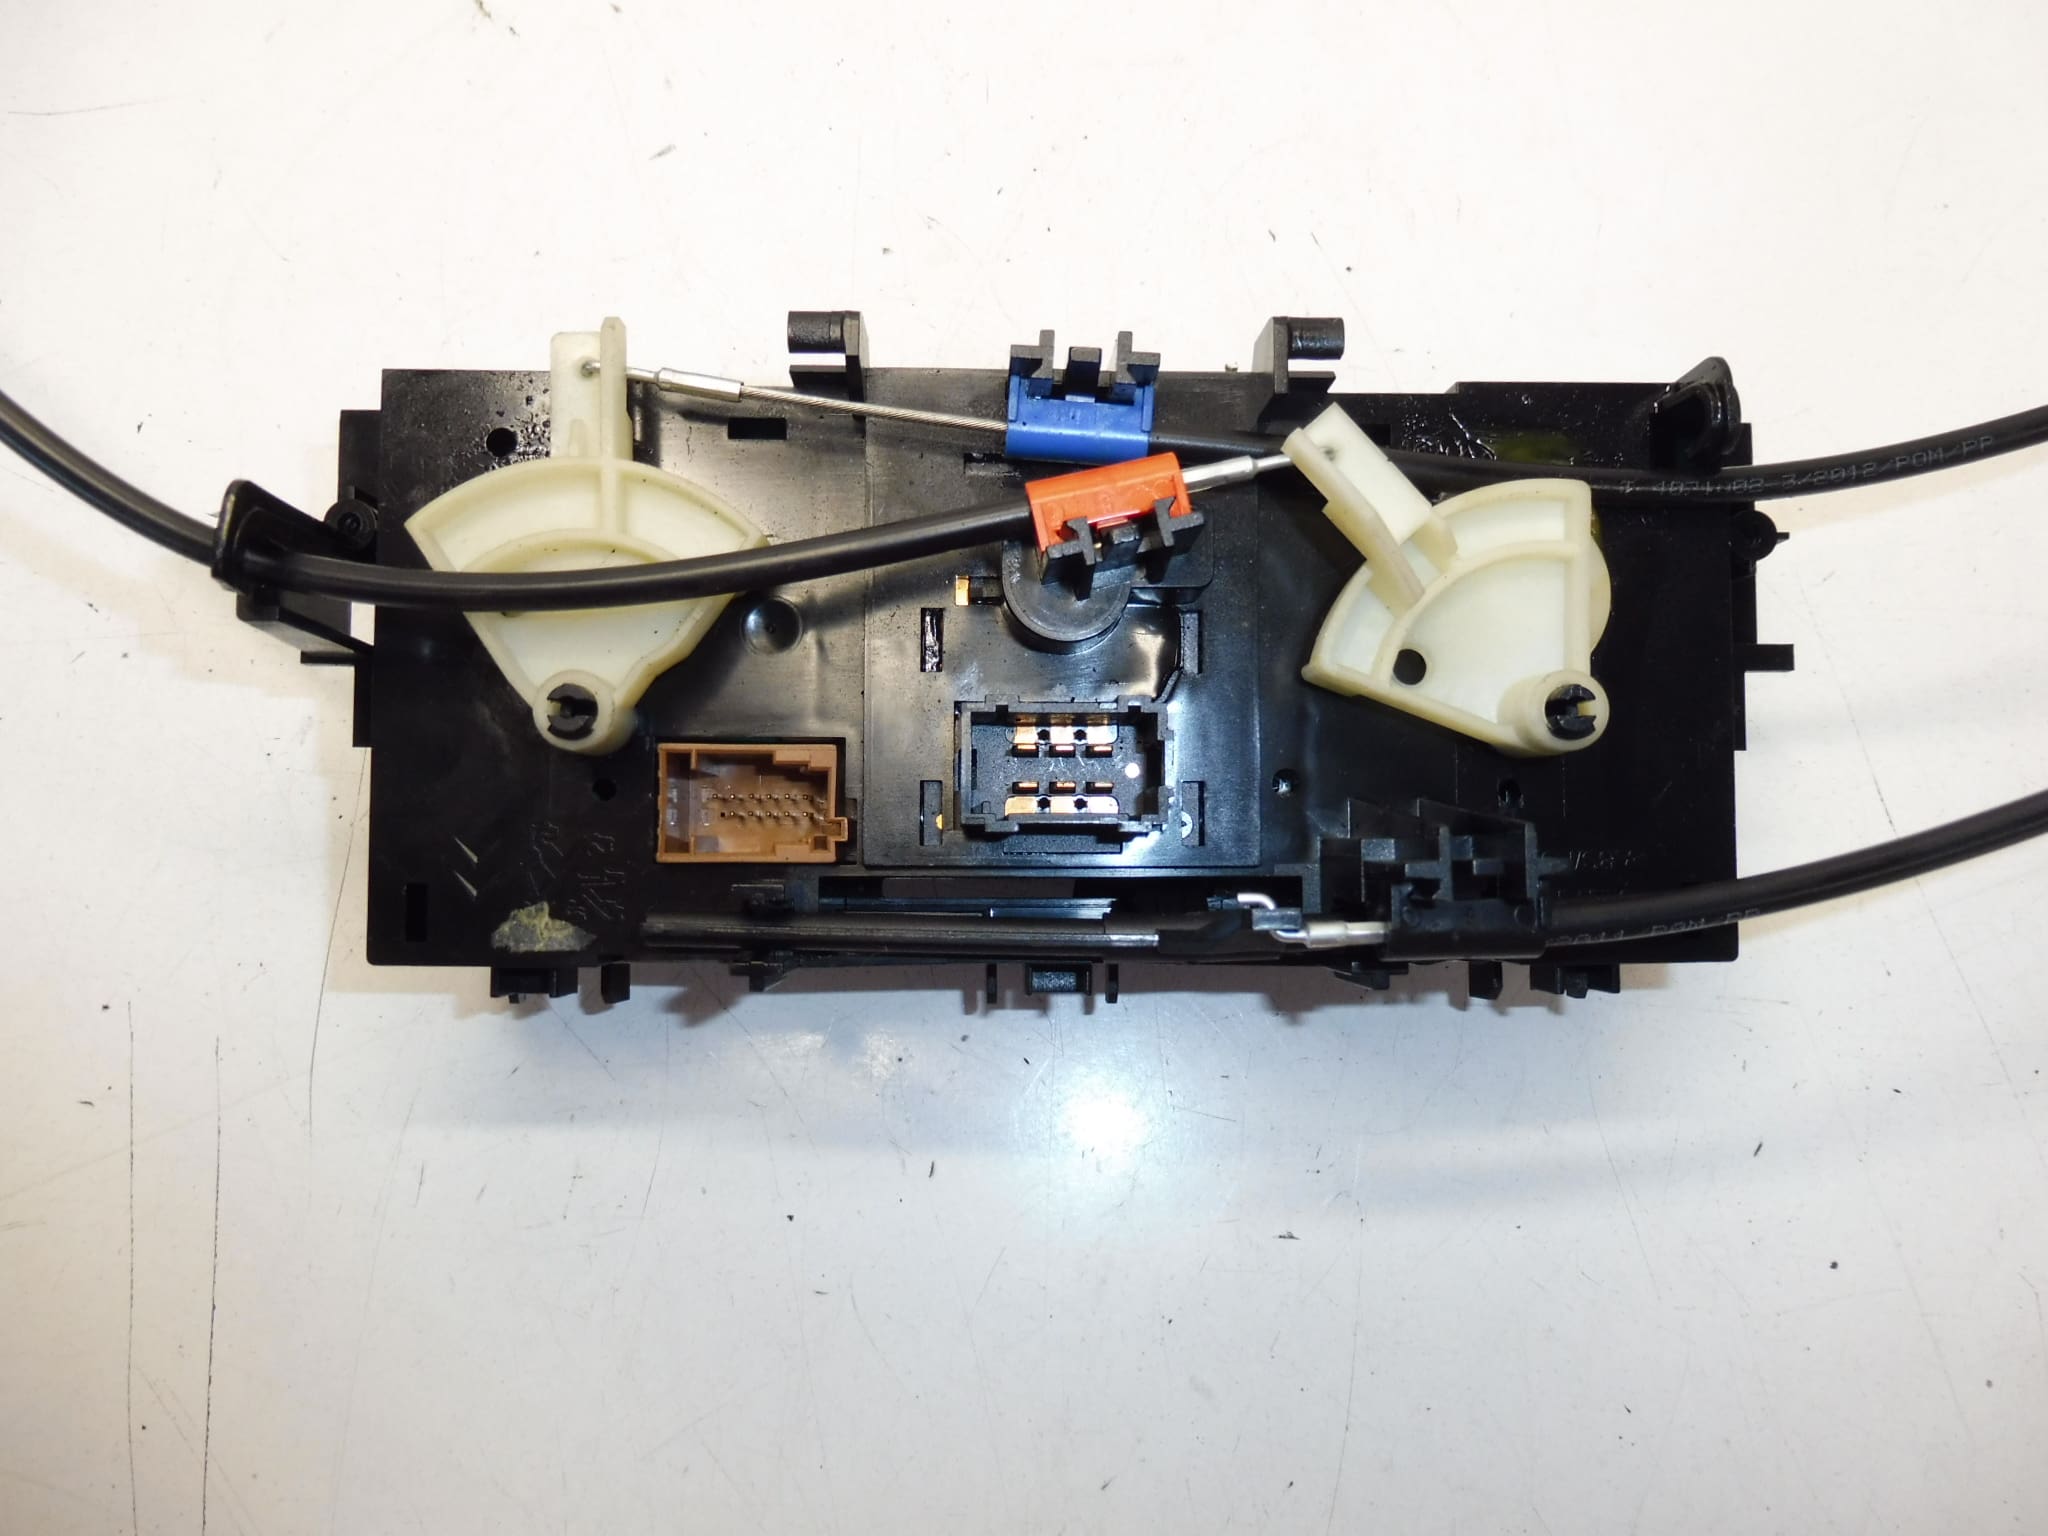
- Manual control of cabin temperature, fan speed and airflow distribution via mechanical cables.
- Prepared for original cable attachment points (type 6452R3 linkage).
- Direct-replacement form, fit and function for compatible dashboards — uses original mounting bosses and electrical connectors where applicable.
- Part numbers printed for quick identification: 9675400280, 400018005, 6452R3.
Replacement Procedure
Removal and installation should be performed by a competent mechanic or an experienced DIYer. Typical steps:
- Disconnect the negative battery terminal before starting work to avoid electrical shorts and preserve system settings.
- Remove the center dashboard trim panels to access the control unit; retain all screws and clips for reassembly.
- Note the position of each cable and clip before disconnecting — mark cables if necessary to ensure correct reattachment.
- Detach cables from the control levers, unplug any electrical connectors, and remove the mounting screws to free the unit.
- Install the new control unit in reverse order: secure mounting screws, connect cables to the correct levers, plug in connectors and test all functions (fan speeds, temperature change, flap selection) before reassembling trim.
Common Failure Reasons
- Mechanical Wear: Plastic lever ends, cable ends or internal slider components can fracture or wear out after years of use.
- Cable Fatigue or Breakage: Cable housings can seize or cables can snap, preventing proper movement of flaps or temperature sliders.
- Contamination: Dust, debris or spilled liquids can interfere with smooth operation and cause sticking or intermittent function.
- Broken Mounting Clips: Vibrations and repeated servicing can break mounting tabs, resulting in loose or misaligned control units.
Installation Recommendations
- Always disconnect the battery before disassembly to reduce the risk of short circuits and preserve vehicle electronics.
- Handle plastic levers and cable ends gently — they are often the weakest points and can break if forced.
- Before final reassembly, test all HVAC functions with the dash exposed to verify correct cable routing and full range of motion.
- If cables show signs of fraying, stiffness or corrosion, replace the cable assemblies at the same time to prevent premature repeat failures.
- Use OEM-type fasteners and ensure clips are fully engaged to avoid rattles and misalignment after installation.
This heater and climate control unit is suitable for professional garages and independent mechanics seeking a reliable part referenced under 9675400280 / 400018005 / 6452R3. Correct installation restores precise manual HVAC operation and improves cabin comfort for drivers and passengers.