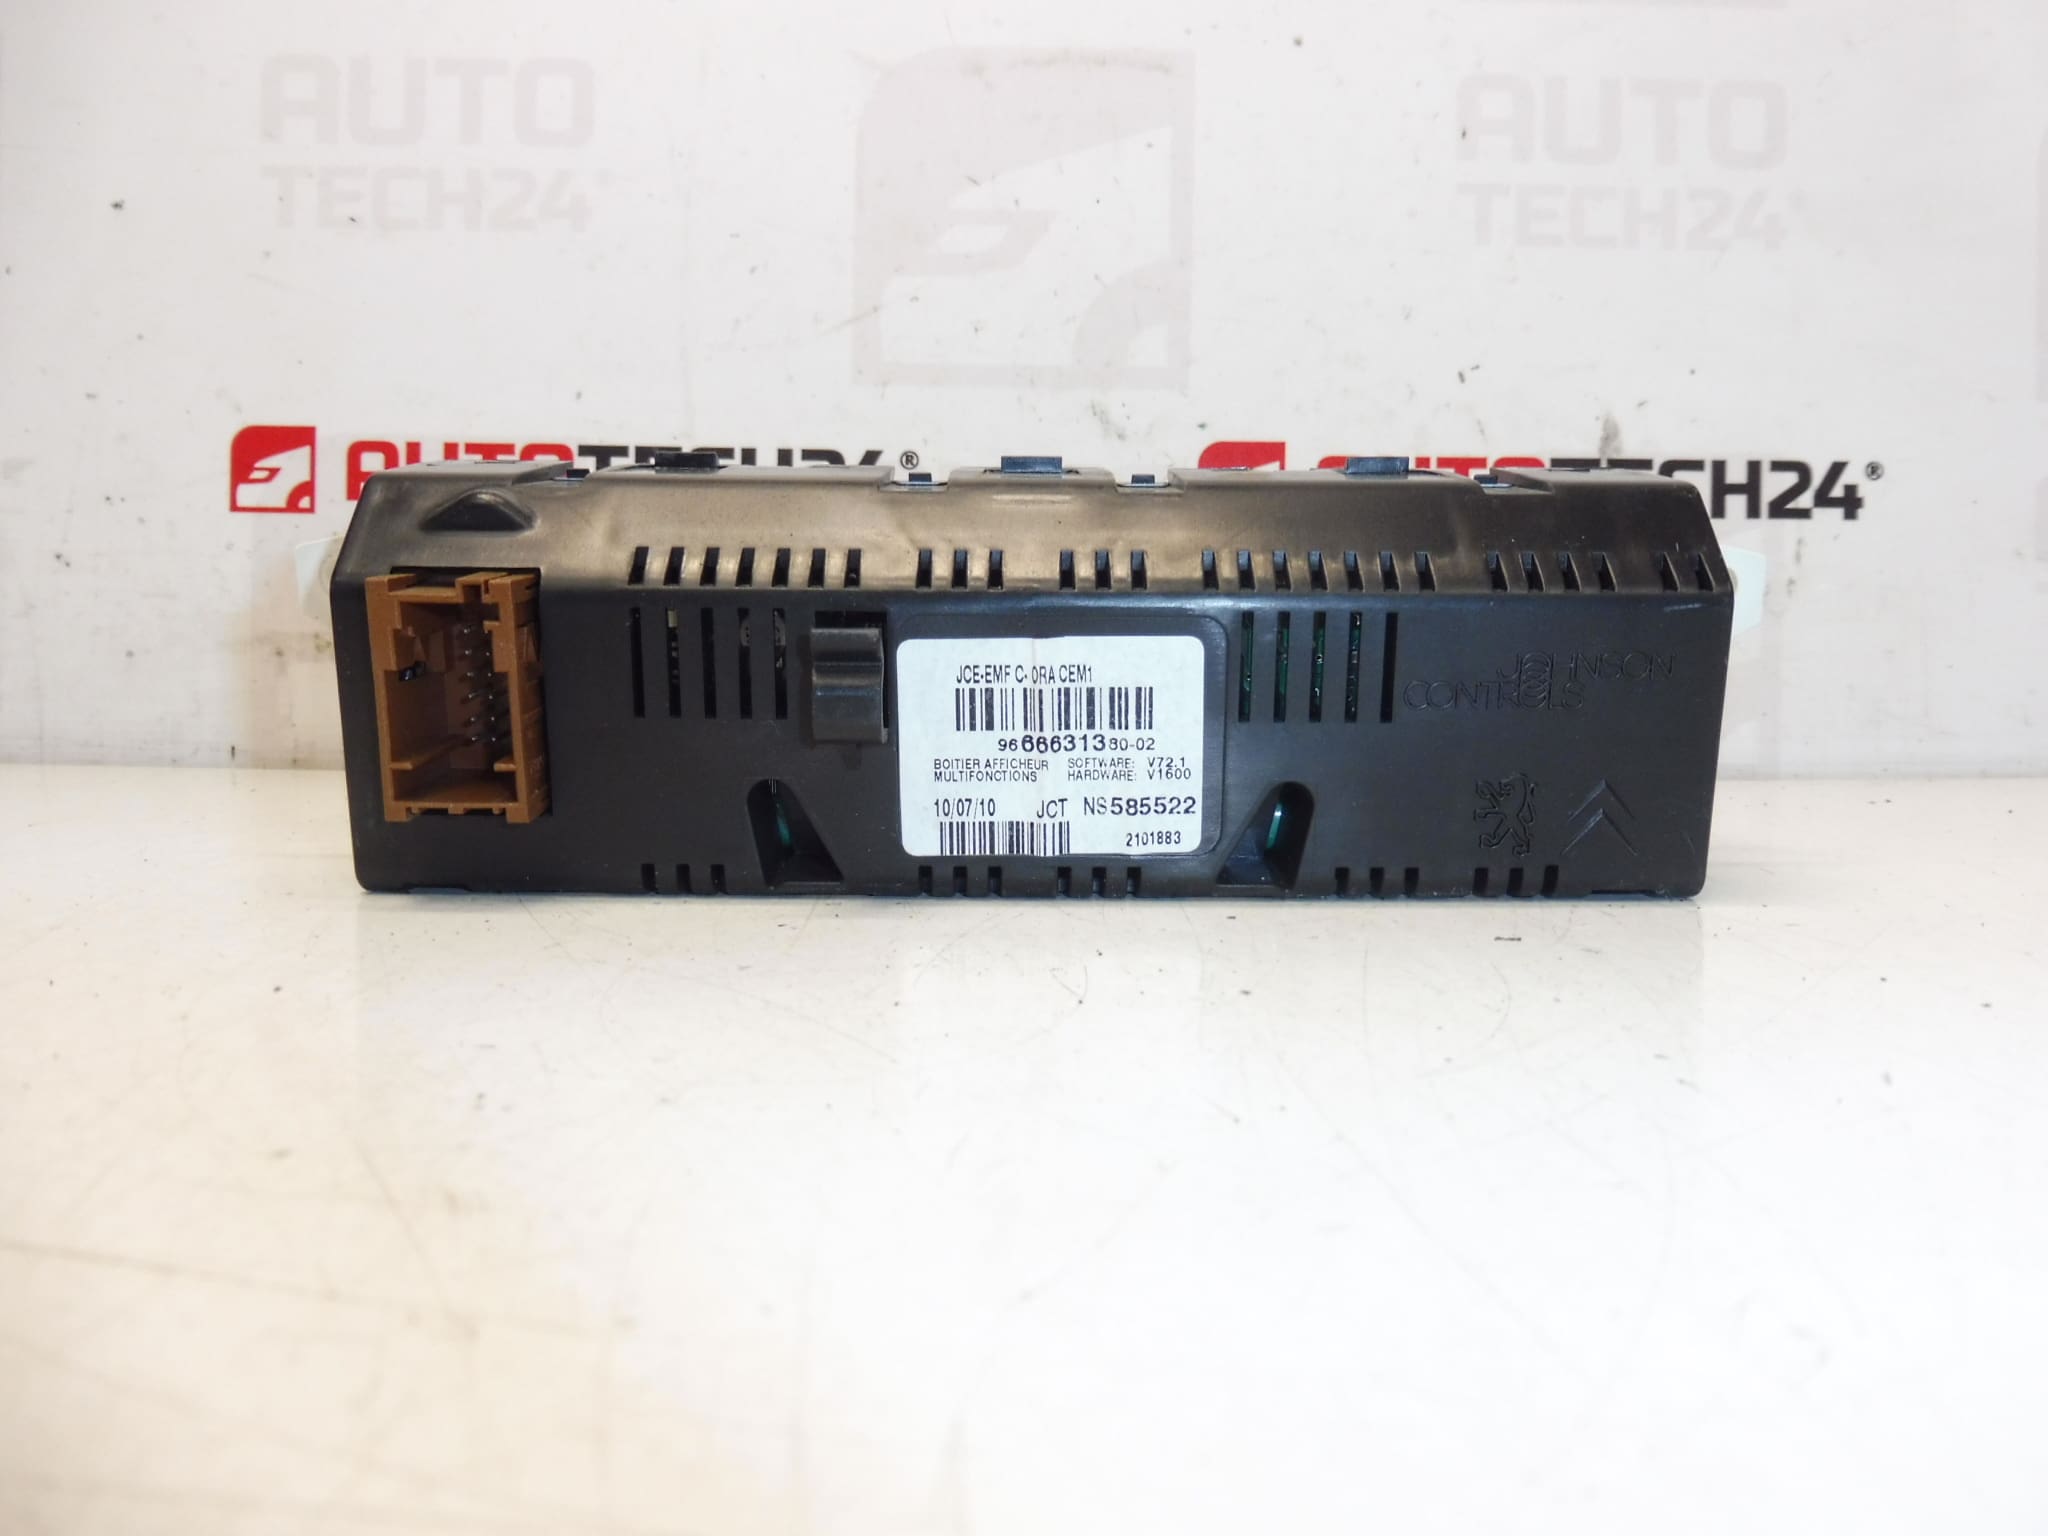
Description
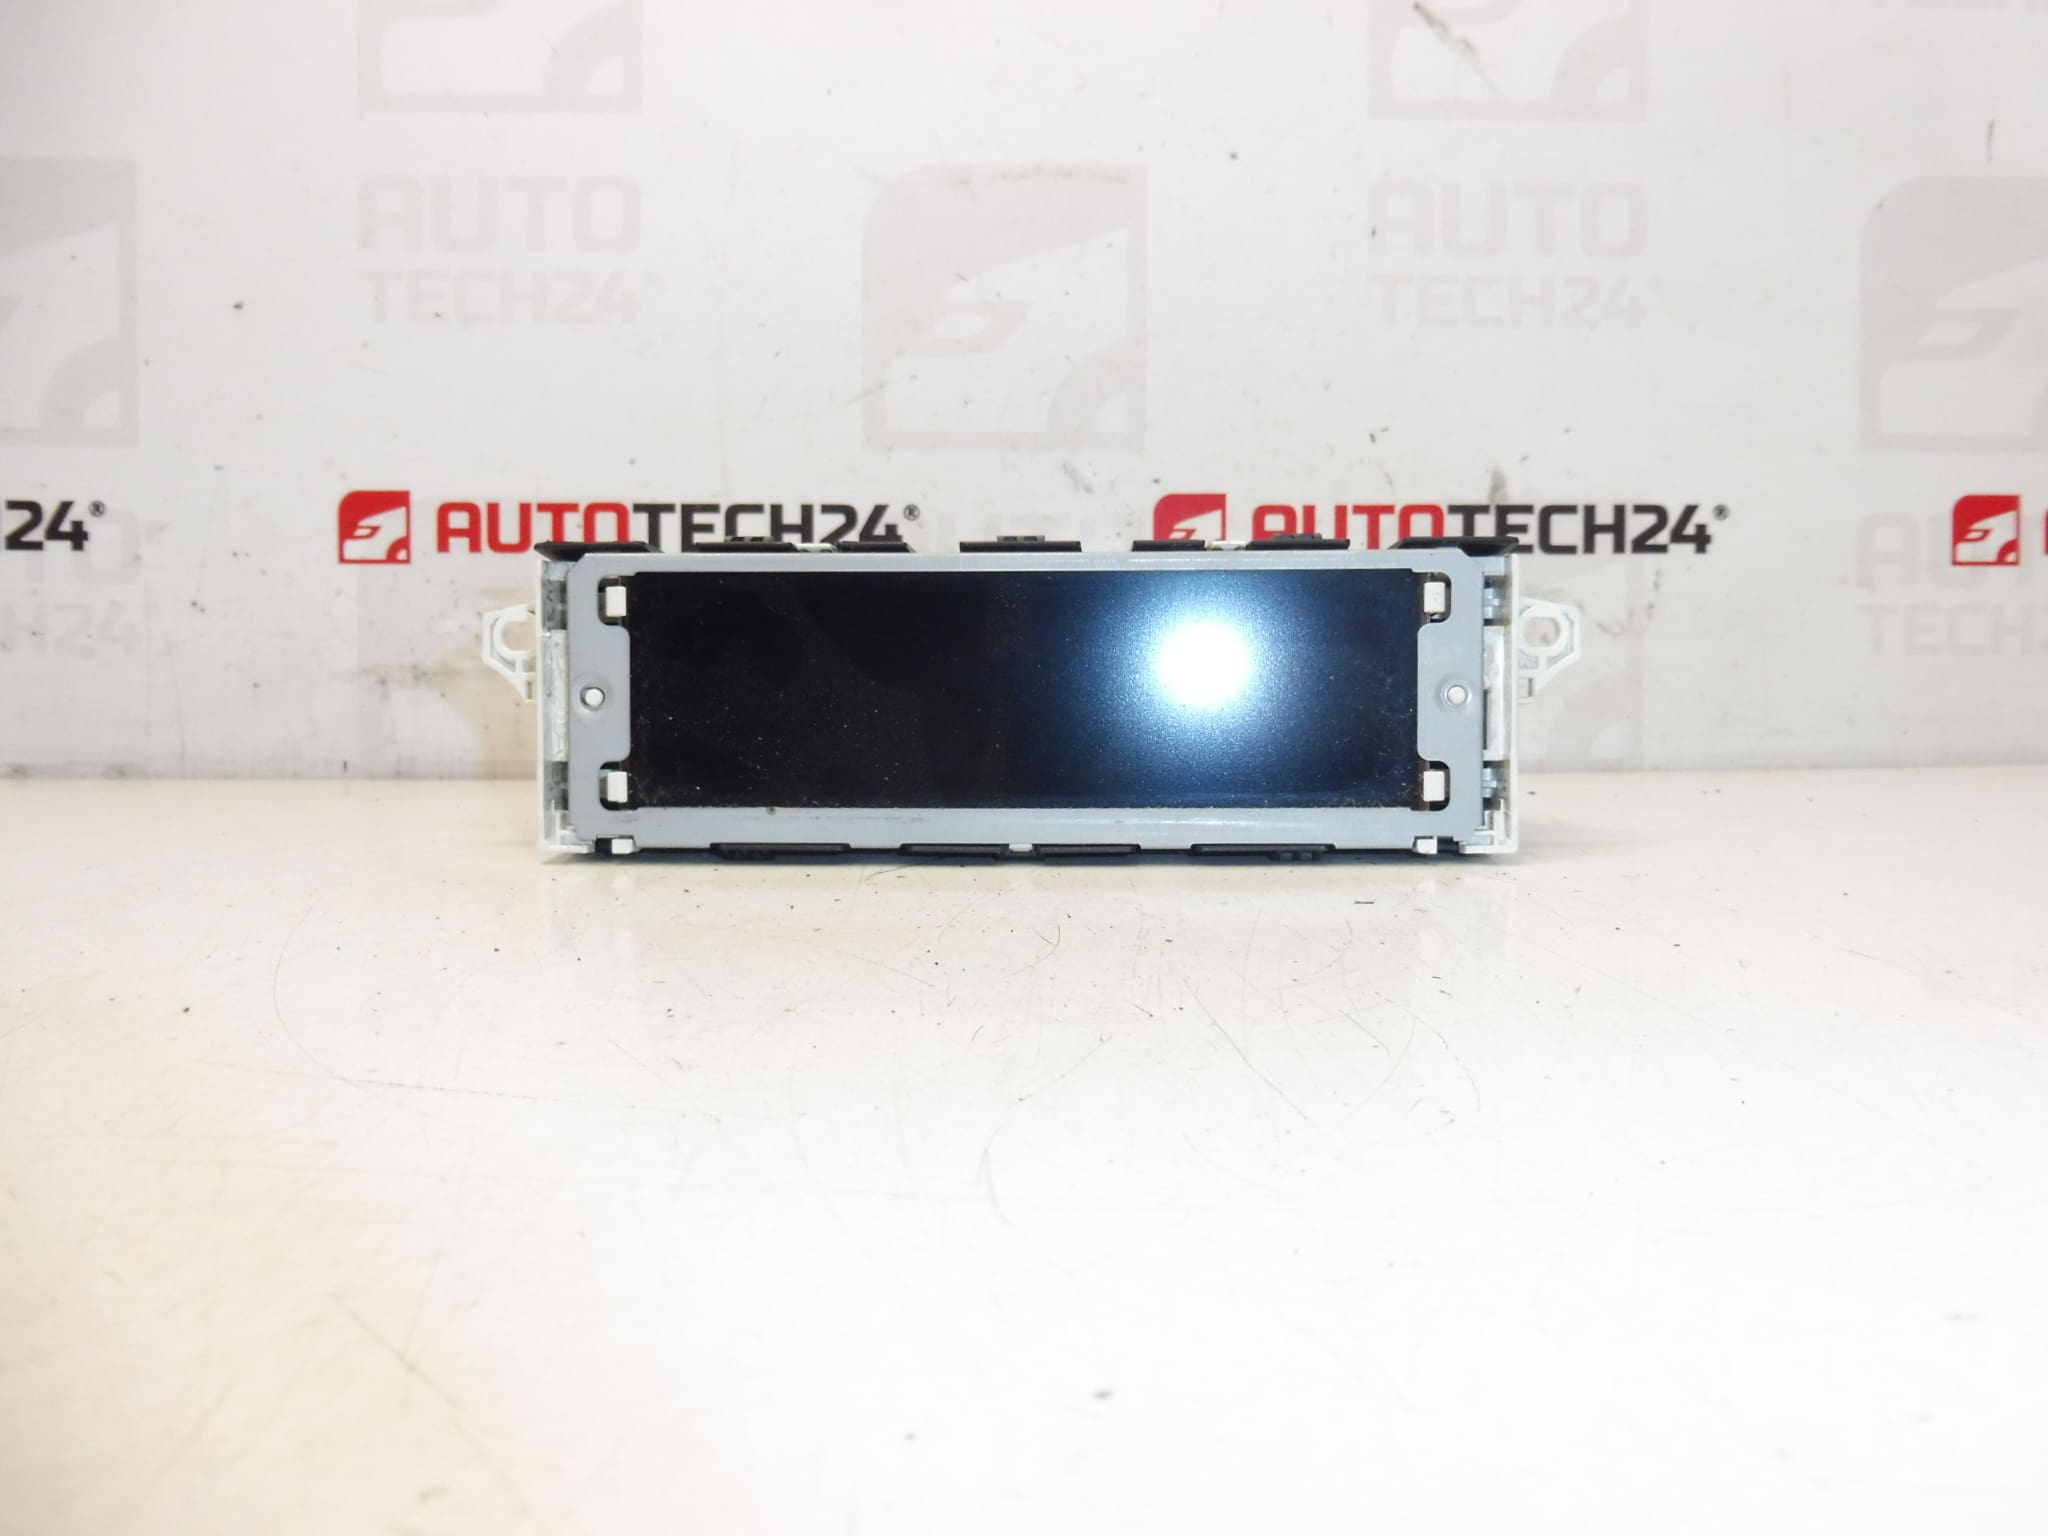
Radio and On-Board Computer Display For PEUGEOT 308 T7. Some Functions May Need To Be Enabled With Diagnostics.
This direct-fit display unit is intended for Peugeot 308 T7 vehicles and serves as the visual interface for the radio and the on-board computer. Designed for professional workshops and experienced DIY mechanics, the unit restores clear screen readout, menu navigation and status information for infotainment and driver information systems. Replacing a faulty display can revive the vehicle’s user interface, improve diagnostics feedback and eliminate intermittent blank screens or corrupted characters that interfere with everyday use.
Key Features And Benefits
- Compatible With Factory Dash Layout: Fits The Peugeot 308 T7 Instrument Panel Without Major Modifications.
- OEM Part Numbers Included: Helps Fast Identification When Searching By Code.
- Restores Full Menu Visibility: Improves Usability Of Radio, Trip Computer And Vehicle Settings.
- Suitable For Workshops And Skilled DIYers: Clear Instructions For Removal And Installation Provided Below.
Technical Information
- Manufacturer: Stellantis / Peugeot-Citroën
- Model: Peugeot 308 (T7)
- Product Codes: 966631380, 966631380-02, 9821851780
- Other Numbers: 6593P2, 6593P3
Installation Recommendations
- Always Disconnect The Battery Before Starting Work To Prevent Short Circuits And Protect Sensitive Electronics.
- Remove Trim Panels Carefully Using Plastic Trim Tools To Avoid Damage To Clips And Surrounds.
- Unscrew And Slide Out The Radio/Head Unit, Then Disconnect Electrical Connectors And Ribbon Cables Gently—Avoid Pulling On Wires.
- Inspect Connectors For Corrosion Or Bent Pins; Clean Contacts If Necessary Before Installing The New Display.
- After Installation, Power Up The Vehicle And Check All Display Functions. Some Features May Require Diagnostic Activation Or Software Settings To Be Enabled.
How To Replace The Display (Step-By-Step)
- Park On A Level Surface, Switch Off Ignition And Disconnect The Negative Battery Terminal.
- Use Trim Removal Tools To Remove Surrounding Dashboard Panels.
- Unscrew Fasteners Securing The Radio/Cluster, Slide The Unit Forward And Disconnect The Multiway Connectors And Display Ribbon Cable.
- Remove The Old Display Module From The Radio Housing And Fit The Replacement, Ensuring The Ribbon Cable Is Seated Correctly.
- Reinstall The Head Unit, Reconnect All Plugs, Refit Trim Panels And Reconnect The Battery.
- Verify Display Operation And Menu Access. If Certain Functions Do Not Appear, Use Diagnostic Equipment To Enable Required Options.
Why This Part Fails Most Often
- Backlight Or LCD Degradation: Over Time Heat And UV Exposure Can Cause Dimming, Dead Pixels Or Uneven Lighting.
- Ribbon Cable Fatigue Or Connector Issues: Repeated Vibration And Poor Contact Can Create Intermittent Or Permanent Failure.
- Moisture Ingress And Corrosion: Leaks Or High Humidity Can Corrode Contacts And Electronics.
- Software/Compatibility Issues: After Replacement Some Functions May Be Disabled Until Activated By Diagnostic Tools.
If You Search By Part Number, Use The Codes Listed Above To Quickly Find The Correct Unit. This Display Is A Direct Replacement For Units Marked With The Included Product Codes And Is Intended For Technicians Comfortable With Dashboard Electronics And Diagnostic Activation Procedures.