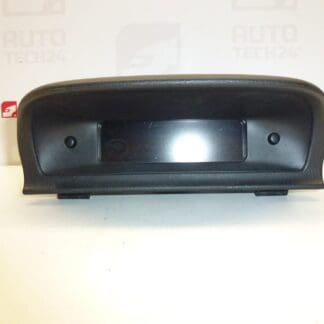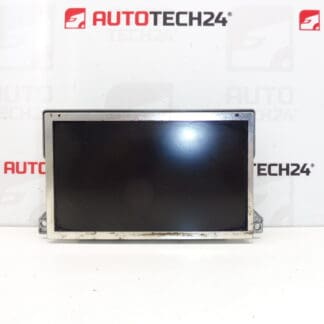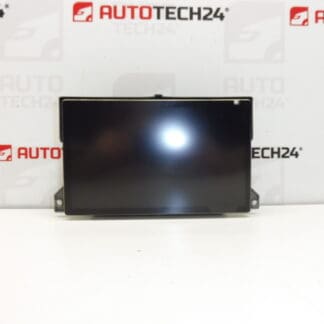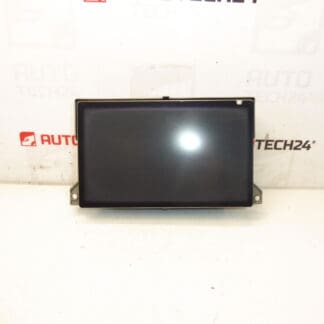
Description
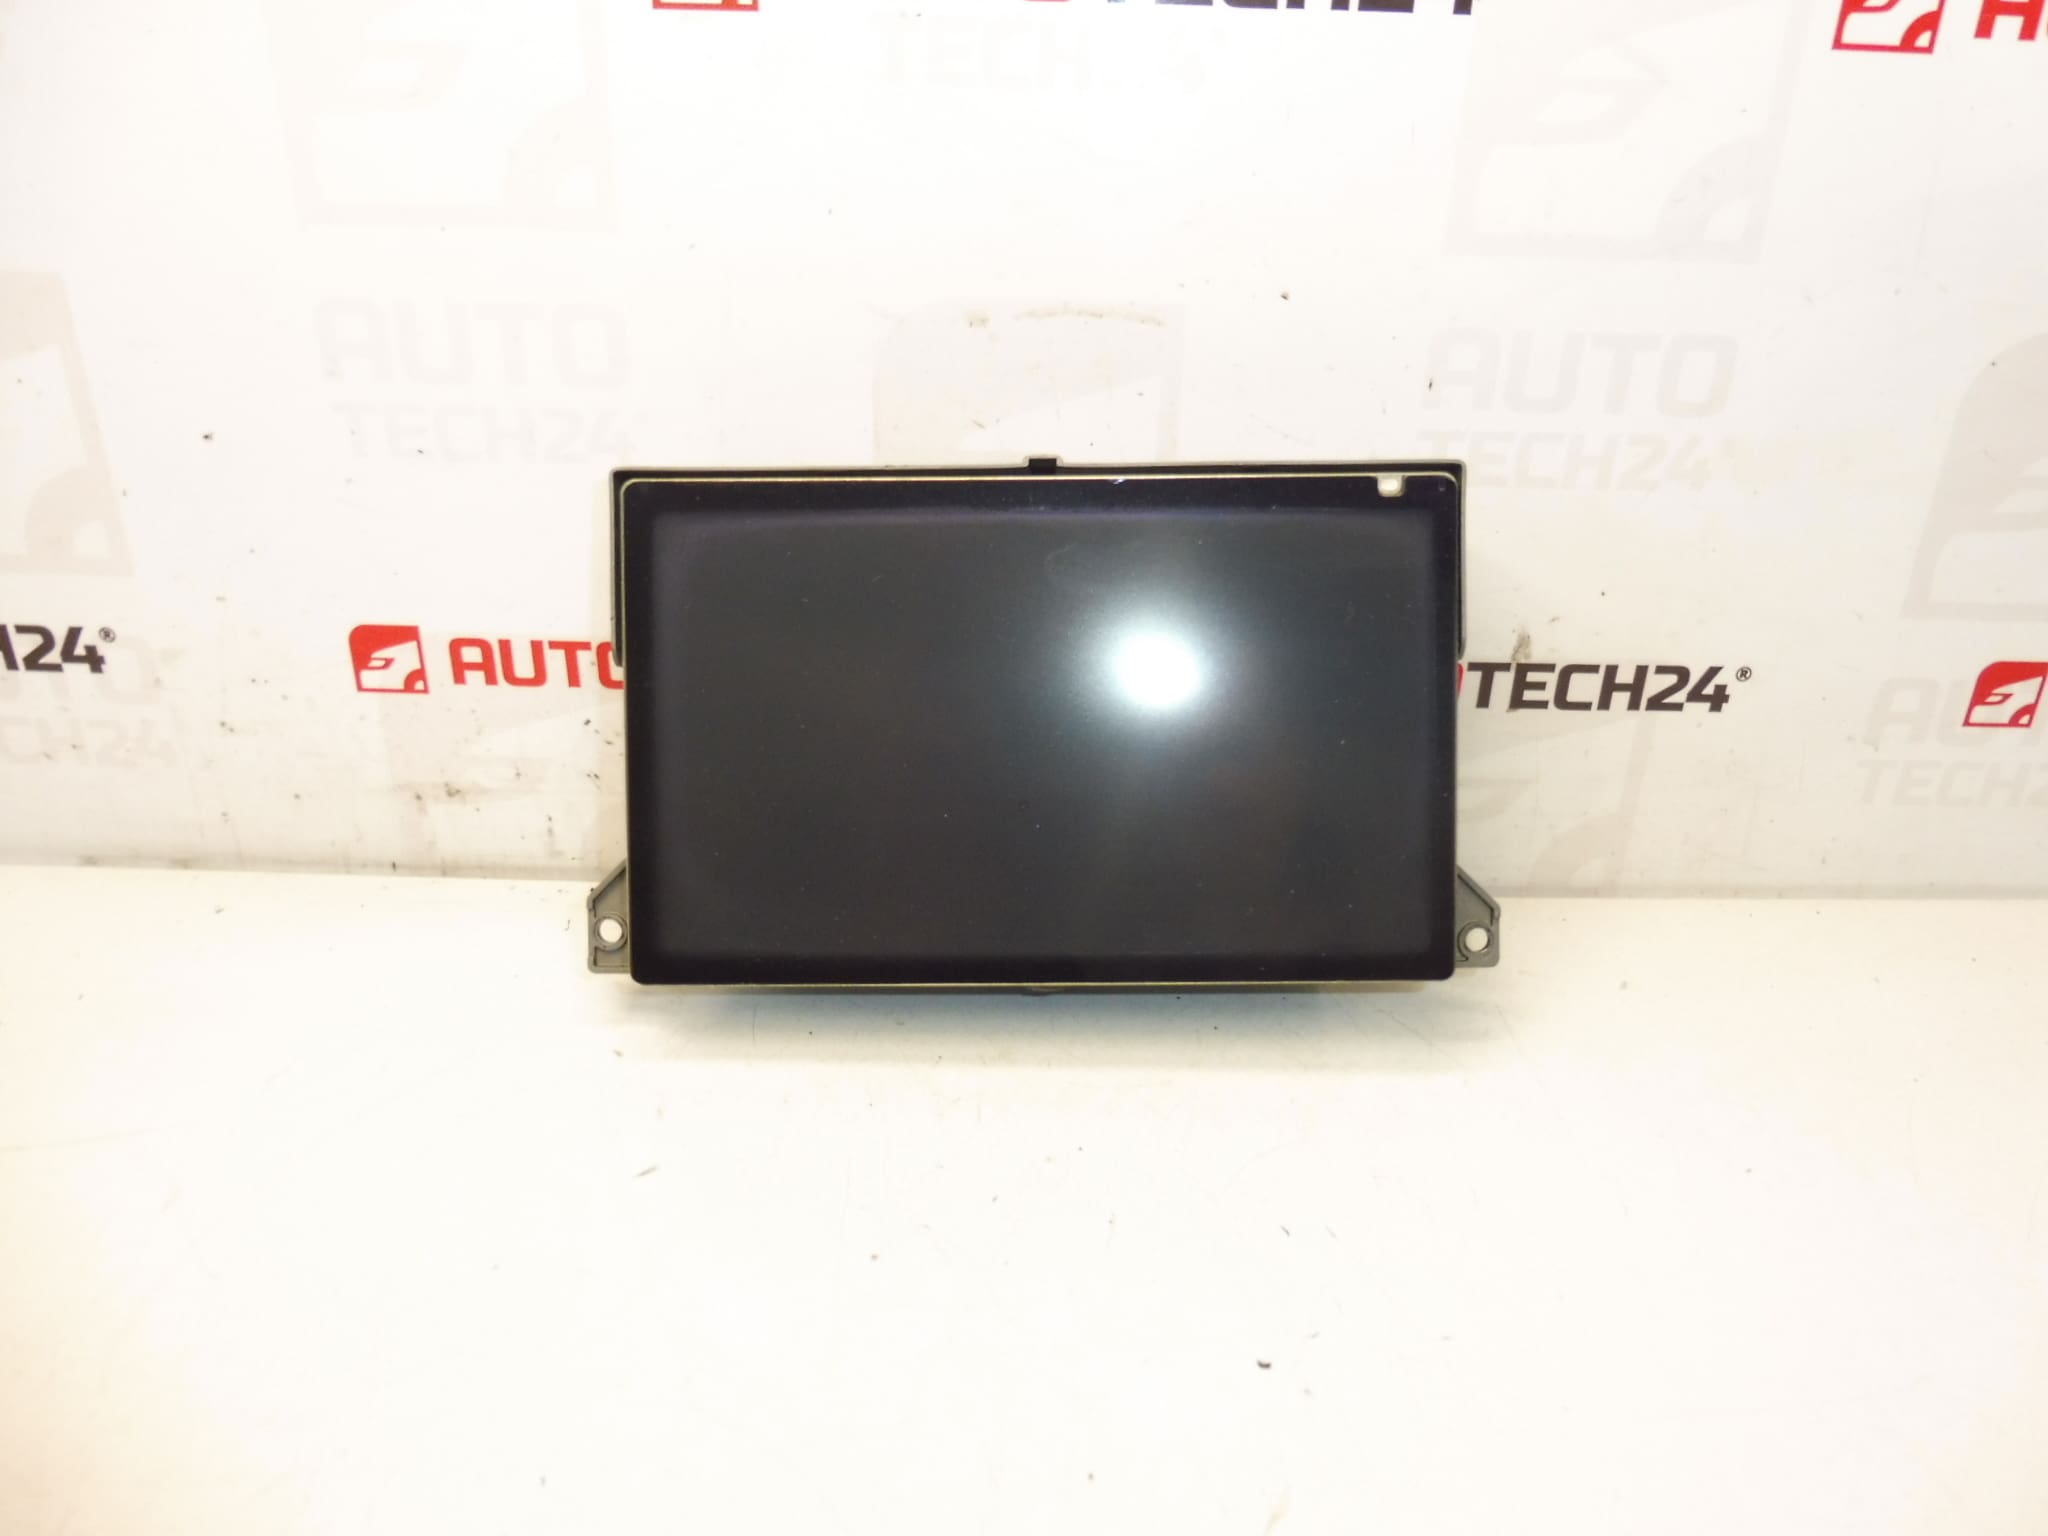
Multifunction display for PEUGEOT 307 vehicles. Shows radio, navigation, trip computer and other vehicle functions. Fully functional, tested.
Product Overview
This original-equipment display is designed for Peugeot 307 dashboards and provides clear visualization of radio, navigation, on-board computer and other vehicle functions. It is a direct replacement on vehicles equipped with the factory multimedia/navigation system and helps restore full in-dash functionality without major modifications.
Key Features
- Clear LCD Display For Radio, Navigation And Trip Computer Data
- Direct Fit For Peugeot 307 Vehicles Equipped With Factory Infotainment
- OEM Part Numbers Included For Easy Identification
- Ideal For Mechanics And DIY Enthusiasts Seeking A Reliable Dashboard Replacement
Technical Information
- Manufacturer: Stellantis (Citroën / Peugeot)
- Model: Peugeot 307
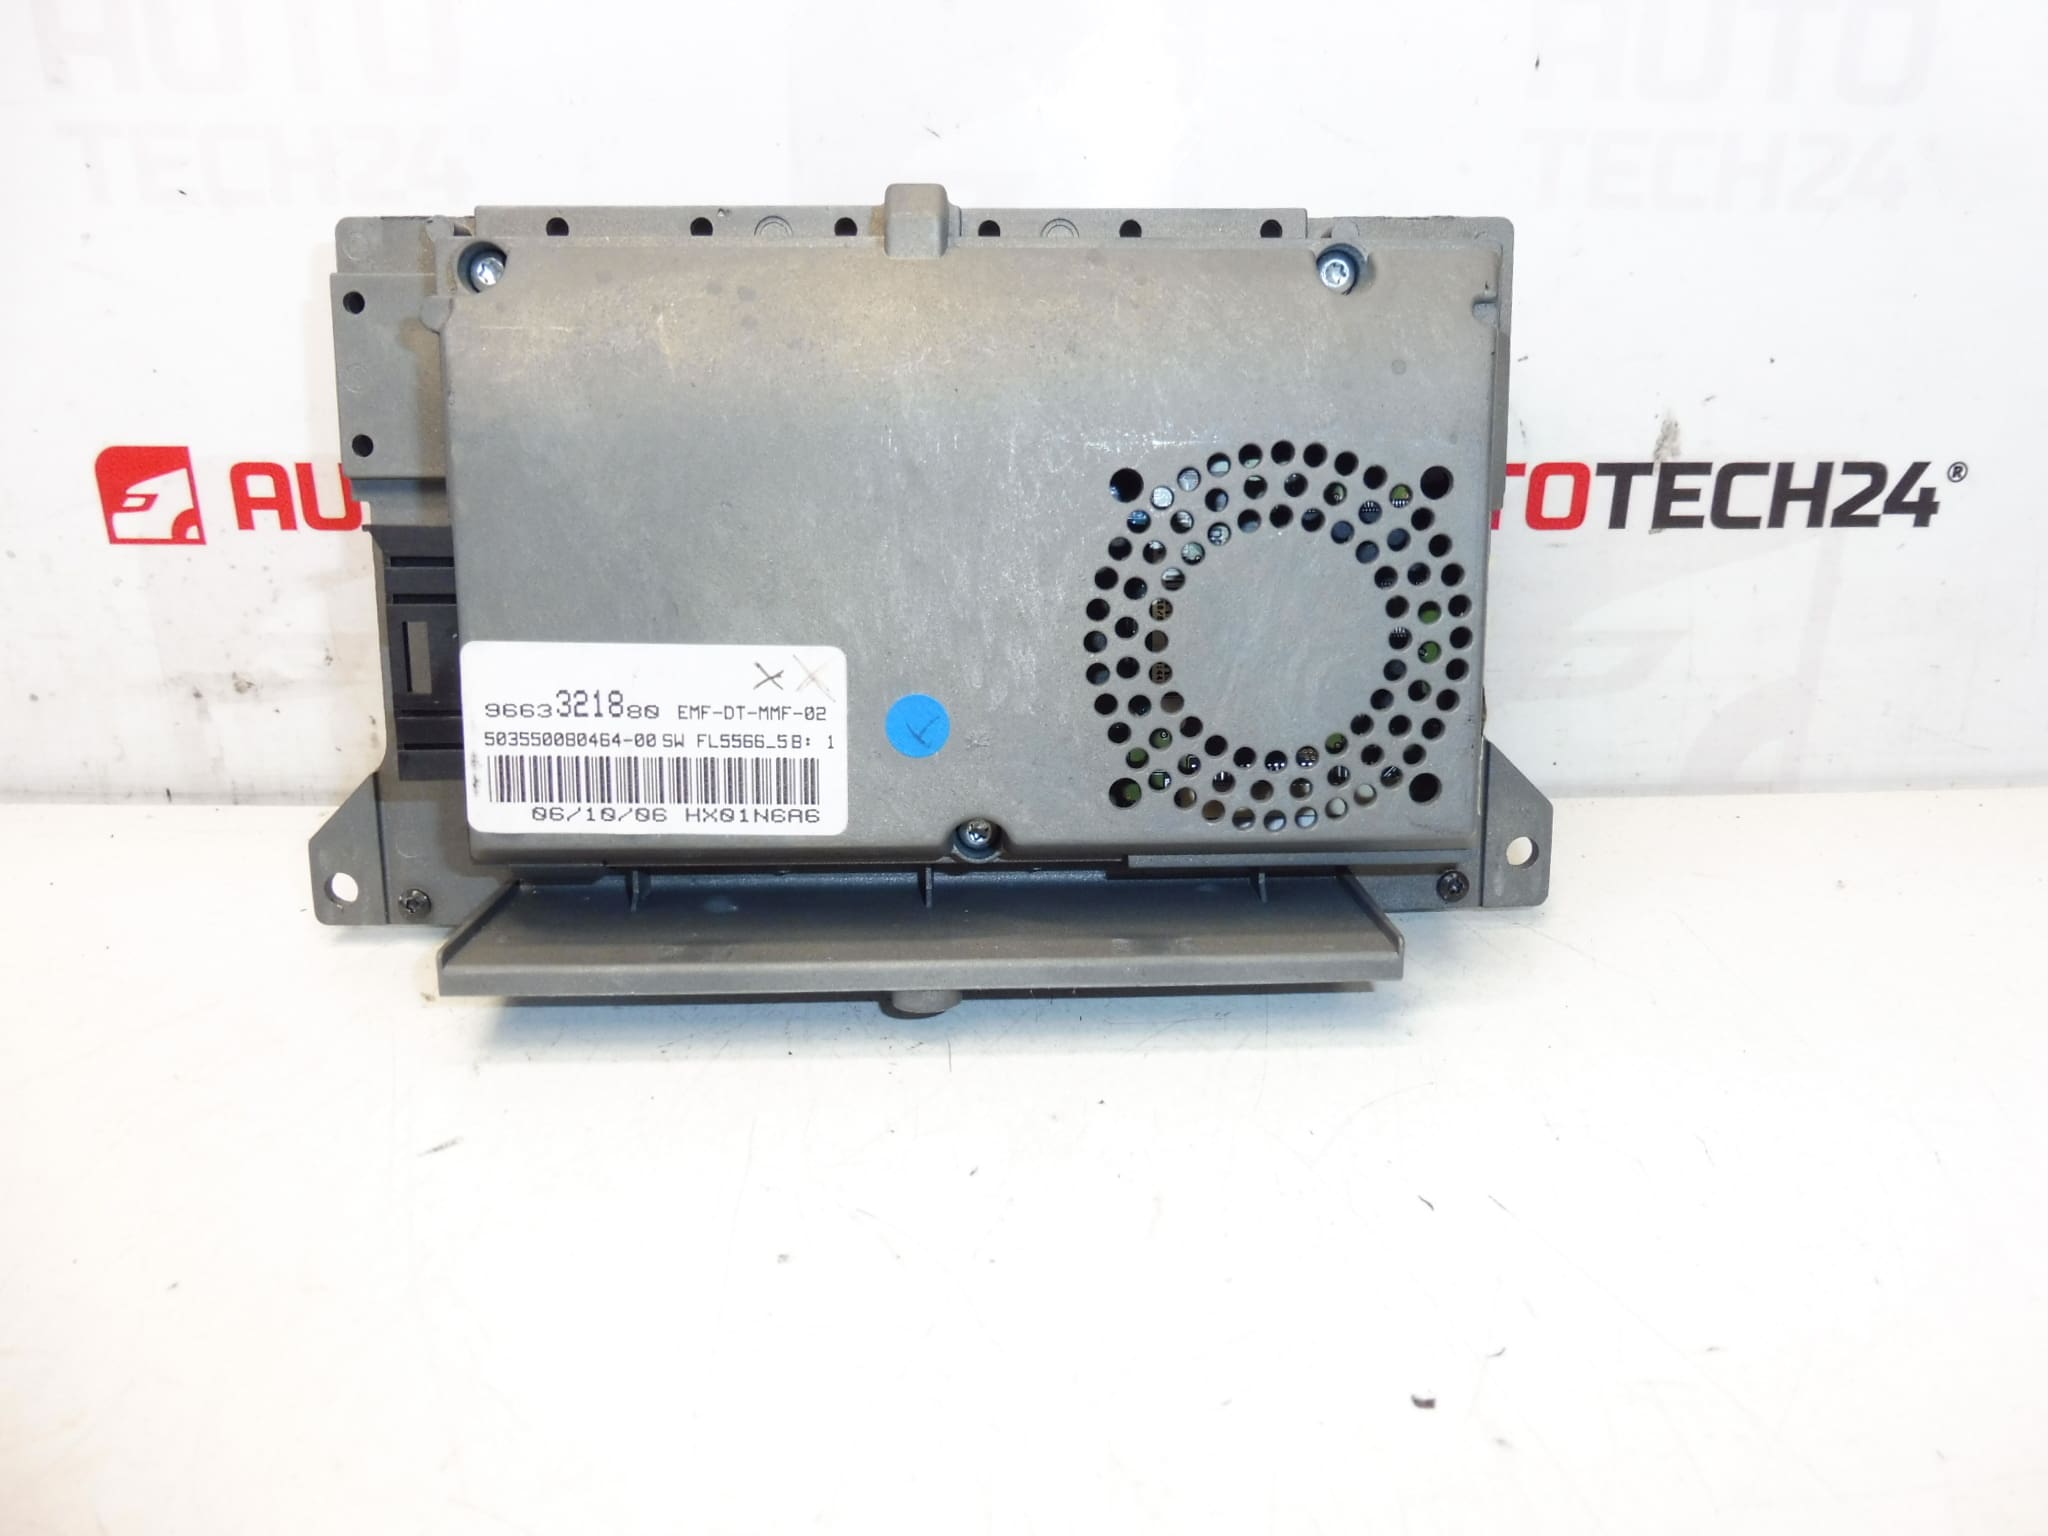
- Product Codes: 9663321880, 6563YN, 6563YP
- Other Numbers: 6563YN | 6563YP | 9663321880
Compatibility
Suitable For Peugeot 307 models equipped with the original factory navigation/radio interface. Before ordering, check that the part numbers match the unit currently fitted in the vehicle to ensure correct fitment and connector layout.
Installation Guide
- Prepare Tools: Trim Removal Tools, Torx And Phillips Screwdrivers, Gloves.
- Disconnect Battery: Always Disconnect The Negative Battery Terminal Before Starting Work.
- Remove Dashboard Trim: Use Trim Tools To Carefully Pry Surrounding Panels Without Damaging Clips.
- Unscrew Unit: Remove Fasteners Securing The Display Module And Gently Pull Unit Forward.
- Disconnect Connectors: Unplug The Multi-Pin Harnesses And Any Antenna Or Auxiliary Cables.
- Fit Replacement: Connect Harnesses To New Display, Secure With Screws, Reinstall Trim And Reconnect Battery.
- Functional Check: Verify Radio, Navigation, Display Backlight And On-Board Computer Readouts Operate Correctly After Installation.
Mounting Recommendations
- Follow Vehicle Manufacturer Procedures For Removal And Installation To Avoid Damage To Connectors And Trim.
- Use Proper Trim Tools To Prevent Scratches And Broken Clips.
- When Reconnecting, Ensure Connectors Are Fully Seated And Locking Tabs Engaged.
- Perform A Full Functional Test Before Final Reassembly.
- Keep Screws And Small Parts Organized To Prevent Rattles After Reinstallation.
Why The Part Commonly Fails
Display Units In Vehicles Of This Age Typically Fail Due To Backlight Or LCD Degradation, Thermal Stress, Connector Corrosion, Or Power Supply Component Wear (e.g., Aging Capacitors). Frequent Causes Include Prolonged Exposure To Heat, Intermittent Voltage Spikes, Moisture Ingress Behind The Dashboard, And Mechanical Shock From Improper Removal. Failure Symptoms Often Include Dim Or Blank Screen, Flickering, Partial Pixel Loss, Or Loss Of Certain Functions Displayed On Screen.
Useful Notes
Because This Unit Interacts Directly With The Vehicle’s Infotainment Systems, Make Sure Connectors Match The Original Unit And That All Functions Are Verified After Installation. Typical Vehicle Electrical System Rating Is 12V; Exercise Caution When Working Around Airbag And Safety Circuits.
Buying Advice
Search By The OEM Part Numbers (9663321880, 6563YN, 6563YP) When Looking For This Display To Improve The Chance Of Finding The Correct Fit. This Product Is Intended For Mechanics And Experienced DIYers Comfortable With Dashboard Disassembly.