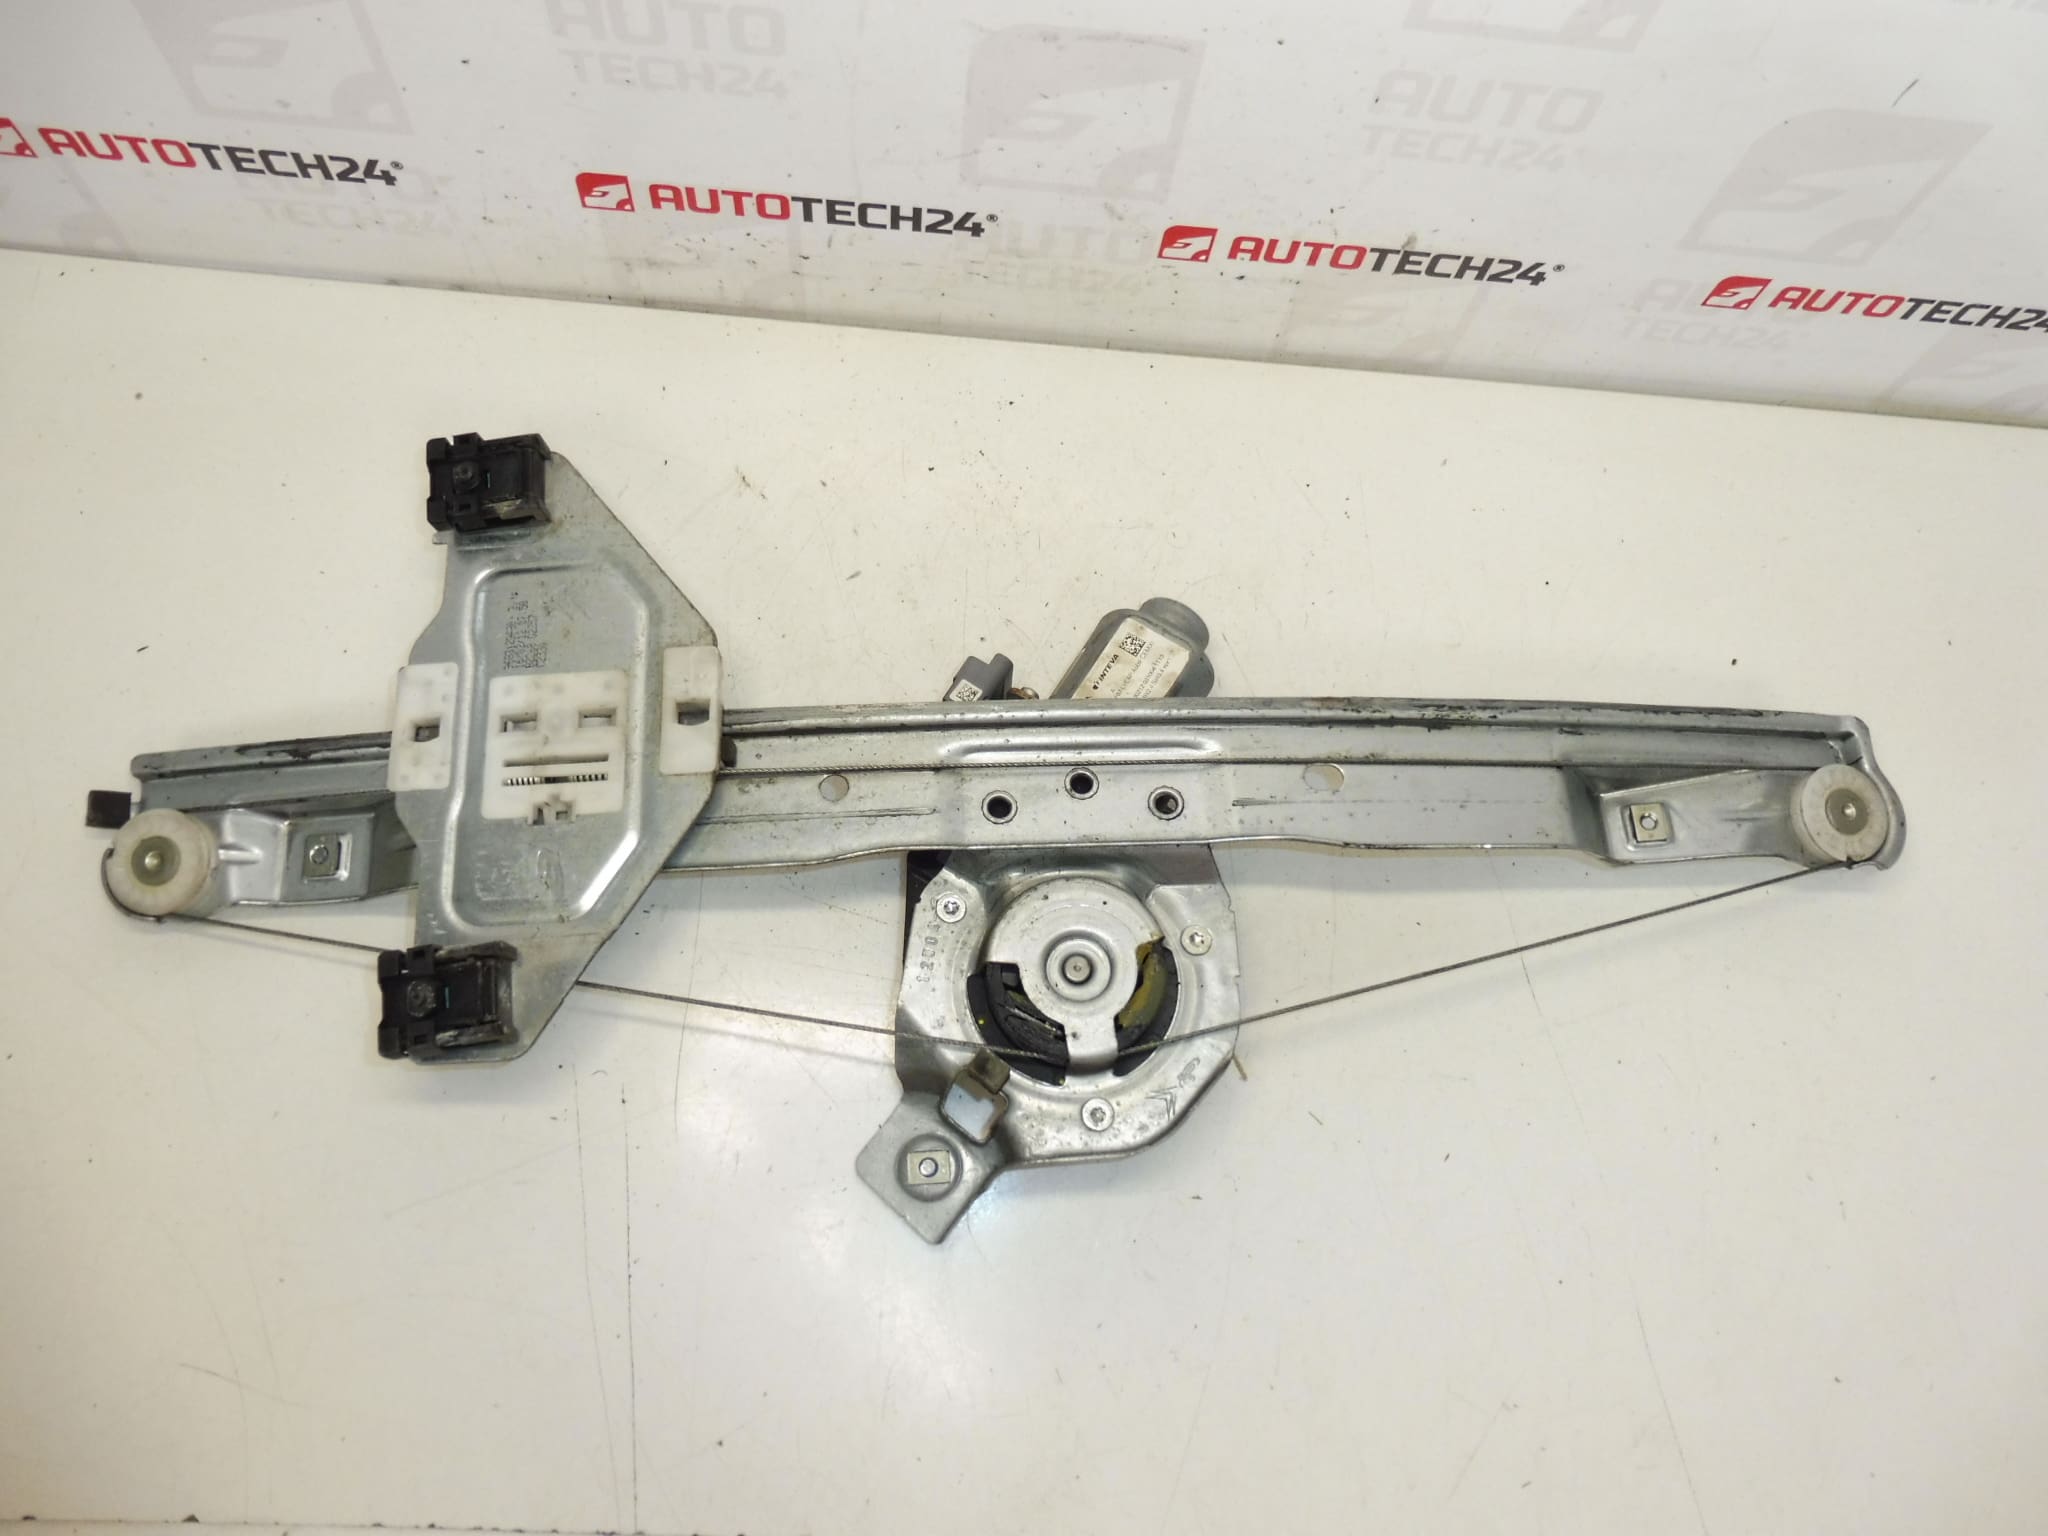
Description
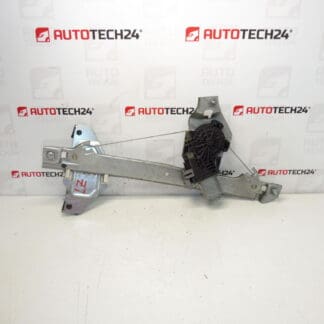
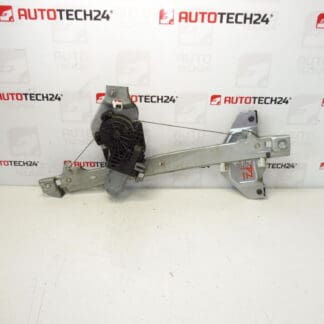
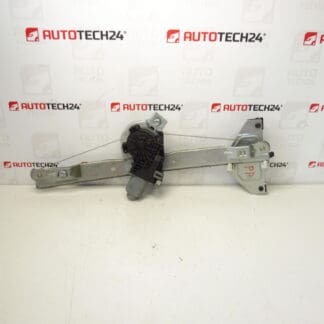
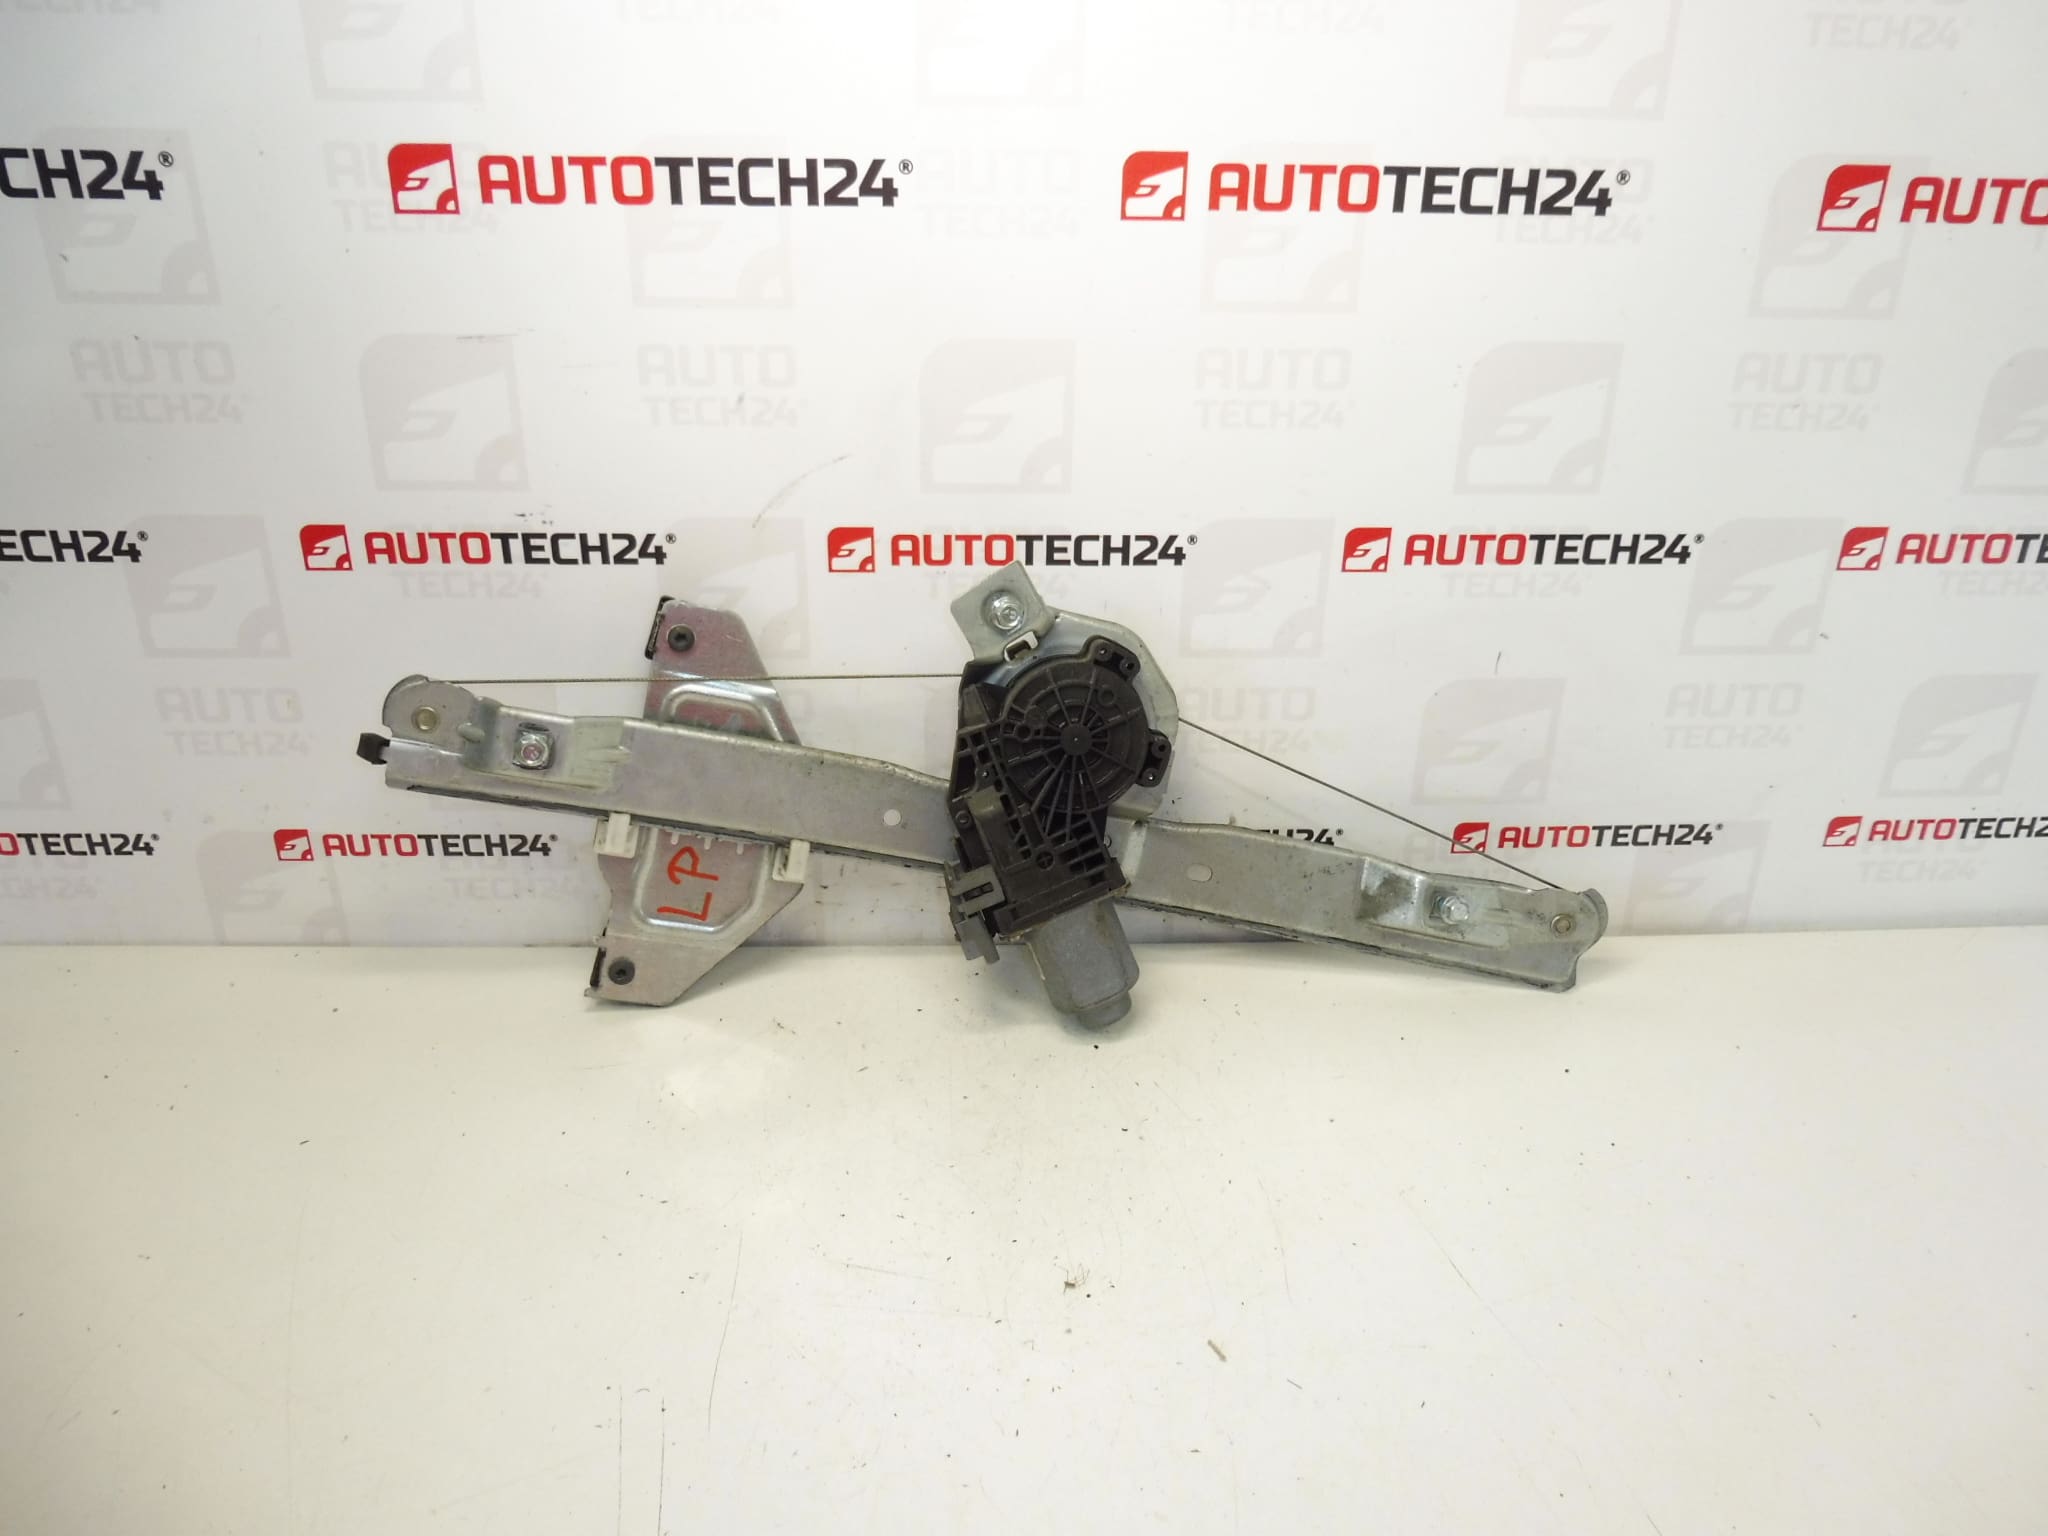
Electric window regulator mechanism for the left front window for Citroën C3 II A51. Side – Driver’s door. Includes electric motor. 6-Pin.
Product Overview
High-quality electric window regulator assembly designed for the left front (driver side) door of Citroën C3 II (A51) vehicles. This complete unit includes the electric motor and a 6-pin connector for direct replacement of worn or damaged regulators. Frequently searched under the OEM/product numbers 9221FR and 9802617780, this part is aimed at professional mechanics and DIY enthusiasts who require a reliable, OEM-compatible solution to restore smooth window operation.
The regulator ensures precise glass movement and quiet operation when raising or lowering the window. Fitting this unit will eliminate common symptoms such as slow or jerky window travel, excessive noise, or a window that does not stay in position. Ideal for garage repairs and workshop use, the assembly reduces installation time thanks to its integrated motor and standard connector.
Technical Information
- Manufacturer: Stellantis / Citroën
- Model: Citroën C3 II (A51) — Left Front (Driver Door)
- Product Codes: 9221FR
- Other Numbers: 9802617780
Fitment And Compatibility
Fits Citroën C3 II models designated A51 for the left front door. Always verify the connector type (6-pin) and mounting layout against the removed unit to ensure a correct match. This part is commonly referenced by its product codes (9221FR / 9802617780) in parts catalogs and online searches.
Installation Recommendations
- Before starting work, disconnect the negative battery terminal to avoid short circuits and protect vehicle electronics.
- Remove the door trim panel using appropriate trim tools to avoid damaging clips and upholstery.
- Carefully lower the glass (if possible) and secure it in position or support it after detaching from the regulator.
- Disconnect the 6-pin electrical connector from the motor and unbolt or drill out the fixing rivets/bolts securing the old regulator as required.
- Transfer any necessary clips or guide fittings to the new regulator, position the unit, and fasten according to the original mounting points.
- Reconnect the motor connector, temporarily reconnect the battery, and test window function before final reassembly to confirm correct operation and alignment.
- After verification, disconnect the battery again, complete the trim reassembly and torque fasteners to manufacturer recommendations.
Recommended Tools: Panel trim tools, Torx/Phillips drivers, socket set, rivet drill or rivet tool (depending on original fixings), multimeter for electrical checks. Typical workshop time: 1–2 hours depending on experience and door trim complexity.
Why This Part Most Often Fails
- Motor Wear: Repeated cycles over time cause the motor brushes and gears to wear, reducing torque and causing slow or failed movement.
- Water Ingress / Corrosion: Moisture inside the door can corrode electrical connections and mechanical tracks, leading to increased friction or electrical failure.
- Broken Plastic Components: Sliders, clips, or guides made of plastic can fracture, causing the regulator to bind or the glass to misalign.
- Cable Or Track Damage: On cable-driven regulators, frayed cables or worn tracks allow slippage and uneven glass movement.
- Overload And Misuse: Forcible operation (e.g., on a frozen window) can overstress the motor and mechanism.
Notes For Mechanics And DIYers
Because the assembly includes the motor and standard 6-pin connector, replacement is straightforward for technicians familiar with door trim removal. Use careful handling of the glass and follow vehicle manufacturer procedures for safe removal and refit. After installation, check for smooth travel across the full window stroke and ensure the window seals correctly to prevent wind noise and water ingress.