Description
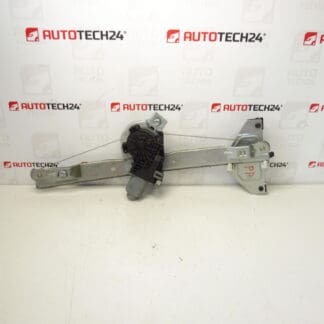
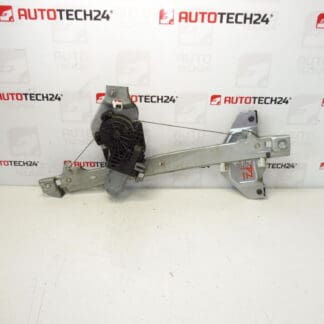
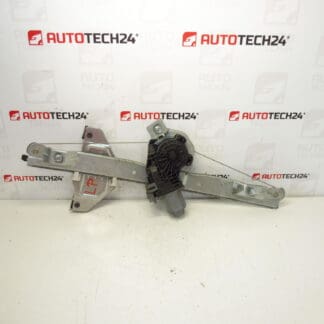
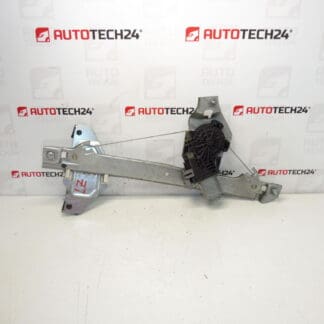
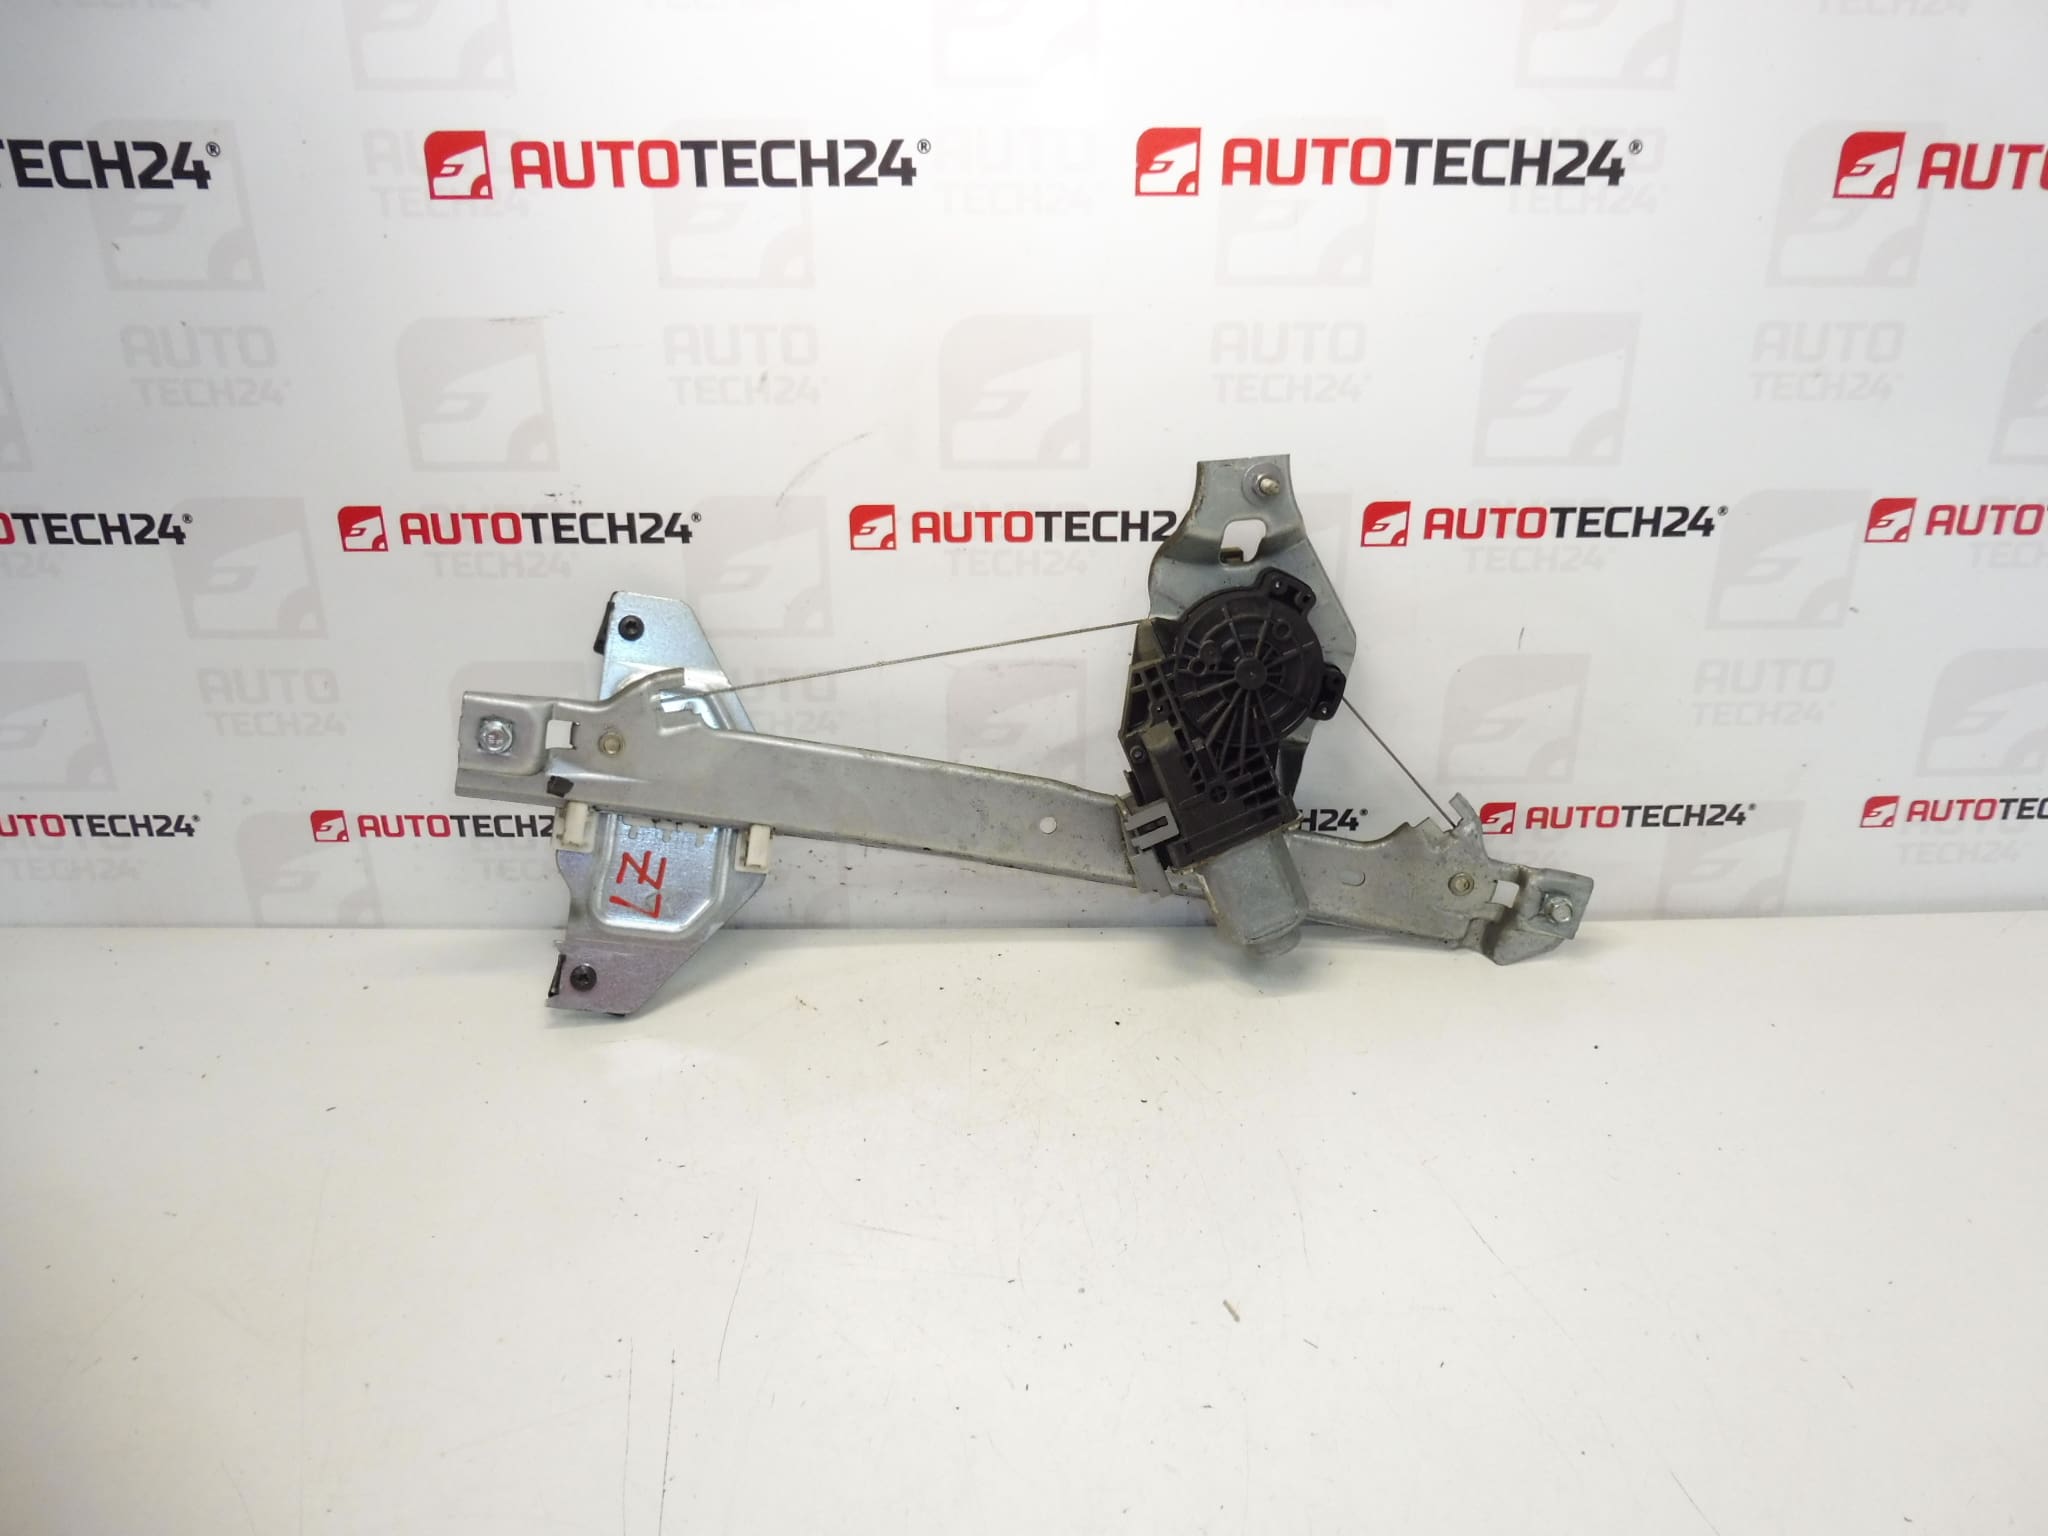
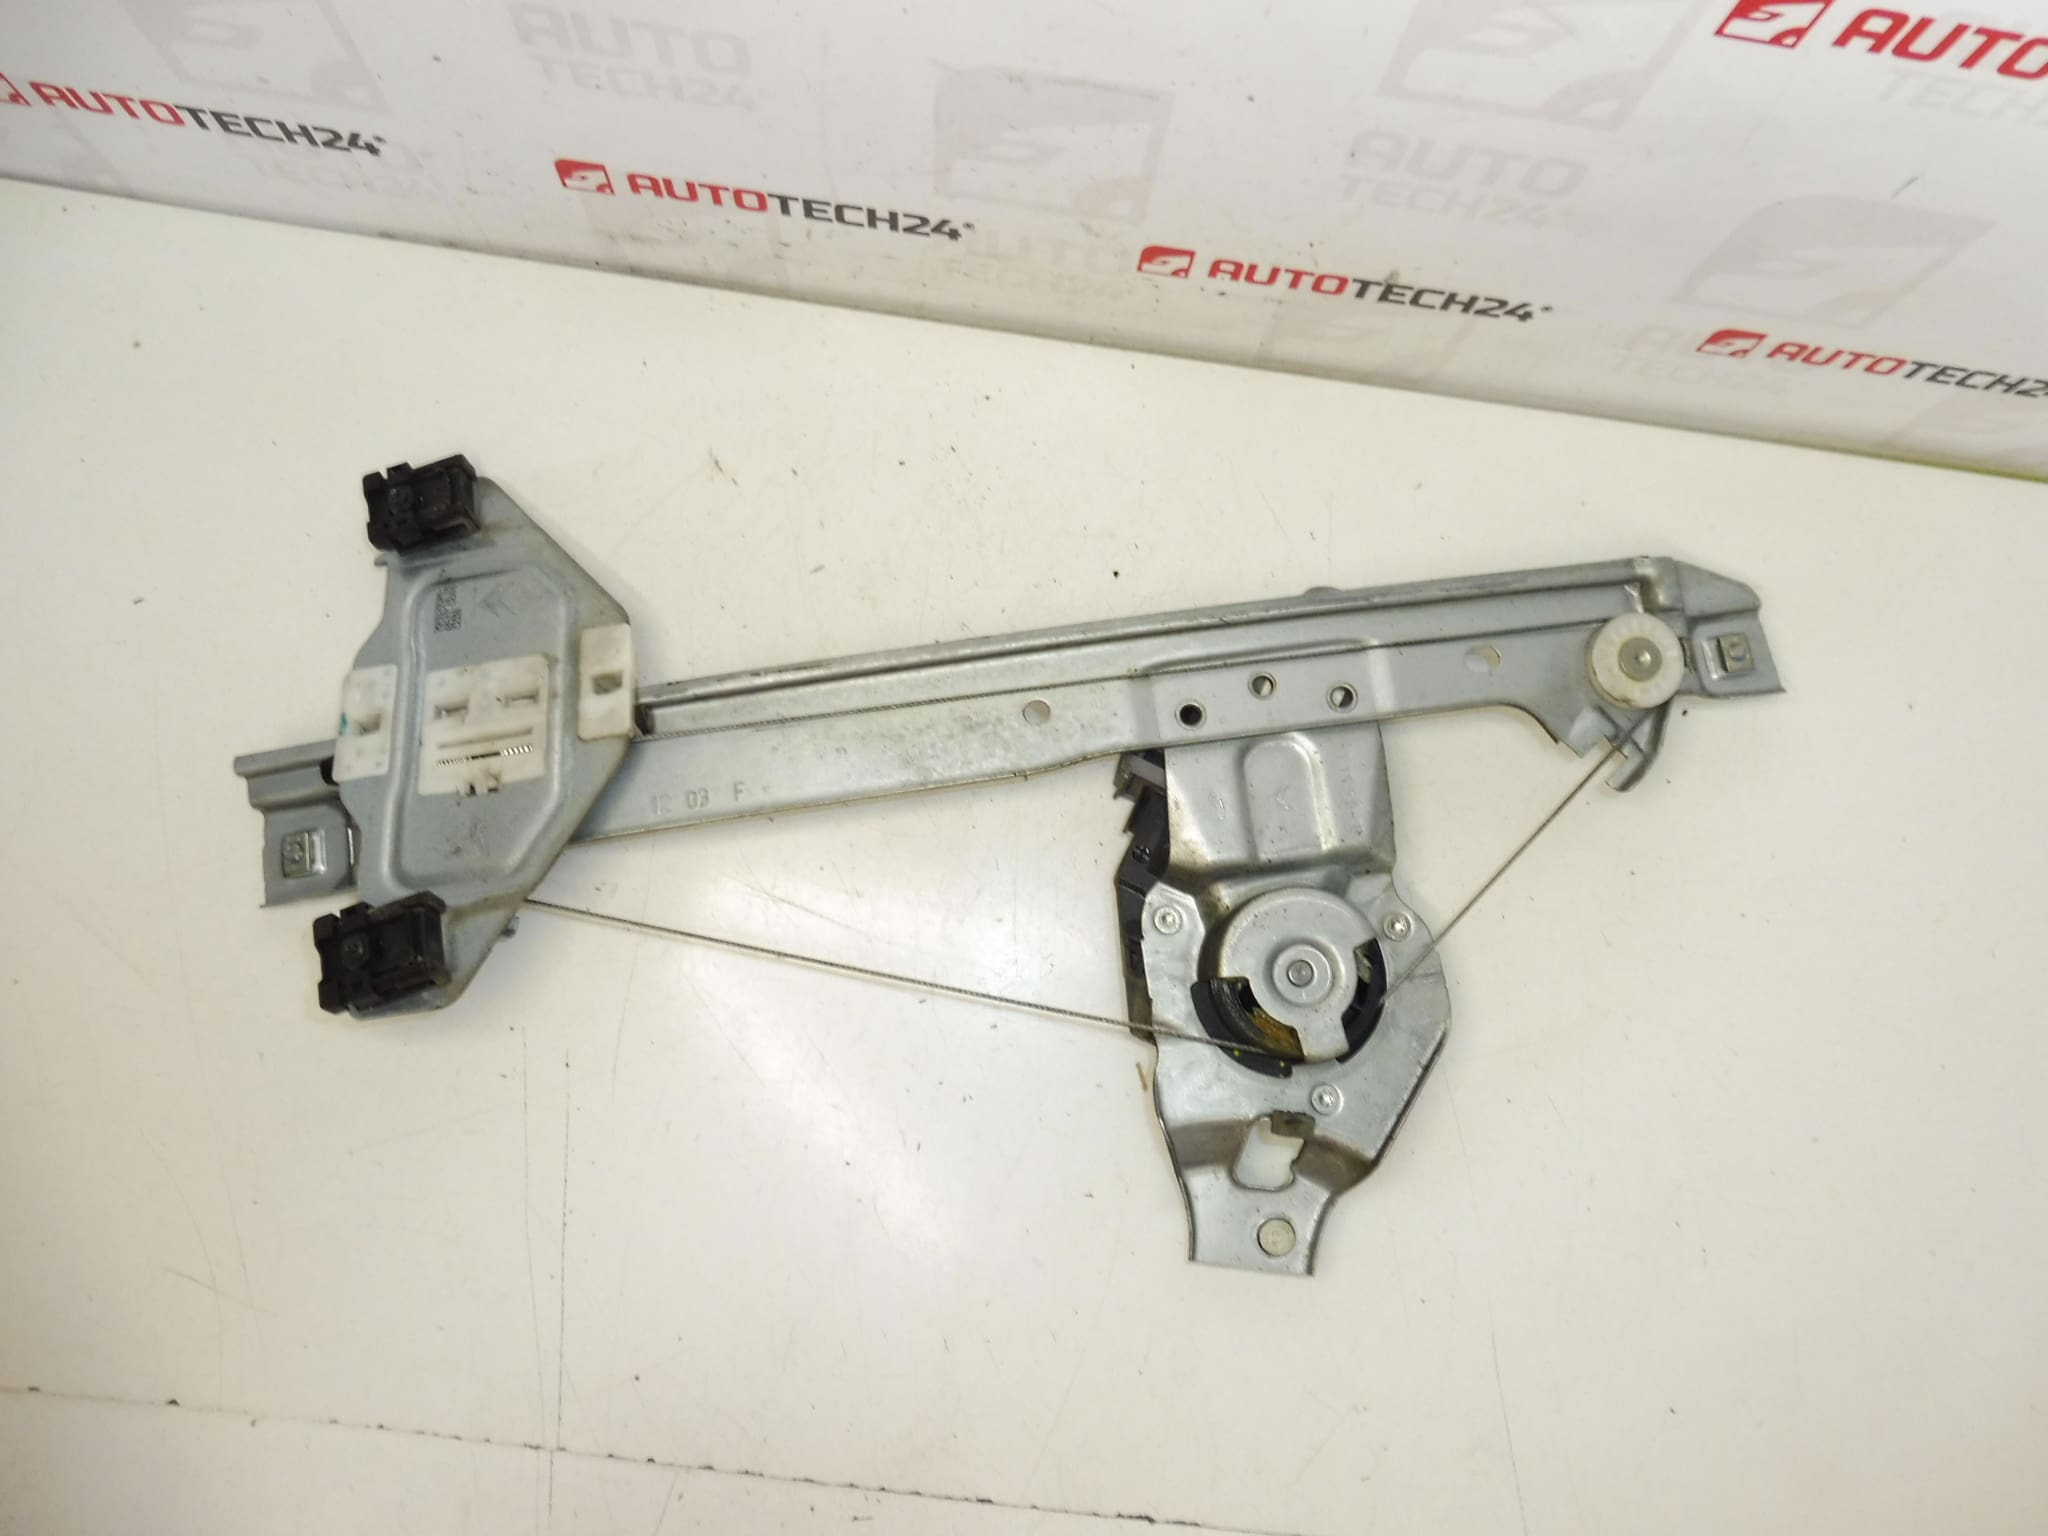
Electric Window Regulator Mechanism For The Left Rear Window For Citroën C3 II A51
Side – Rear Door (Driver’s Side)
Includes Electric Motor
6PIN
Product Overview
This left rear electric window regulator with integrated motor is a direct-fit solution for Citroën C3 II (A51) vehicles. Designed for professional garages and DIY mechanics, the unit replaces the complete regulator assembly in the rear door and connects via a 6‑pin plug. Commonly searched by part numbers 9223F9 and 9802619380, it is ideal when the glass no longer moves smoothly, the motor is noisy, or the regulator cable/slider has failed.
Features And Function
- Complete Regulator Assembly With Electric Motor: Transfers motor torque into smooth vertical movement of the window glass.
- 6‑Pin Electrical Connector: Standard plug for power and control signals on the specified models.
- Direct-Fit Replacement: Supplied as a ready-to-install unit for the left rear door (driver’s side).
- Designed For Workshop And Home Repair: Robust construction intended for repeated use under normal operating conditions.
Compatibility
Fits Citroën C3 II (A51) vehicles for the Left Rear Door (driver’s side). Verify the part numbers 9223F9 or 9802619380 to confirm fitment for your specific model and trim.
Replacement Procedure
High-Level Steps For Replacement (For Experienced Technicians Or Competent DIY Mechanics):
- Disconnect The Battery Before Starting Work To Prevent Accidental Window Movement Or Electrical Damage.
- Remove Interior Door Trim And Any Vapor Barrier Carefully To Access The Regulator.
- Support The Window Glass And Loosen The Fasteners That Secure The Glass To The Regulator.
- Disconnect The 6‑Pin Electrical Connector From The Motor.
- Unbolt The Regulator Assembly From The Door Shell And Withdraw The Unit Through The Access Opening.
- Install The New Regulator, Reattach The Glass, Reconnect The Connector, And Test Window Operation Before Reassembling The Door Trim.
- Ensure Smooth Travel Across Full Stroke; Adjust Glass Alignment If Necessary.
Technical Information
- Manufacturer: Stellantis / Citroën
- Model: Citroën C3 II (A51) – Left Rear Door
- Product Codes: 9223F9, 9802619380
- Other Numbers: 6-Pin Connector
Installation Recommendations
- Disconnect The Battery Before Work And Follow Manufacturer Service Procedures To Avoid Damage.
- Check Door Wiring And Connector Pins For Corrosion Or Damage; Repair Any Faulty Wiring Before Installing The New Unit.
- Clean And Lightly Lubricate Window Channels And Slides To Reduce Motor Load And Extend Service Life.
- Test The Regulator Through Several Full Cycles Before Reassembling The Door Trim To Confirm Correct Operation And Alignment.
- Use Suitable Tools And Retain All Fasteners; Replace Any Worn Clips Or Brackets During Reassembly.
Why The Part Commonly Fails
- Motor Wear Or Electrical Faults: Frequent use, water ingress, or poor electrical connections can cause motor failure.
- Cable Or Slider Wear: Plastic sliders, guide rails, or cables can wear or break, leading to jammed or sagging windows.
- Corrosion And Dirt In Channels: Debris and rust increase friction and overload the motor.
- Accidental Damage: Door impacts or improper manual force on the glass can deform the regulator mechanism.
- Seized Guides Or Misalignment: Bent tracks or loose mounting allow excessive movement and accelerated wear.
Additional Notes
Part numbers 9223F9 and 9802619380 are commonly used when searching for this component. Fitment and connector type (6‑pin) should be confirmed visually before installation. Suitable for professional workshops and competent DIY mechanics experienced with door interior disassembly.