Description
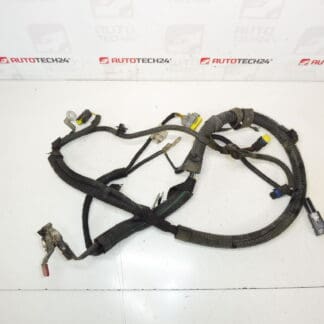
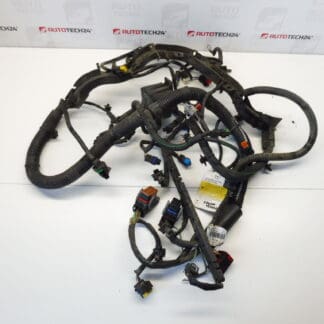
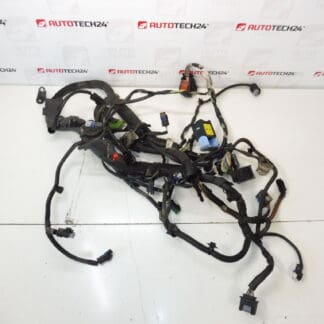
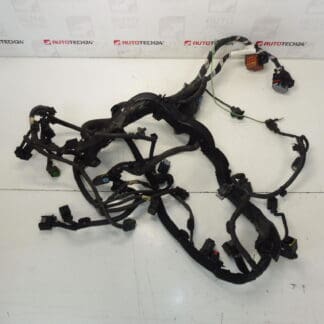
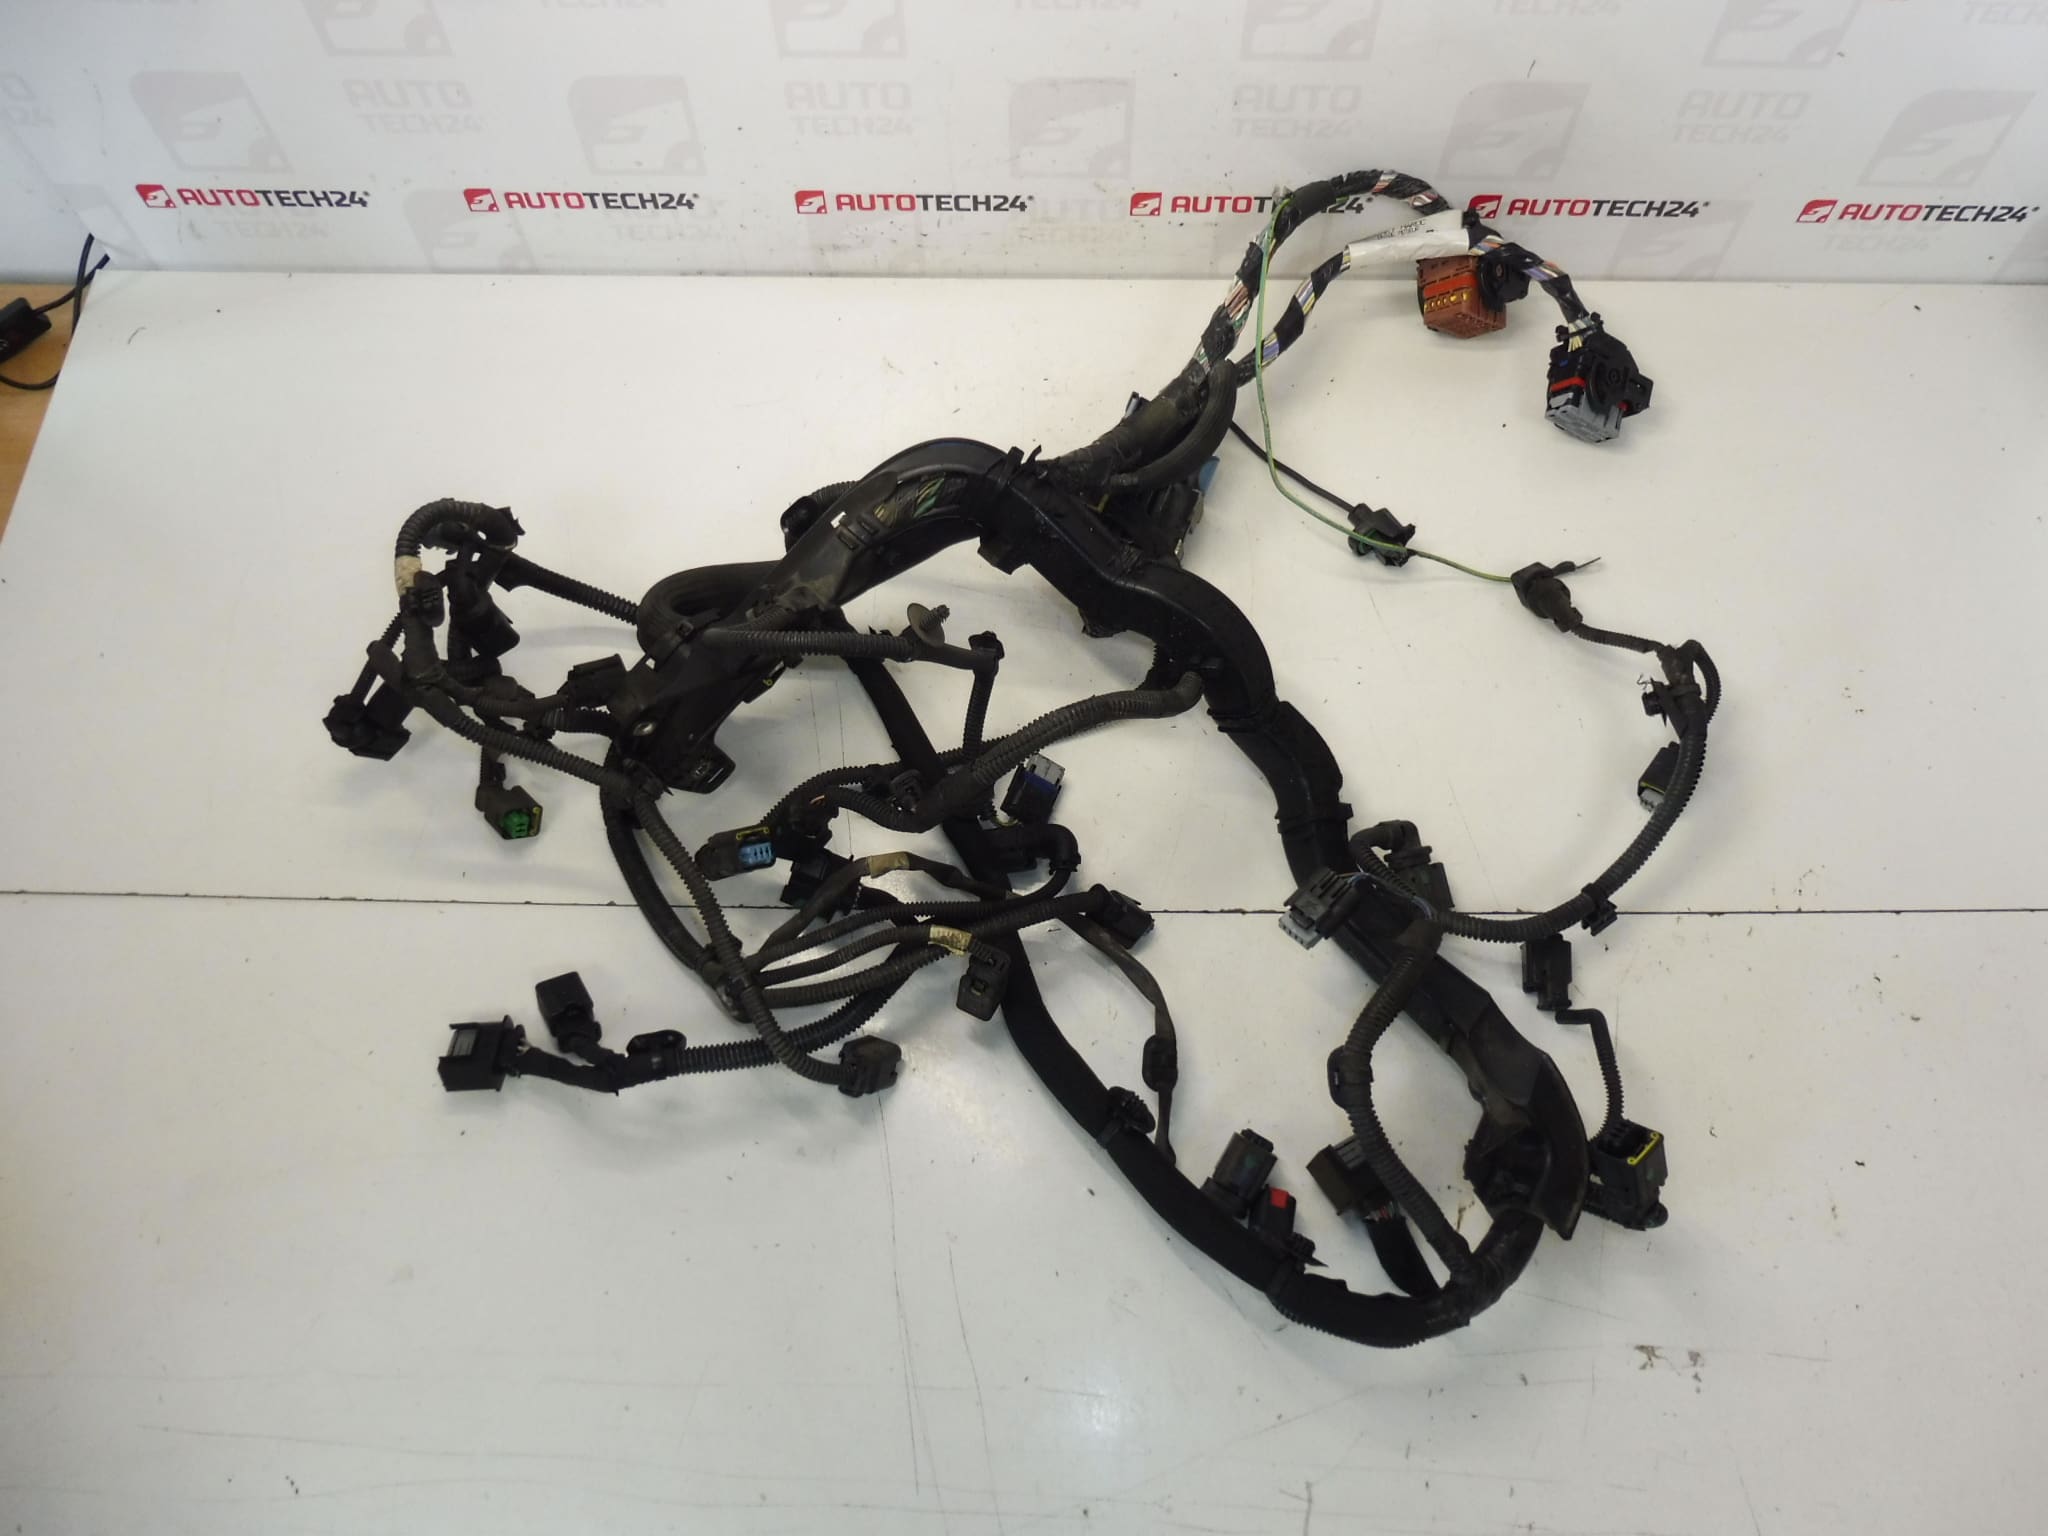
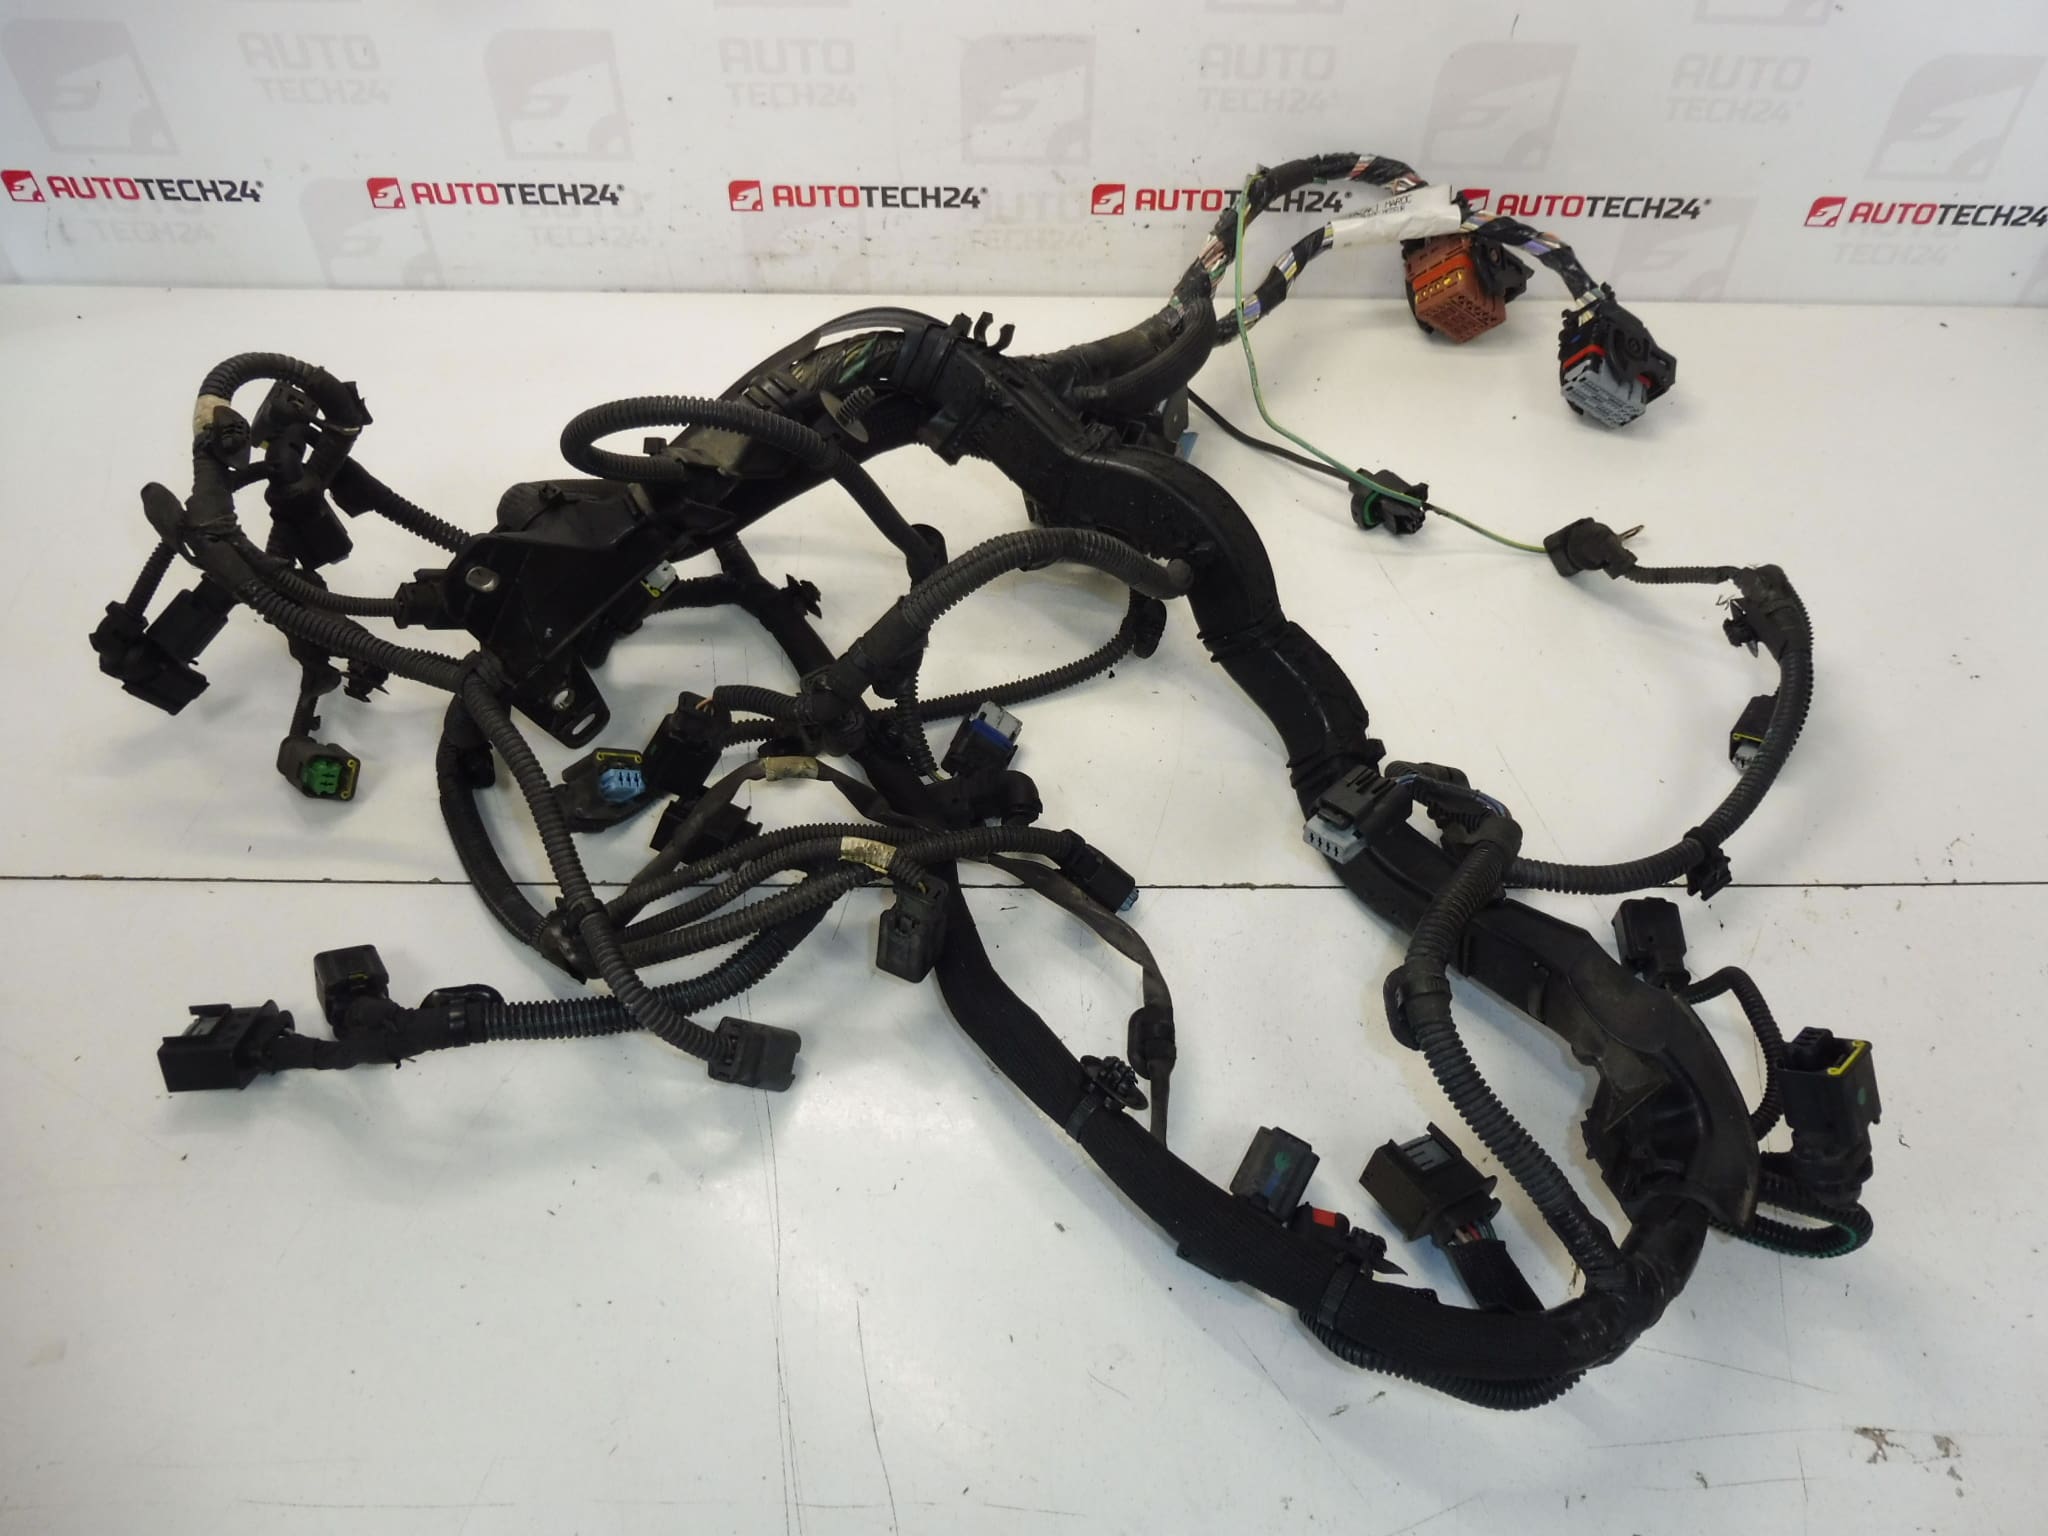
Complete engine wiring harness for Citroën Peugeot vehicles with 2.0 HDi 120 kW RHE engine. Engine electrical harness.
Product Overview
This complete engine wiring harness is designed for Citroën and Peugeot vehicles equipped with the 2.0 HDi 120 kW (RHE) diesel engine. It provides all necessary electrical connections for engine sensors, actuators and power distribution, offering a direct-fit solution for workshop repairs and DIY engine rebuilds. Use key identifiers such as 9670135380 and 658556 when searching—these product codes are commonly used by mechanics to find the correct part quickly.
Benefits
- Direct fit for listed Citroën and Peugeot models with the 2.0 HDi RHE engine.
- Complete harness covers sensor circuits, injectors, alternator, starter relay interfaces and engine management connectors.
- Saves time in diagnostics and replacement compared with repairing individual sections of a damaged loom.
- Ideal for professional garages and experienced DIY mechanics who require reliable OE-style connections.
Technical Information
- Manufacturer: Stellantis (Citroën/Peugeot OEM)
- Model: 2.0 HDi 120 kW RHE — Fitment Examples: Citroën C4 Picasso, Citroën C5 X7, Peugeot 3008 I, Peugeot 5008 I
- Product Codes: 9670135380, 658556
- Additional Numbers: Engine Code RHE
How To Replace
Replacement of an engine wiring harness requires careful work and basic electrical testing. Typical steps:
- Disconnect Battery: Always disconnect the negative battery terminal before any electrical work.
- Remove Obstructions: Take off engine covers, air intake components and any brackets that prevent access to the harness routing.
- Label Connectors: Mark or photograph each connector and its position to ensure correct reassembly.
- Unplug Connectors: Carefully release all clips and disconnect sensor/actuator plugs. Avoid pulling on wires.
- Free Harness From Clips: Remove the harness from clips and brackets, noting original routing to prevent chafing.
- Install New Harness: Route the new harness identically, secure with original or new clips, and reconnect all plugs.
- Check Circuits: Before final assembly, verify continuity of critical circuits and that sensors report correctly. Use a multimeter and check for short circuits to ground.
- Final Assembly: Reinstall removed components, reconnect the battery and perform engine start checks.
Recommended Tools And Materials
- Basic hand tools: sockets, Torx set, screwdrivers and trim tools.
- Multimeter for continuity and voltage checks.
- Cable ties, replacement clips and dielectric grease for connector protection.
- Service manual or wiring diagrams for exact connector locations and pinouts.
Installation Recommendations
Before any disassembly, disconnect the battery and follow manufacturer procedures to avoid damaging sensitive electronics. Labeling and photographing connections ensures an accurate reassembly. Use dielectric grease on exposed connectors to protect against moisture and corrosion. Replace any broken clips or damaged conduit to prevent future chafing. For complex installations where the harness interfaces with immobilizer modules or engine control units, verify any vehicle-specific initialization procedures in the service manual.
Why The Part Fails
Engine wiring harnesses are generally durable but fail for several common reasons:
- Mechanical Damage: Chafing against sharp edges, crushed wiring during repairs, or incorrect routing can break conductors or wear insulation.
- Heat And Oil Exposure: Prolonged exposure to high engine temperatures or oil leaks degrades insulation and connector housings.
- Corrosion And Moisture: Water ingress and corrosion at connector pins cause poor contacts and intermittent faults.
- Rodent Damage: Chewing by rodents can sever wires or damage protective sleeving.
- Connector Wear: Repeated disconnection, bent pins or damaged seals lead to poor electrical contact.
How Often It Fails
There is no fixed service interval for an engine wiring harness; many last the life of the vehicle if not mechanically or environmentally damaged. Failures are usually linked to external factors (heat, contamination, mechanical wear) rather than predictable mileage. Inspect harness routing and condition during major services or when diagnosing electrical faults.
Notes For Mechanics And DIY
Search using OE numbers 9670135380 and 658556 to quickly identify the correct harness for vehicles with the 2.0 HDi RHE engine. When replacing the harness, keep work area clean and protect connectors from dirt and moisture. If vehicle-specific initialization or ECU interventions are required after replacement, consult the factory repair procedures and diagnostic equipment recommended for PSA/Fiat/Chrysler group vehicles.