Description
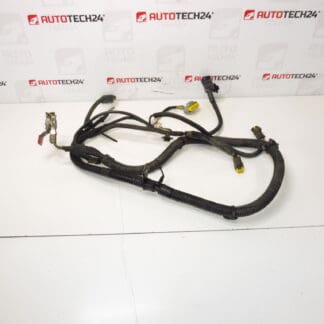
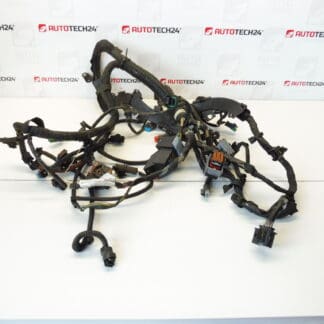
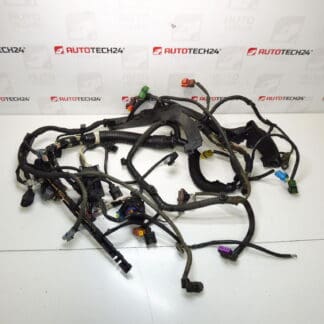
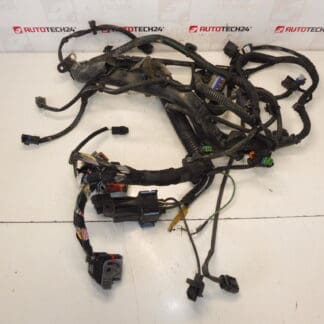
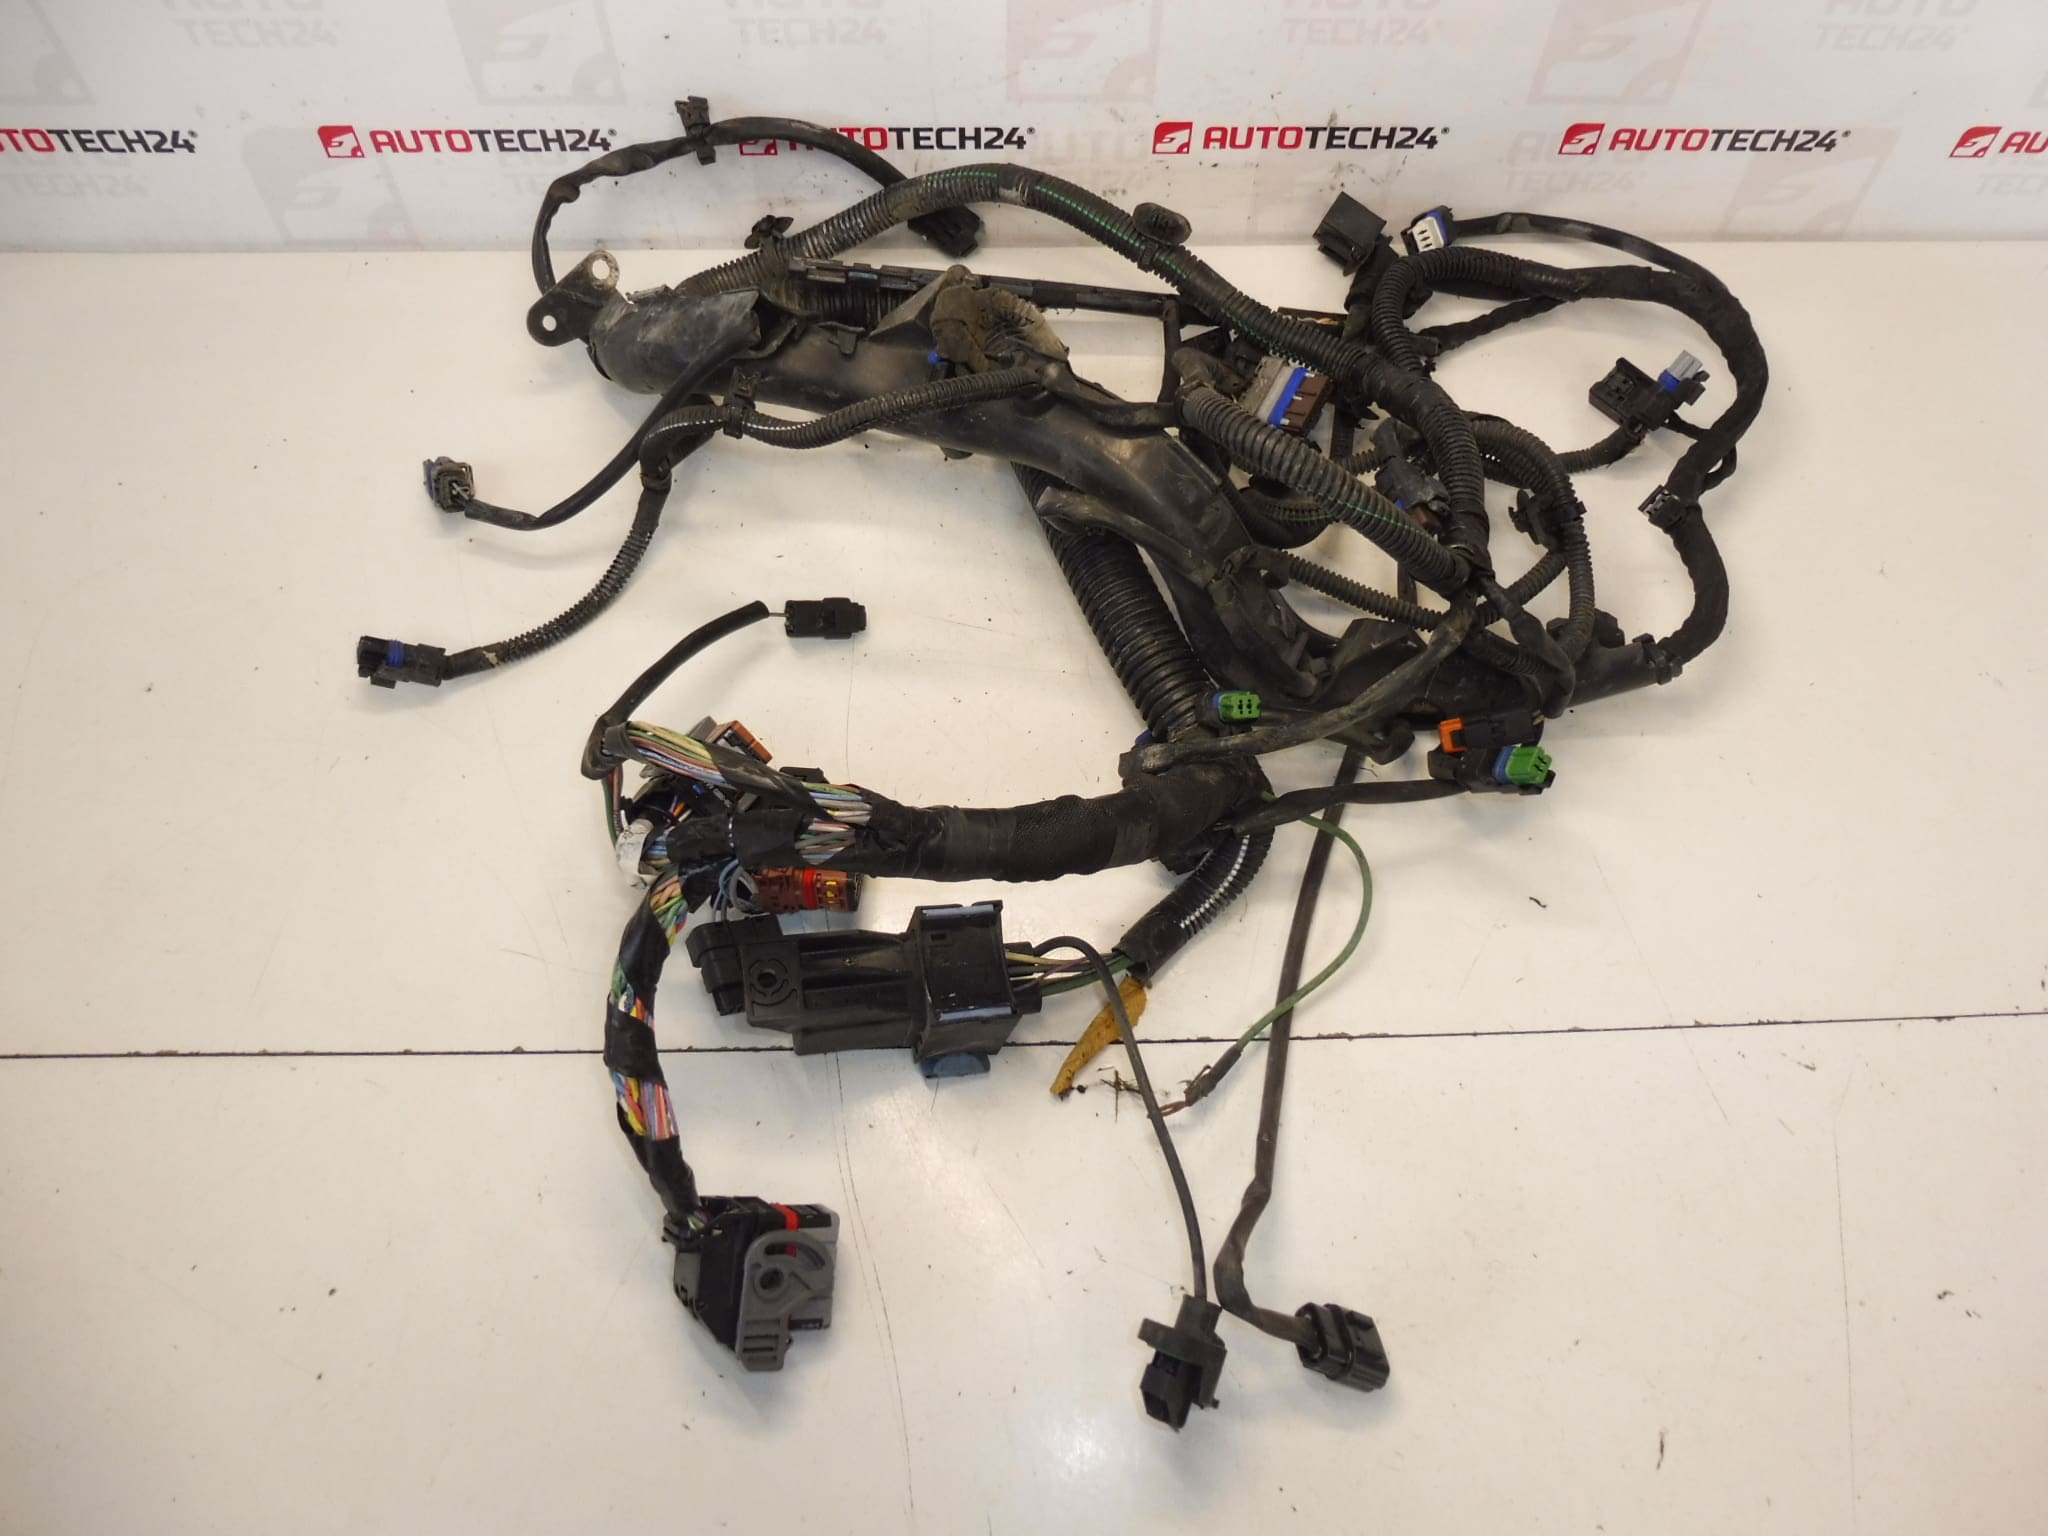
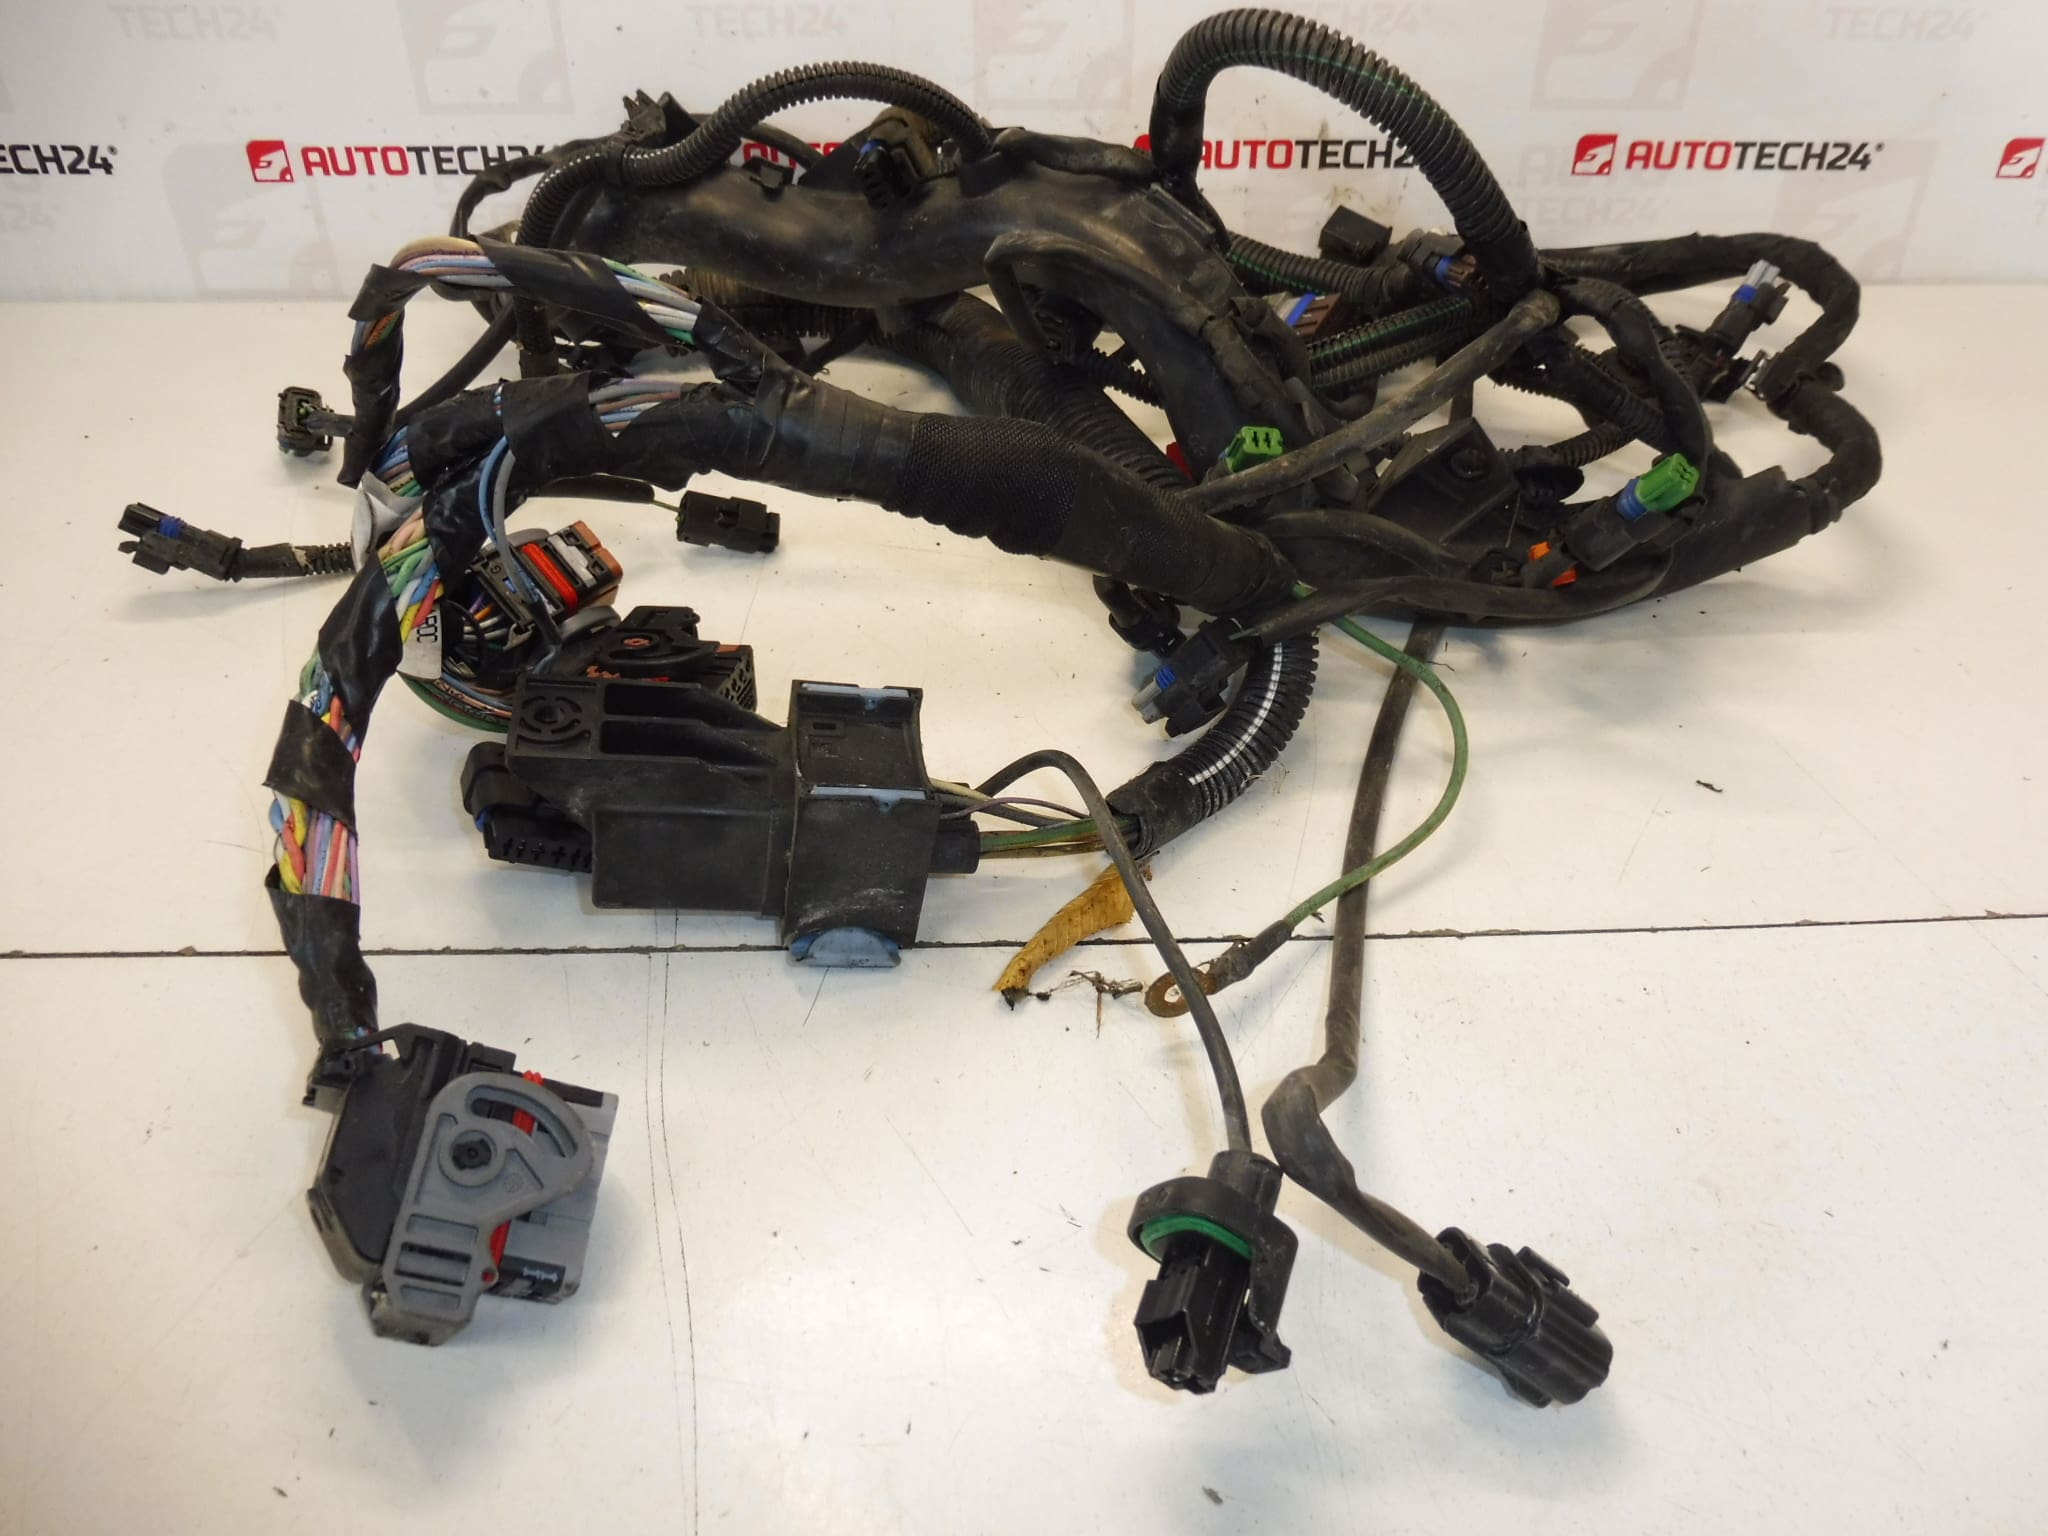
Complete engine wiring harness for Citroën and Peugeot vehicles with 2.0 HDi engines. It is from a Citroën C4 Picasso 2.0 HDi RHJ.
Overview
This complete engine wiring harness is designed for vehicles equipped with the 2.0 HDi RHJ diesel engine and provides all necessary electrical connections between the engine sensors, actuators and the vehicle electrical system. The harness is suitable for workshop replacement and for experienced DIY mechanics who need an OEM-referenced solution identified by part numbers.
Technical Information
- Manufacturer: Stellantis / Citroën / Peugeot
- Model: Citroën C4 Picasso 2.0 HDi (RHJ)
- Product Codes: 9684608680, 6569RY
- Additional Numbers: 6569RY | 9684608680 | NFP
Compatibility
The harness originates from a Citroën C4 Picasso 2.0 HDi RHJ and is intended for vehicles using the 2.0 HDi RHJ engine. This part is commonly searched by the OEM reference numbers 9684608680 and 6569RY. Verify the part numbers in your parts diagram to ensure a match with your model and engine version.
Function And Benefits
The engine wiring harness transmits power and data signals between the engine control unit and components such as fuel injectors, sensors (temperature, pressure, crankshaft/camshaft), glow plugs, alternator, starter and fuel system actuators. A correct harness ensures reliable sensor readings, proper engine management and avoids intermittent faults caused by poor connections or damaged wiring. Replacing a faulty harness restores signal integrity and reduces diagnostic uncertainty.
Replacement Procedure
General replacement steps (for experienced mechanics):
- Disconnect the negative battery terminal and secure the vehicle against accidental start.
- Remove engine covers, air intake components and any ducts obstructing access to the harness routing.
- Document and label each connector and line before disconnection to ensure correct reconnection.
- Disconnect connectors, remove retaining clips and unfasten brackets holding the harness to the engine and body.
- Carefully withdraw the old harness, observing grommets and routing through bulkheads.
- Install the new harness following the original routing, secure all clips and brackets, and reconnect every plug firmly.
- Reconnect the battery, clear stored fault codes with a diagnostic tool and perform a functional check of sensors and actuators.
Installation Recommendations
- Always disconnect the battery before starting work to prevent short circuits and ECU damage.
- Inspect connector pins and ground points; clean or replace corroded connectors and ensure tight ground connections.
- Use dielectric grease on exposed connectors to reduce moisture ingress and corrosion risk.
- Secure the harness with appropriate clips and ties; ensure it is routed away from heat sources, exhaust components and moving parts.
- After installation, clear fault codes and monitor live data with an OBD scanner to confirm correct sensor operation.
Why This Part Fails Most Often
Wiring harness failures are usually caused by external factors rather than planned wear. Common causes include abrasion where the harness rubs against sharp edges, heat degradation from nearby exhaust or turbo components, oil and fluid contamination, connector corrosion from moisture, mechanical damage during previous repairs, and rodent chewing. Intermittent faults often arise from connector pin corrosion or broken wires at flex points near engine mounts and bulkheads.
Lifespan And Maintenance
The engine wiring harness is not a routine wear item and can last the vehicle’s lifetime when properly routed and protected. Regular inspections during service intervals—checking for chafing, secure fastenings and connector condition—help prevent unexpected failures. Replace any damaged sections or connectors promptly to avoid cascading electrical issues.
Notes For Professional Fitters
This part is intended for fitters familiar with diesel engine wiring and injection systems. Accurate labeling of connectors during removal and careful routing on installation significantly reduce repair time and post-fit diagnostics.