Description
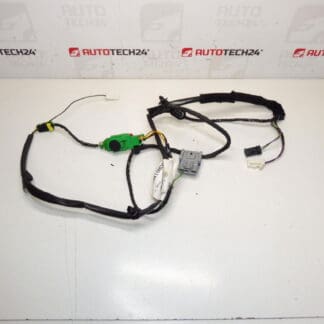
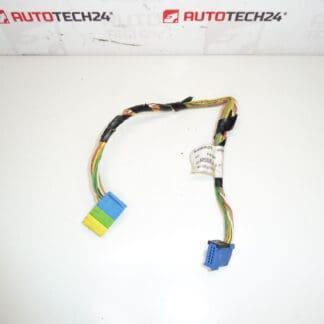
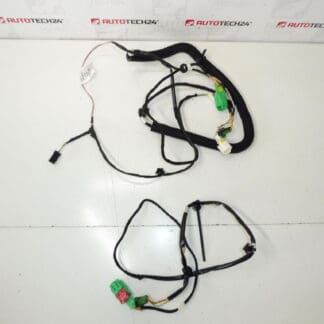
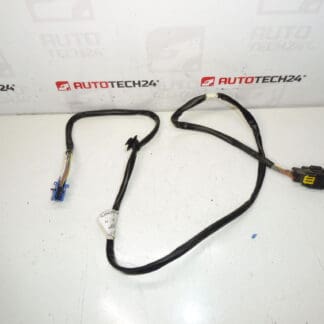
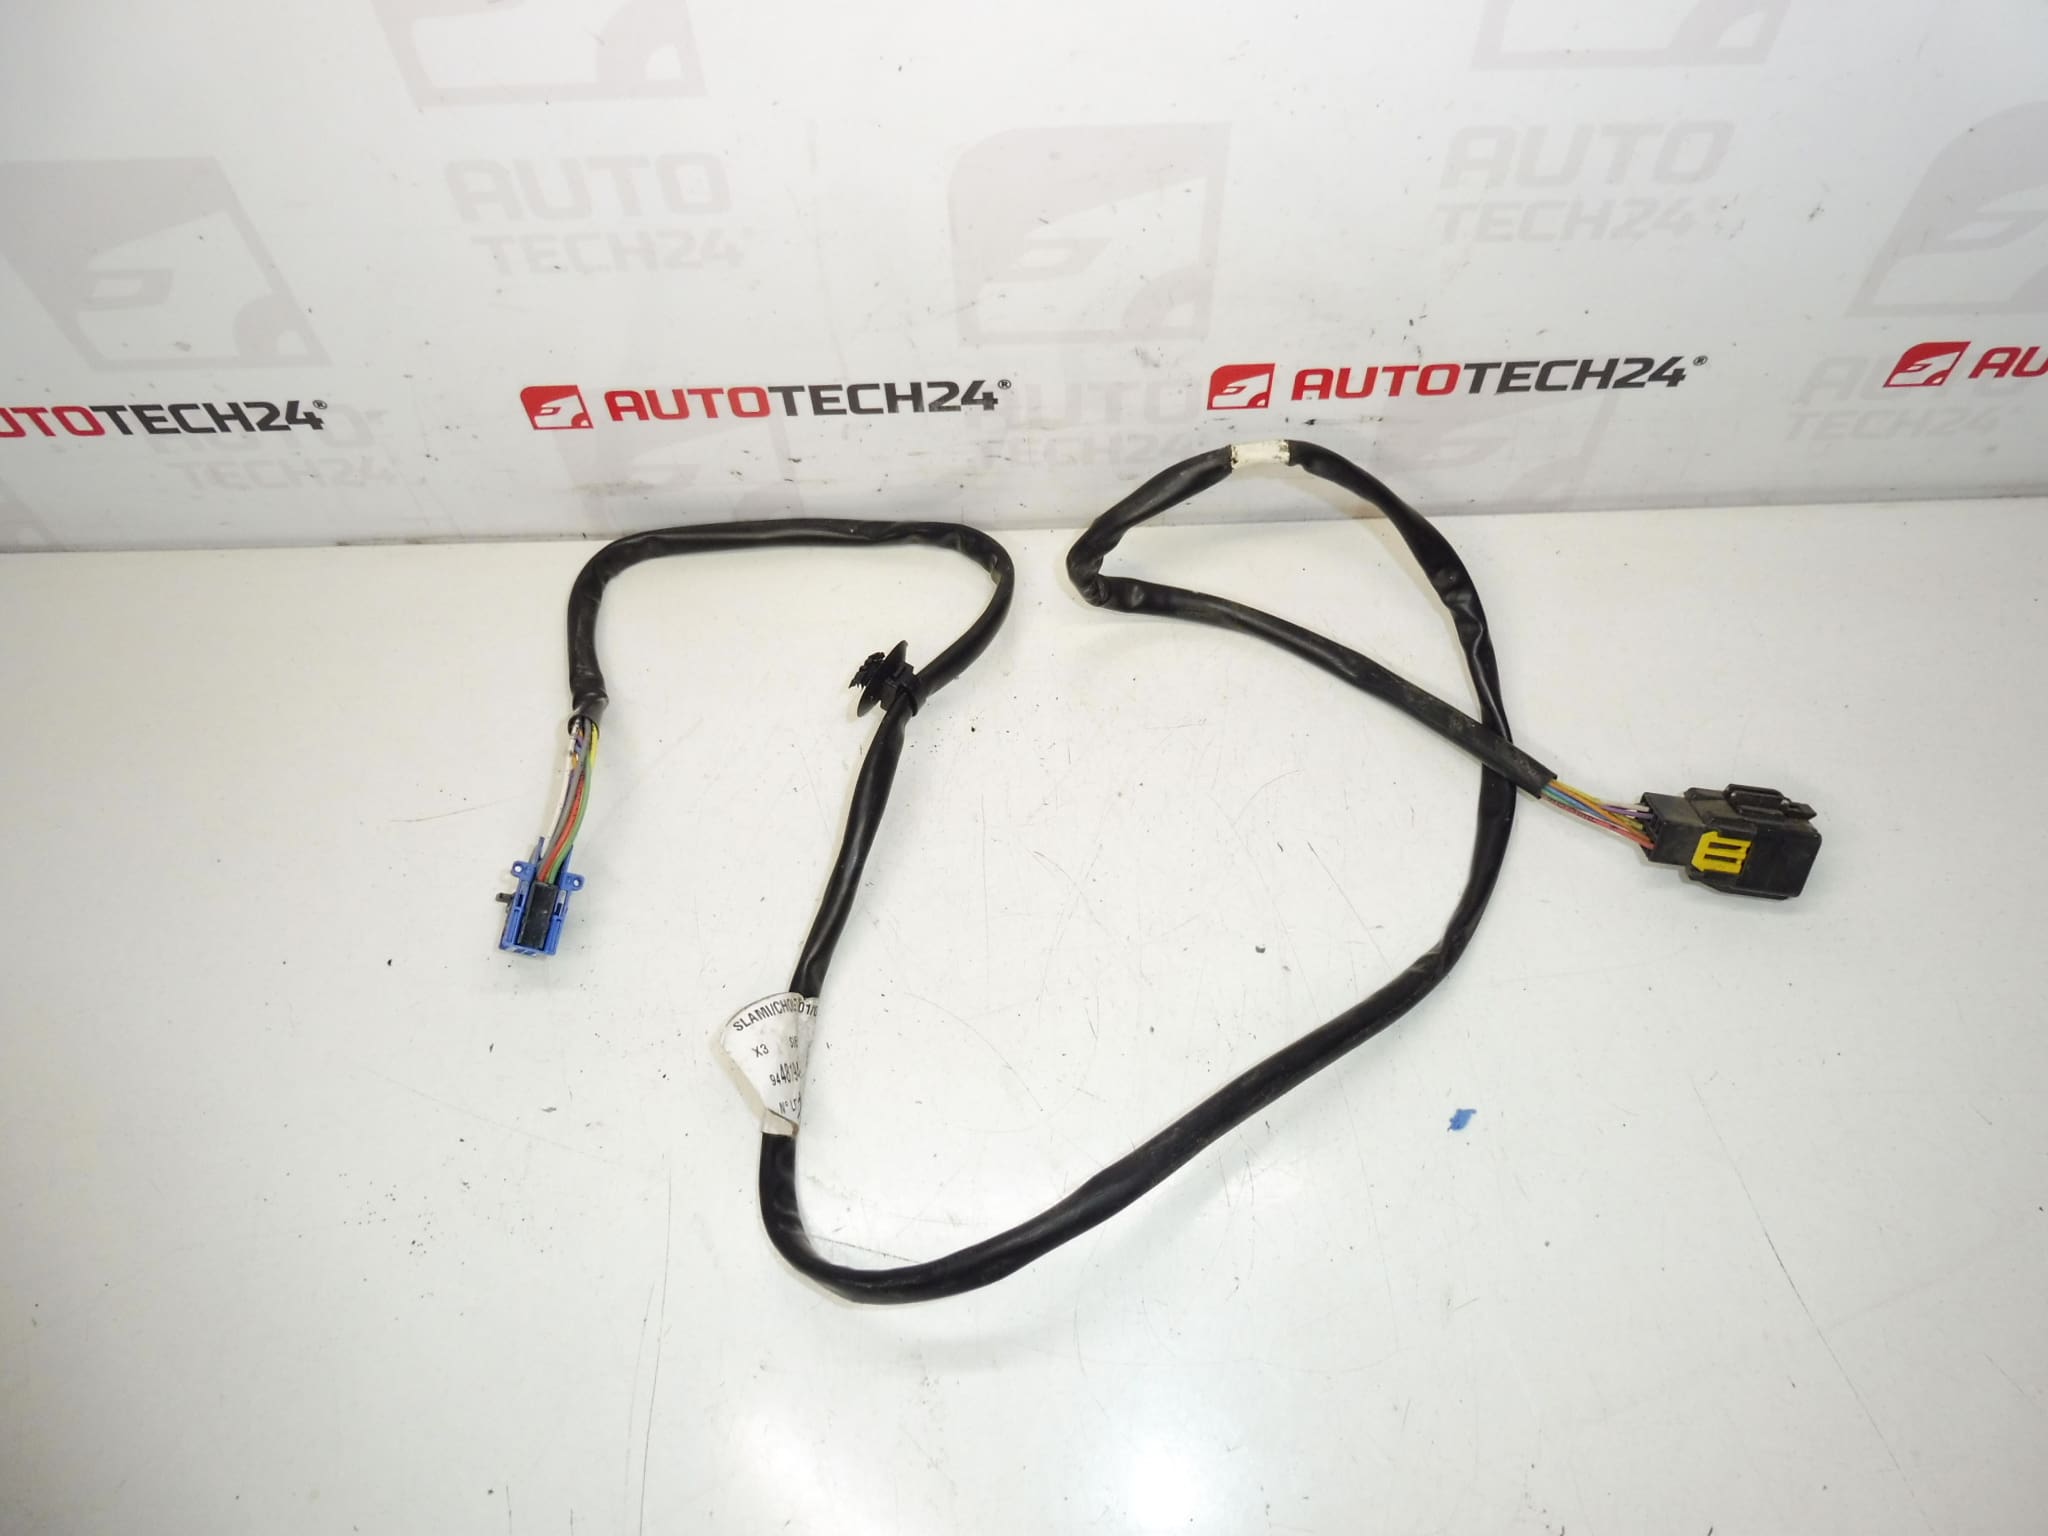
Complete CD Changer Wiring Harness for Citroën C5 2005–2007 and Others.
This OEM-style CD changer wiring harness restores the factory connection between the vehicle’s head unit and the CD changer, offering a reliable, plug-and-play replacement for workshop technicians and DIY enthusiasts. Designed for a direct fit with original connectors and mounting points, the harness simplifies diagnostics and repair when audio communication or CD changer operation is lost. Frequently searched by part number, this harness is a practical spare for garages working on Citroën and related Stellantis vehicles.
Technical Information
- Manufacturer: Stellantis (Citroën / Peugeot)
- Model: Citroën C5 II (2005–2007) — Compatible With Select Other Models
- Product Codes: 9636045680, 6560XR
- Additional Numbers: 9448194, NFP (Also Found As 6560xR In Some Listings)
Function And Application
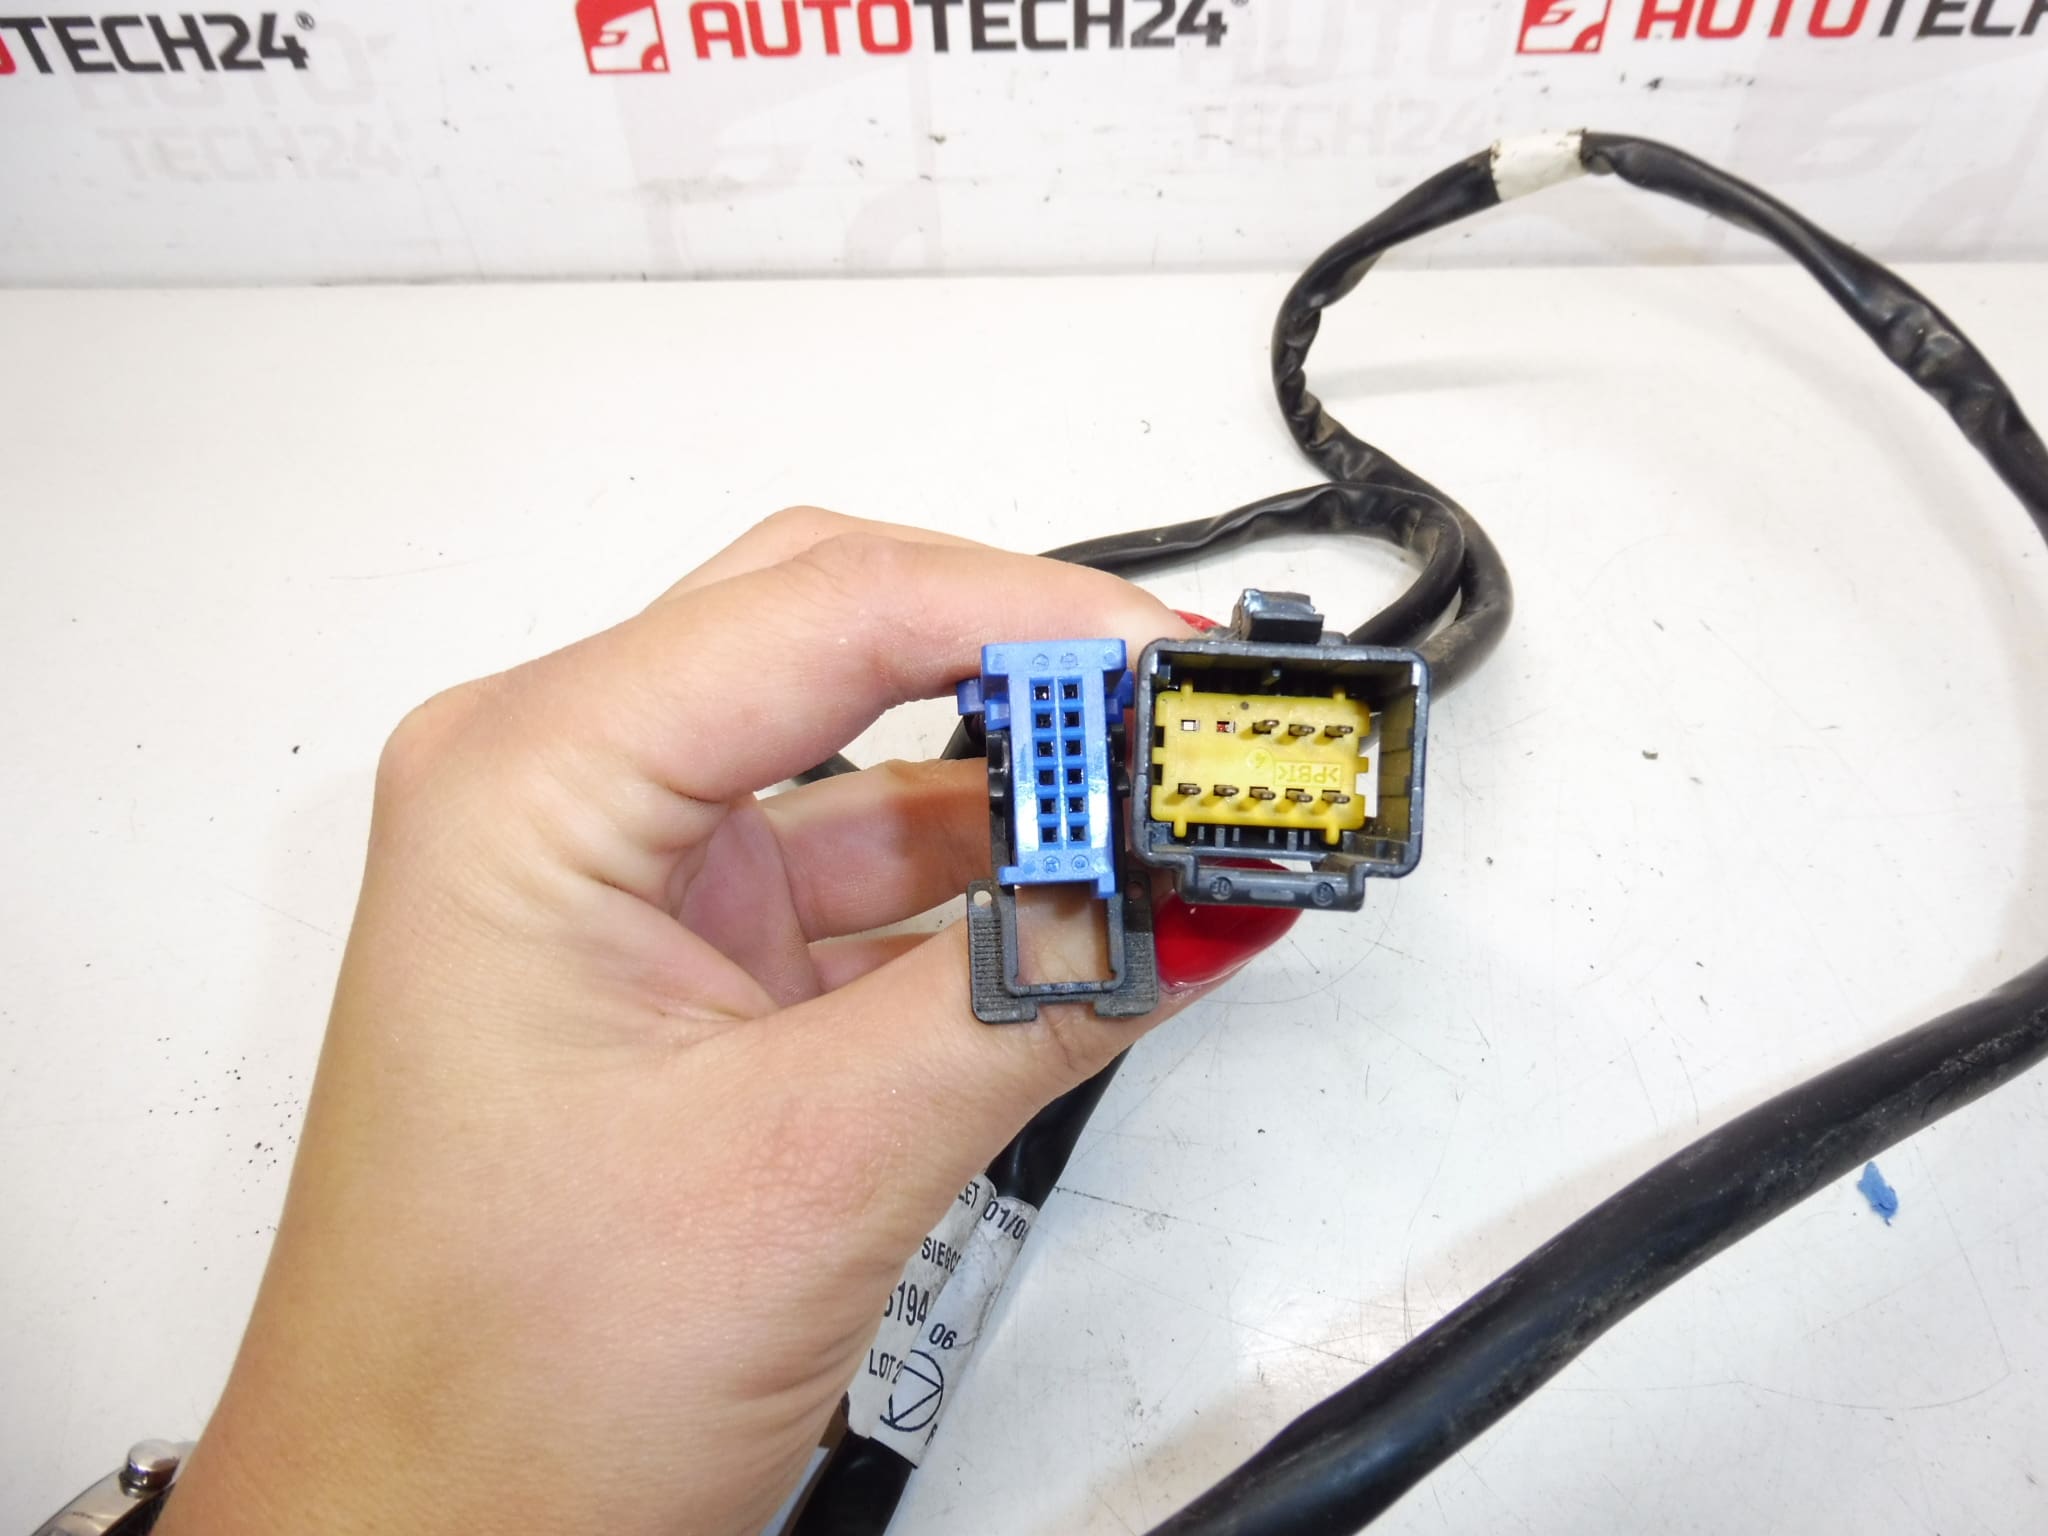
The wiring harness transmits power, ground and data signals between the vehicle’s radio/navigation unit and the CD changer. It preserves original connector pinouts and shielding to maintain proper audio signal quality and to avoid CAN or multiplexing faults where applicable. In many C5 configurations the harness is routed to the trunk or under a seat where the changer is mounted.
Common Reasons For Failure
- Connector Corrosion: Moisture ingress or contaminated contacts cause intermittent connections or total loss of communication.
- Wire Fatigue And Breaks: Repeated vibration, abrasion against bodywork or pinch points can break individual conductors.
- Damaged Locking Tabs: Mounting clips or connector latches can fail during servicing, causing poor mating.
- Rodent Or Mechanical Damage: Chewed insulation or crushed cables after repairs or collisions.
- Exposure To Heat Or Chemicals: Degraded insulation and brittle wires lead to short circuits or opens.
Replacement And Installation Recommendations
Intended For Experienced Technicians And Competent DIYers. Follow These Steps For A Reliable Replacement:
- Disconnect The Negative Battery Terminal Before Starting To Avoid Short Circuits Or Damage To The Infotainment System.
- Remove Interior Trim Panels Or Carpet Sections To Access The CD Changer And Harness Routing Path—typical locations Are In The Trunk, Under Seats Or Behind Trim Panels.
- Document Connector Positioning And Any Retaining Clips Before Disconnecting. Take Photos If Needed.
- Unplug The Old Harness From Both Ends, Release Any Retaining Clips, And Remove Carefully To Avoid Further Damage.
- Compare Pinouts And Connector Types Before Installing The New Harness. Replace Corroded Connectors Or Clean Contacts With Approved Contact Cleaner If Pins Are Reusable.
- Route The New Harness Along The Factory Path, Secure With Clips Or Cable Ties, And Ensure No Sharp Edges Or Moving Parts Contact The Wiring.
- Reconnect All Plugs Firmly, Refit Panels, Reconnect The Battery, And Perform A Functional Test Of The Head Unit And CD Changer.
- Use Dielectric Grease On Exposed Connectors Where Appropriate To Reduce Future Corrosion.
Why This Part
This harness is a direct replacement commonly referenced by part numbers 9636045680 and 6560XR, making it easy to find in service manuals and parts catalogs. For workshops and home mechanics who prioritize quick diagnosis and a secure electrical connection, installing a correct-fit harness eliminates intermittent audio faults and restores CD changer reliability without complex rewiring.
Notes For Buyers
- Search By Part Number: Many technicians locate this item using the codes listed above; using the exact product number speeds up sourcing and ensures compatibility.
- Inspect Connectors: If the original connectors or head unit pins show heavy corrosion or damage, replacing only the harness may not restore full functionality—inspect mating components as well.