Description
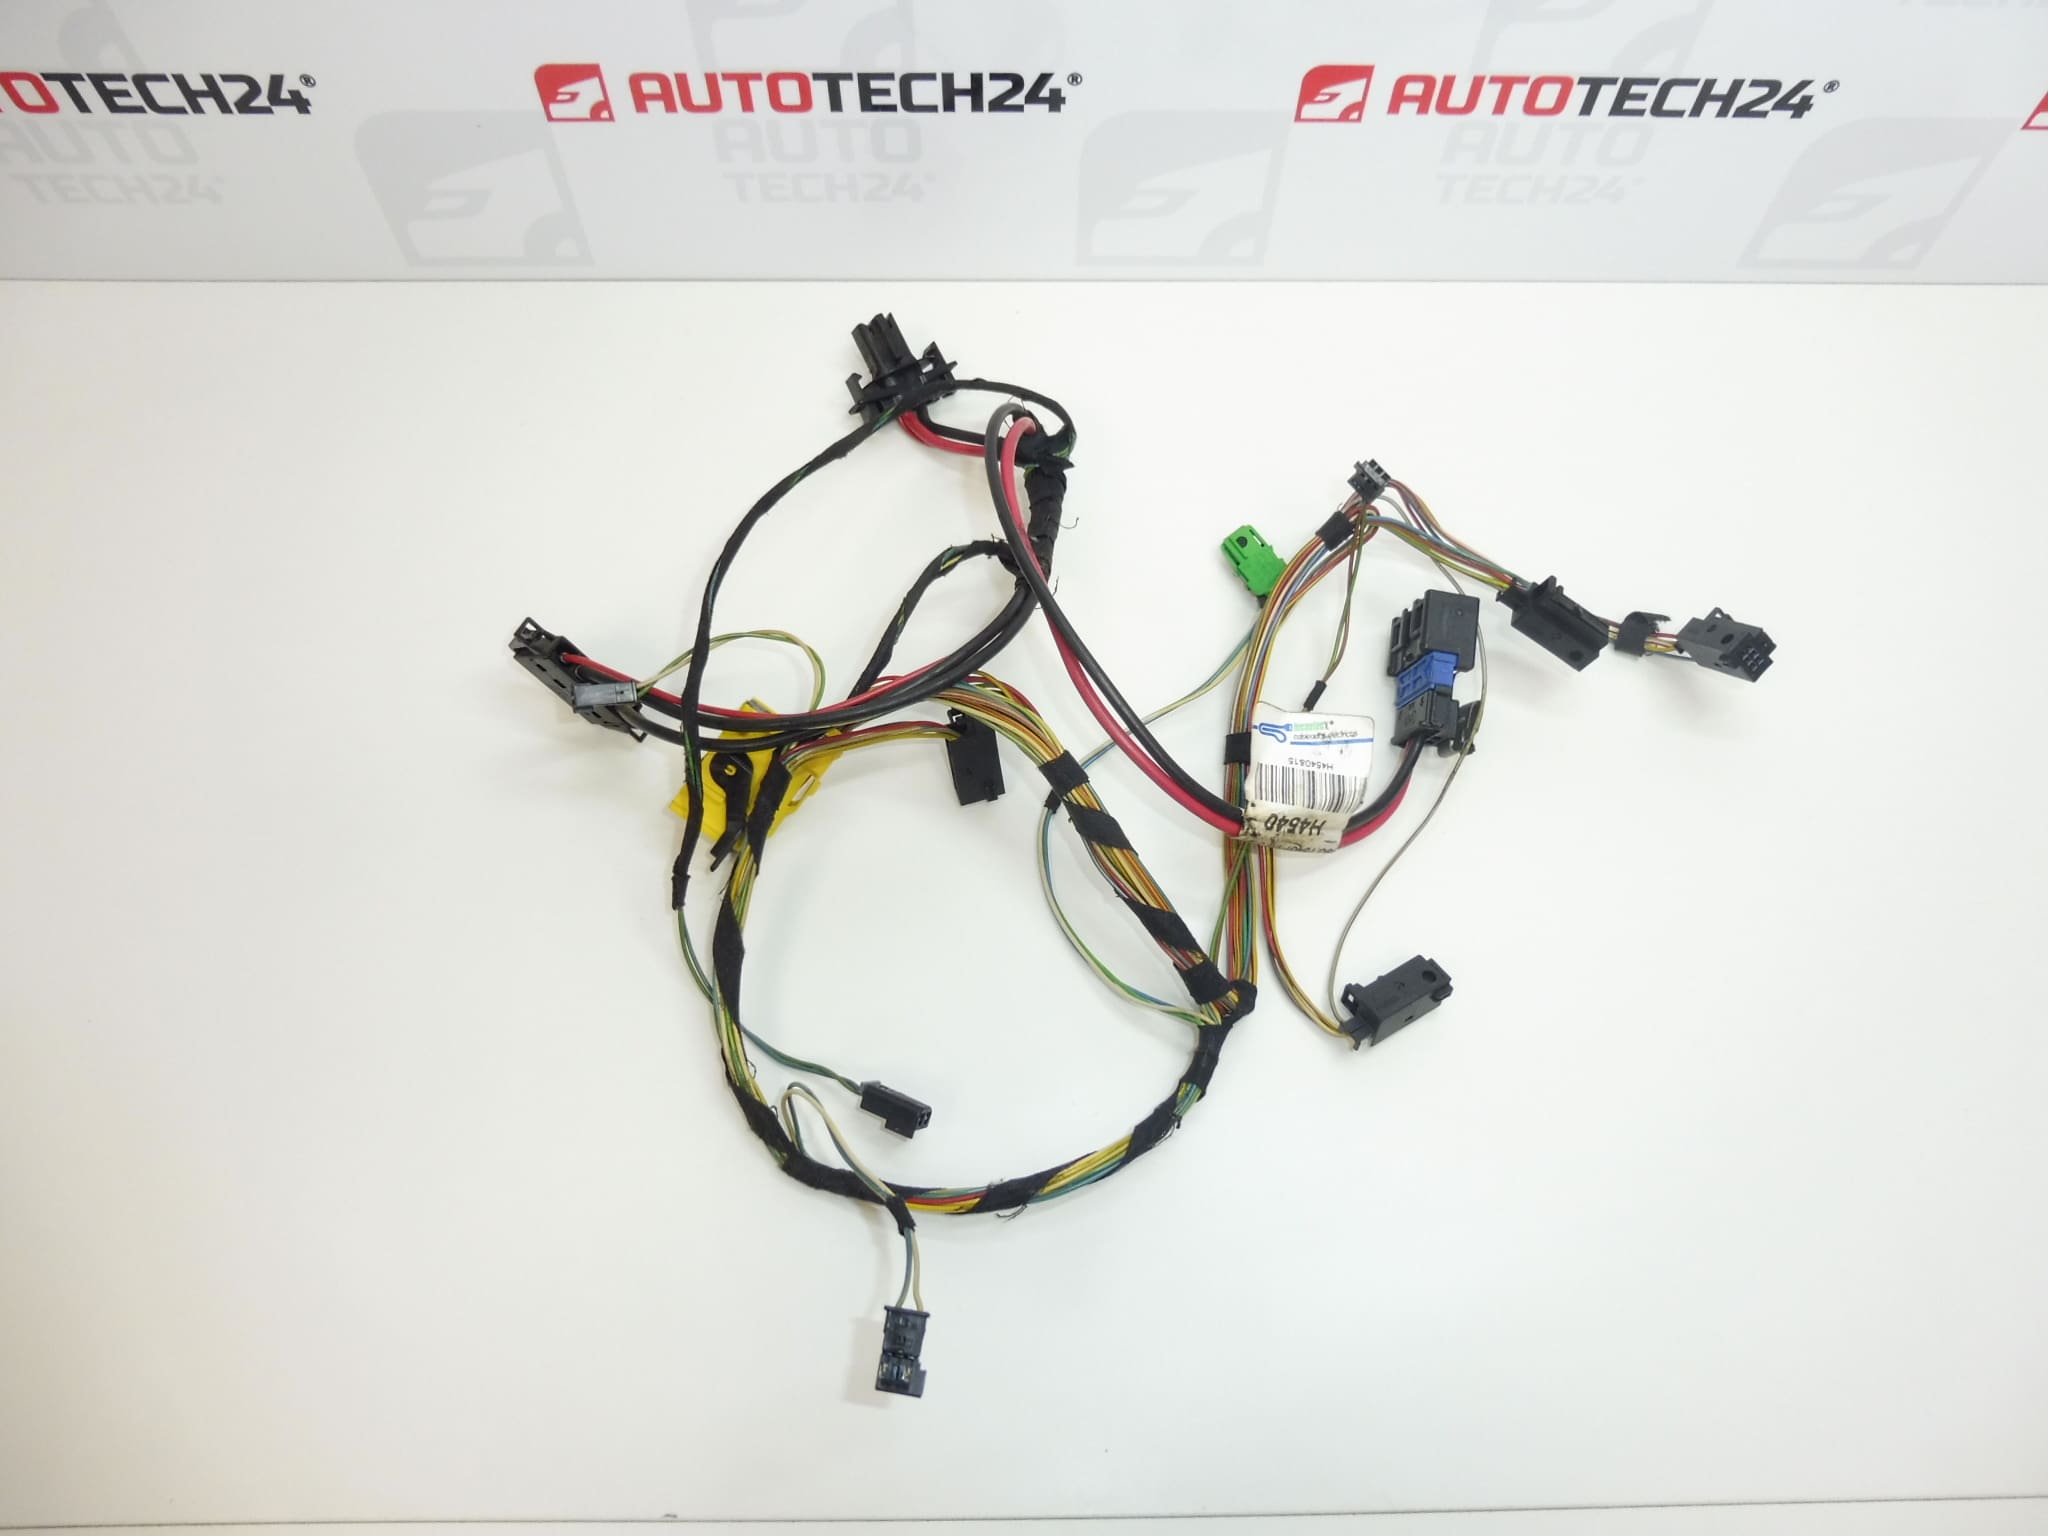
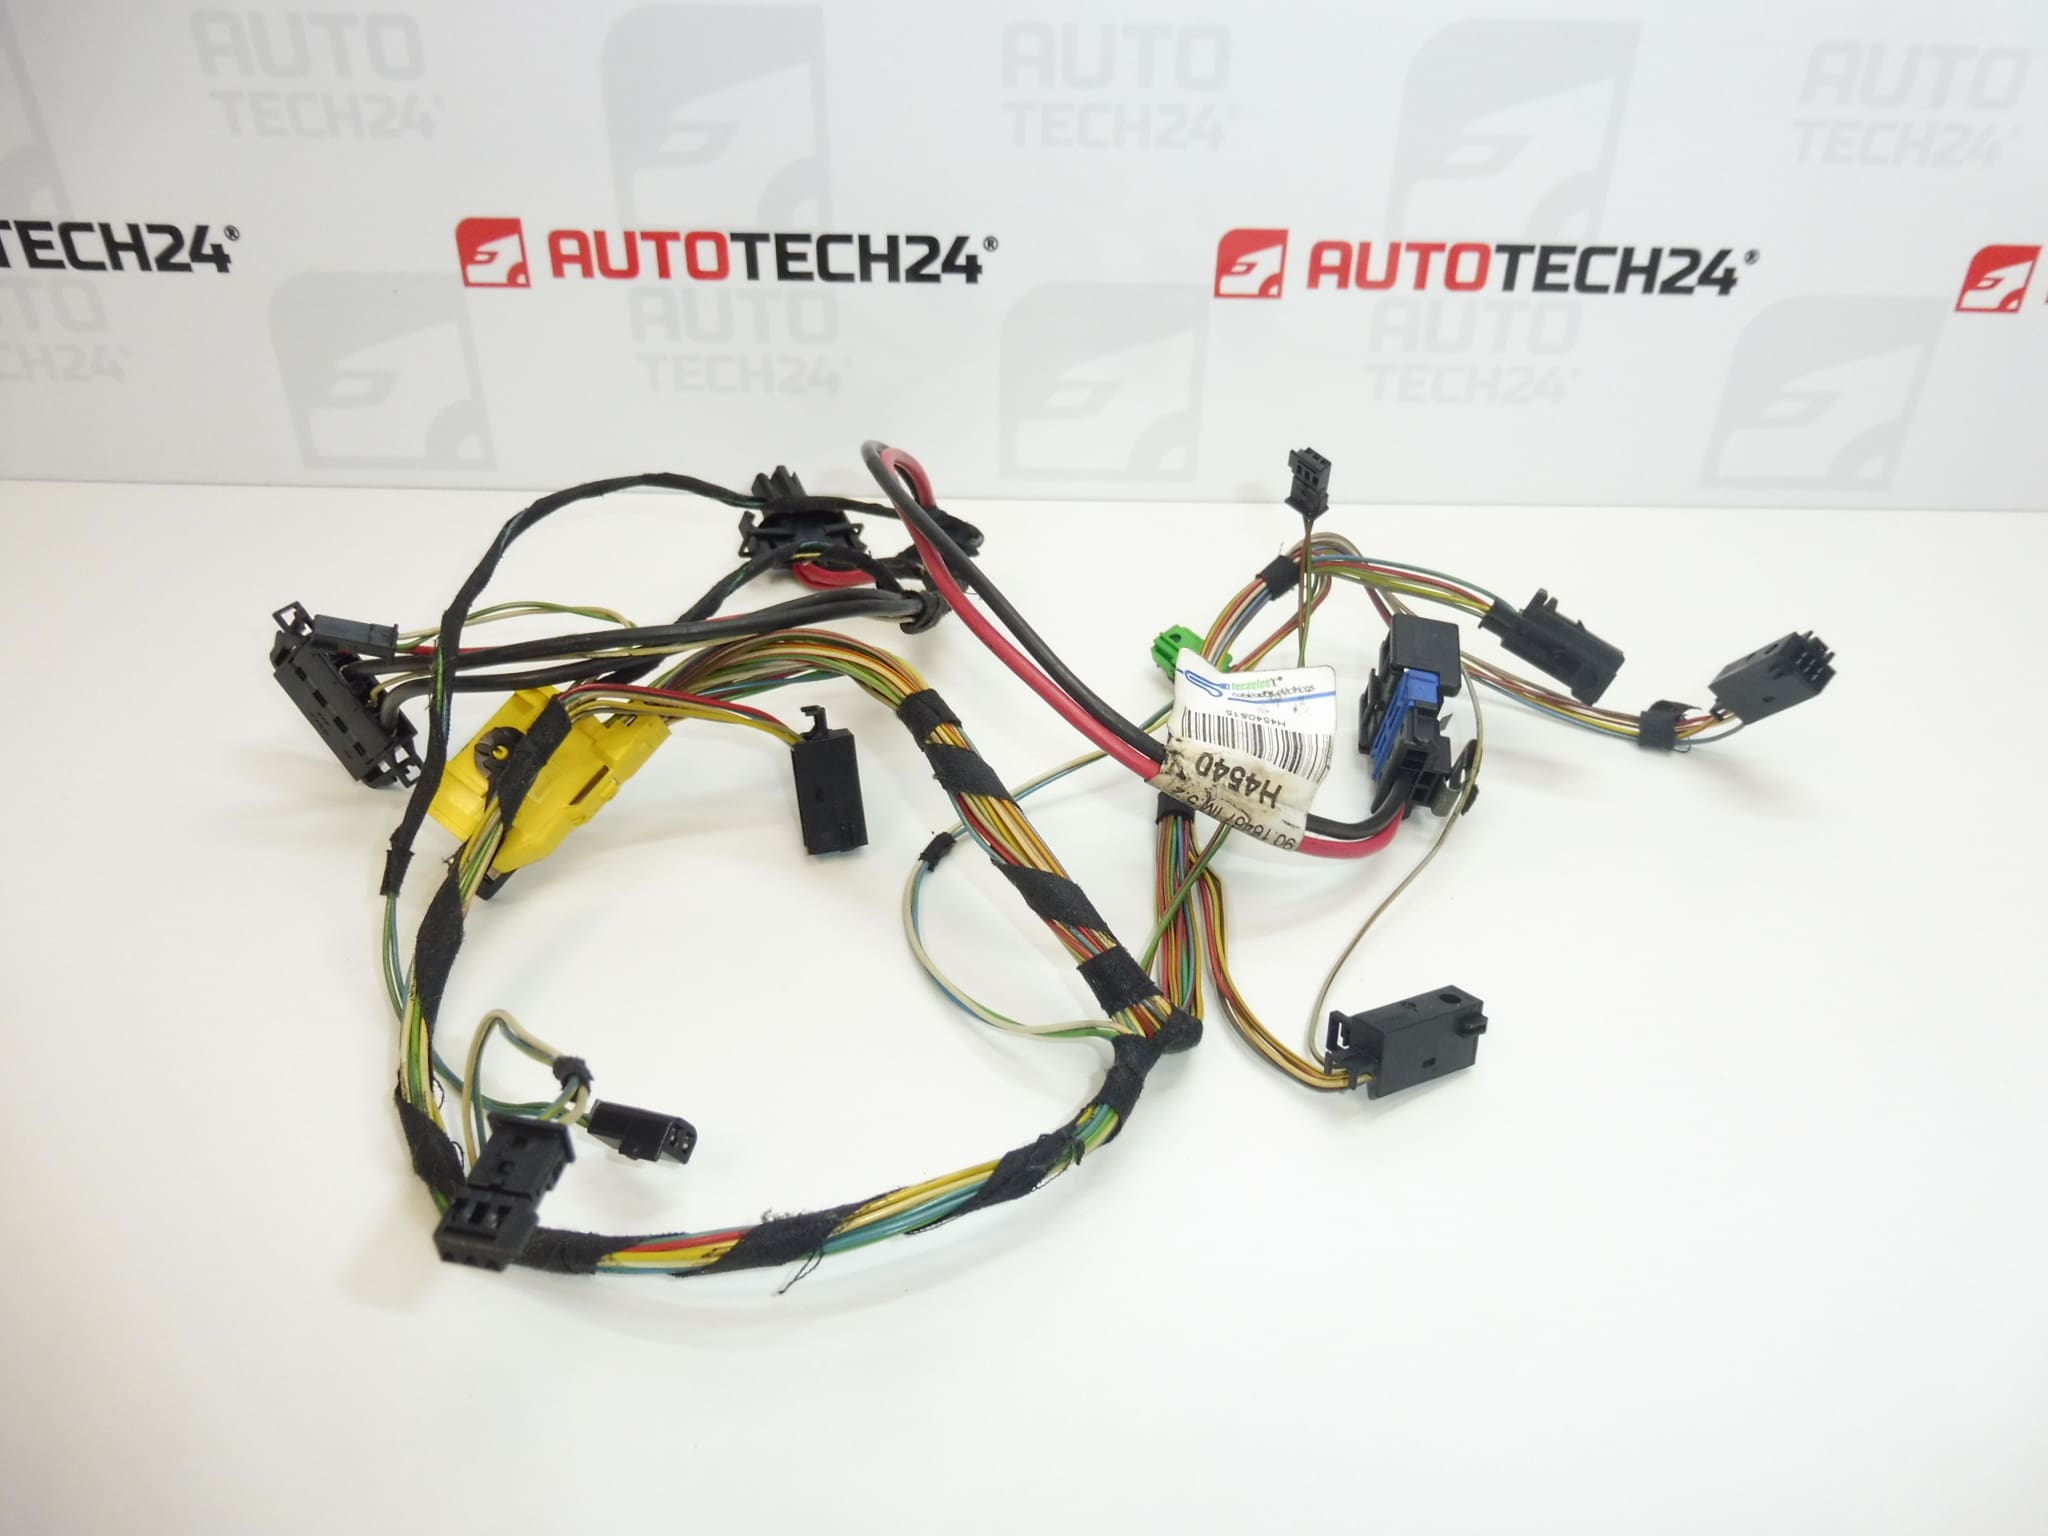
Complete wiring harness for BEHR digital air conditioning for Citroen C4 and peugeot Peugeot 307 vehicles from 2005 onwards
Part description
This used BEHR digital air conditioning wiring harness provides electrical connections between the components of the air conditioning system. It is intended for wiring repairs, for example when wires, insulation or connectors are damaged. Replacing the appropriate harness can help resolve faults caused by broken wiring or unreliable contacts without having to make temporary repairs to individual connections.
When selecting the part, pay particular attention to comparing part number 6445WZ, designation H4540 and the connector configuration with the original part. Matching the vehicle model alone is not enough: the corresponding BEHR digital air conditioning version is also important.
Technical information
- Manufacturer: BEHR
- Model: Citroen C4; Peugeot 307
- Other numbers: H4540
- Part type: digital air conditioning wiring harness
- Air conditioning version: BEHR
- Applicable years according to the documentation: from 2005 onwards
- Condition: used part
- Other designation in the documentation: NFP
Product codes
- Product codes: 6445WZ, H4540
- Models: Citroen C4; Peugeot 307
Compare the numbers with the markings on the original harness, together with the connector shapes, their pin configurations and the wiring branches.
Installation recommendations
The following generally applies to this type of part: replacement requires careful handling of the connectors and maintaining the correct wiring routing. The following procedure is general; the exact access to the harness, removal of surrounding components and the battery disconnection and reconnection procedures depend on the specific vehicle model and version.
1) Before installation
- First verify that the cause of the fault is actually related to the wiring rather than another air conditioning component.
- Compare the markings, number and shape of the connectors, their locks, pin configurations, individual branch lengths and mounting points with the old harness.
- Inspect the used part: the insulation must not be chafed or melted, the contacts must not be loose or corroded, and the connectors must not be cracked.
- Document the original harness routing and connector connections, ideally with photographs.
2) Required tools and materials
- Standard hand tools and suitable tools for carefully releasing covers and clips.
- A connector release tool, a flashlight and identification labels.
- A multimeter for checking disconnected wiring according to the relevant wiring diagram.
- Where necessary, a product intended for electrical contacts and suitable securing or protective materials for automotive wiring.
3) Step-by-step installation procedure
- Switch off the ignition, secure the vehicle and allow the electronic systems to enter sleep mode according to the manufacturer’s service procedure.
- Disconnect the battery as prescribed. Do not disconnect the harness connectors while they are live.
- Access the harness by removing the necessary surrounding parts according to the documentation for the specific vehicle. Avoid unnecessary interference with the air conditioning refrigerant circuit during the work.
- Photograph the routing of the individual branches and label the corresponding connections if there is a risk of mixing them up.
- Release the connectors one by one and pull them out by their housings, not by the wires. Do not force stuck locking tabs.
- Release the clips and remove the original harness. Check the routing path for sharp edges, signs of overheating or moisture.
- Compare the two harnesses side by side. If the wiring, connectors or branching differ, do not proceed until the difference has been clarified using the technical documentation.
- Eliminate the identified cause of the original damage and position the replacement harness along the appropriate route without tension, twisting or sharp bends.
- Plug the connectors into their correct mating connectors and check that their locking tabs are engaged. Neither contacts nor connectors must be forced into place.
- Secure the harness so that it does not touch moving parts and is not pinched between surrounding components. Leave natural slack in the individual branches.
- Refit the removed components, check that all connections are complete and reconnect the battery according to the manufacturer’s procedure.
4) Post-installation checks and functional verification
First check the operation of the air conditioning with the vehicle stationary: control response and changes to temperature, fan and air distribution settings according to the vehicle’s equipment. Watch for any interruptions, the smell of overheated insulation or other unusual symptoms. If any occur, switch off the system and investigate the fault. A subsequent short test drive may reveal intermittent contacts triggered by vibration; if problems persist, electrical system diagnostics are recommended.
5) Common installation mistakes and how to avoid them
- Selecting solely by vehicle model: also compare the part codes, air conditioning version and all connectors.
- Pulling on the wires: first release the locking tab and handle the connector by its housing.
- Connectors not fully clicked into place: always verify that they are mechanically locked after connection.
- Pinched or taut wiring: check the entire accessible harness route before refitting the covers.
- Leaving the cause of the original fault unresolved: eliminate the source of moisture, chafing or electrical overload, otherwise damage may recur.
Reasons why the part becomes damaged
The following are common causes of damage to air conditioning wiring harnesses in general; this is not a description of defects identified in this particular item:
- Insulation ageing and thermal stress, which can cause the wire insulation to become brittle and crack.
- Vibration and chafing when wiring is loose or incorrectly secured.
- Moisture and contact corrosion, causing increased contact resistance and intermittent connections.
- Electrical overload or a faulty contact, which can cause localised overheating and melting of the connector.
- Careless removal and previous work, such as pulled-out wires, damaged connector locking tabs or unsuitable connections.
- Pinching during installation of surrounding parts, which can damage the insulation or the wire itself.