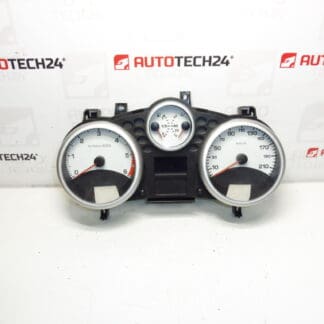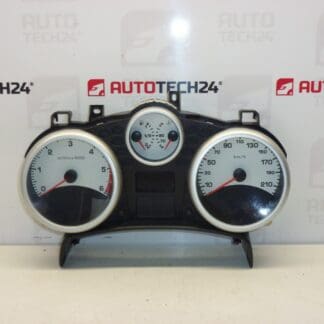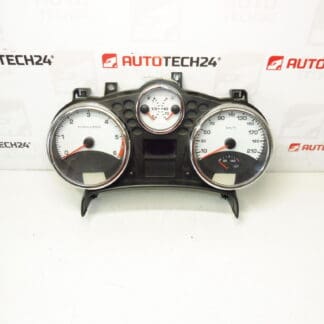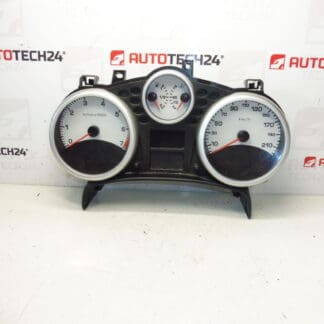
Description
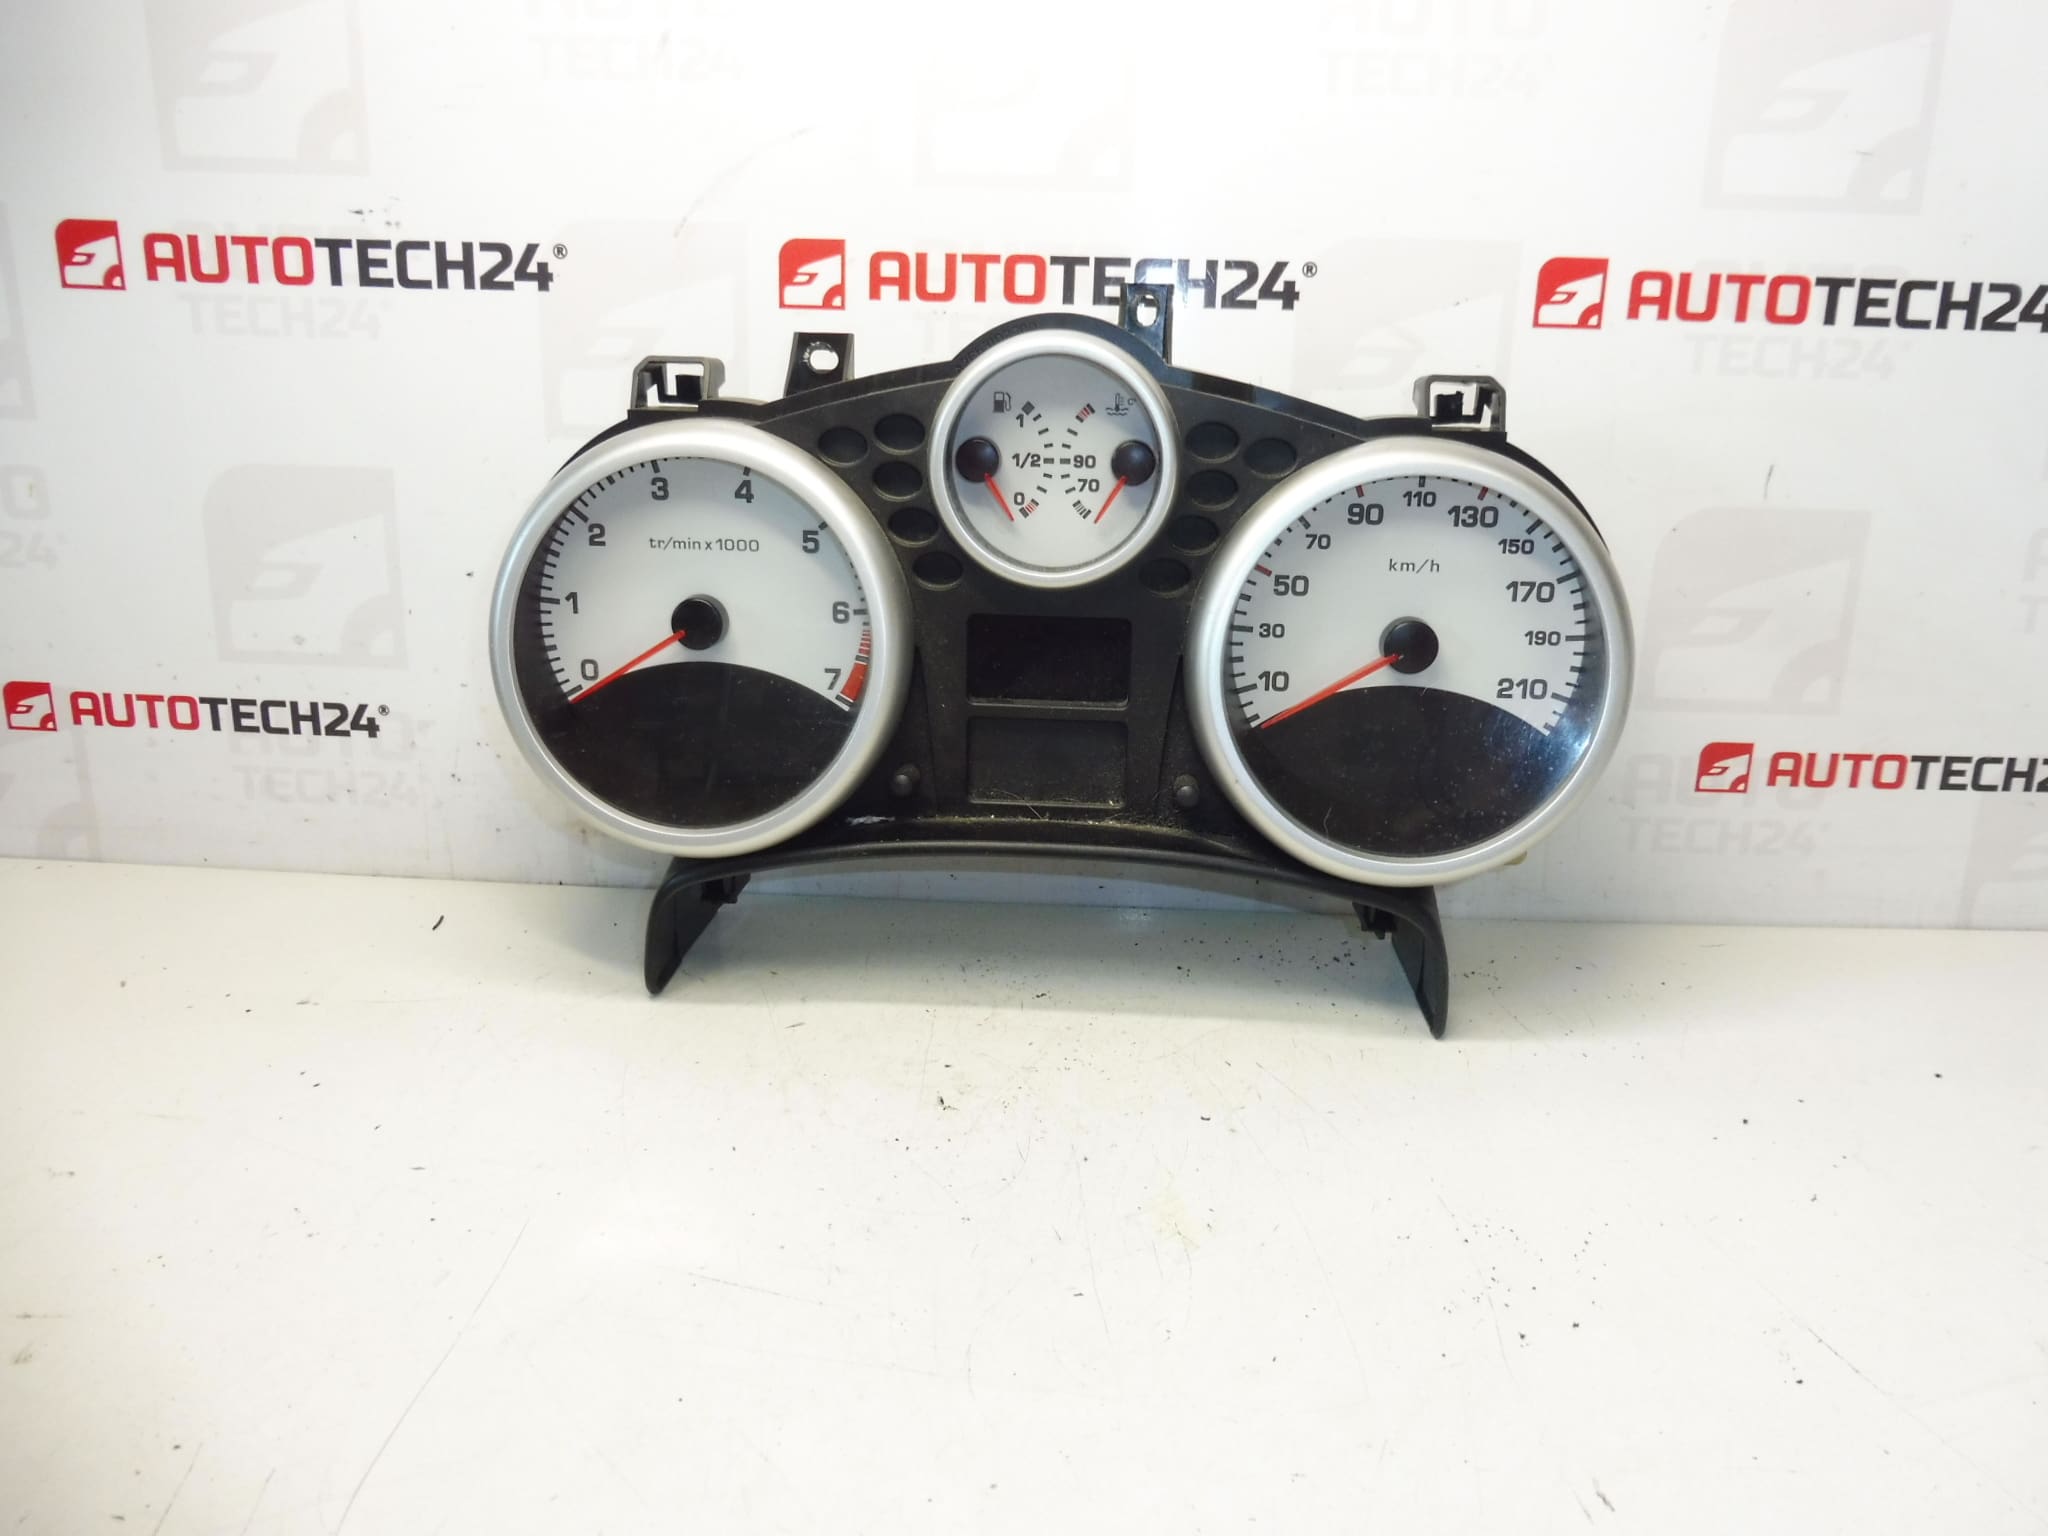
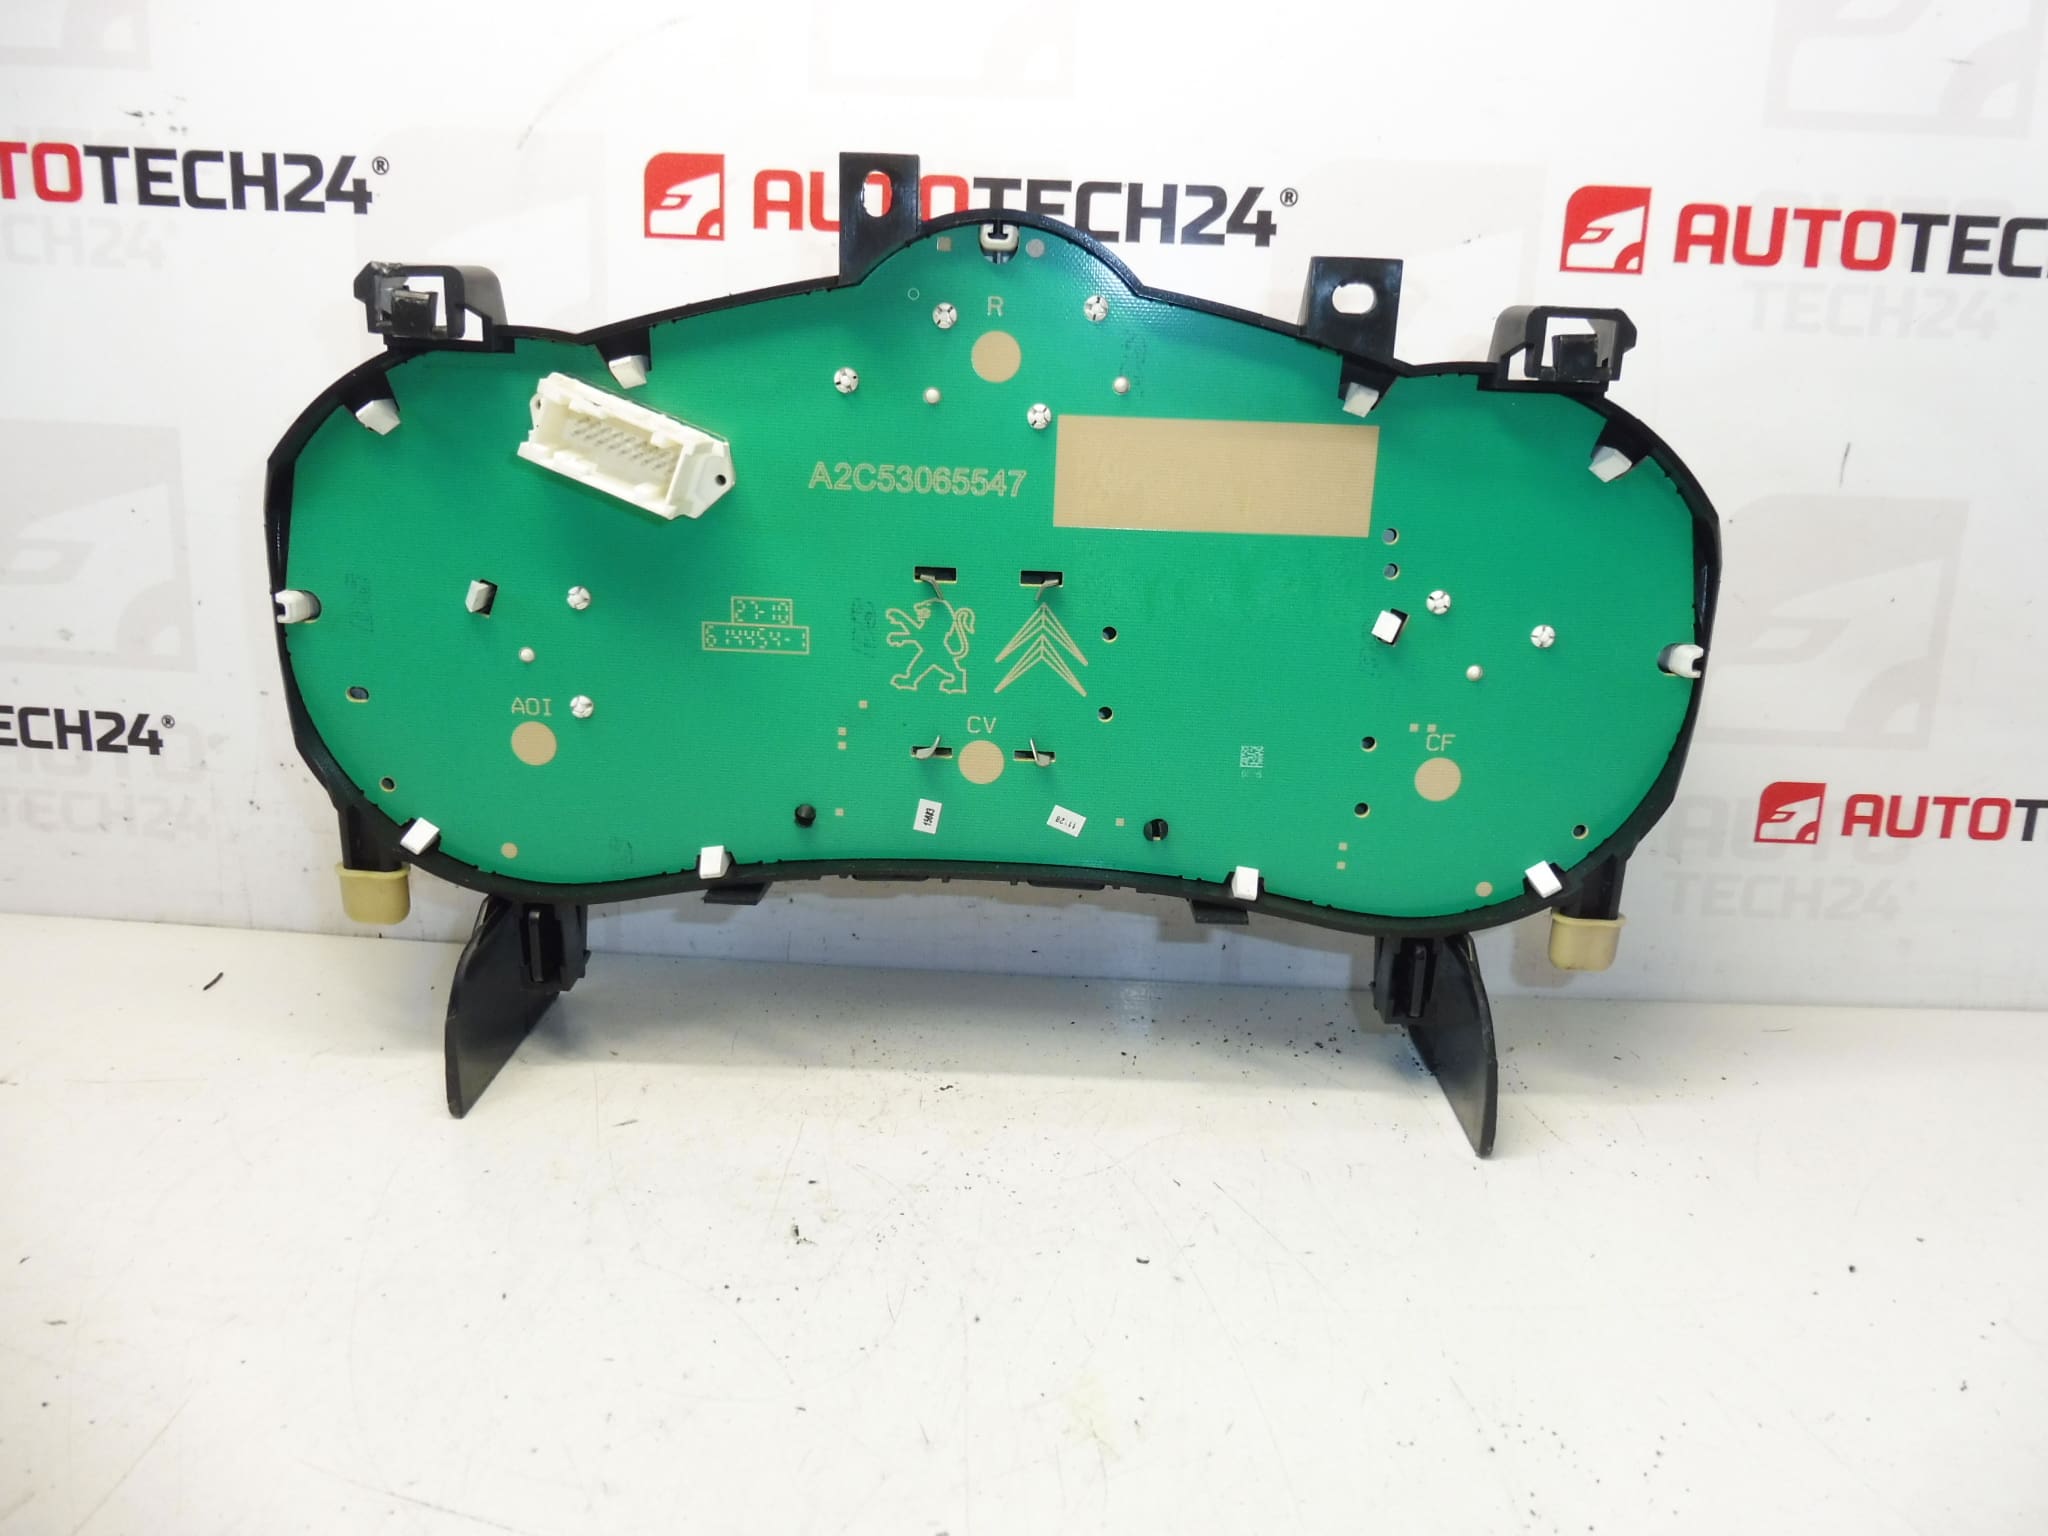
Speedometer, alarms, complete instrument cluster for PEUGEOT 207 cars
Mileage is unknown
Part description
Used speedometer / instrument cluster designed for Peugeot 207. This is a complete instrument panel, which is used to display the basic operating data of the vehicle and control selected systems. Parts of this type are often searched for by production numbers, so we list the available designations 9666132380 and 6103CS.
The advantage is the complete design of the part, which can facilitate the exchange for the original damaged or non-functional piece. As it is a used car part, it is especially suitable for mechanics and DIYers who are looking for an original part at a reasonable price.
Technical information
Product codes
- Product codes: 9666132380, 6103CS
- Models: Peugeot 207
Installation recommendations
Generally/typically for instrument cluster replacement, the exact procedure may vary depending on the specific design of the car and instrument panel.
1) Before assembly
- Check that the shape of the part, connectors, mounting and labeling match the original piece.
- Compare product numbers 9666132380 and 6103CS with the old part.
- Inspect the cover, connectors and contact surfaces for cracks, oxidation or mechanical damage.
- Expect that mileage is not known.
2) Necessary tools and materials
- Basic set of hand tools
- Plastic pry bar for panel removal
- Screwdrivers or bits corresponding to the fasteners used
- Clean cloth to wipe the surroundings and connectors
3) Step-by-step assembly procedure
- Park the vehicle in a safe place and turn off the ignition.
- Disconnect the battery to reduce the risk of damage to electrical components.
- Carefully remove the relevant covers or trim around the instrument panel.
- Undo the fasteners of the original speedometer.
- Slide out the original cluster to access the connectors.
- Unplug the electrical connectors without using excessive force and check their condition.
- Compare the original and the new part, especially the numbers, connectors, mounts and overall design.
- Connect the connectors to the assembly and make sure they are properly seated and secured.
- Place the tachometer in place and secure it with the original fasteners.
- Reinstall all covers and removed interior parts.
- Connect the battery.
- Turn on the ignition and verify the basic function of the instrument panel.
-
4) Post-assembly checks and test drive/function verification
- Check that the instrument panel lights up and displays the data legibly.
- Verify the operation of the indicator lights, backlight and basic displayed information.
- On a short test drive, observe the stability of the display and the correct response of the indicators.
- After driving, double-check that the part is firmly seated and that nothing in the dash is rattling or loose.
5) The most common assembly mistakes + how to avoid them
- Part exchange based on appearance – always compare product numbers and connectors as well.
- Interior trim damage – use appropriate plastic tools and proceed with caution.
- Insufficiently secured connectors – check for proper seating after plugging in.
- Assembly without disconnecting the battery – always follow a safe procedure with electrical parts.
- Inspection of the condition of the used part – before assembly, check the connectors, cover and attachment.
Reasons why the part is damaged
- Electronic failure due to age and long-term operation.
- Voltage fluctuations in the vehicle’s electrical system.
- Damage to connectors, contacts or wiring.
- Mechanical damage during careless disassembly or assembly.
- Moisture, contact oxidation or contamination in the instrument panel area.