Description
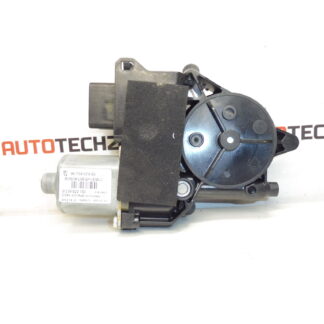
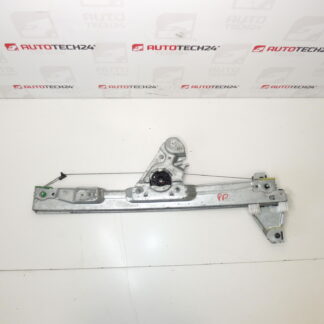
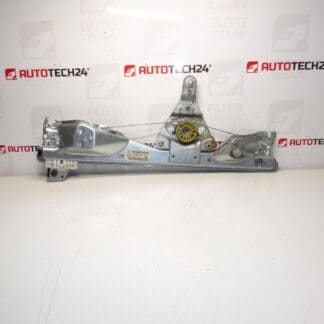
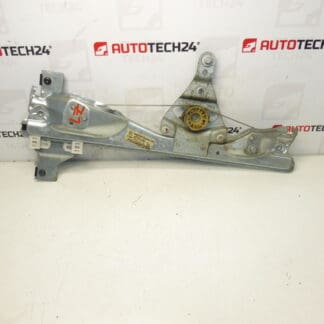
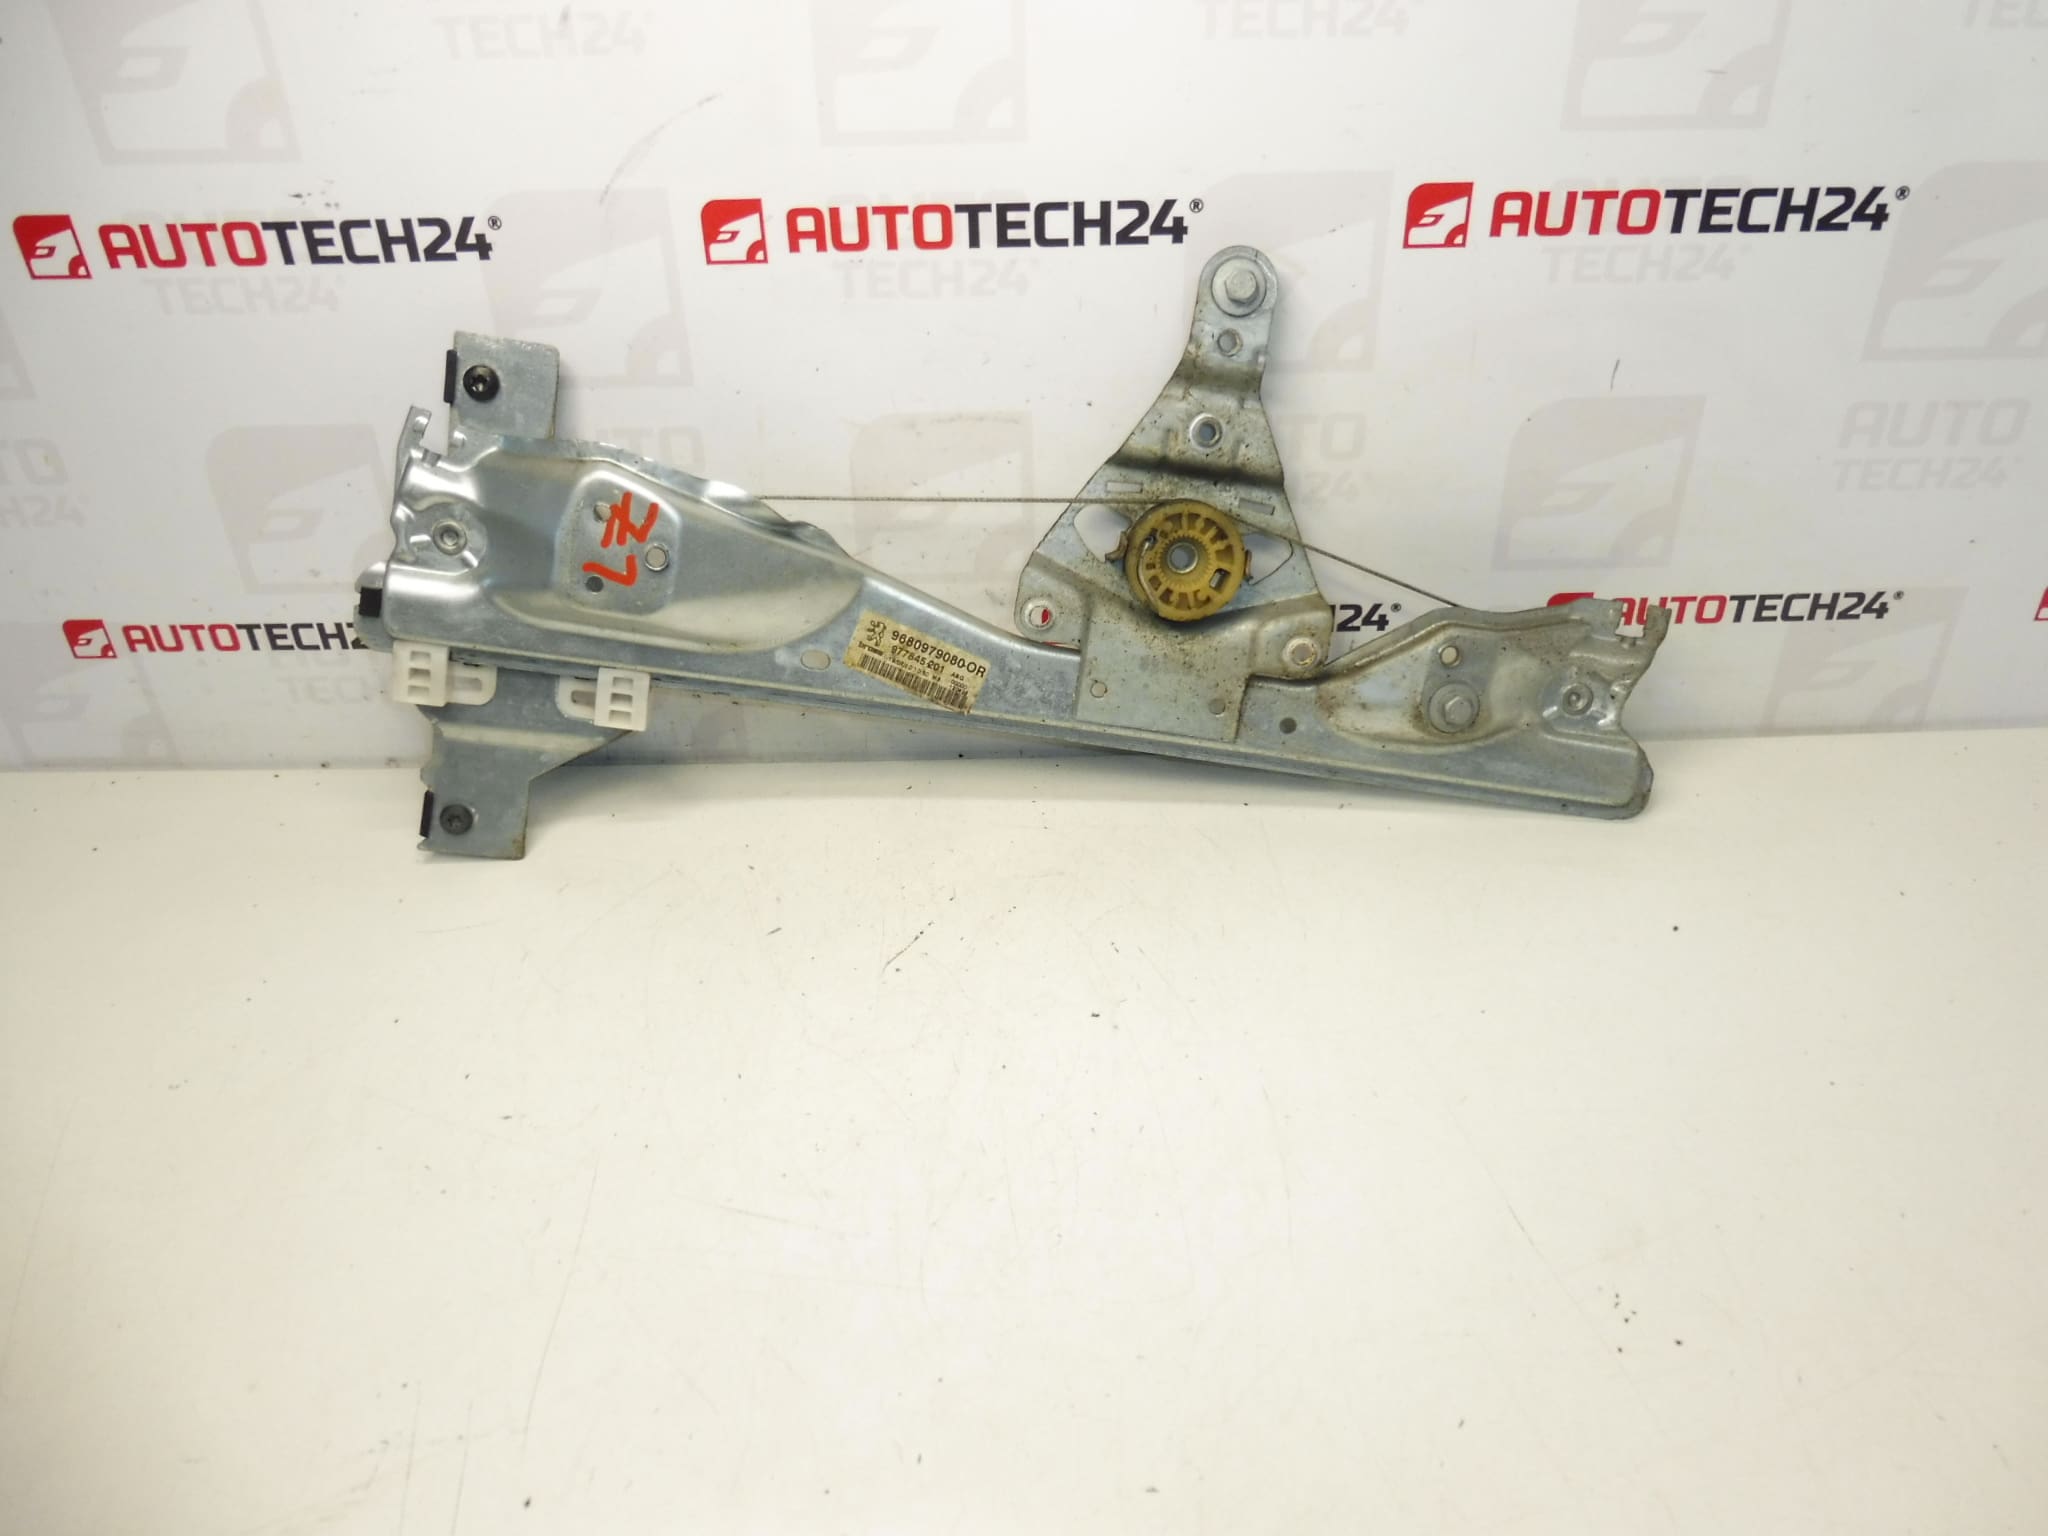
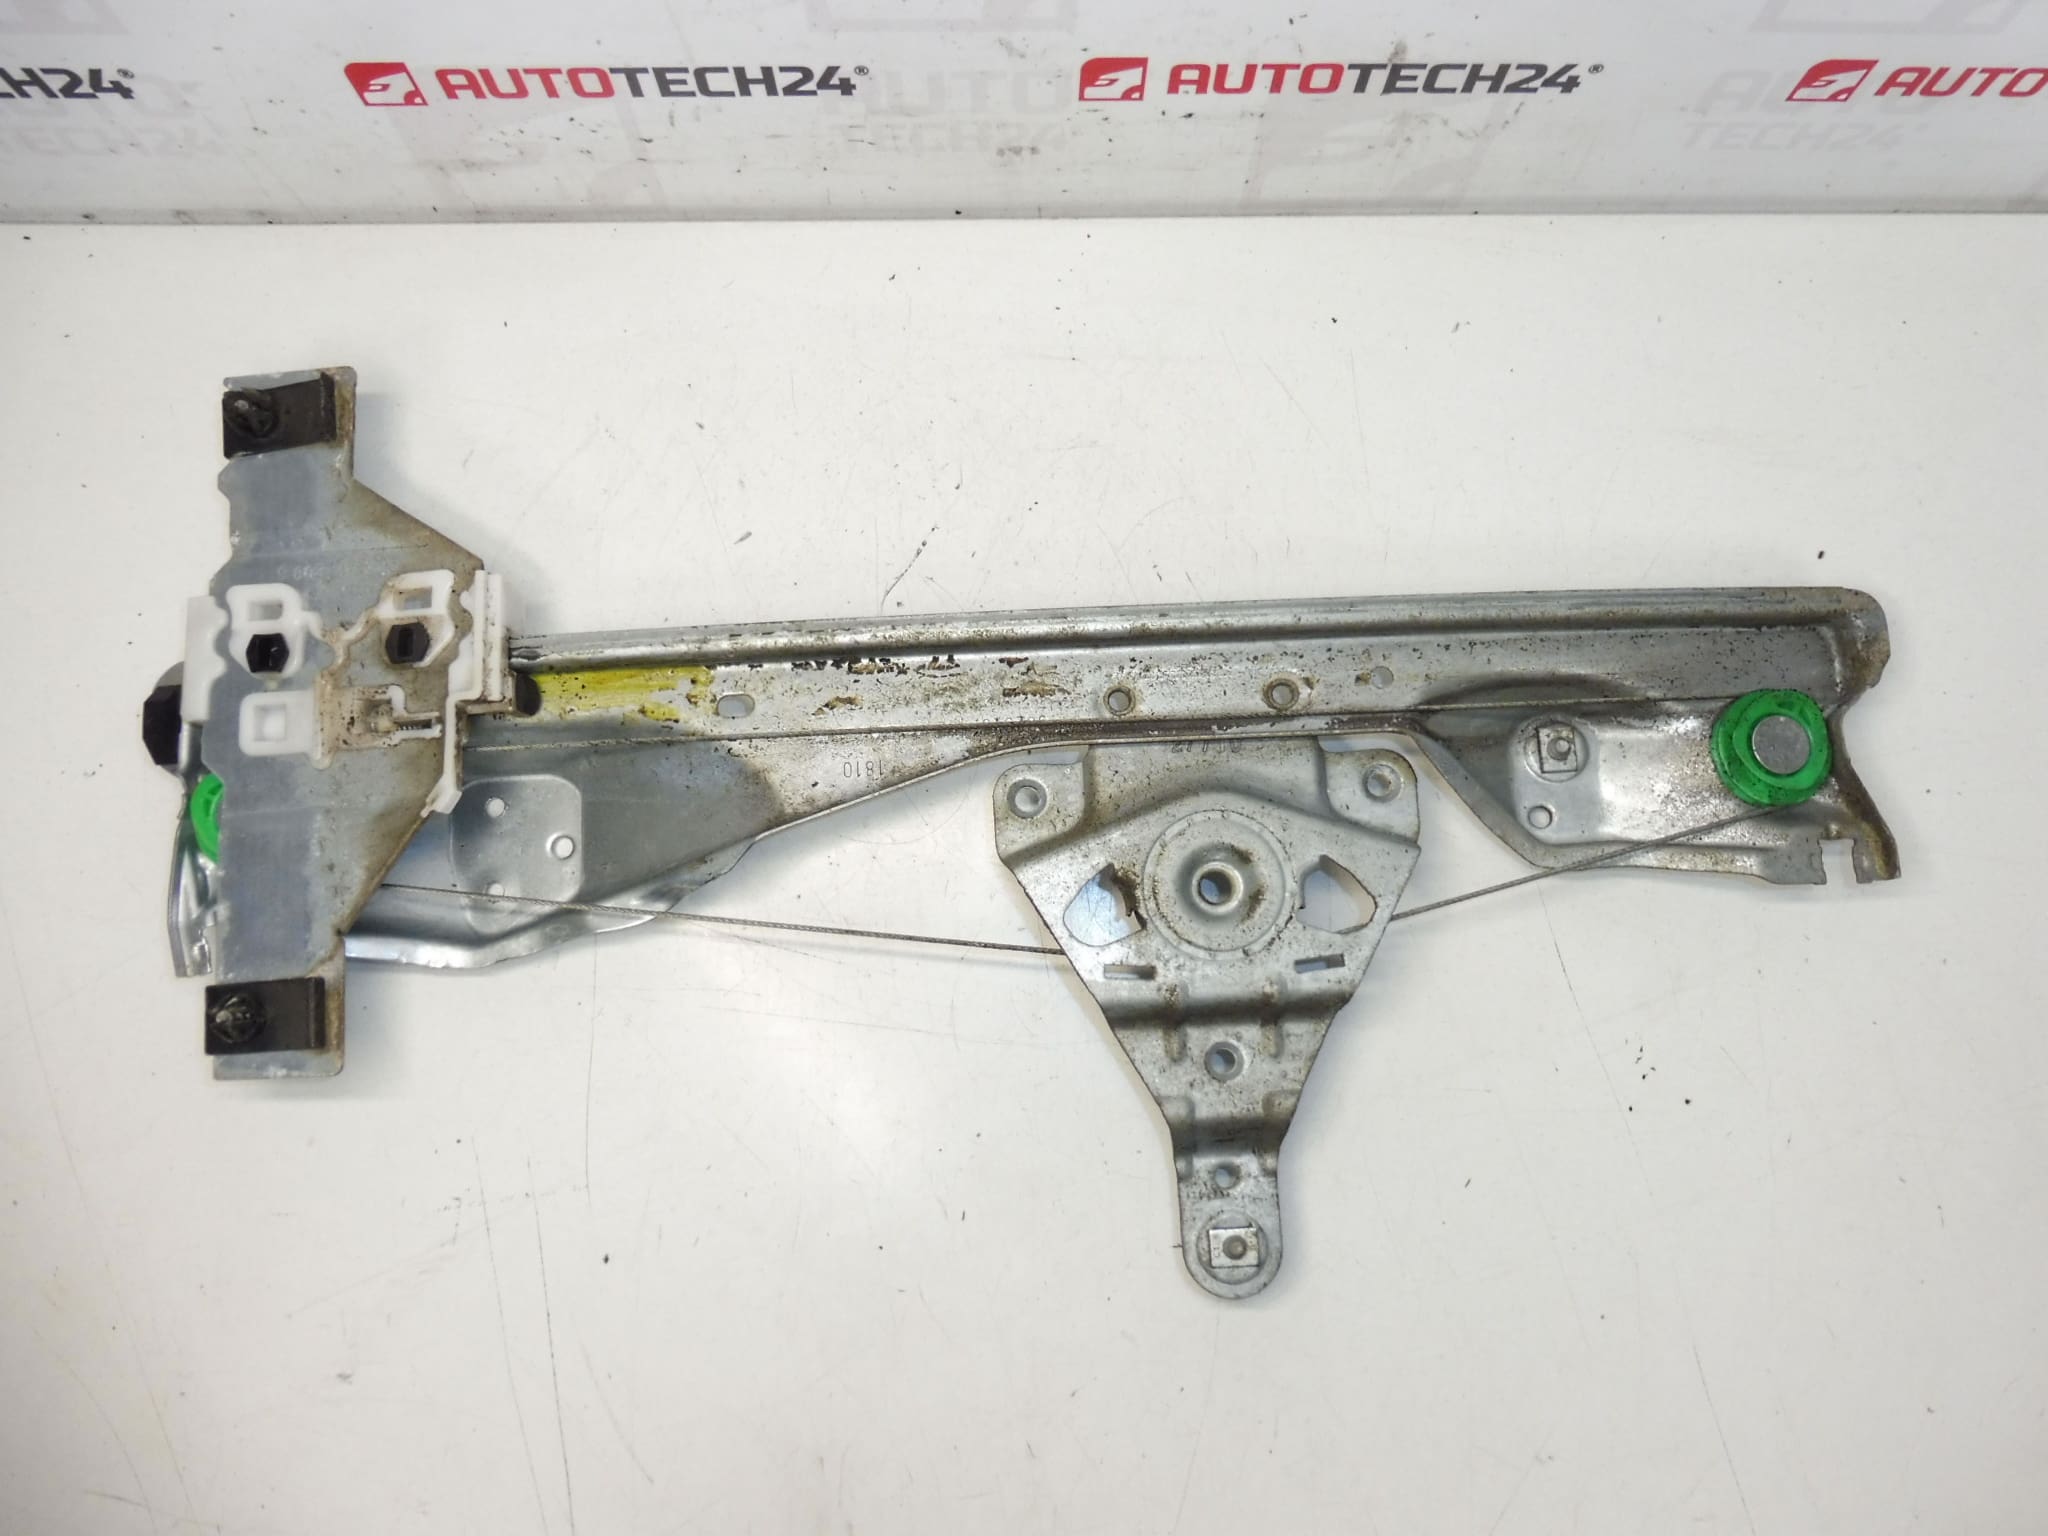
Window regulator mechanism for the left rear window for PEUGEOT 308 T7 vehicles. Motor can be purchased separately. Rear Left Door.
Product Overview
Used power window regulator assembly intended for the left rear door of the Peugeot 308 (T7). Commonly searched by OE numbers 9680979080 and 9223E5, this unit replaces the mechanical parts that guide and lift the rear window glass. The electric motor is available separately, allowing workshops and DIY mechanics to replace only the failed component if desired. Ideal for professional fitment and competent self-repair, the unit restores reliable up-and-down operation of the rear left window.
Key Features
- Direct Fit For Peugeot 308 T7 Rear Left Door
- OE Reference Numbers Included For Fast Identification (9680979080, 9223E5)
- Motor Sold Separately — Cost-Effective Repair Option
- Simplifies Replacement Of Worn Cables, Guides Or Plastic Components
Technical Information
- Manufacturer: Stellantis / Peugeot
- Model: Peugeot 308 T7
- Product Codes: 9680979080, 9223E5
- Additional Numbers: 922300000, NFP
Compatibility And Fitment
Fits Peugeot 308 T7 models for the left rear (driver side) door. Always confirm the OE reference numbers listed in the Technical Information to ensure correct fitment for your vehicle generation and door configuration.
Function
The regulator assembly converts the rotary motion of the electric motor into controlled linear movement to raise and lower the window glass. It secures the glass to guide rails, provides smooth travel, and keeps the glass aligned in the door frame. When the motor is not included, the mechanical regulator still performs the guiding and support functions; a compatible motor must be fitted to power the system.
Replacement Procedure
- Prepare The Vehicle: Park on a level surface, engage the parking brake and disconnect the negative battery terminal to reduce risk from electrical circuits and airbags.
- Remove Door Trim: Carefully remove the interior door panel and vapor barrier to access the regulator and motor area. Keep fasteners organized.
- Support The Glass: Manually support or tape the window glass in the up position and disconnect any clips that attach the glass to the regulator.
- Disconnect Electrical Connections: If the motor is present, disconnect its electrical connector before unbolting.
- Unbolt The Regulator: Remove mounting bolts and any guide retainers, then extract the regulator assembly from the door cavity.
- Install New Regulator: Position the replacement regulator, loosely fit bolts, reconnect the motor (if applicable) and test operation to ensure proper routing and alignment.
- Final Check: Once alignment is confirmed, torque fasteners to manufacturer specs, reattach glass clips, reassemble the door trim and reconnect the battery. Verify full travel and smooth operation.
Installation Recommendations
- Always Disconnect The Battery Before Starting Work To Minimize Electrical And Airbag Risks.
- Use Proper Tools And A Support For The Glass To Prevent Breakage Or Injury.
- Inspect Window Guides, Seals And Fasteners While The Door Is Open; Replace Any Worn Or Corroded Parts.
- Lubricate Sliding Channels And Pivot Points With Appropriate Grease To Extend Service Life.
- If Replacing Motor And Regulator Together, Test The Motor Operation Before Final Assembly.
Why This Part Most Often Fails
Window regulators commonly fail due to worn or frayed cables, broken plastic sliders or drum components, corrosion from moisture ingress, or mechanical wear of guide rails. Excessive force from misaligned glass or impacts (e.g., door damage) also accelerates failure. Electric motors (sold separately) may fail electrically or mechanically, but the regulator assembly itself typically shows wear after years of frequent use.
Practical Tips For Mechanics And DIYers
- Have OE Numbers Ready (9680979080 / 9223E5) To Speed Up Parts Identification.
- Consider Replacing Worn Fasteners And Clips During The Repair To Avoid Future Rattles.
- Test Full Window Travel Several Times After Installation To Confirm Smooth Operation And Proper Alignment.