Description
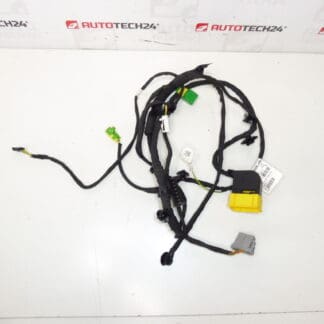
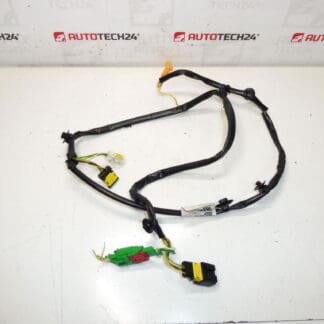
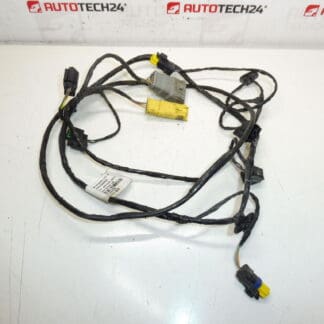
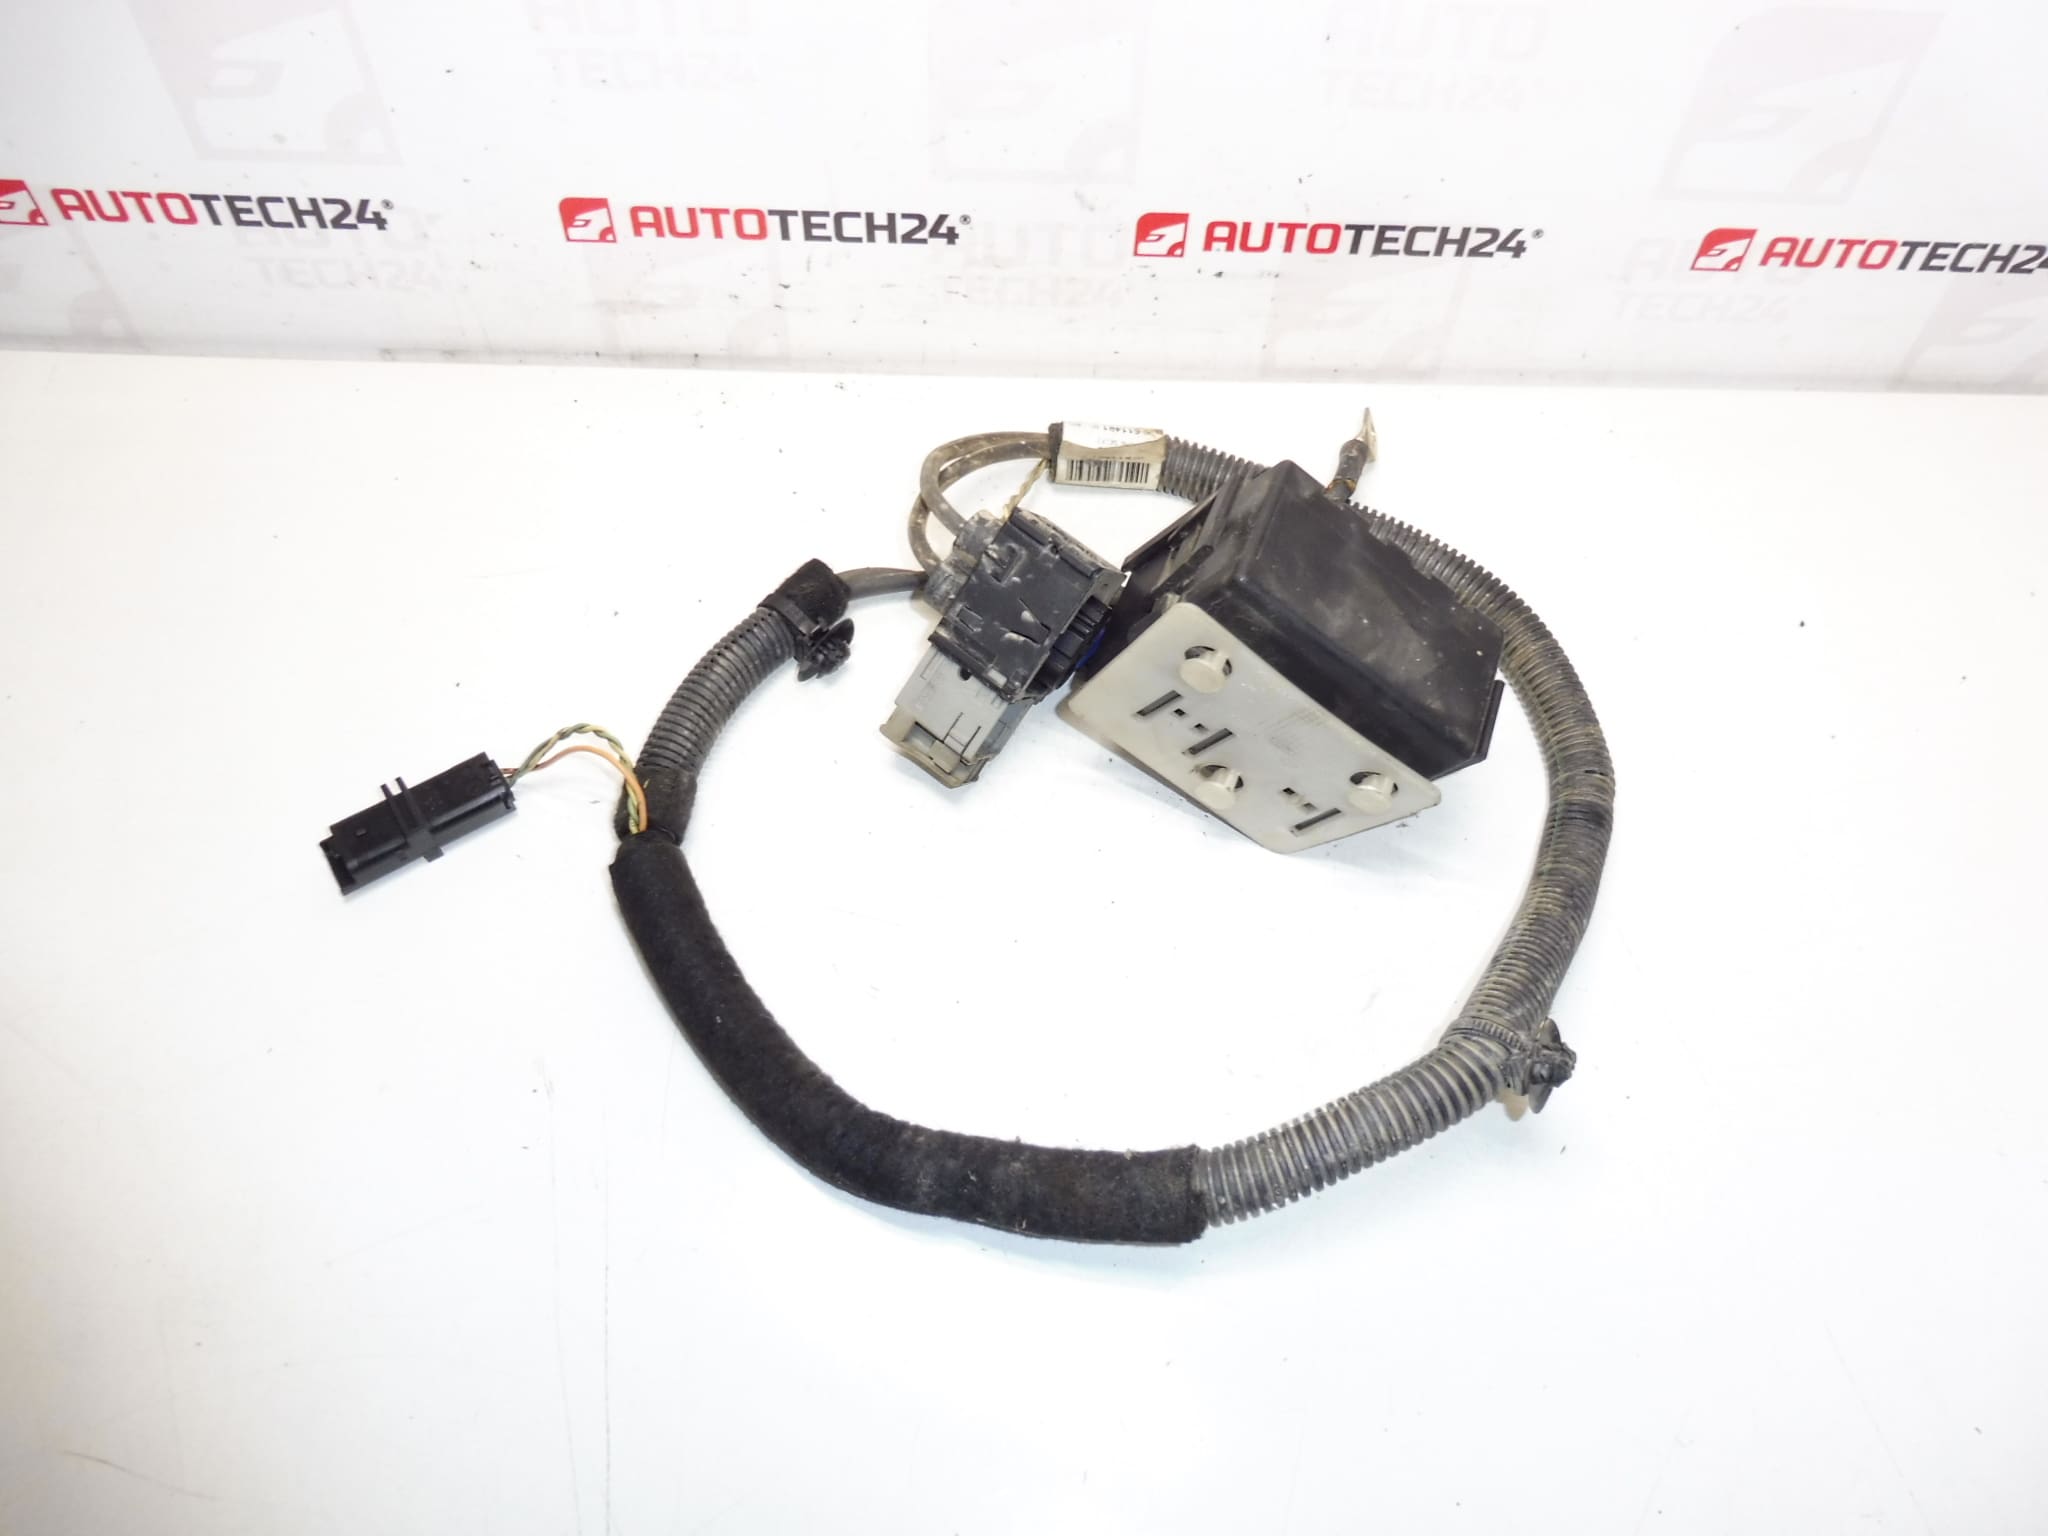
Power steering harness for Peugeot 207 cars
Part description
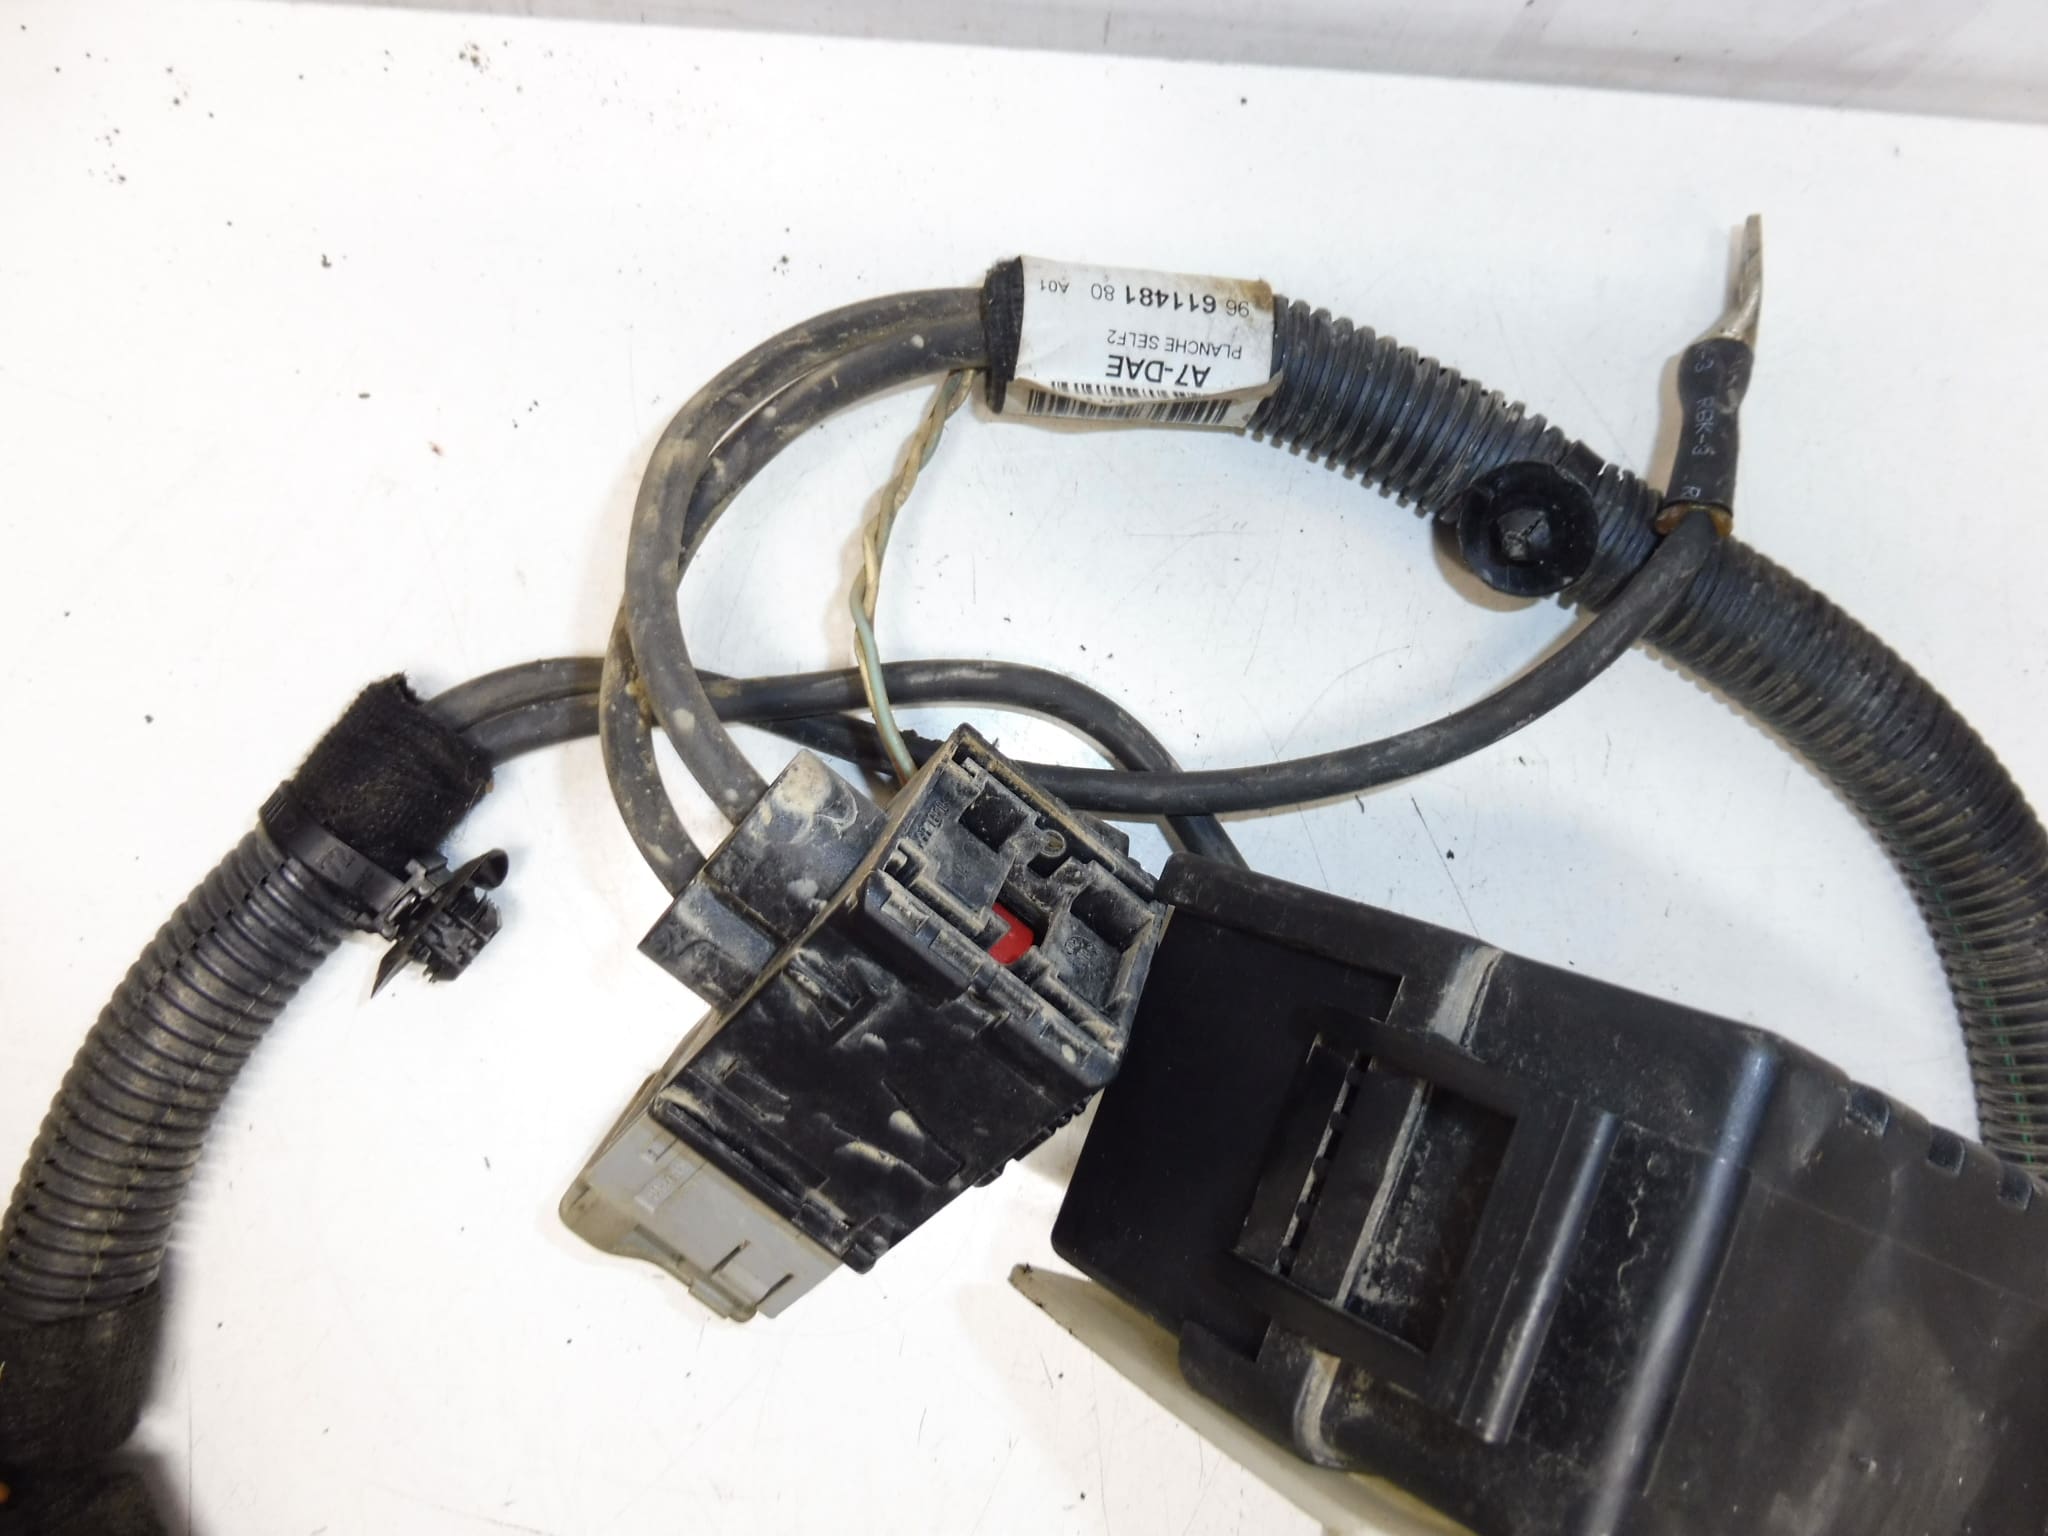
This power steering wiring harness is designed for the Peugeot 207 and is used to connect the electrical parts of the power steering system. In practice, it solves typical faults such as intermittent connection, bad contact in connectors or insulation damage, which can cause irregular booster function or the lighting of steering-related lights.
Especially suitable for repairs after mechanical damage to the cabling, rodent infestation or when replacing a part of the electrical installation, when it is necessary to preserve the original connectors and wiring according to the manufacturing design.
Technical information
Product codes
- Product codes: 9661148180
Installation recommendations
Generally/typically applies to replacing a wiring harness in a car’s electrical installation; exact guidance and access may vary according to the specific Peugeot 207 design.
1) Before assembly
- Compare with the old part number (9661148180, possibly 6573S9 / 6586Q9), connector shape, number of pins and harness lengths/branches.
- Inspect for cracked connector locks, damaged insulation, hardened tubing or stripped wires at the connector inputs.
- Make sure the harness is not corroded (especially the pins) and that the rubber seals on the connectors are tight and not torn.
2) Necessary tools and materials
- Basic set of hand tools (screwdrivers, ratchet/extensions as needed)
- Pryers/plastic levers for removing covers and clips
- Flashlight, duct tape, electrical tape or textile tape for wiring
- Electrical contact cleaner (according to the state of the connectors)
3) Step-by-step assembly procedure
- Turn off the ignition and disconnect the battery (to protect the electronics and avoid a short circuit).
- Ensure access to the harness (dismantling the necessary covers/mounts at the location of the wiring).
- Document original bundle routing (photos), including position of clips, grommets, and mounts.
- Disconnect the connectors one by one: first release the fuses/locks, then pull the connector off (do not pull on the cables).
- Release the bundle from the holders, clips and any protective strips/tubes so that it can be pulled out along the original route.
- Remove the old harness and compare it with the replacement before installation (branches, connectors, lengths).
- Install the new bundle in the original route and fasten it in all the brackets – this will prevent abrasion and strain on the cables.
- Reconnect the connectors – make sure the fuses are properly seated and clicked; the connectors must hold without play.
- If the connectors were dirty, use contact cleaner and let them air out before connecting.
- Check that the wiring is not stretched, does not rub against edges anywhere, and is not routed near areas of significant heat or movement.
- Return the disassembled covers and parts back.
- Connect the battery.
-
4) Post-assembly checks and test drive/function verification
- Verify that all connectors are firmly secured and that the harness is not rubbing or pinching anywhere when installing the covers.
- Turn on the ignition and check for any unusual driving-related messages/lights.
- Take a short test drive and feel the smoothness of the steering assistance; after driving, visually check the fastening of the harness again.
5) The most common assembly mistakes + how to avoid them
- Battery not disconnected → risk of short circuit and damage to electronics; always disconnect before handling the wiring.
- Swapping connectors / unsnapped lock → intermittent faults; check the fuses and pull test the connector.
- Bad bundle guidance (in tension, at a sharp edge) → subsequent penetration; lead as before and use all grips.
- Clamping of wiring when mounting the covers → careful check before tightening and snapping the covers.
Reasons why the part is damaged
- Mechanical damage to the cabling (abrasion on the edges, pinching, inappropriate routing without handles).
- Moisture and corrosion in connectors (increased transient resistance, signal dropouts).
- Thermal stress and aging of the insulation (hardening, cracking).
- Unprofessional interventions in the electrical installation (non-original connections, bad repairs, inappropriate insulation).
- Rodent damage (bitten insulation/conductors).