Description
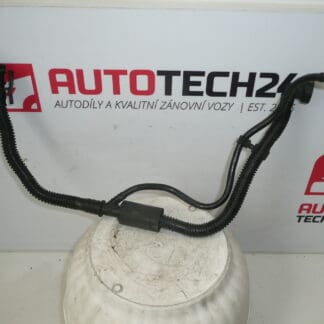
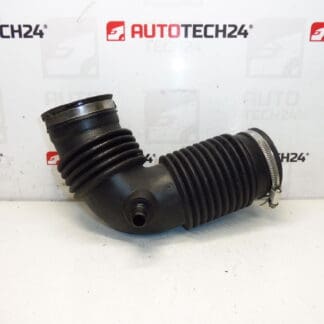
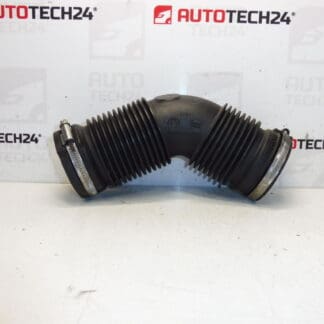
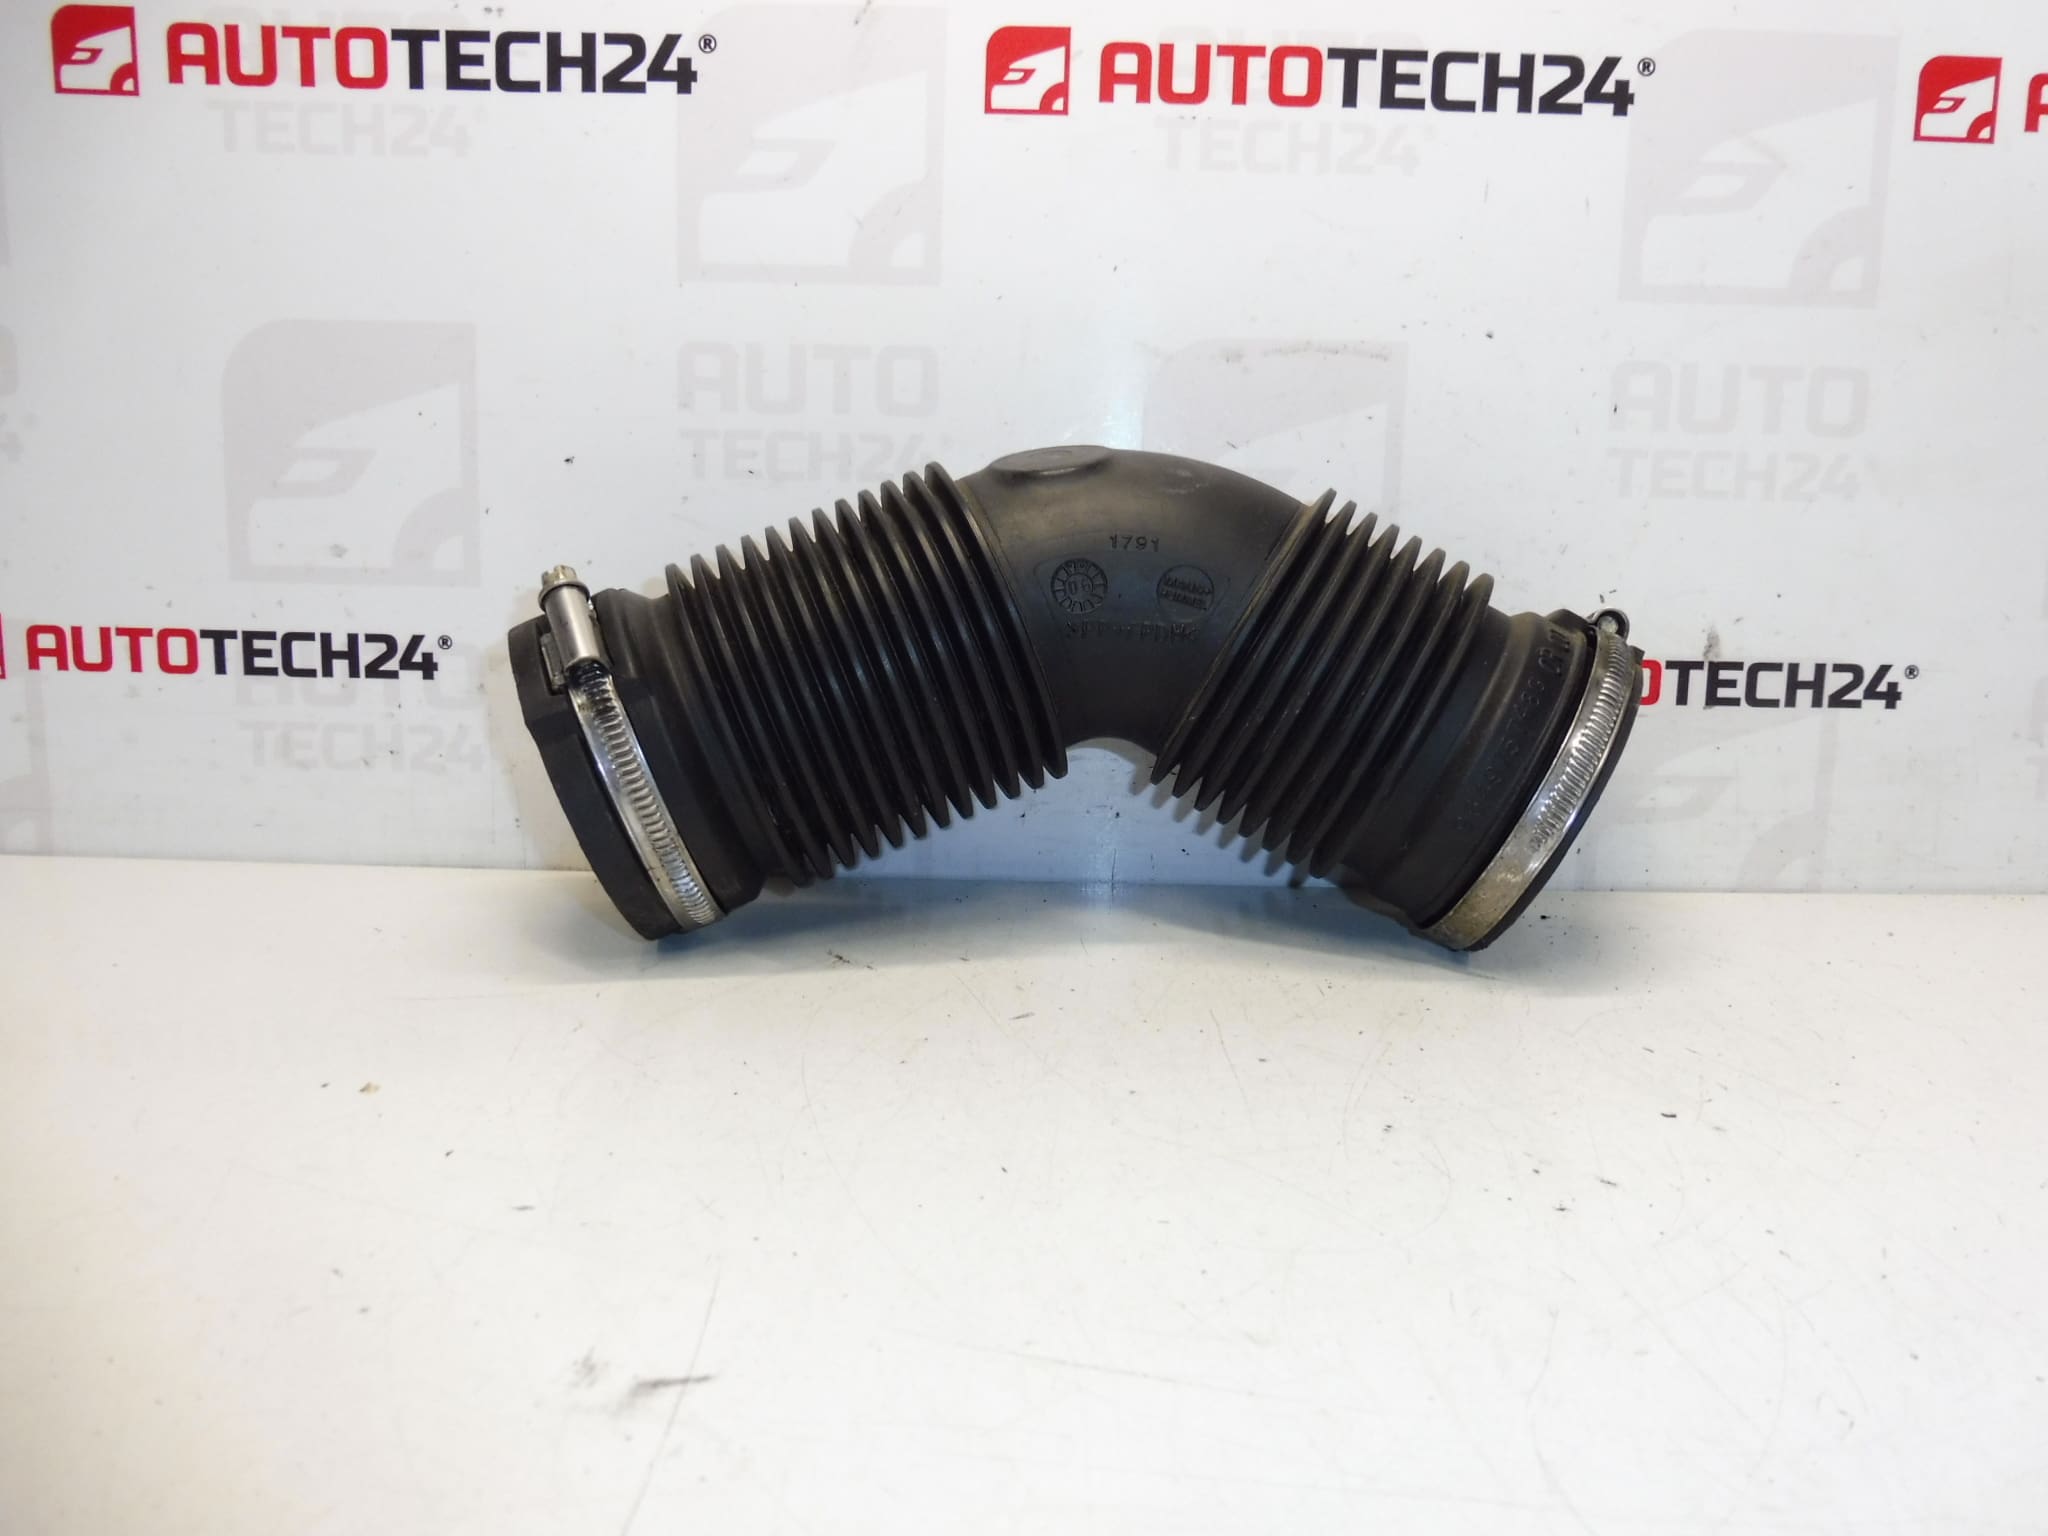
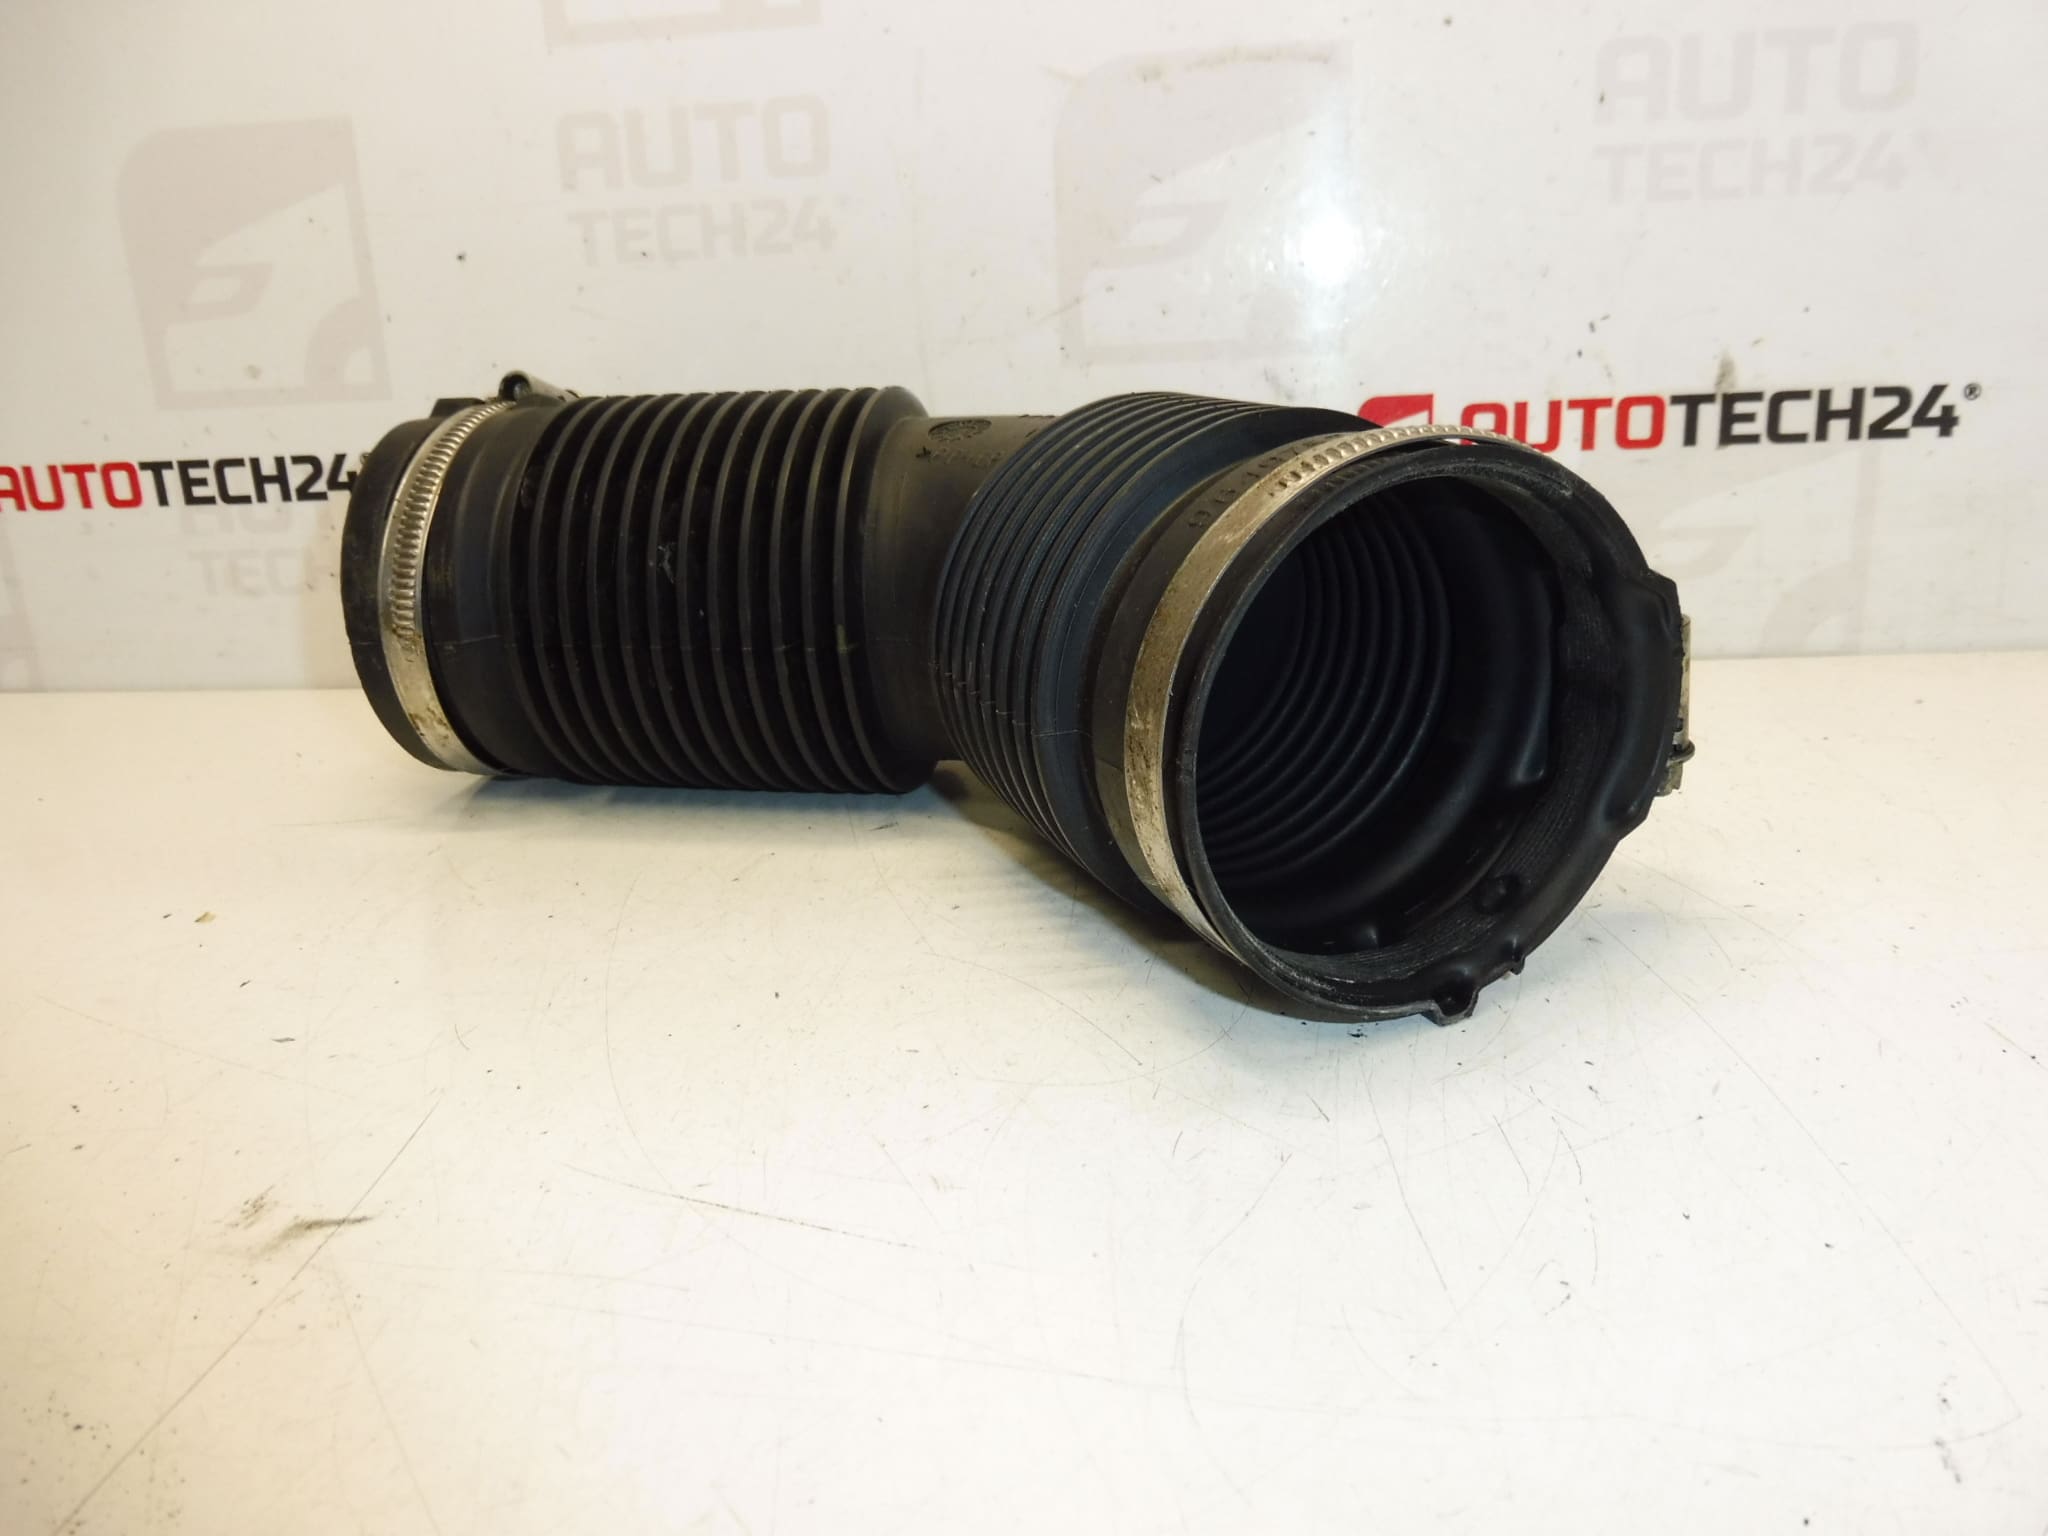
Intake Air Filter Connector For 1.8 16V And 2.0 16V Engines For Citroën And Peugeot
This intake air filter connector is a direct-fit replacement part designed for 1.8 16V and 2.0 16V petrol engines in Citroën and Peugeot vehicles. Engineered to restore correct airflow between the airbox and the throttle body, the component prevents unmetered air leaks that cause drivability issues. Ideal for professional mechanics and DIY enthusiasts, the part is frequently searched by its reference numbers and offers a reliable, OE-compatible solution for worn, cracked or hardened intake ducting.
Technical Information
- Manufacturer: Stellantis (Citroën / Peugeot)
- Model: Citroën C4; Citroën C4 Picasso; Peugeot 307
- Product Codes: 9649757480; 144073
- Additional Numbers: 144073; 9649757480
Fitment And Application
Fits vehicles equipped with 1.8 16V and 2.0 16V petrol engines from Citroën and Peugeot. Common applications include Citroën C4, Citroën C4 Picasso and Peugeot 307 models that use the standard intake ducting between the air filter housing and the intake tract. Always verify that the engine type matches the listed 1.8 16V or 2.0 16V configuration.
How To Replace
- Park The Vehicle On A Level Surface And Allow The Engine To Cool.
- Loosen The Hose Clamps Securing The Intake Connector To The Airbox And Throttle Body Or Intake Tube.
- Carefully Disconnect Any Attached Vacuum Lines Or Sensor Plugs That Are Routed Along The Connector.
- Remove The Old Connector And Clean The Mating Surfaces On The Airbox And Intake Pipe.
- Install The New Connector In The Correct Orientation, Ensure A Snug Fit And Refit Hose Clamps. Replace Any Deformed Or Corroded Clamps If Necessary.
- Reconnect Vacuum Lines And Sensors. Start The Engine And Check For Air Leaks And Proper Idle. Recheck Clamps After A Short Test Drive.
Installation Recommendations
- Use New Hose Clamps If The Originals Are Corroded Or Worn To Ensure A Reliable Seal.
- Inspect Adjacent Components Such As The Airbox Seals And Mass Airflow Sensor Boot For Damage While Replacing The Connector.
- After Installation, Perform A Visual Leak Check And Listen For Hissing Sounds At Idle. Road-Test The Vehicle To Confirm Normal Throttle Response.
Most Common Reasons For Failure
- Ageing And Heat Exposure: Rubber Or Flexible Plastic Material Can Harden, Crack Or Split Over Time Due To Engine Bay Temperatures.
- Oil Contamination: Oil Vapors From The PCV System Or Occasional Overflows Can Soften Or Degrade The Material.
- Mechanical Damage: Improper Clamp Tightening, Abrasion Or Impact Can Cause Tears Or Deformation.
- Consequences Of Failure: Unmetered Air Ingress Leads To Rough Idle, Check Engine Light, Poor Acceleration And Reduced Fuel Efficiency.
Why Buy This Part
Replacing a degraded intake air filter connector restores the designed air path and prevents performance and emissions issues. Supplied with clear product references (9649757480, 144073), this replacement part helps mechanics quickly identify and fit the correct component, reducing diagnostic time and avoiding recurring faults caused by air leaks.