Description
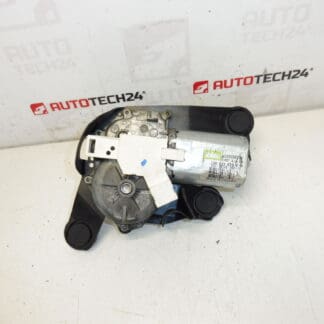
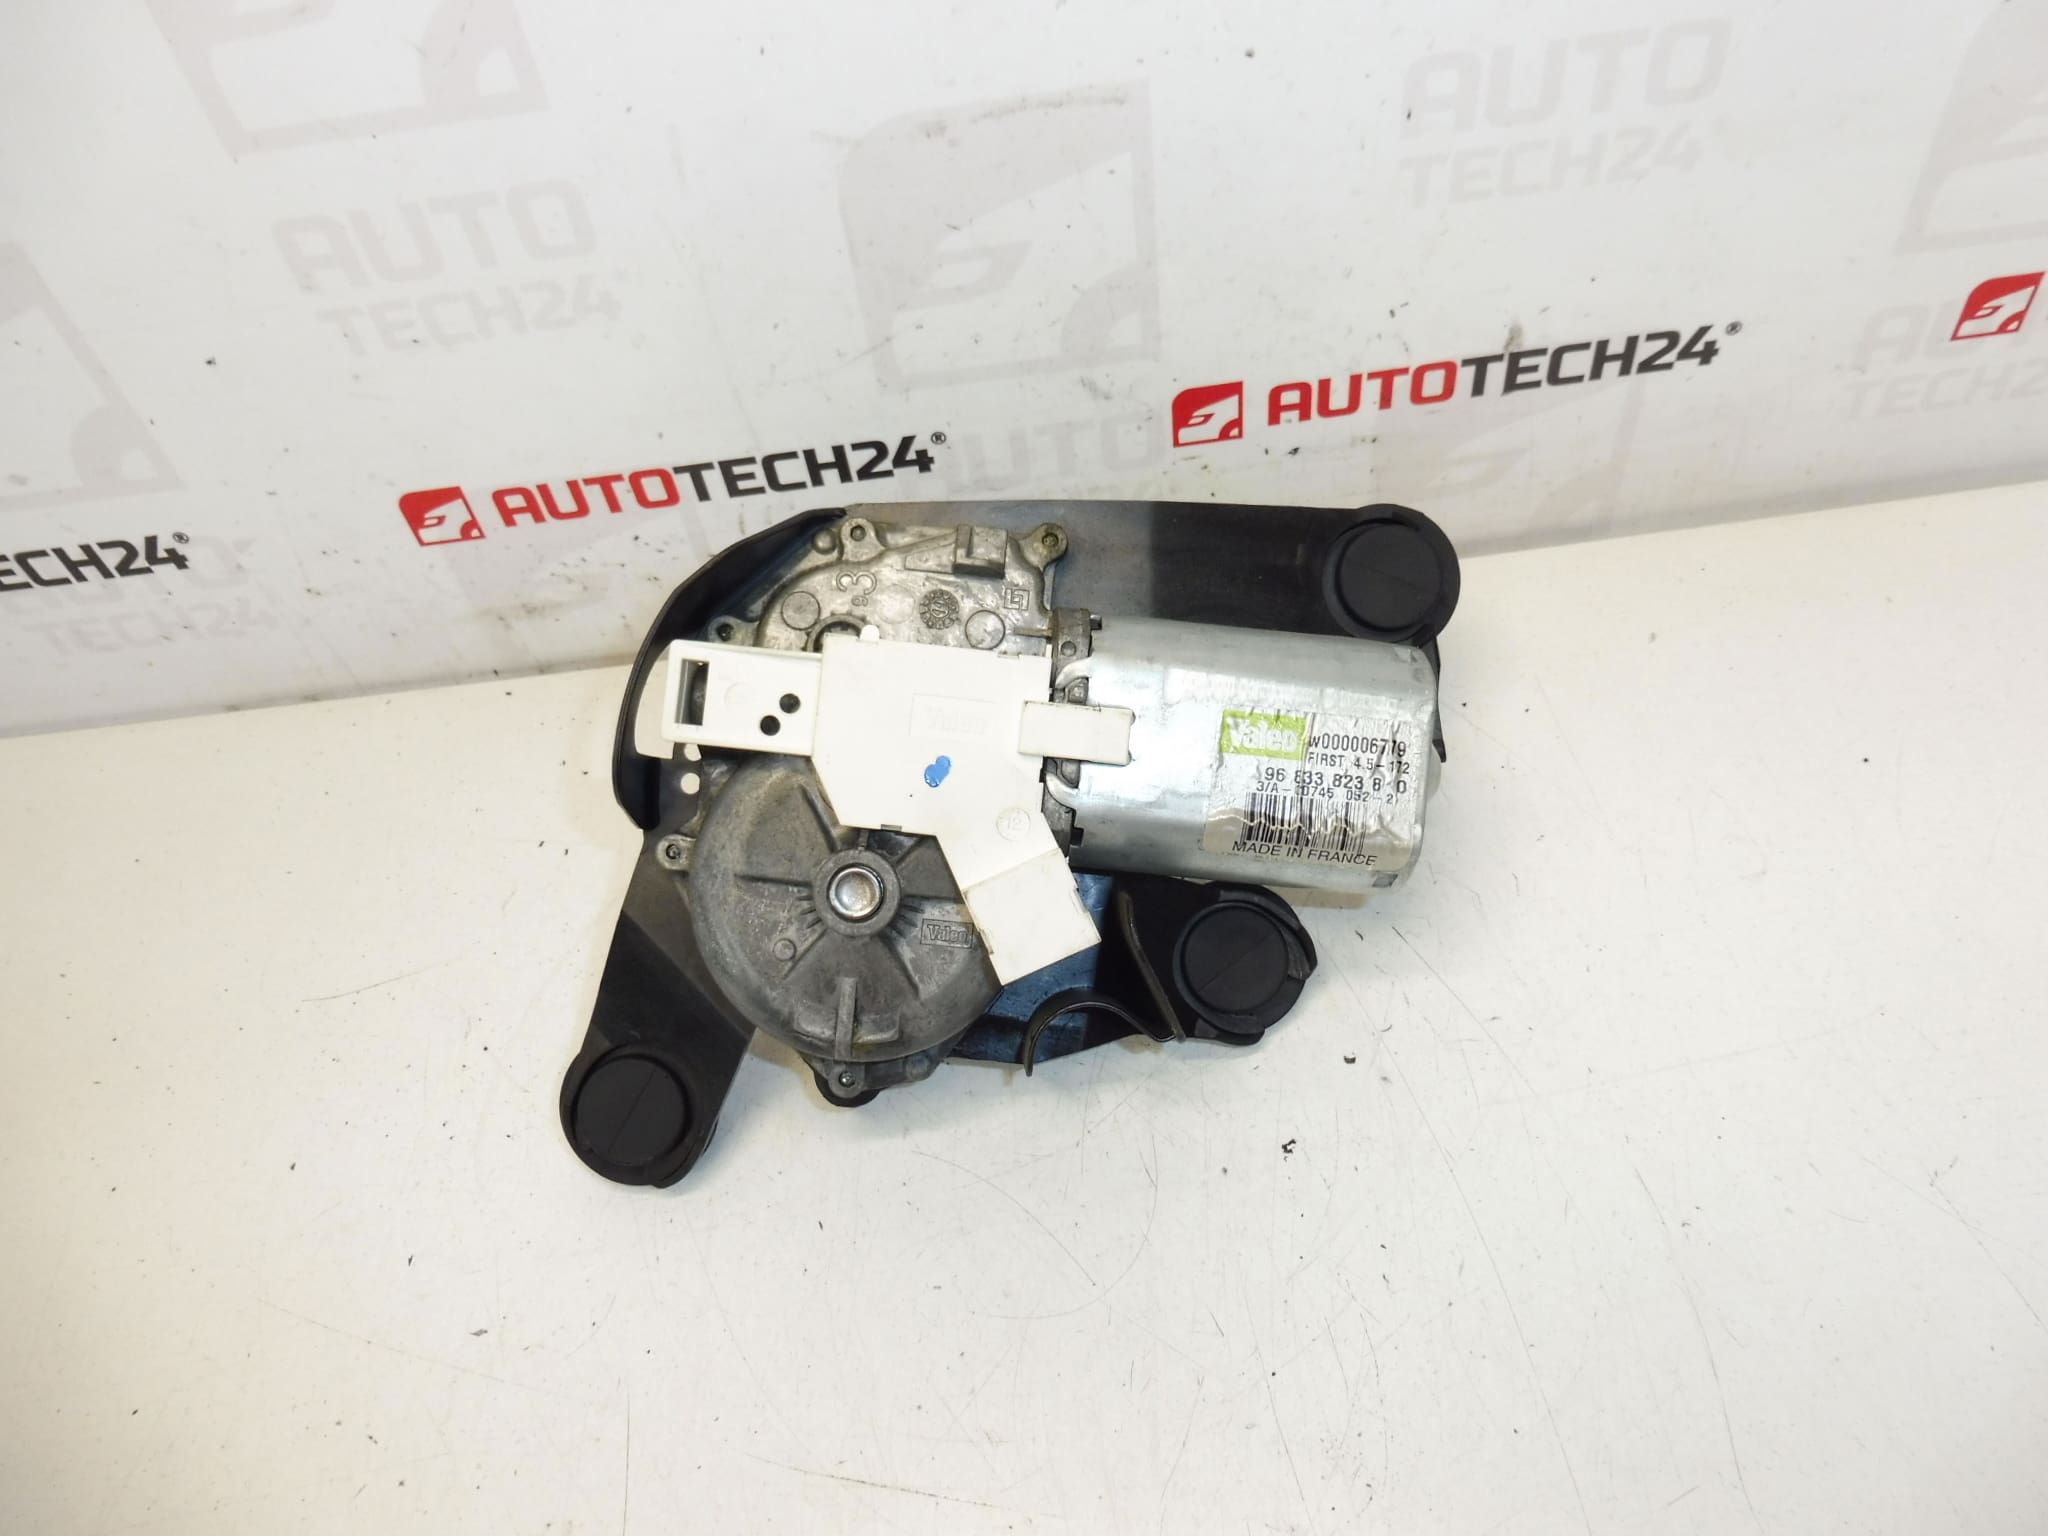
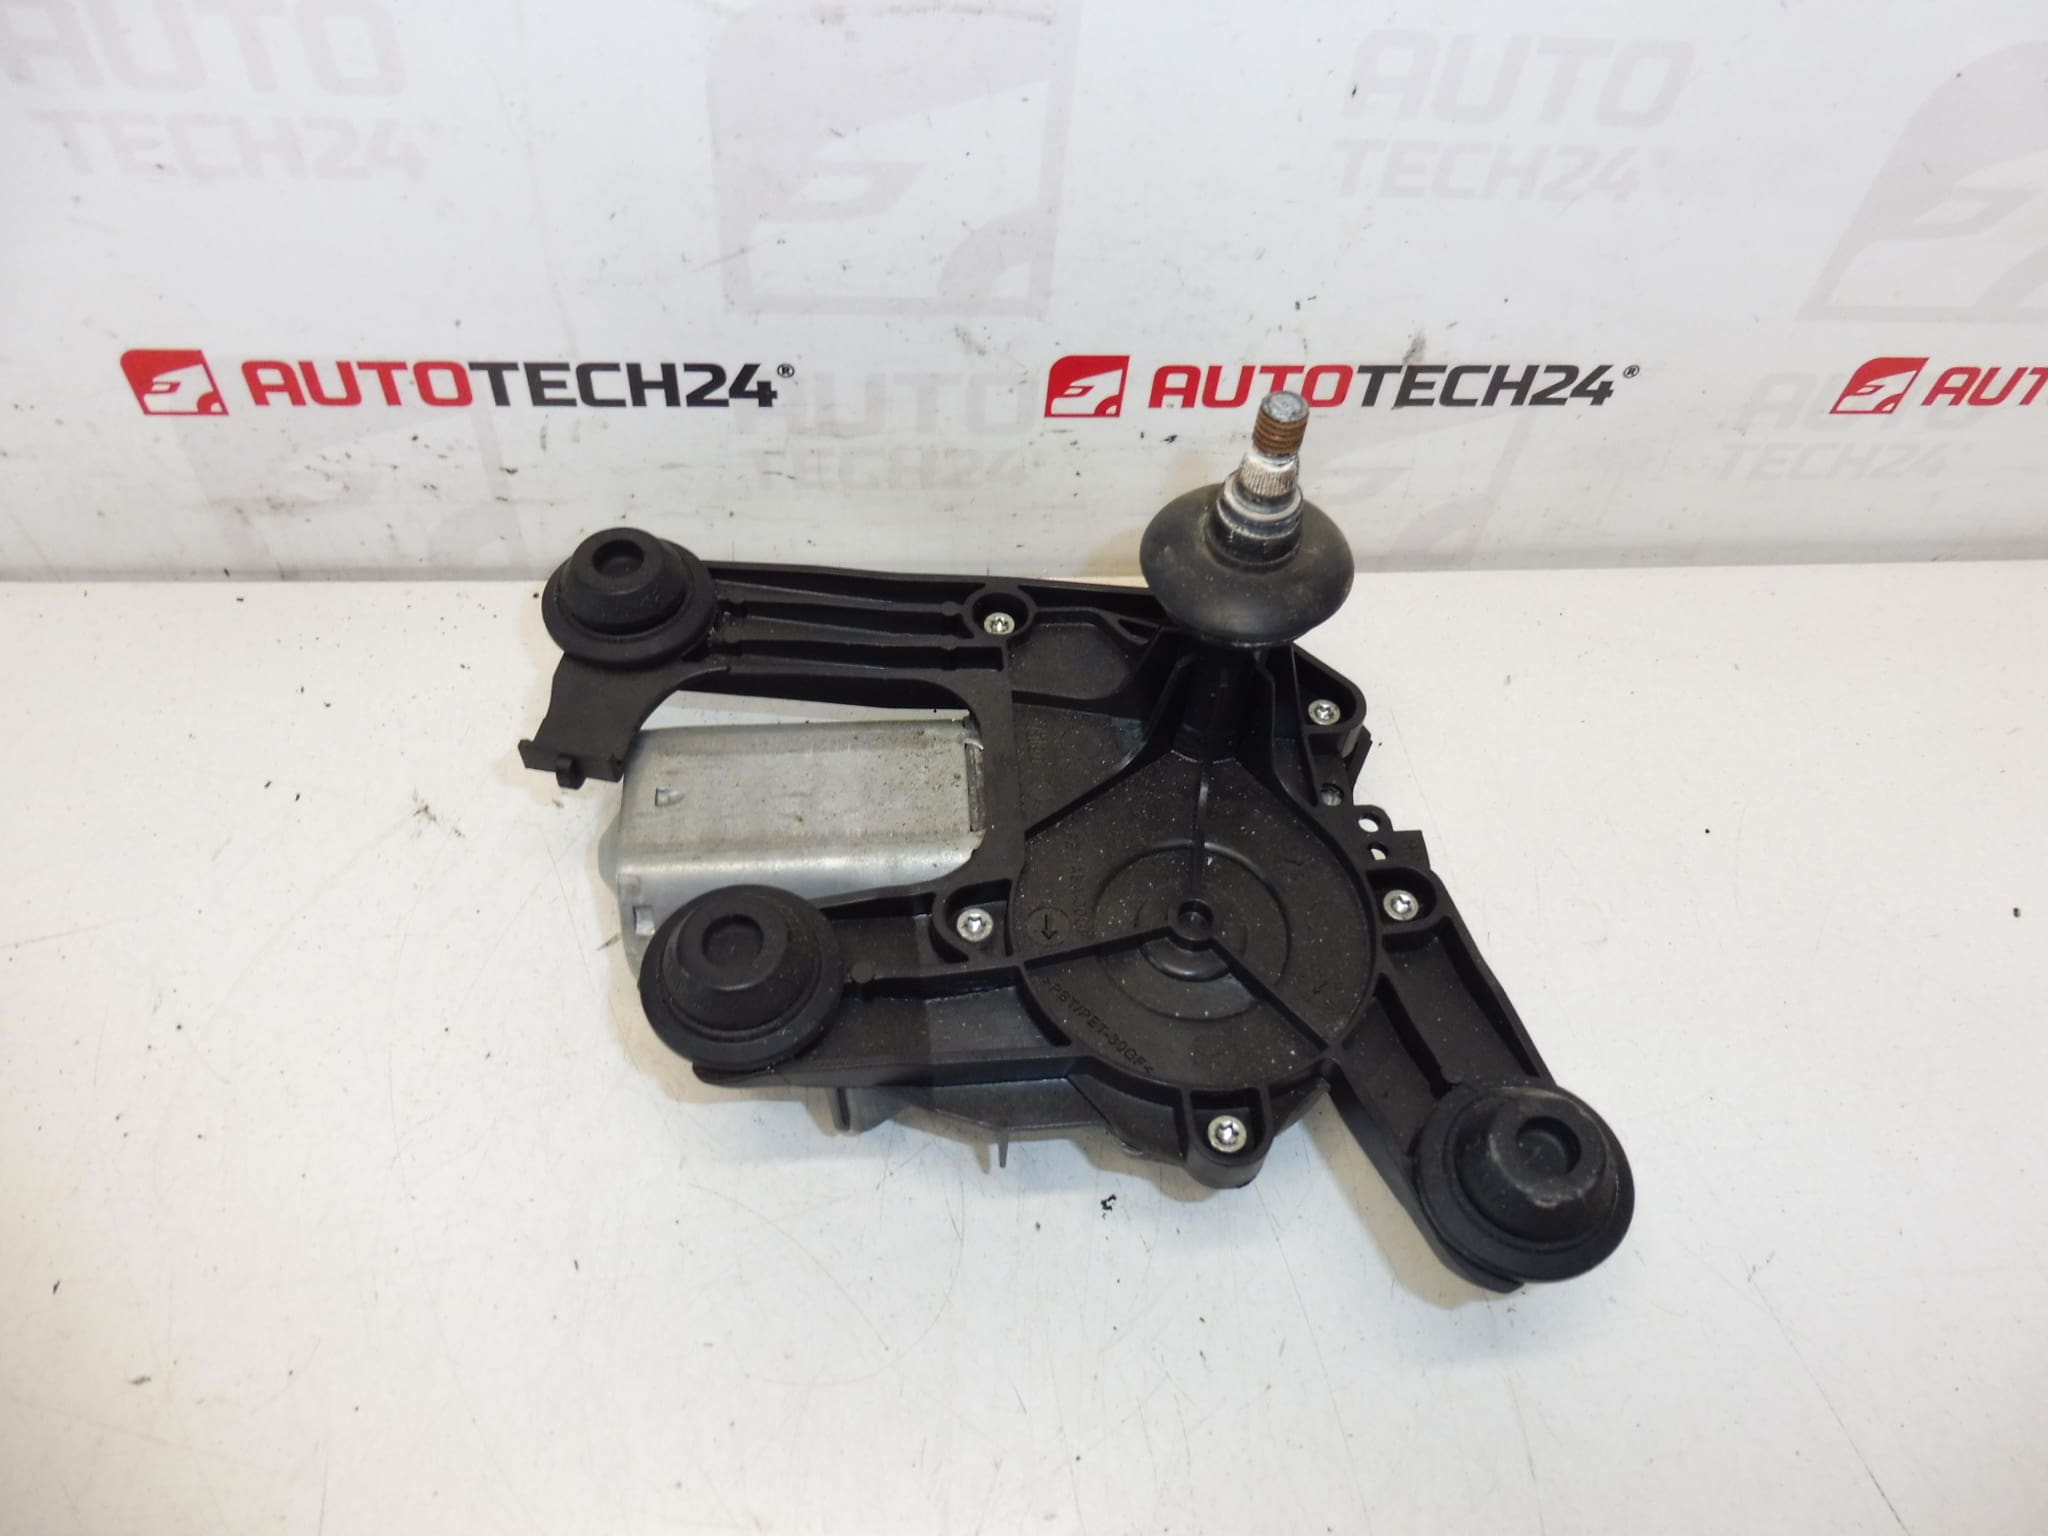
Rear window wiper motor for CITROEN C3 II A51 cars
Part description
This used rear wiper motor is designed for Citroën C3 II A51 cars. It is an important electrical component of the wiper mechanism, which ensures the movement of the rear wiper arm and the correct operation of the rear window wiper. Parts of this type are often searched for by production numbers, so we also include the specific designations 9683382380 and 6405QJ.
For auto mechanics and home repairs, the advantage is that replacing a faulty wiper motor will usually help restore full functionality of the rear wiper without having to deal with the entire mechanism. A used original part is a suitable choice, especially if you are looking for a functional replacement with an appropriate design for the car in question.
Technical information
Product codes
- Product codes: 9683382380, 6405QJ
- Models from labels and documents: Citroën C3 II, CITROEN C3 II A51
Installation recommendations
Generally/Typically the exact procedure for replacing the rear wiper motor may vary depending on the specific car design and mechanism design. Below is a practical general procedure for this type of electrical part and wiper mechanism.
1) Before assembly
- Check if the part shape, connector, mounting and marking 9683382380 or 6405QJ match the old part.
- Check the condition of the shaft, connector and attachment points. The part should not have cracked parts, significant corrosion or damaged contacts.
- Compare the position of the output of the mechanism with the old part so that the wiper arm is not positioned incorrectly after installation.
- Disconnect the battery before starting work, especially if you will be handling the electrical connector and interior trim.
2) Necessary tools and materials
- set of common hand tools
- tools for dismantling plastic linings
- ratchet and suitable attachments
- contact cleaner and cloth
- preparation for loosening stuck joints, if needed
3) Step-by-step assembly procedure
- Secure the vehicle against movement and turn off the ignition.
- Disconnect the battery and prepare access to the inside of the fifth door or cover where the mechanism is located.
- Dismantle the relevant plastic trim carefully so as not to damage the handles.
- Disconnect the electrical connector of the original wiper motor and check the condition of the contacts.
- Unfasten the old part and carefully remove it from the mechanism or mounting position.
- Compare the old and new part side-by-side, especially the mount, connector and shaft output position.
- Clean the contact surfaces and the surrounding area of the assembly from dirt, moisture and old deposits.
- Place the used motorcycle in a place without violence and make sure it fits correctly in the holder.
- Tighten the fasteners evenly and connect the electrical connector.
- Check that the wiring is not pinched and that the mechanism can move freely before fully assembling the trim.
- Reinstall the removed covers and trim.
- Connect the battery and perform a basic functional test of the wiper.
-
4) Post-assembly checks and functional test verification
- Check that the rear wiper runs smoothly and does not make unusual noises.
- Check that the mechanism does not catch and return to the rest position.
- After the first test, double-check the fastening of the part and the correct seating of the lining.
- If the system includes a sprayer, check that the surrounding parts have not been disturbed during handling.
5) The most common assembly mistakes + how to avoid them
- Part swapping based on appearance – always compare product numbers and connector type.
- Damage to plastic trim – use a suitable pry bar for interior plastics and do not apply force.
- Incorrect position of mechanism or arm – test run before final assembly.
- Insufficiently cleaned contacts – oxidation can cause erratic operation or blackouts.
- Pinched wiring during reassembly – check cable routing throughout access route before fitting covers.
Reasons why the part is damaged
- normal wear and tear of the electric motor and transmission part
- load when operating in the cold or when the wiper is frozen
- moisture ingress into the mechanism or connector
- corrosion and long-term effects of impurities
- increased resistance in the wiper mechanism, which overloads the motor
- damage to the wiring or power contacts