Description
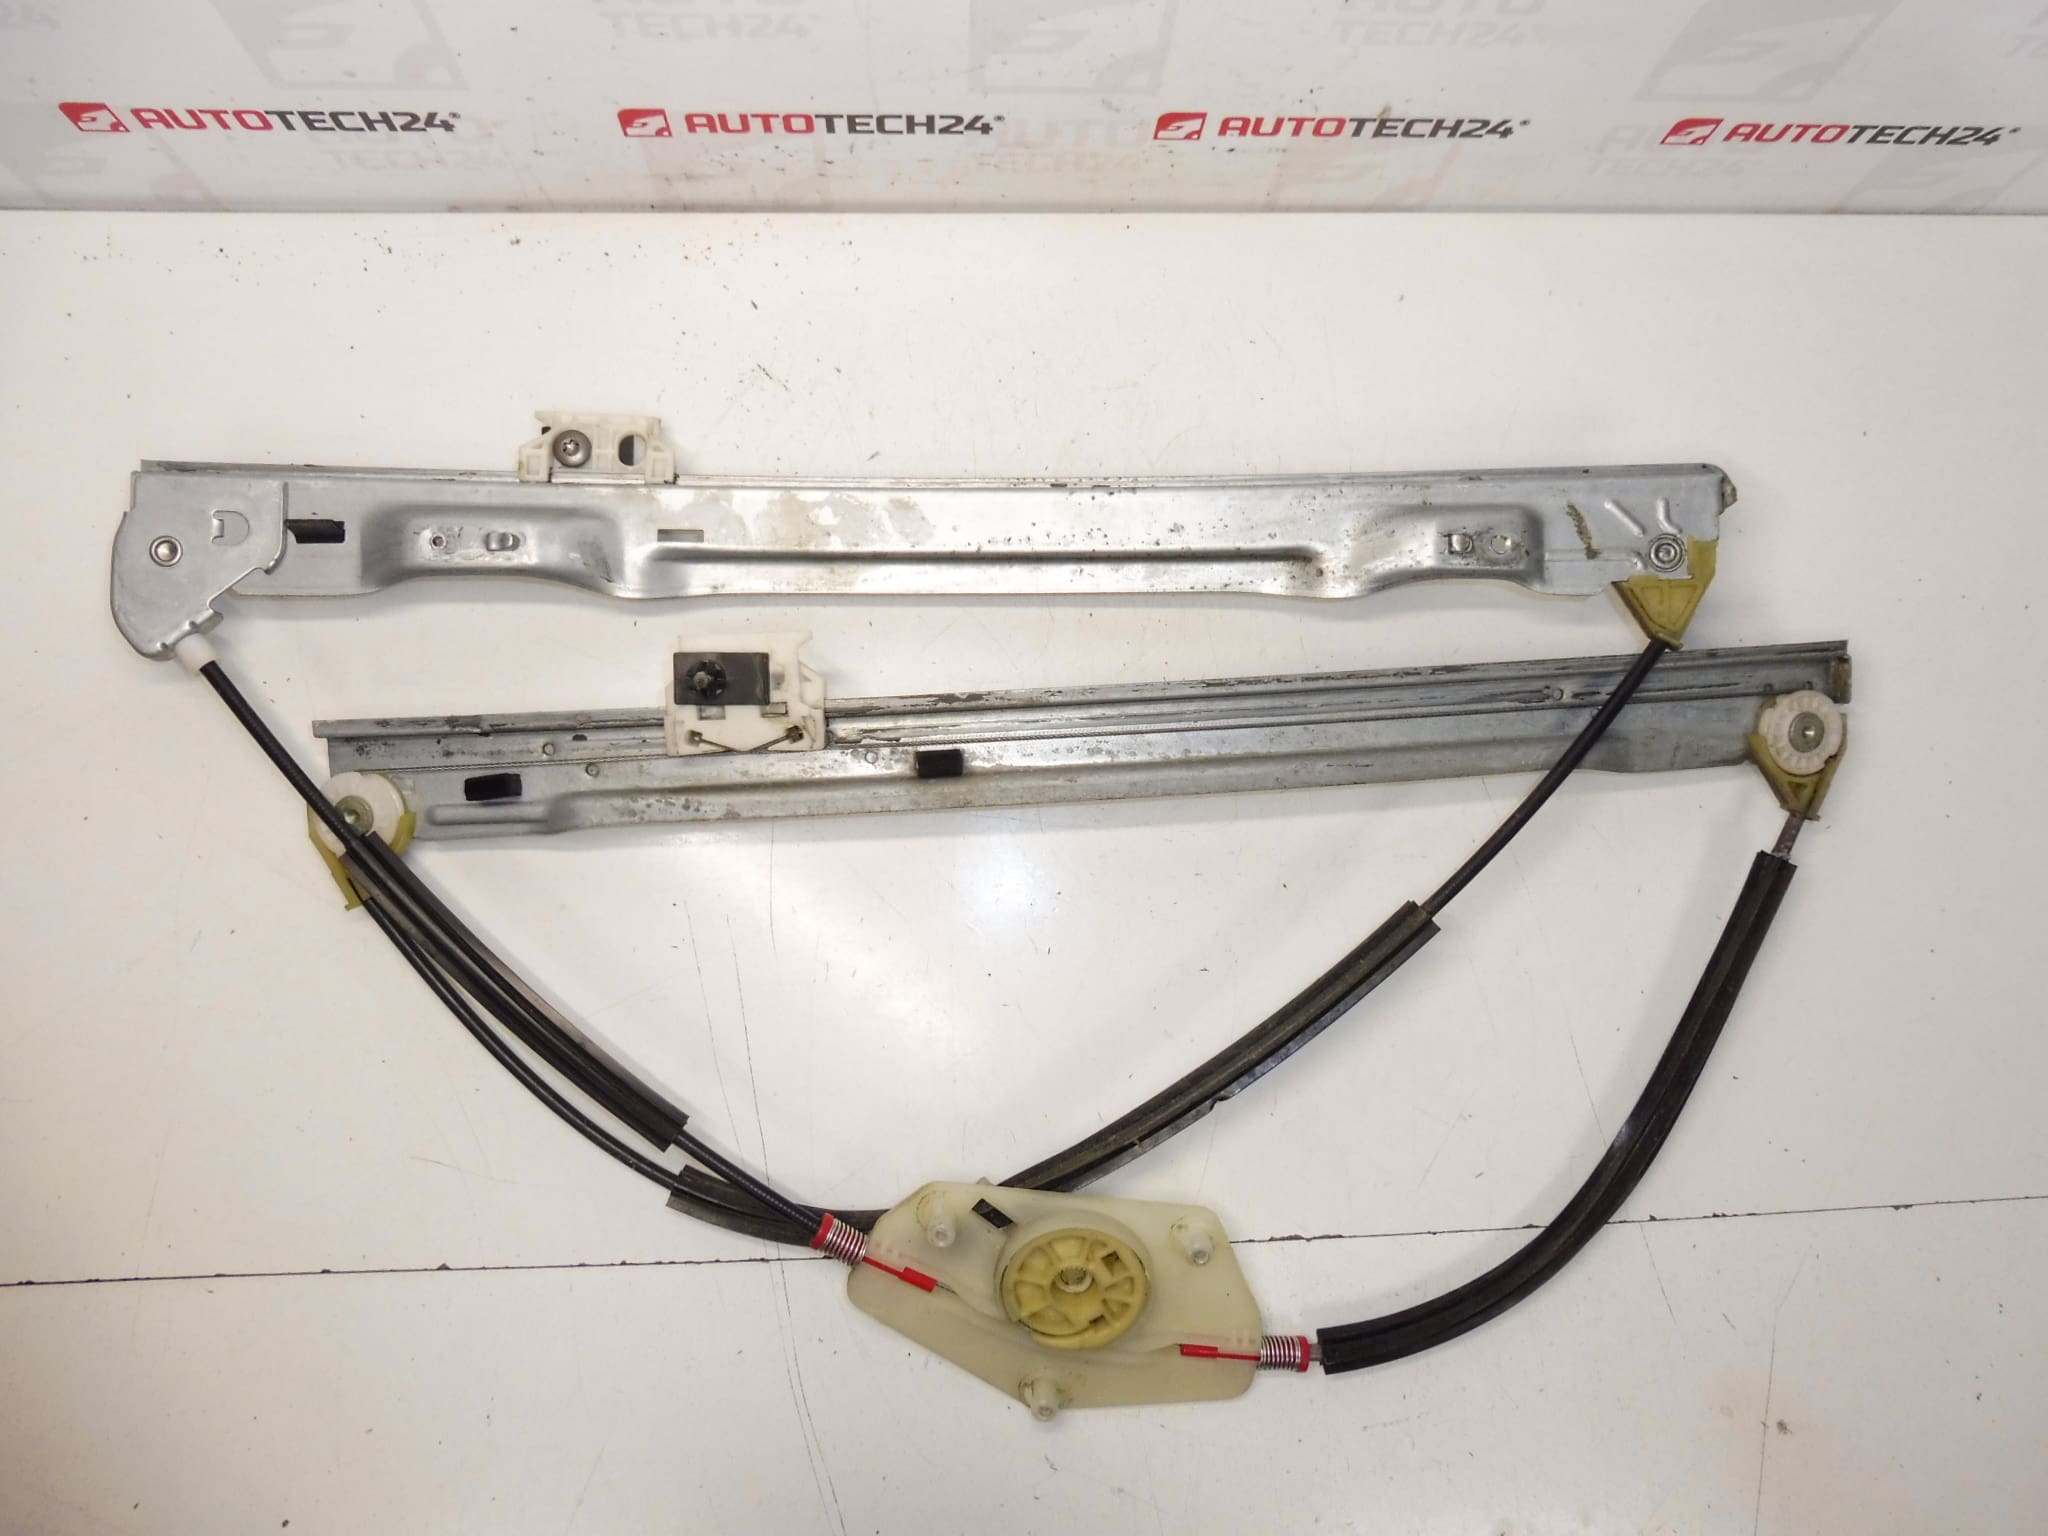
Electric window regulator mechanism for the right front (passenger-side) window for Citroën C4 Picasso and Grand.
Product Overview
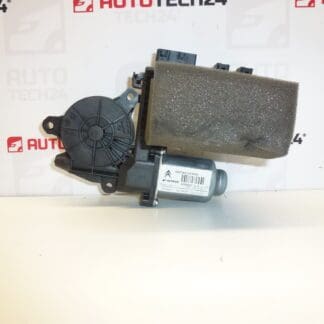
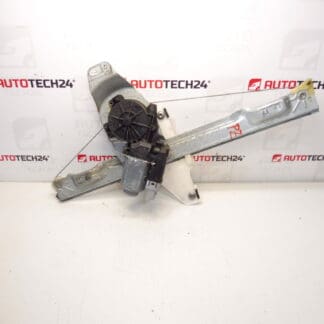
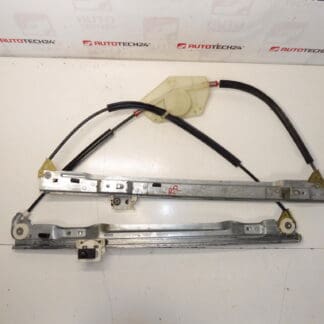
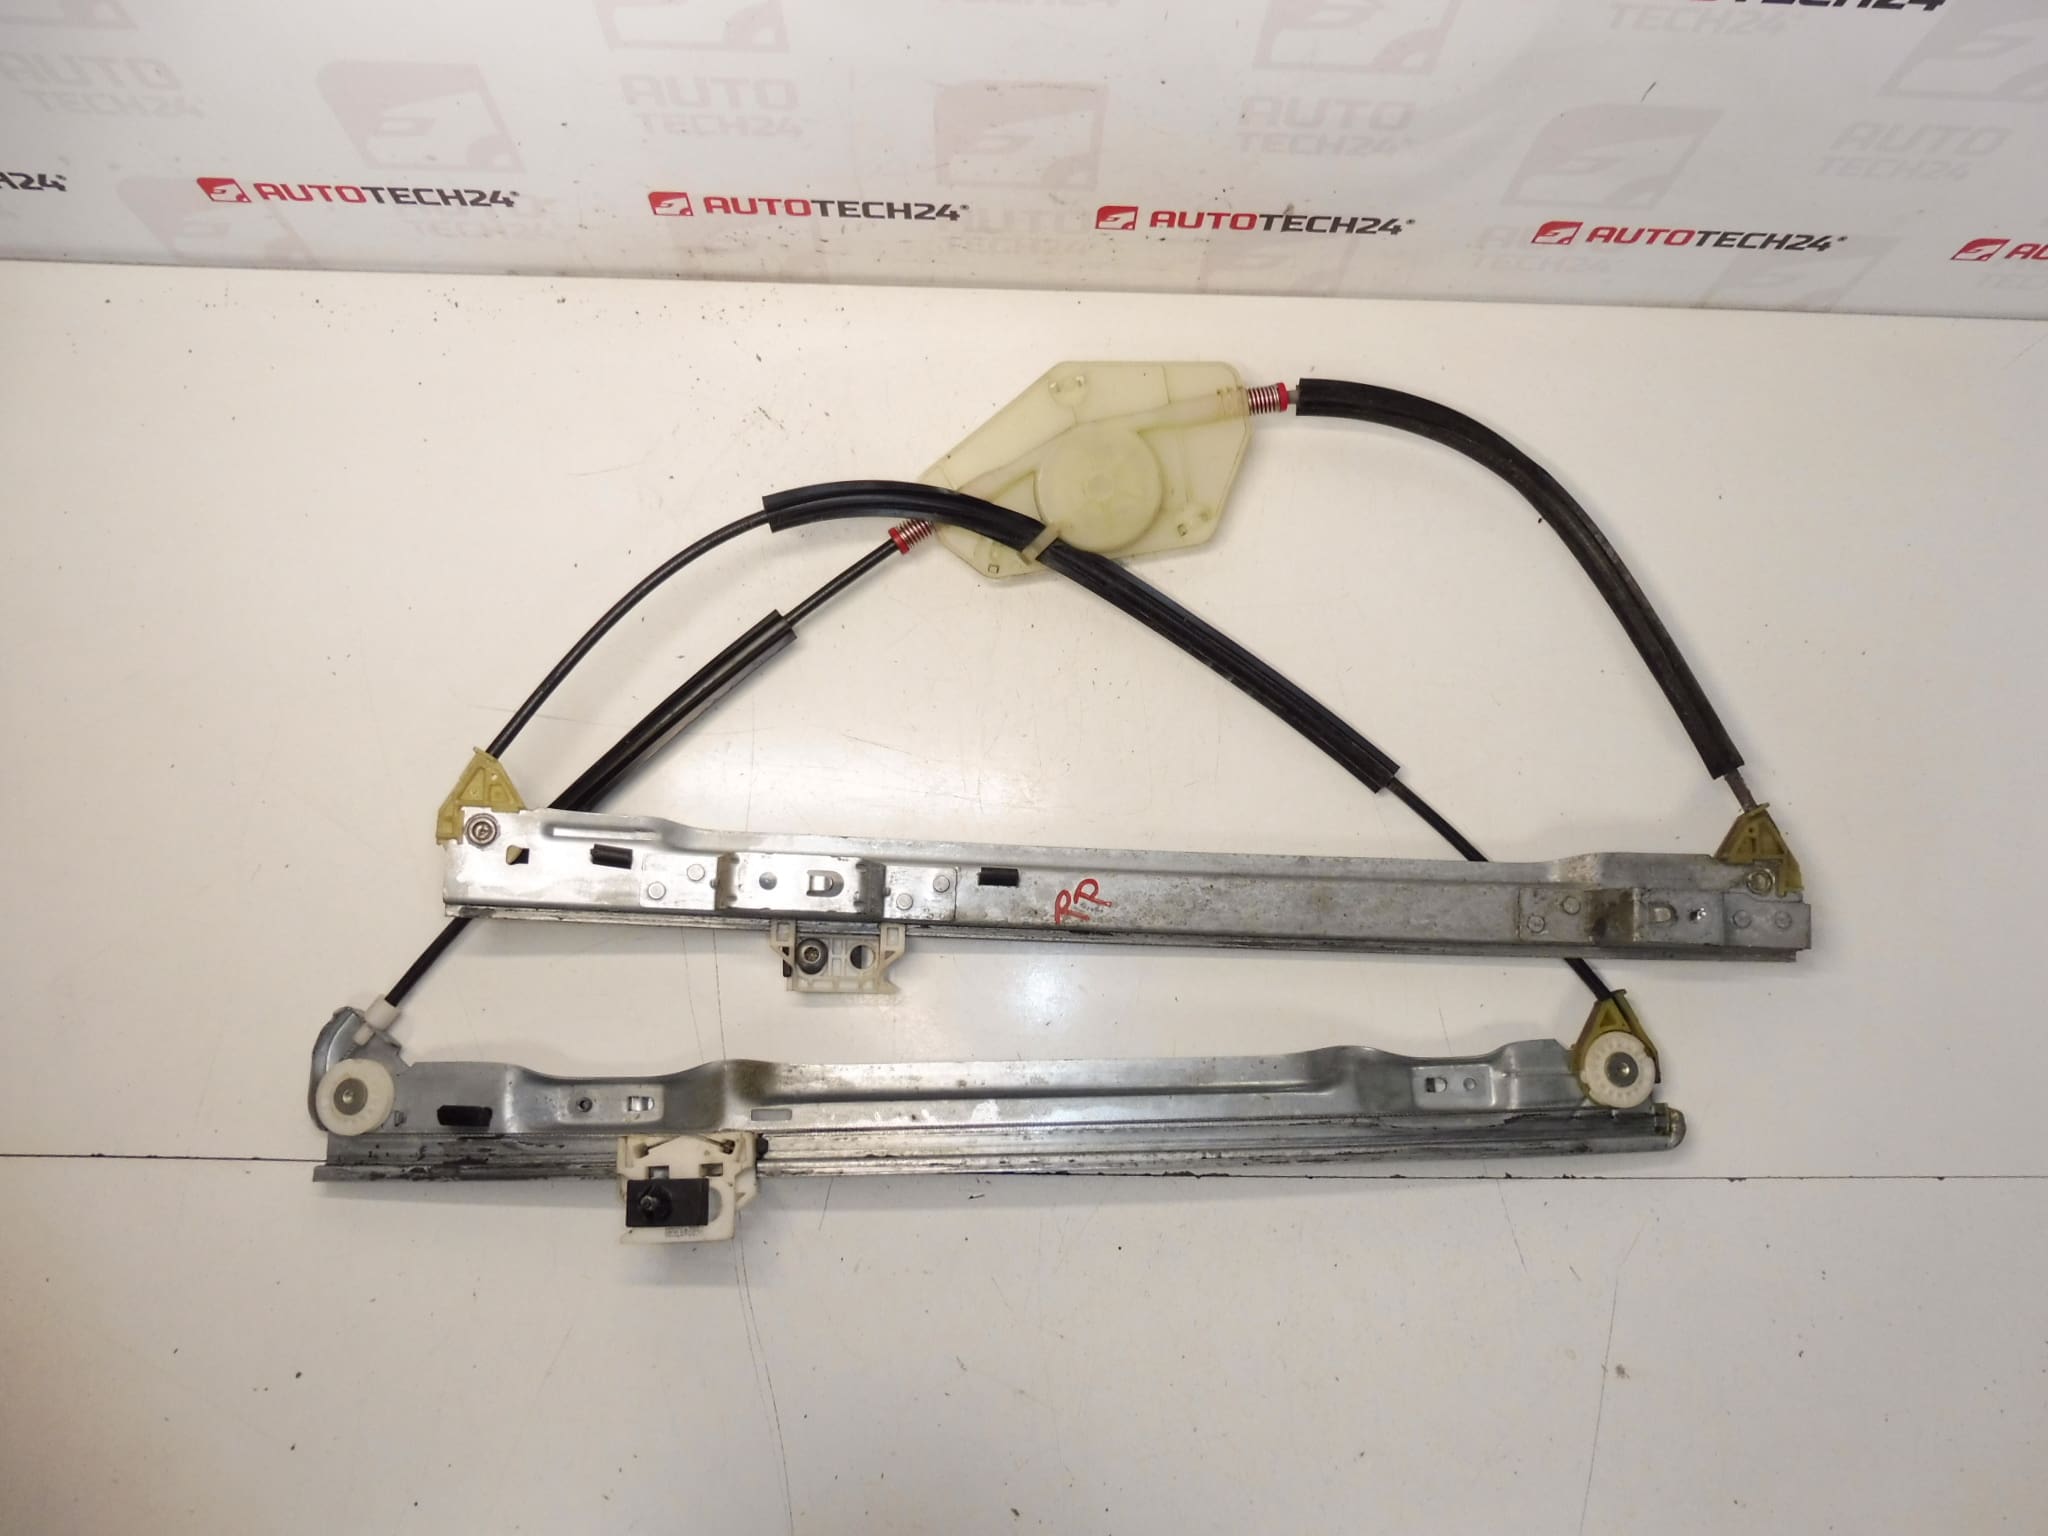
This electric window regulator mechanism is designed for the right front (passenger-side) window of Citroën C4 Picasso and Grand C4 Picasso models. It restores smooth and reliable up/down movement of the door glass and is a common direct-replacement part for workshops and DIY enthusiasts. The part is frequently searched by reference numbers 9222CT and 1675404080, so including these codes in your lookup will speed up finding the correct unit.
Key Features
- Electric Window Regulator Mechanism — Complete assembly for window movement.
- Right Front (Passenger Side) Fitment — Intended specifically for the front right door.
- Direct Replacement — Fits Citroën C4 Picasso and Grand C4 Picasso applications identified by the listed codes.
- Commonly Referenced By Part Numbers — 9222CT, 1675404080 for faster identification.
- Suitable For Professionals And DIYers — Straightforward replacement with standard tools.
Technical Information
- Manufacturer: Stellantis (Citroën/Peugeot)
- Model: Citroën C4 Picasso, Grand C4 Picasso
- Product Codes: 9222CT, 1675404080
- Additional Numbers: 1675404080 | 9222CT
Installation Recommendations
- Disconnect The Battery Before Starting Work To Prevent Short Circuits And Protect The Vehicle Electronics.
- Remove Door Trim Carefully And Store Fasteners In Order. Protect Door Panel Clips During Disassembly.
- Peel Back The Water Shield Gently To Access The Regulator And Motor Assembly; Avoid Damaging The Vapor Barrier.
- Support The Window Glass Securely Before Removing The Regulator To Prevent Glass From Dropping Or Breaking.
- Disconnect Electrical Connector(s) And Unbolt The Regulator/Motor Assembly. Transfer Any Required Clips Or Brackets From The Old Unit If Necessary.
- Install The New Unit, Reconnect The Motor, Temporarily Reconnect The Battery And Test Full Travel Before Final Reassembly.
- Lubricate Guide Rails Lightly With Suitable Grease And Check For Smooth Operation And Proper Alignment.
- Reassemble Door Panel And Recheck Window Operation And Switch Functionality.
Why This Part Most Commonly Fails
- Wear Of Cable Or Plastic Sliders Causing Slippage Or Jamming.
- Motor Burnout Due To Age, Overload, Or Repeated Stall Conditions.
- Water Ingress And Corrosion That Affect Electrical Connections Or Mechanical Components.
- Broken Or Fatigued Mounting Points And Guide Rail Wear From Long-Term Use.
- Impact Damage From Door Or Window Misuse That Deforms Tracks Or Breaks Components.
Notes For Mechanics And DIY Enthusiasts
This part is commonly sought by its reference numbers (9222CT, 1675404080) — include these when searching to improve match accuracy. Ensure you are replacing the right-side front (passenger-side) regulator. After installation, verify smooth travel across the full window stroke and confirm that the switch, glass alignment, and door seals operate correctly to avoid premature wear. Regular maintenance, keeping drain channels clear and light lubrication of guide rails, helps extend the life of the regulator.