Description
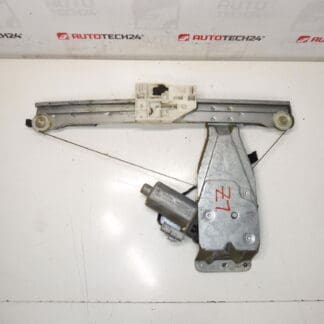
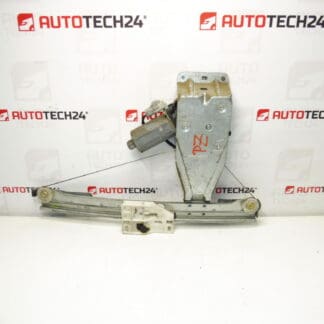
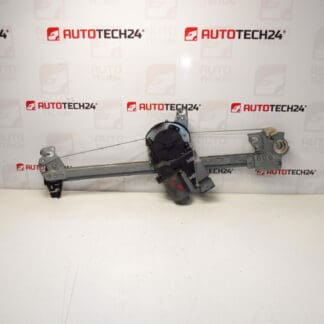
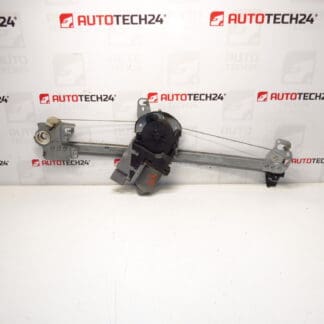
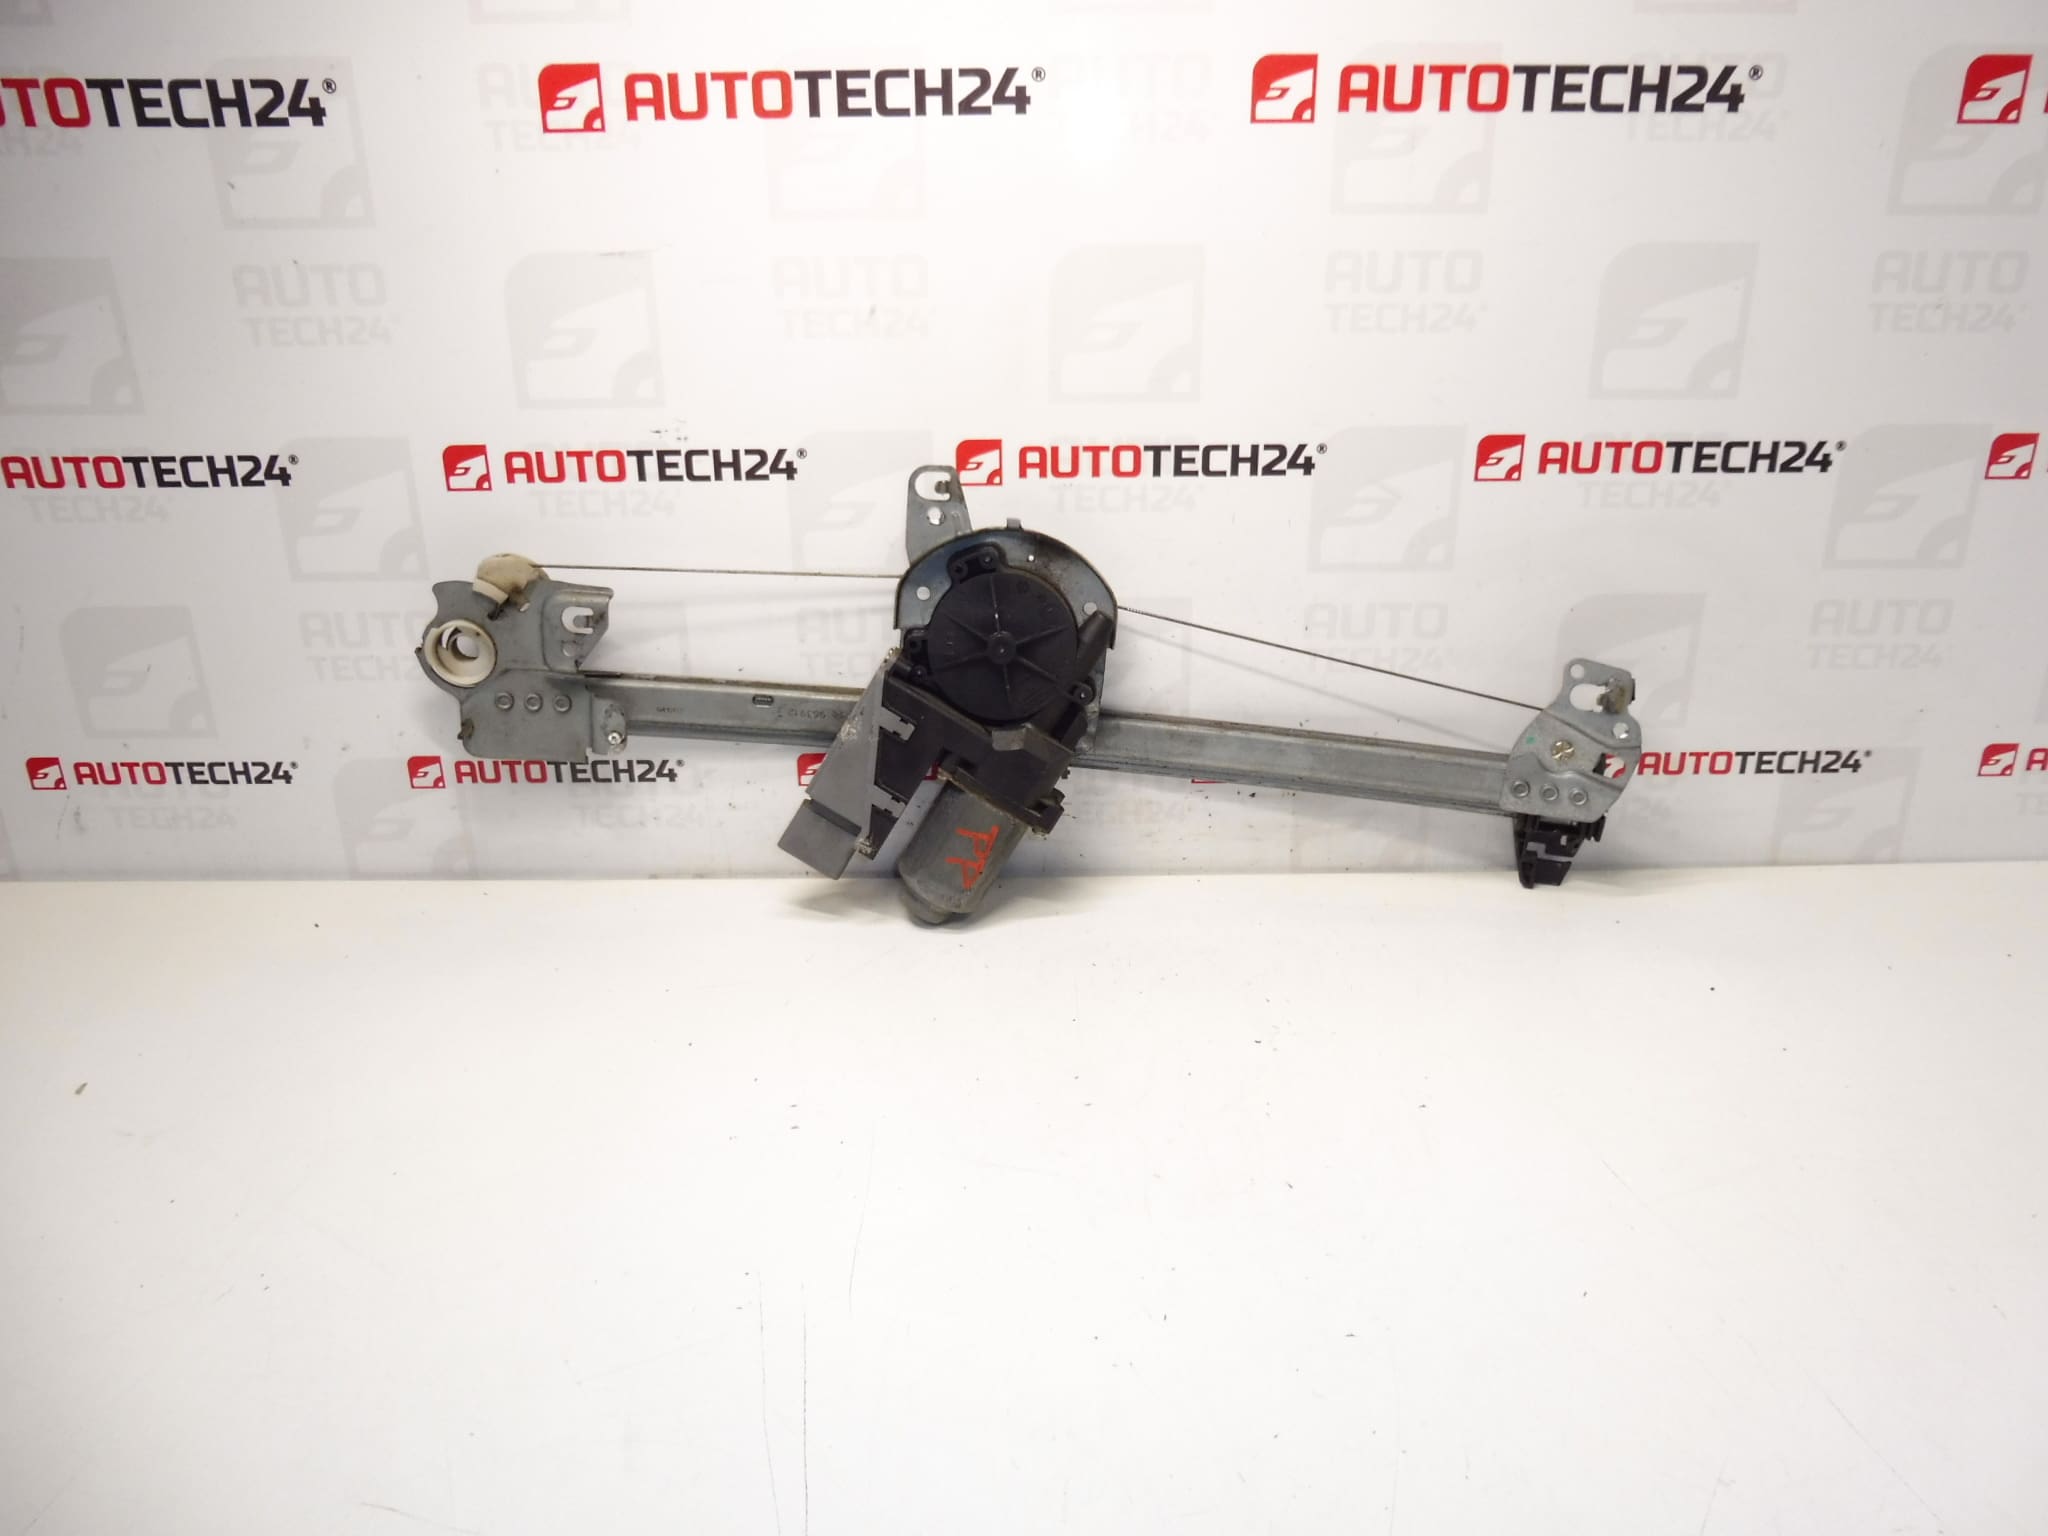
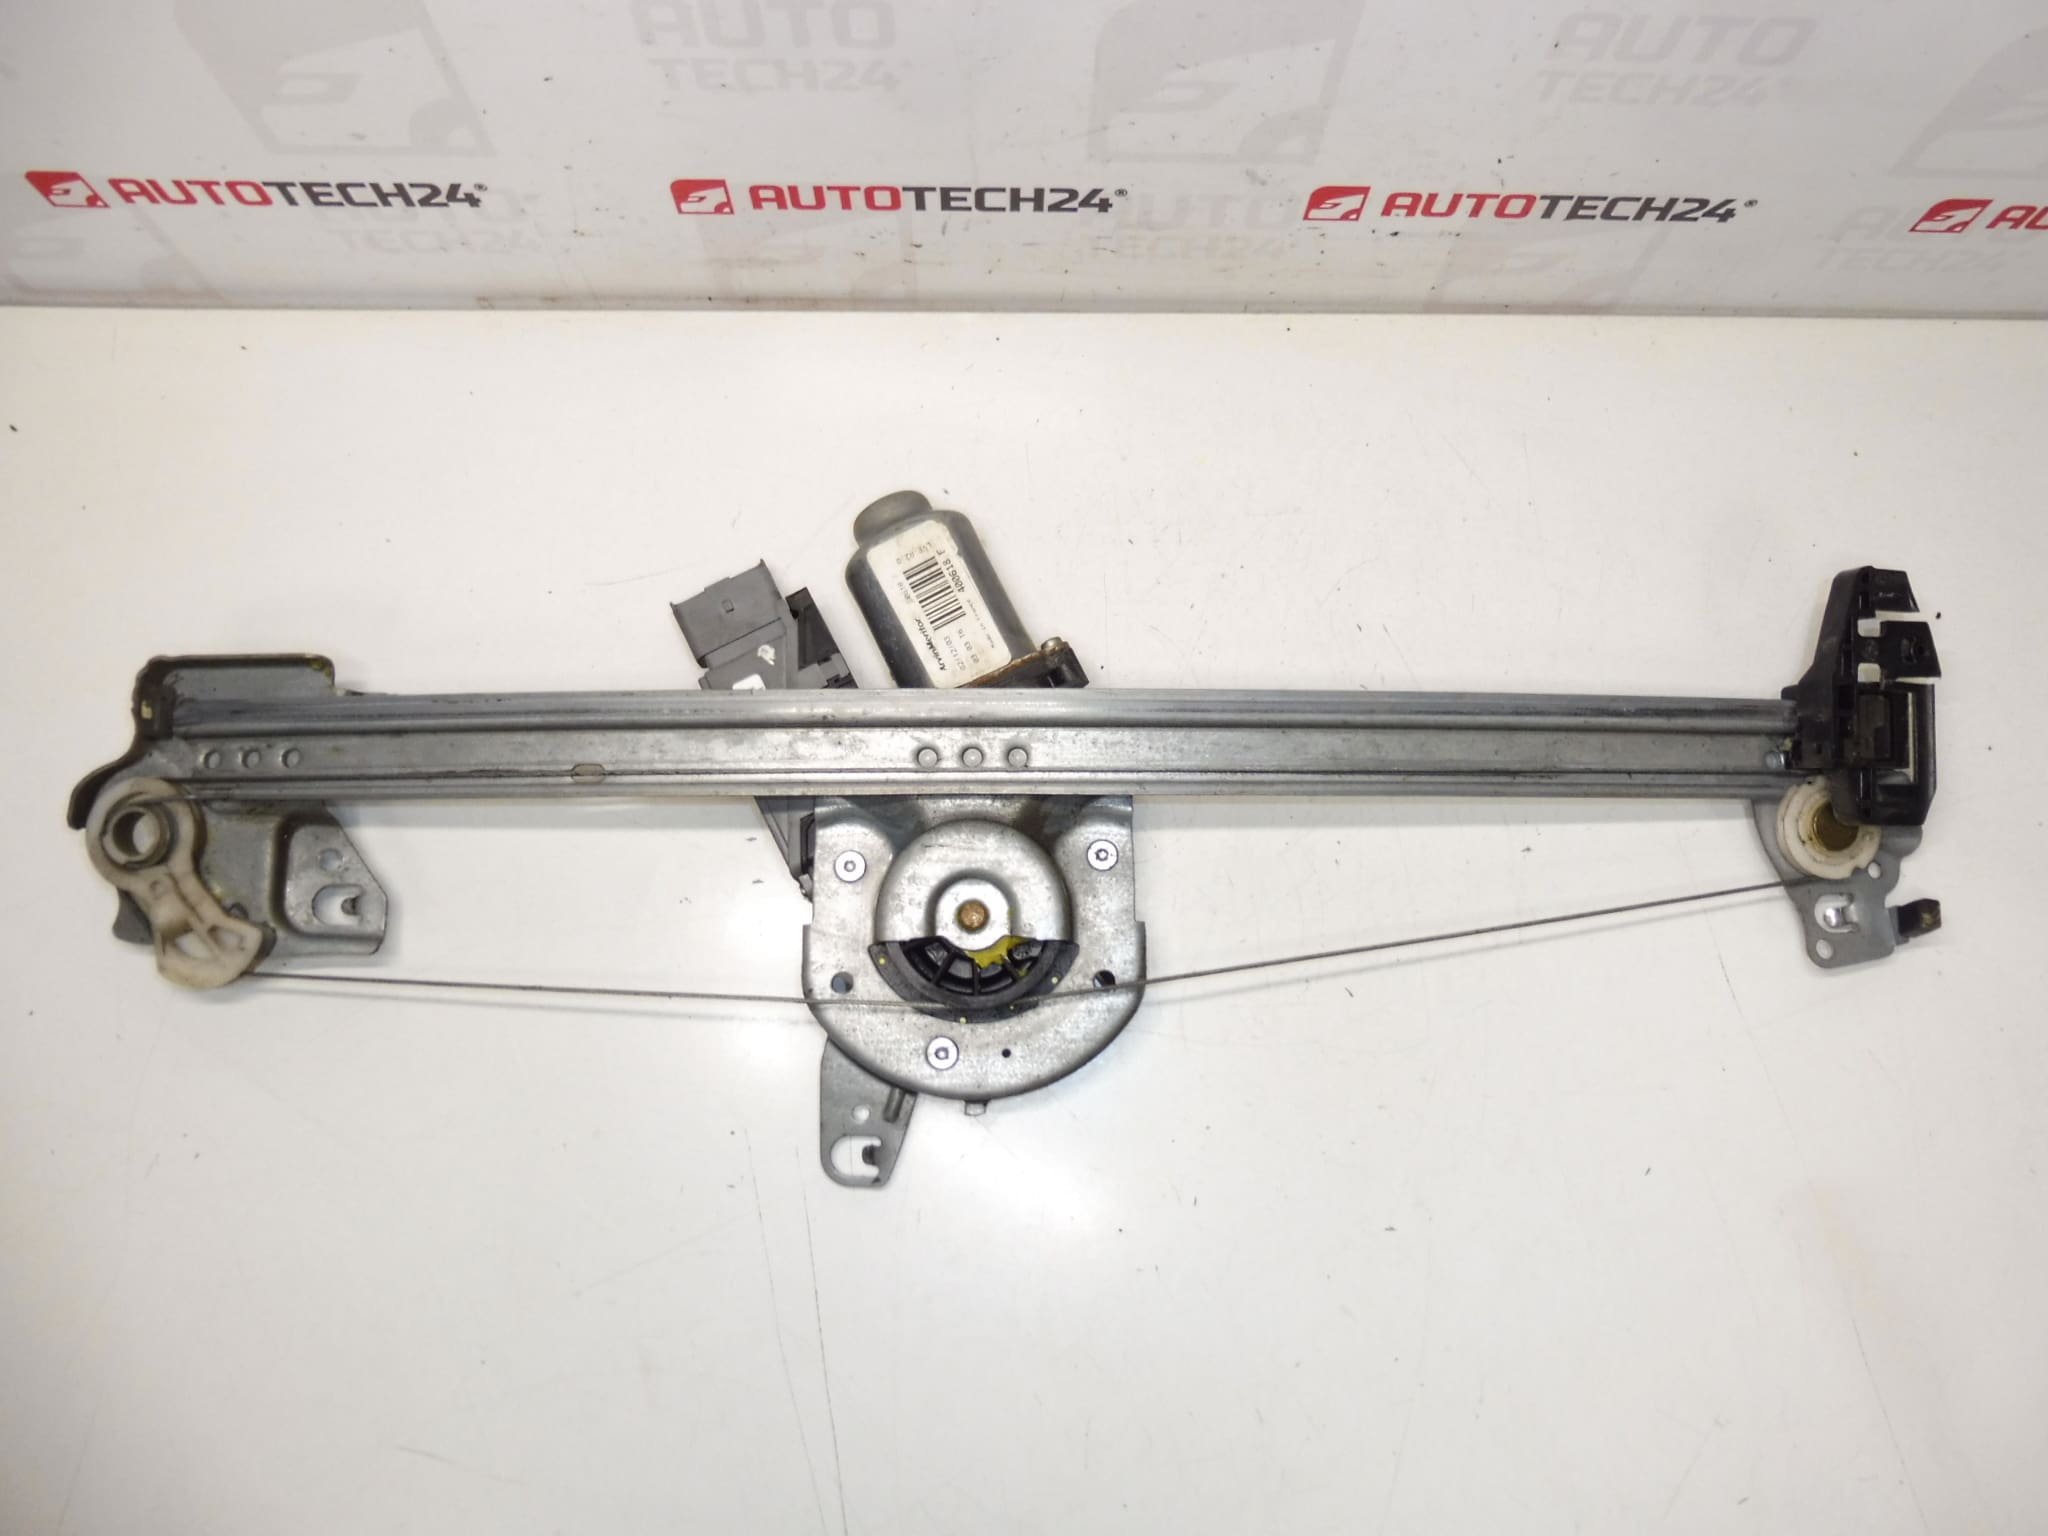
Window Regulator Mechanism For The Right Front Window Of The Citroën C3 First Generation With Sequential Closing Function — Passenger Side Door.
This right-front window regulator is a direct-fit electric mechanism designed for the Citroën C3 (first generation). It controls the up-and-down movement of the passenger-side window and supports sequential closing (one-touch/finish) where fitted. The unit is suitable for professional workshops and experienced DIY mechanics who need a reliable replacement part identified frequently by OE and supplier numbers. Clear references to common search codes are included below to simplify ordering.
Technical Information
- Manufacturer: Stellantis (Citroën/Peugeot)
- Model: Citroën C3 (First Generation) — Right Front / Passenger Side
- Product Codes: 400618, 9222AP
- Additional Numbers: 1689039580, 963912
Function And Benefits
The regulator mechanism converts electric motor torque into linear motion to raise and lower the window glass accurately. When the sequential closing feature is present, the system completes a programmed final travel automatically after a one-touch command, improving convenience. Replacing a worn or damaged regulator restores smooth operation, reduces motor load and prevents window rattles or misalignment.
How To Replace / Fitment
Typical replacement steps for a trained mechanic or competent DIYer:
- Disconnect the vehicle battery to avoid short circuits or accidental movement.
- Remove the interior door trim and any moisture barriers to access the regulator assembly.
- Support the glass in the fully up position (use tape or a helper) and disconnect the glass from the regulator.
- Unplug the electrical connector to the motor and remove the mounting bolts holding the regulator and motor.
- Withdraw the old regulator assembly from the door, fit the replacement unit, and reattach the glass.
- Reconnect the motor connector, temporarily reconnect the battery, and test the window travel and sequential function before final reassembly.
- Refit the door trim and restore the battery connection.
Estimated Time: Approximately 1–2 hours for a professional; 2–3 hours for a careful DIY repair, depending on experience and tooling.
Installation Recommendations
- Always support the glass securely when disconnecting the regulator to prevent breakage or injury.
- Use correct fasteners and tighten to the manufacturer’s recommended torque where available.
- Inspect and lubricate the window channels and sliders with suitable silicone or plastic-safe lubricant to ensure smooth movement and reduce wear.
- Check electrical connectors for corrosion and ensure good grounding before final assembly.
- If the vehicle is equipped with a one-touch/sequential function, follow the vehicle’s procedure (if required) to recalibrate or initialize the window motor after replacement.
Why This Part Most Commonly Fails
- Mechanical Wear: Plastic sliders, cables or gear teeth wear out over time, causing slipping, jerky movement or complete failure.
- Motor Failure: The electric motor can fail from age, overheating or increased load (caused by sticky channels or misaligned glass).
- Corrosion And Water Ingress: Moisture entering the door can corrode fasteners, mounting points or electrical connections.
- Physical Damage: Impact from accidents or forcing the window while obstructed can bend or break the regulator components.
When ordering, searching with the listed product codes (400618, 9222AP, 1689039580, 963912) will help you find the correct replacement quickly. This regulator is aimed at Citroën C3 first-generation vehicles for the right-front (passenger) door and is a practical solution for restoring proper window operation.