Description
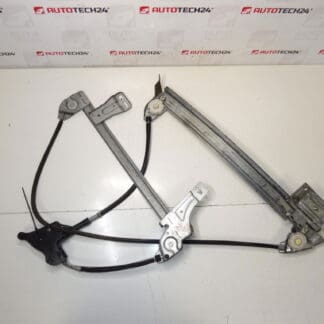
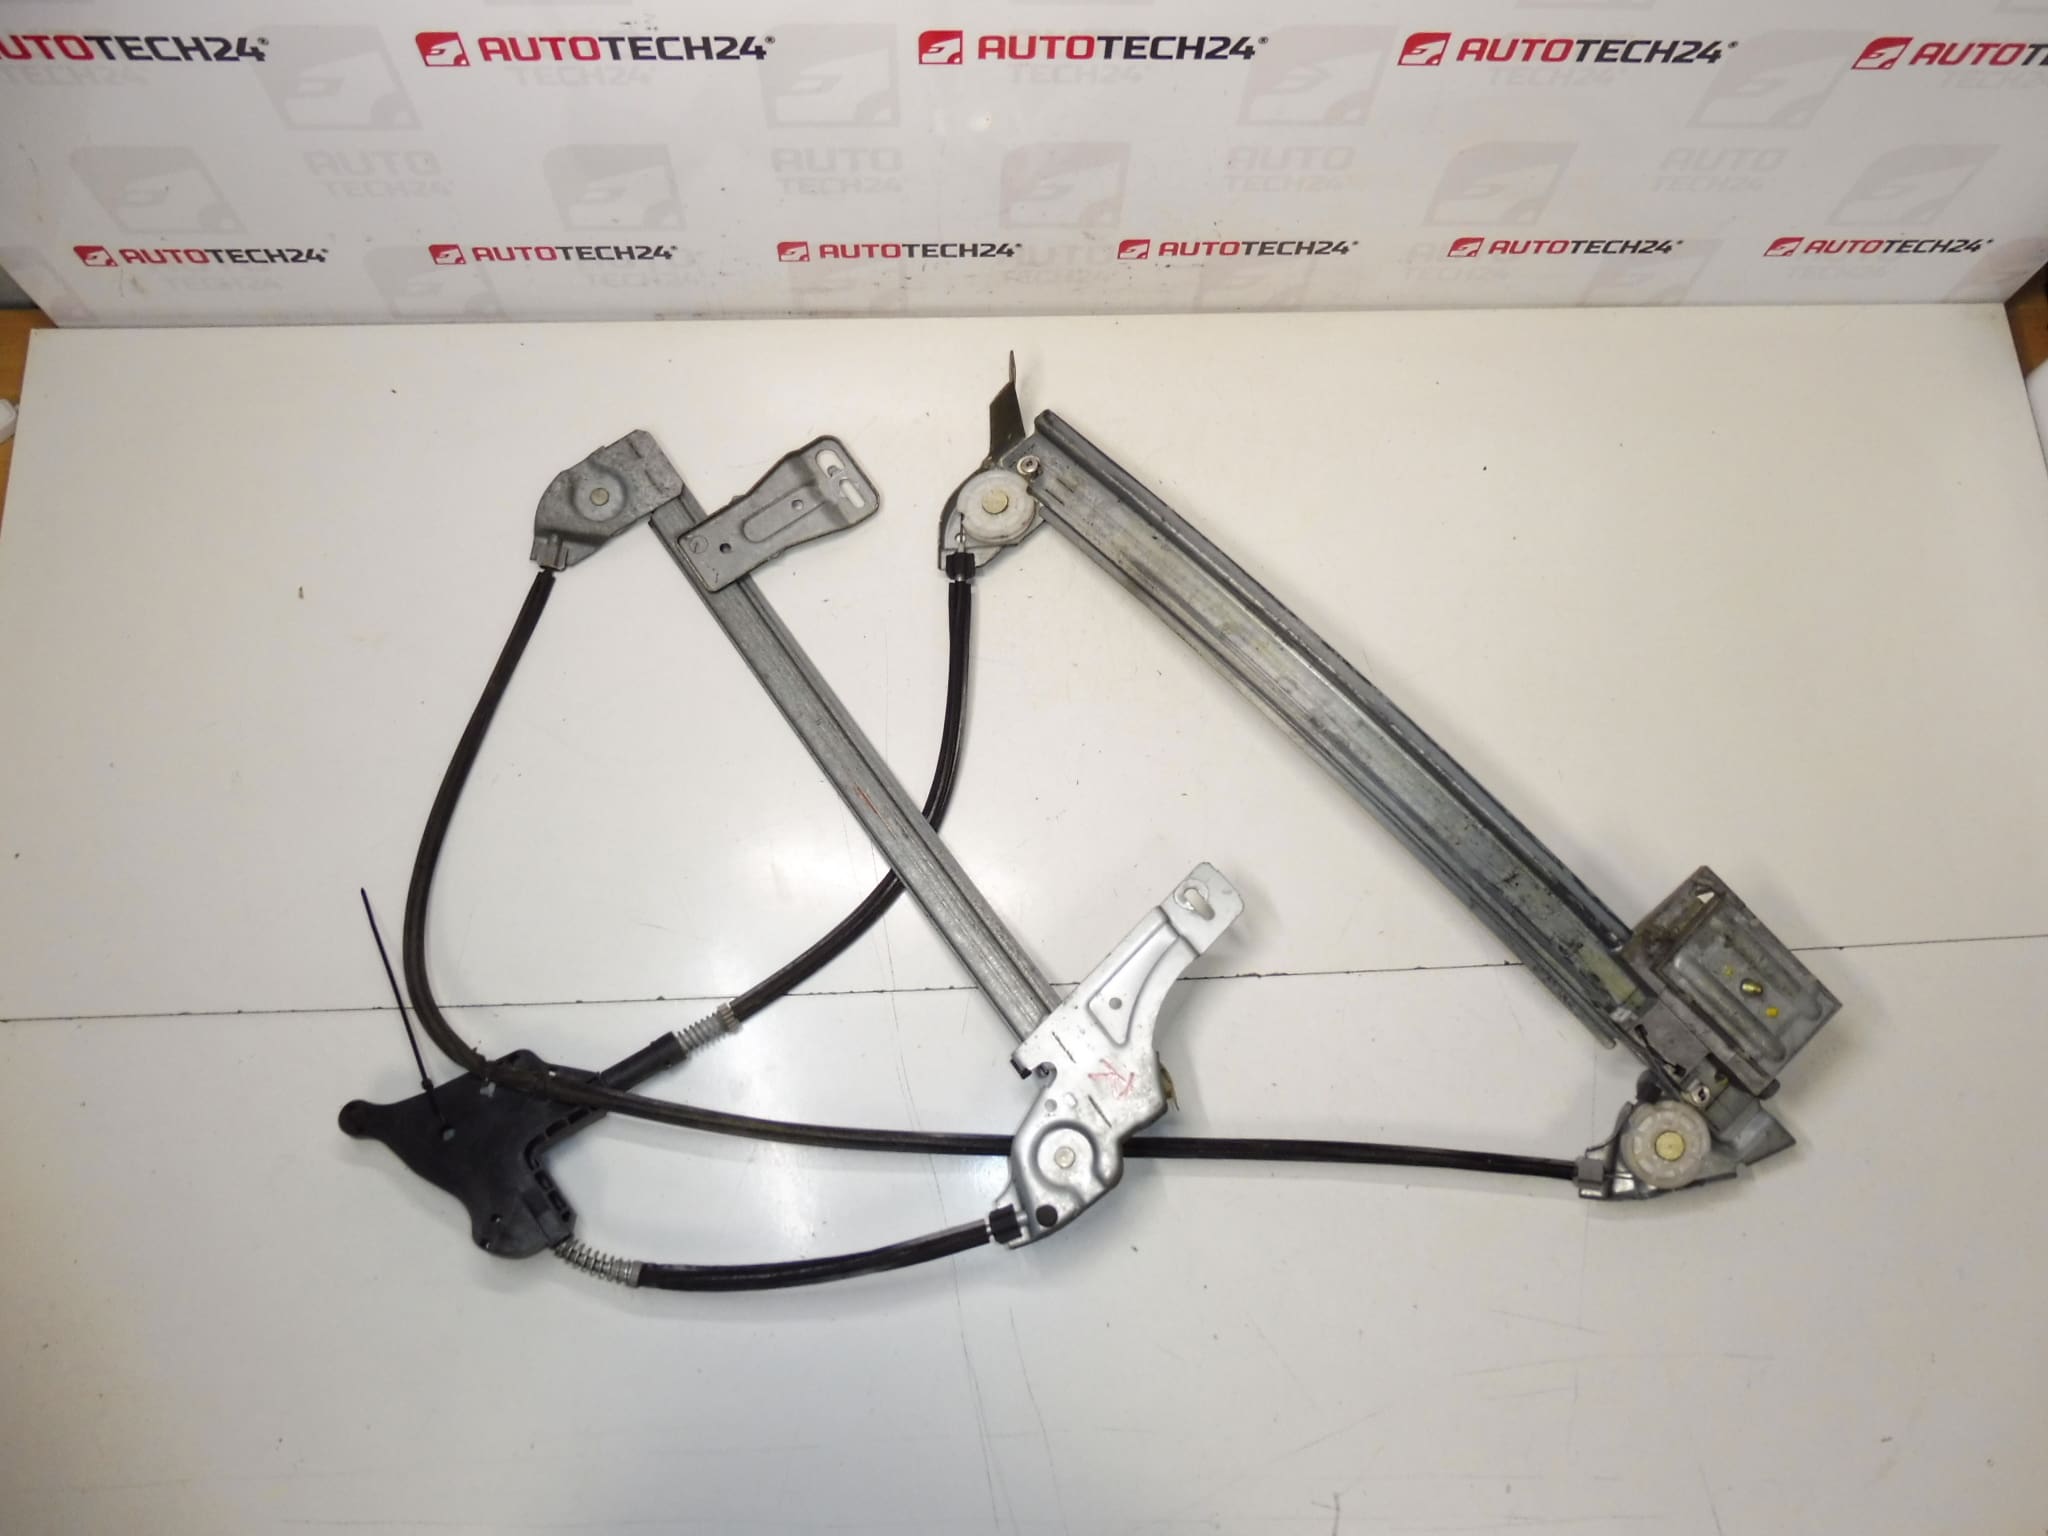
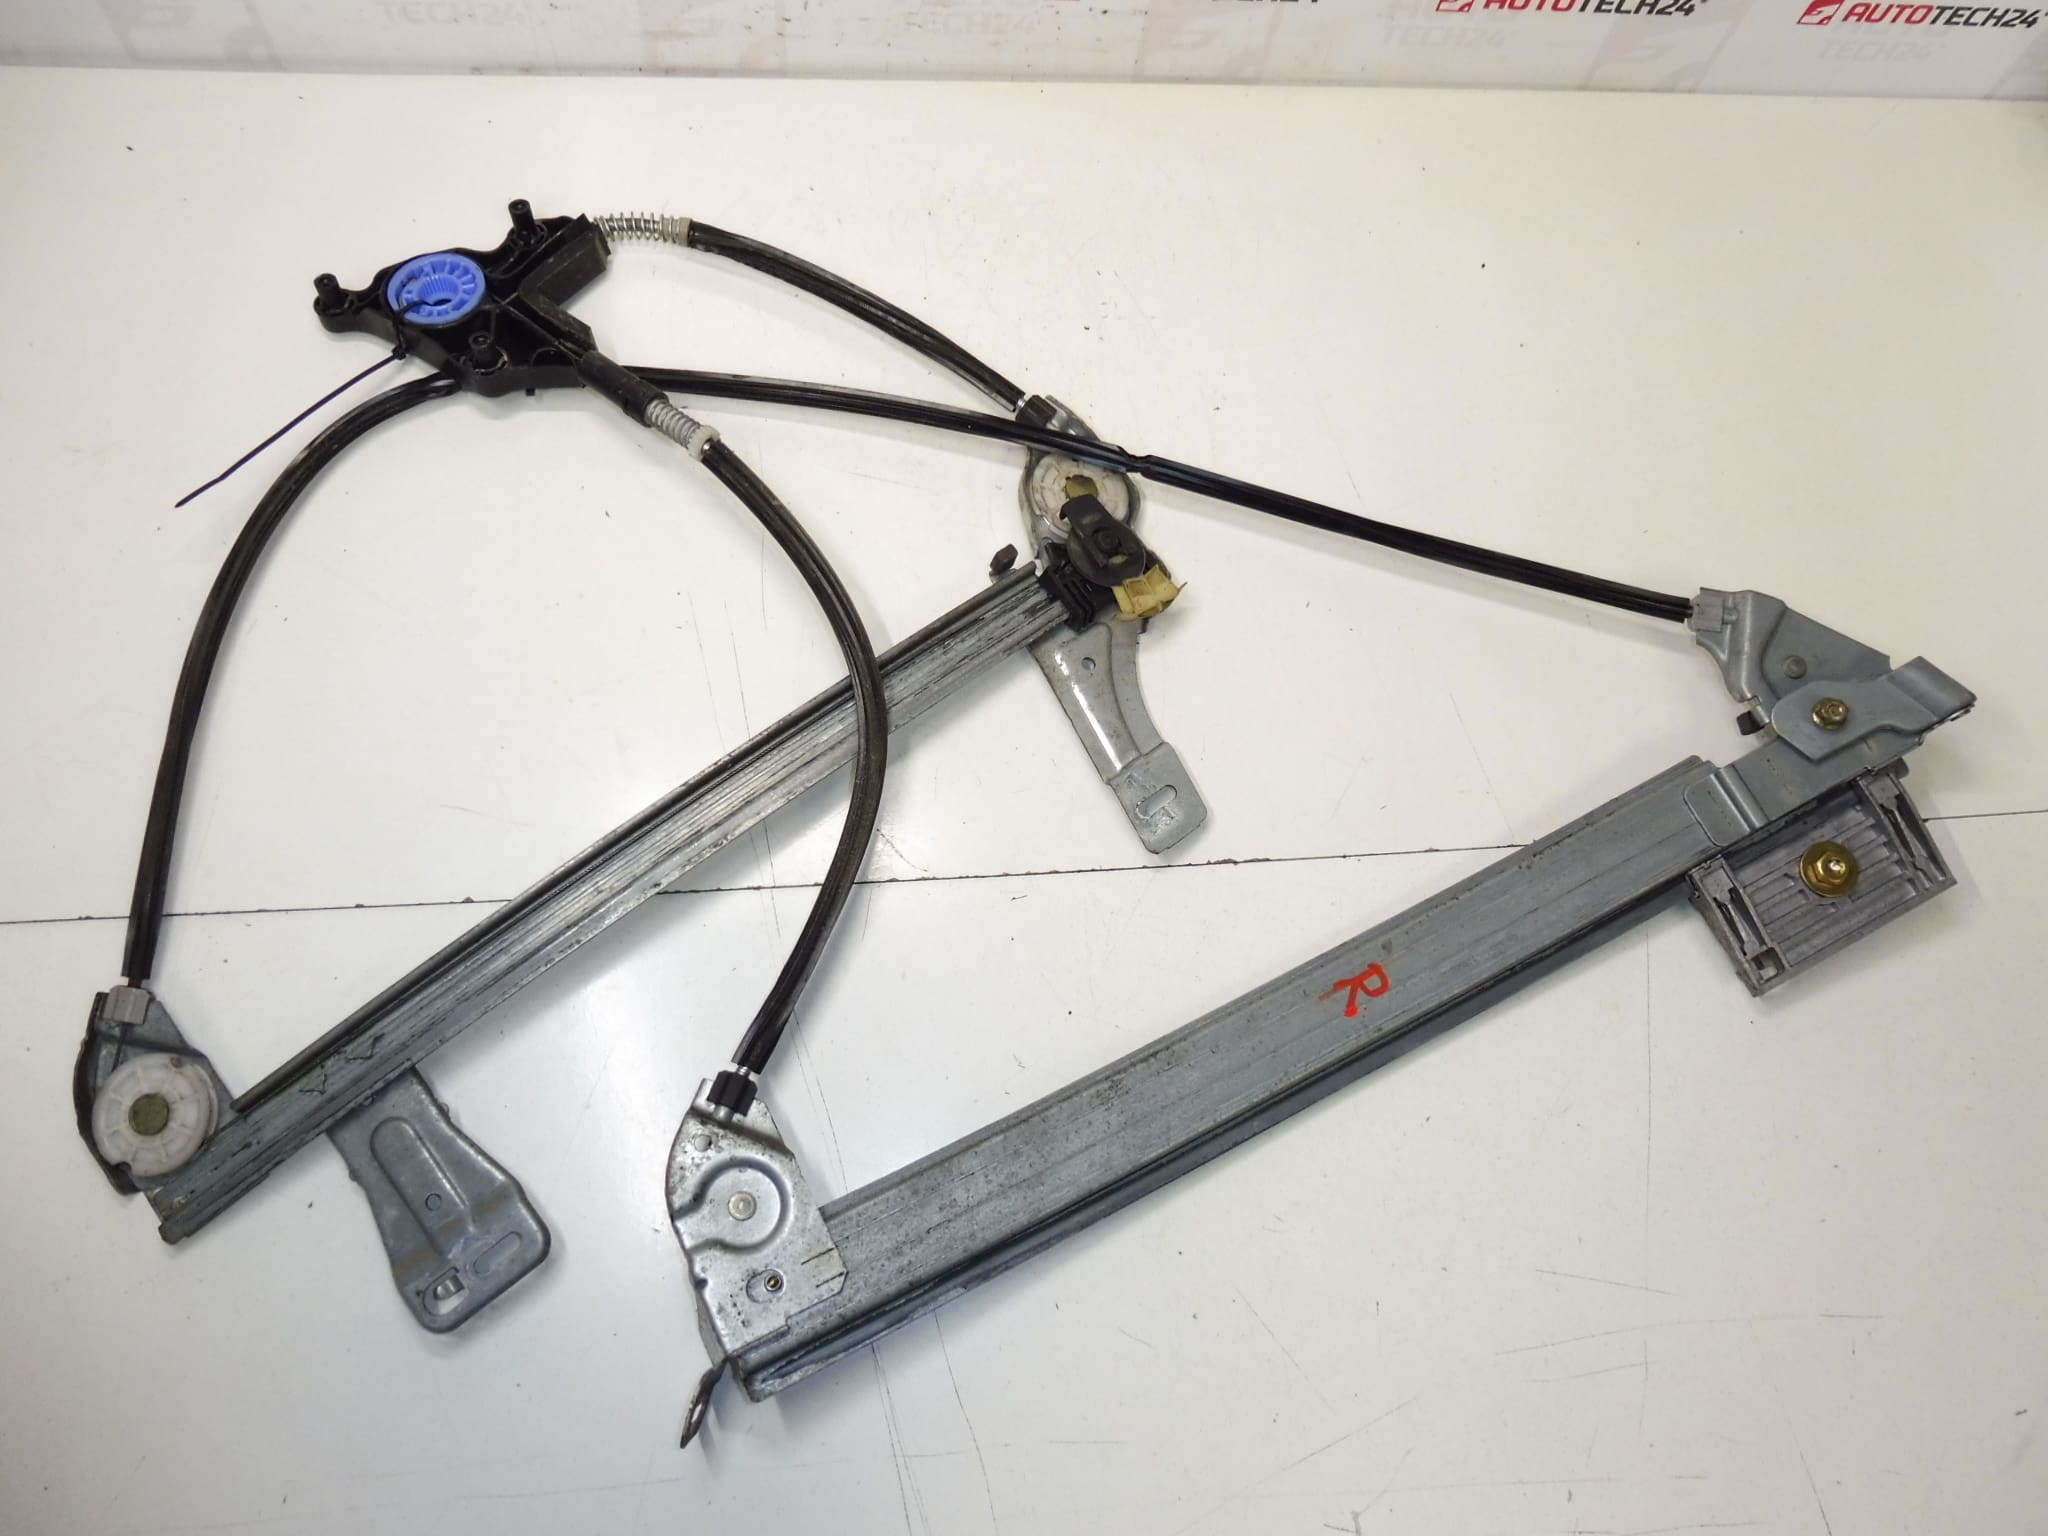
Window regulator mechanism for the right front window for Peugeot 307 CC – Passenger side
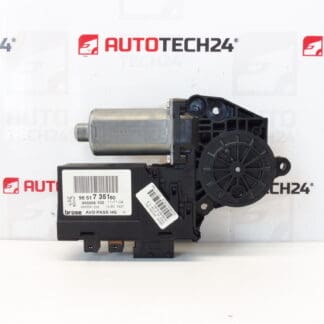
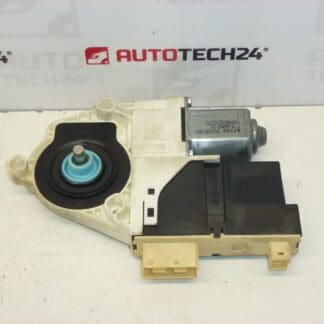
High-quality replacement window regulator mechanism for the front passenger (right) door of the Peugeot 307 CC. This electric regulator is a direct-fit option commonly searched by part numbers 9656221480, 9222V9 and 1619991980, making it easy to find for workshops and DIY mechanics. Designed to restore smooth, reliable operation of the front passenger window, it is an economical solution when the original regulator shows signs of wear or failure.
Key Benefits
Reliable movement and precise glass guidance reduce wind noise and rattles. Ideal for professional fitters and experienced DIYers who need a straightforward swap using standard tools. Restores proper window sealing and comfort while avoiding the higher cost of brand-new OE assemblies.
Technical Information
- Manufacturer: Stellantis / Peugeot / Citroën
- Model: Peugeot 307 CC
- Product Codes: 9656221480, 9222V9
- Additional Numbers: 1619991980, NFP
Function
The window regulator mechanism is responsible for raising and lowering the door glass smoothly and securely. In power-window systems the regulator converts the motor’s rotary motion into controlled vertical motion of the glass and keeps the pane aligned in its tracks to prevent binding and damage.
Installation Recommendations
- Preparation: Gather basic tools (trim removal tools, ratchet set, screwdrivers, torque wrench) and a soft support for the glass.
- Safety: Disconnect the battery before starting work to prevent accidental window movement and protect electrical components.
- Removal Steps: Remove interior door trim and vapor barrier carefully. Support the glass in the up position (tape or suction cup) and unbolt the regulator attachment points. Disconnect the electrical connector(s) if the motor is present.
- Fitting: Install the new regulator, align the glass in the regulator clamps, tighten fixing bolts to manufacturer recommendations, reconnect the motor connector and test full travel before refitting the door trim.
- Testing: Verify smooth up/down travel, check for unusual noises or binding, and confirm window seals close properly. Make final adjustments if necessary.
- Time Estimate: Typical replacement time for an experienced technician is approximately 45–90 minutes per door, depending on equipment and access.
Why This Part Typically Fails
- Wear Of Moving Components: Plastic guides, sliders or cables wear over time and cause slack, binding or jumps in the glass travel.
- Motor Wear Or Electrical Issues: Motor brushes, gears or wiring can fail after prolonged use or moisture exposure.
- Corrosion And Water Ingress: Door moisture can corrode metal parts and connectors, accelerating failure.
- Mechanical Damage: Impact to the door or forced operation (blocked glass) can bend tracks or break plastic parts.
Compatibility
Designed for Peugeot 307 CC front passenger side (right). Often referenced by part numbers 9656221480, 9222V9 and 1619991980. Always check that the part numbers match the vehicle’s original reference before fitting.
This window regulator is a cost-effective replacement aimed at garages and competent DIY mechanics who need a dependable repair solution. It restores proper window function and reduces the risk of further door-related issues when fitted correctly.