Description
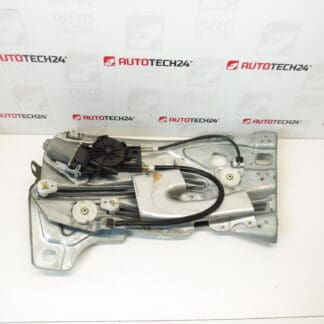
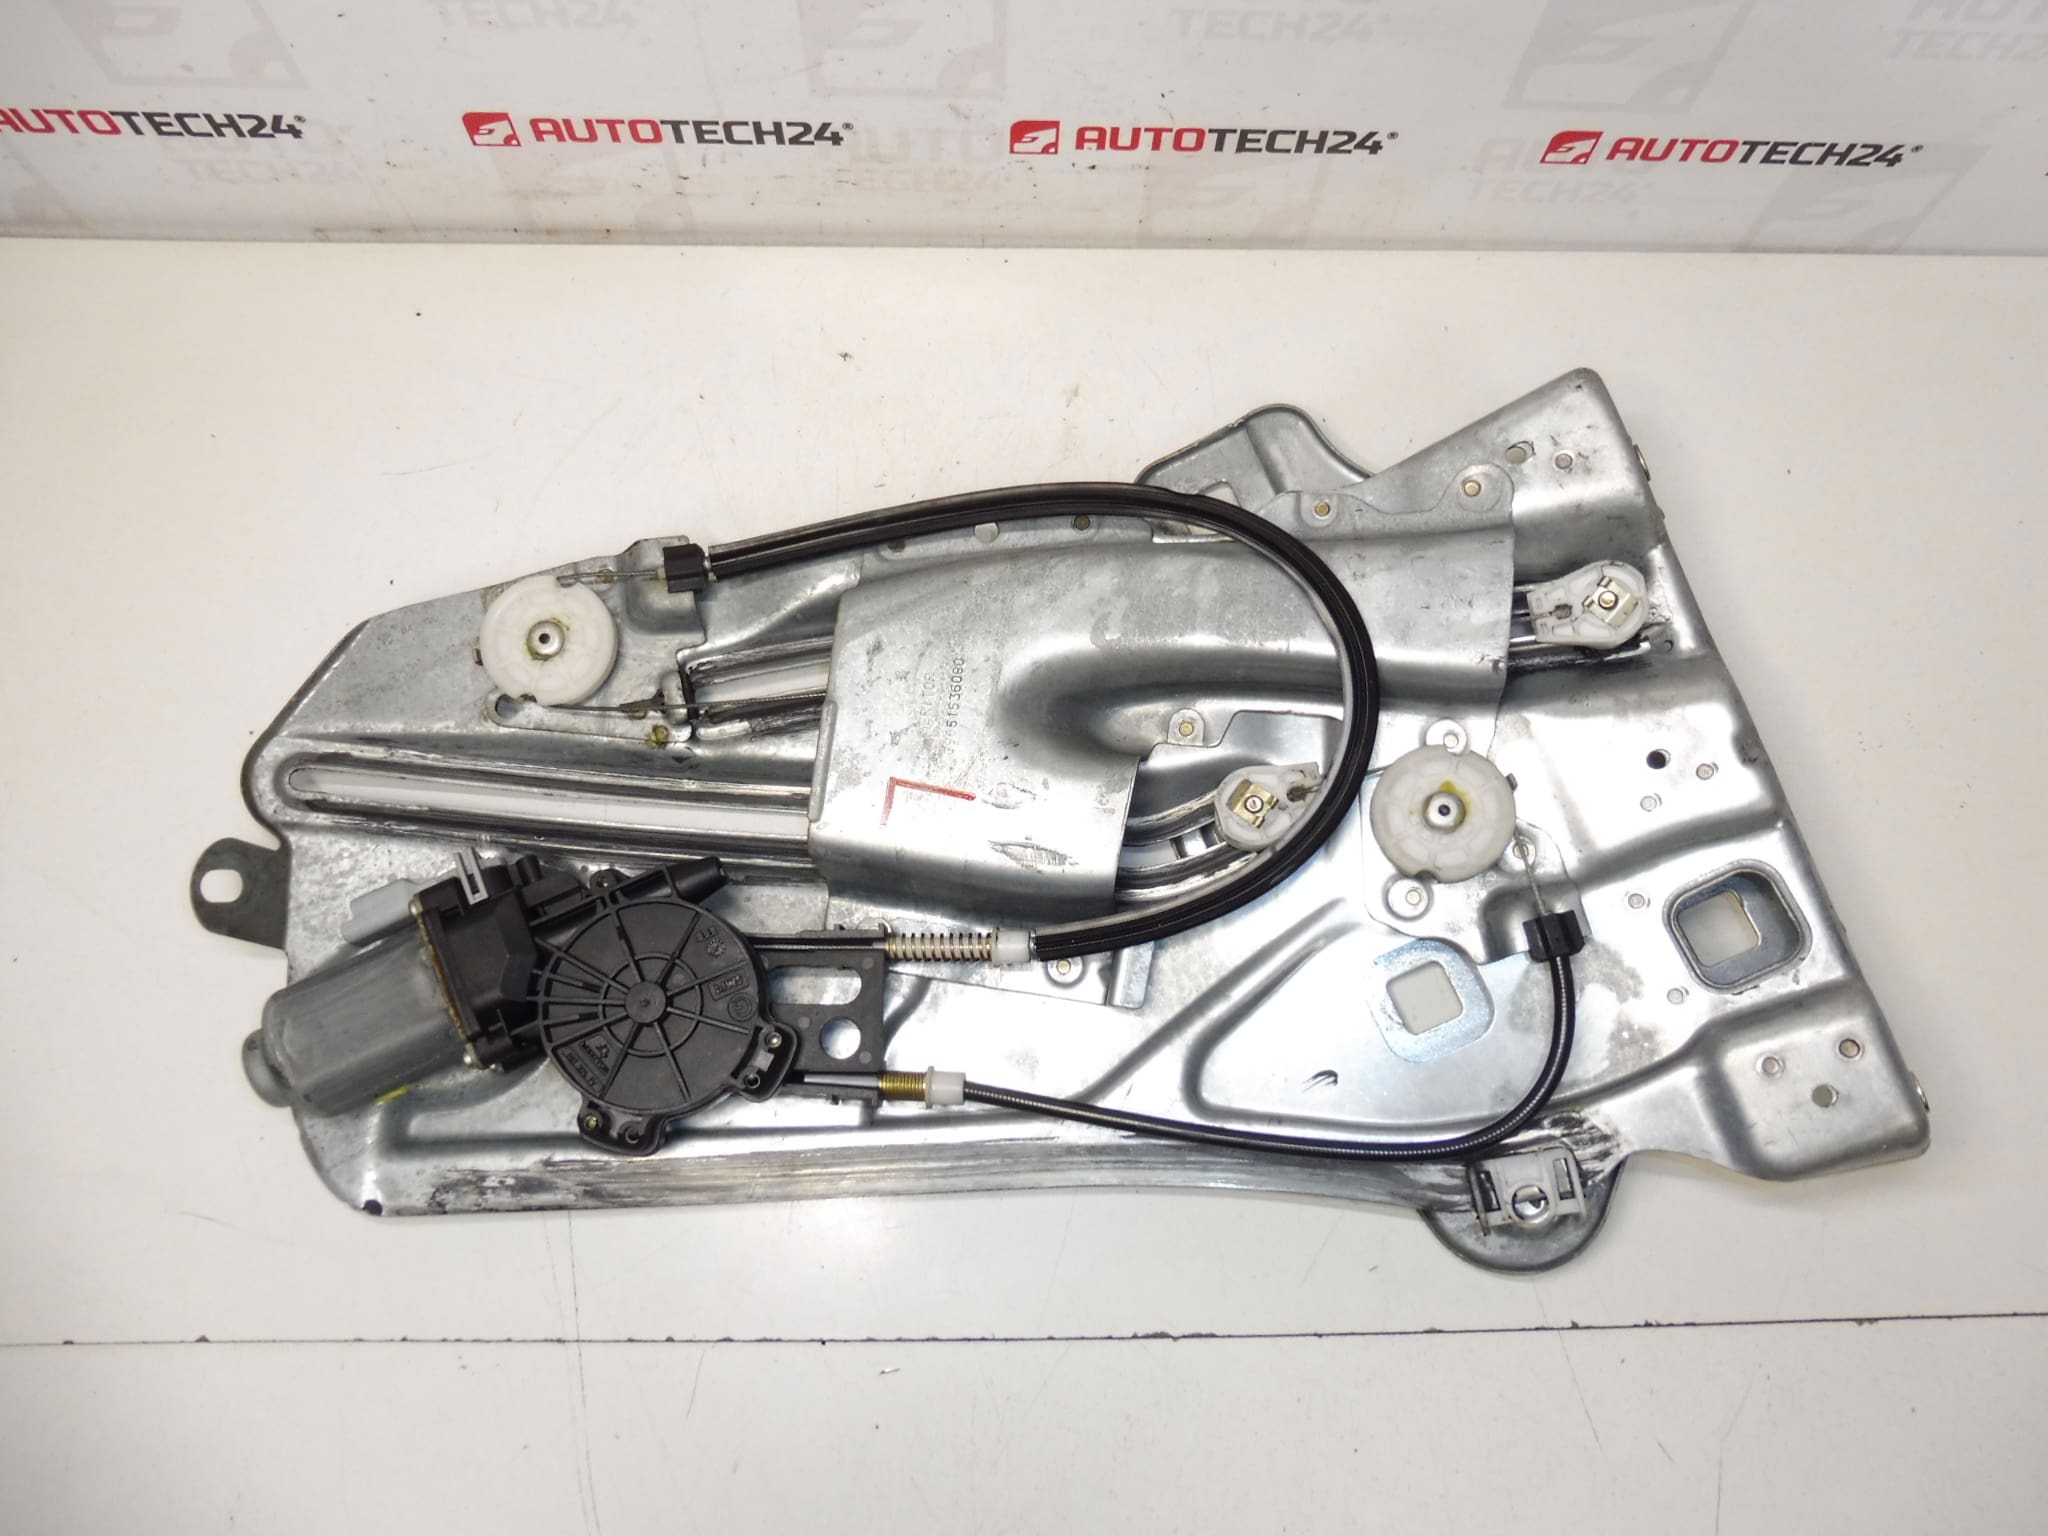
Electric window actuator for the left rear window for Peugeot 307 CC. Driver side.
Product Overview
High-quality electric window actuator designed for the left rear door of the Peugeot 307 CC. This power window motor assembly restores smooth and reliable operation of the rear left window, replacing worn or failed original units. Ideal for professional workshops and competent DIY mechanics who require an OE-referenced replacement part with clear fitment references (9651536080 / 922393).
Key Features
- Direct-fit replacement for the left rear (driver side) window of Peugeot 307 CC.
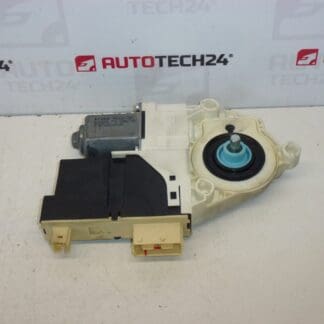
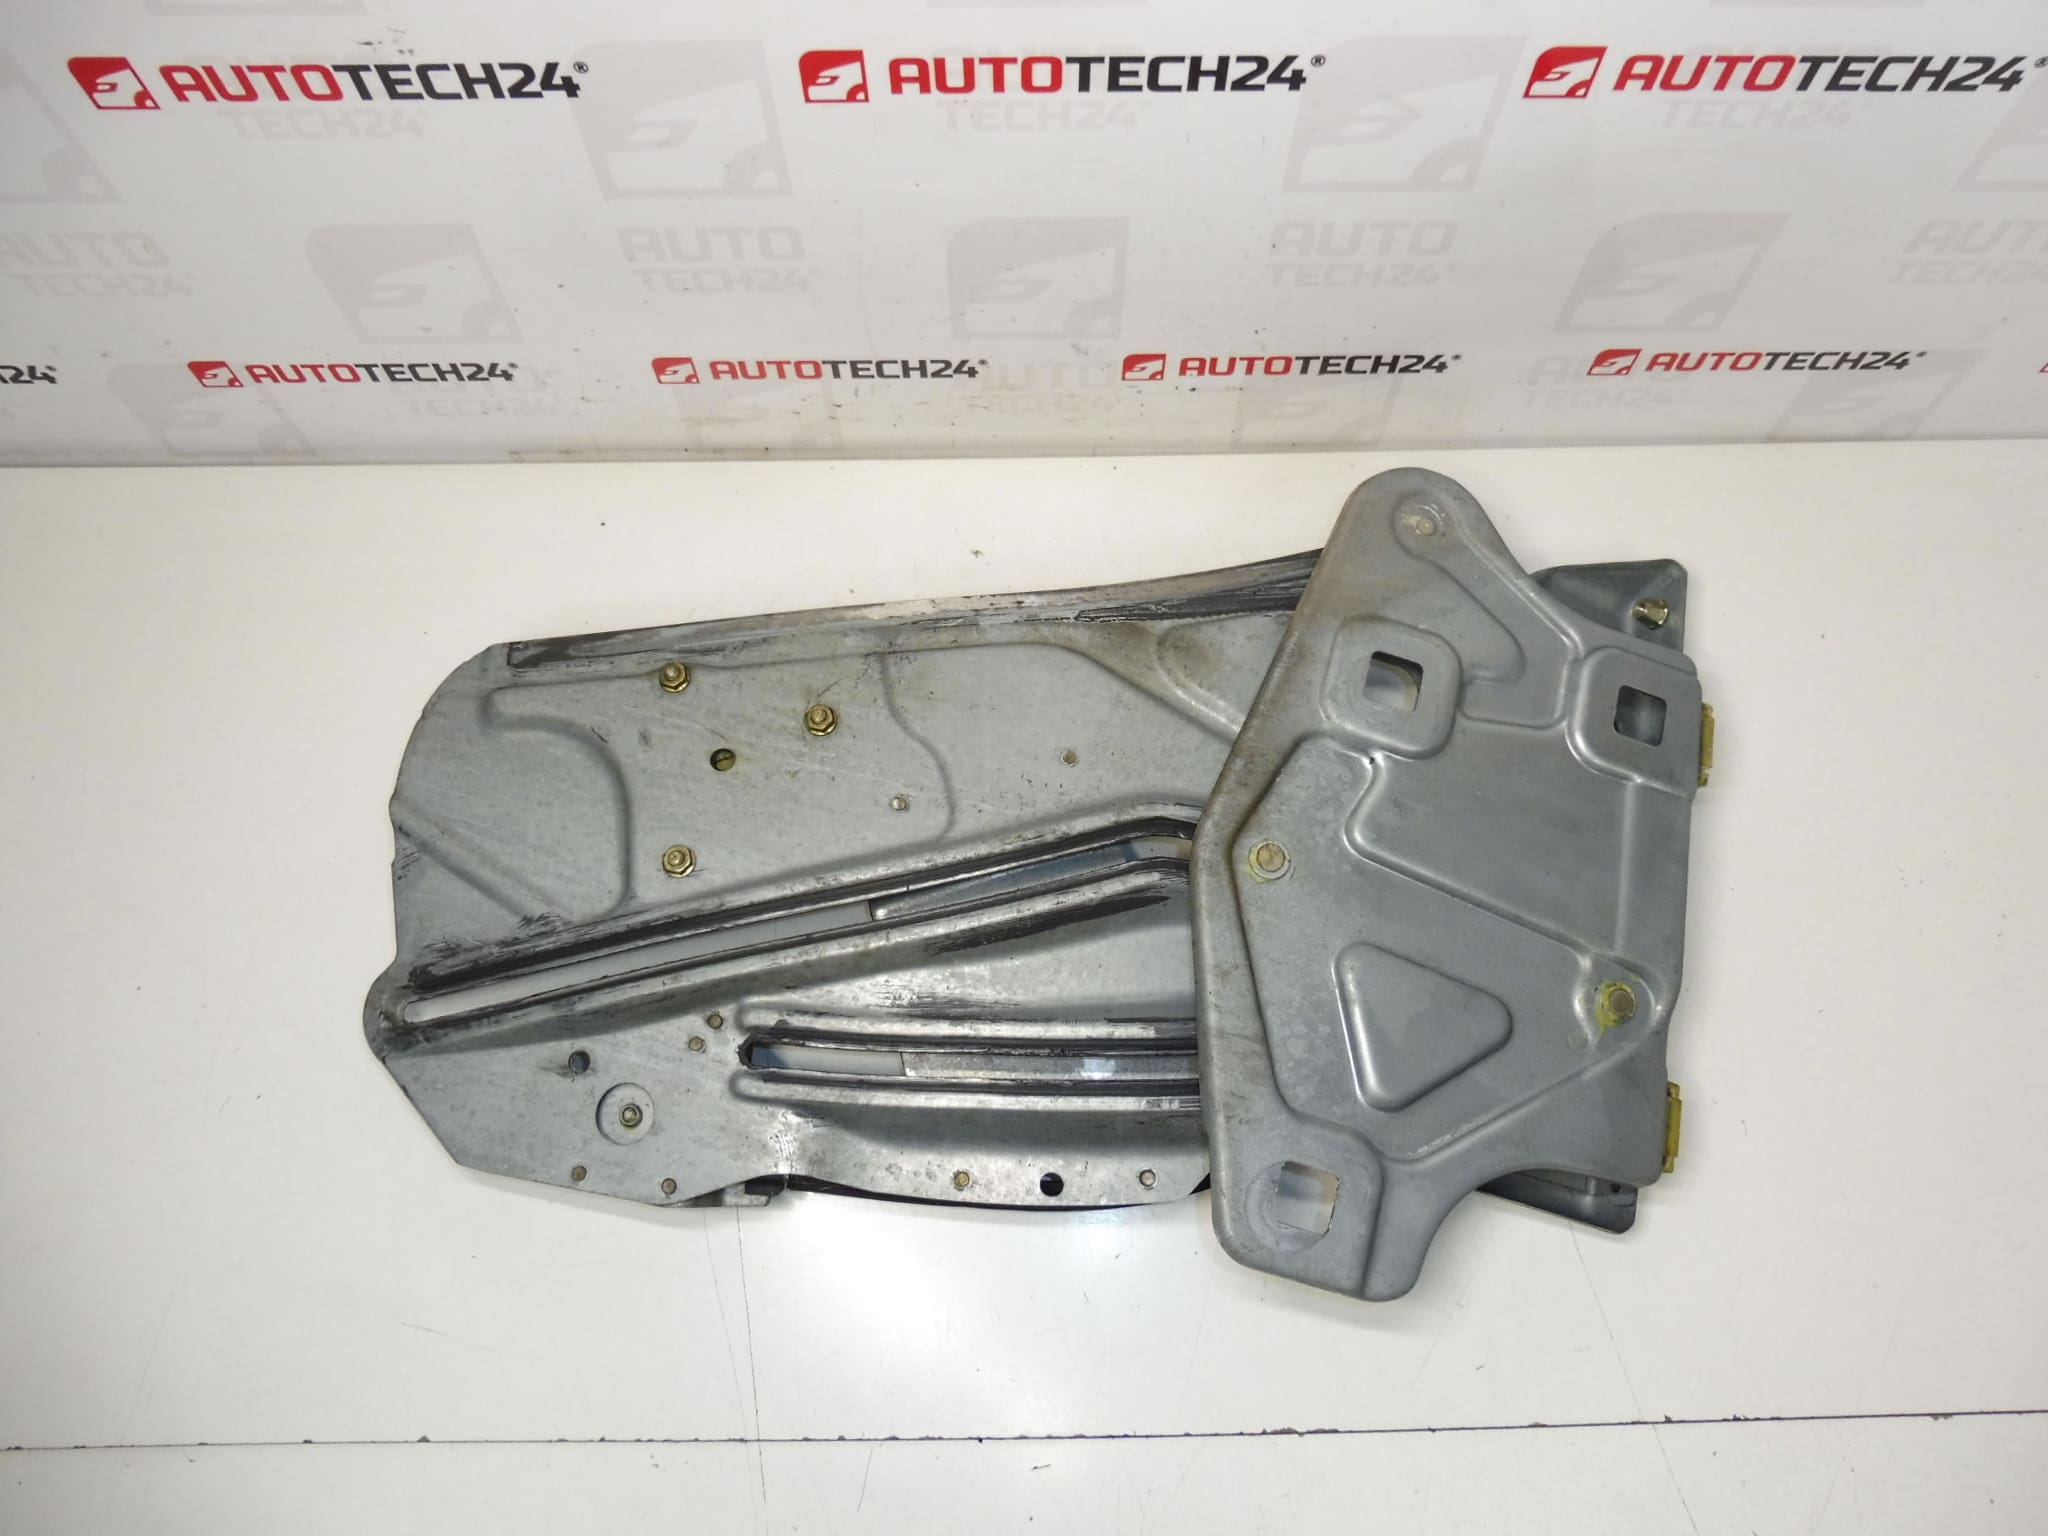
- Electric 12V actuator designed to work with the factory regulator mechanism and electrical connector.
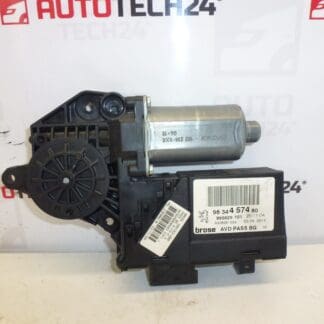
- OE reference numbers included to simplify part identification: 9651536080, 922393.
- Restores smooth up/down movement and reduces noise compared to worn motors.
Compatibility and Models
Fits Peugeot 307 CC models equipped with factory electric rear windows. Confirm fitment using the OE numbers 9651536080 and 922393. Typical users: Peugeot 307 CC owners, independent garages, and mobile technicians looking for a reliable rear left window motor.
Technical Information
- Manufacturer: Stellantis / Peugeot
- Model: Peugeot 307 CC
- Product Codes: 9651536080, 922393
- Other Numbers: NFP
Function and Common Failure Modes
The actuator provides the drive force to move the rear left window glass up and down when the switch is operated. Common reasons for failure include:
- Wear of the electric motor brushes or internal gears leading to loss of torque or intermittent operation.
- Corrosion and water ingress in the door cavity causing electrical faults or seized gearing.
- Mechanical wear of the regulator cables, pulleys, or sliders resulting in slipping or jamming.
- Broken or fatigued mounting points or gear teeth from excessive load or impact.
- Damaged wiring or connector problems causing no power or intermittent connection.
Replacement Guide
General replacement steps for experienced mechanics and DIYers:
- Disconnect the vehicle battery before starting work to avoid short circuits and protect the vehicle electronics.
- Remove the inner door trim and any vapor barrier carefully to access the window regulator and motor. Keep fasteners and clips organized.
- Support the window glass in the fully up position (use tape or a helper) and detach the glass from the regulator mounting points if necessary.
- Disconnect the electrical connector from the actuator and remove the mounting bolts securing the motor/regulator assembly.
- Fit the replacement actuator, secure all fasteners to the original positions, reconnect the electrical connector, and temporarily reattach the glass to check operation.
- Test the window operation through several full cycles to ensure smooth travel and correct alignment before reassembling the door trim and reconnecting the battery.
Installation Recommendations
- Always disconnect the battery prior to removal/installation to prevent accidental short circuits.
- Inspect the regulator tracks, cables, and guide channels; replace or lubricate worn components to prevent premature failure of the new actuator.
- Use correct torque values for mounting bolts where specified by the vehicle manufacturer; ensure secure but not over-tightened fasteners.
- After installation, cycle the window several times to confirm smooth operation and correct seating in the glass run channels.
- If the door shows signs of water ingress or heavy corrosion, address sealing and drainage to prolong the life of the new unit.
Why Replace This Part?
Replacing a faulty rear left window actuator restores cabin comfort, security, and weather tightness. Timely replacement prevents additional damage to the regulator mechanism and avoids issues such as a stuck window that can lead to water entry or theft risk.
Notes For Buyers
Part is listed under OE references 9651536080 and 922393 and typically searched by these numbers. Suitable for mechanics and experienced DIYers who perform door trim removal and window regulator servicing. Ensure all accompanying fasteners and clips are in good condition during reassembly to maintain proper fit and function.