Description
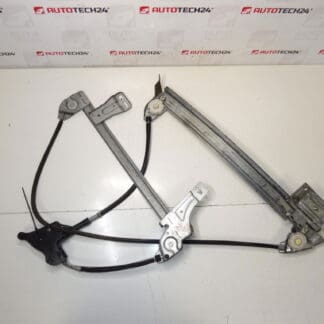
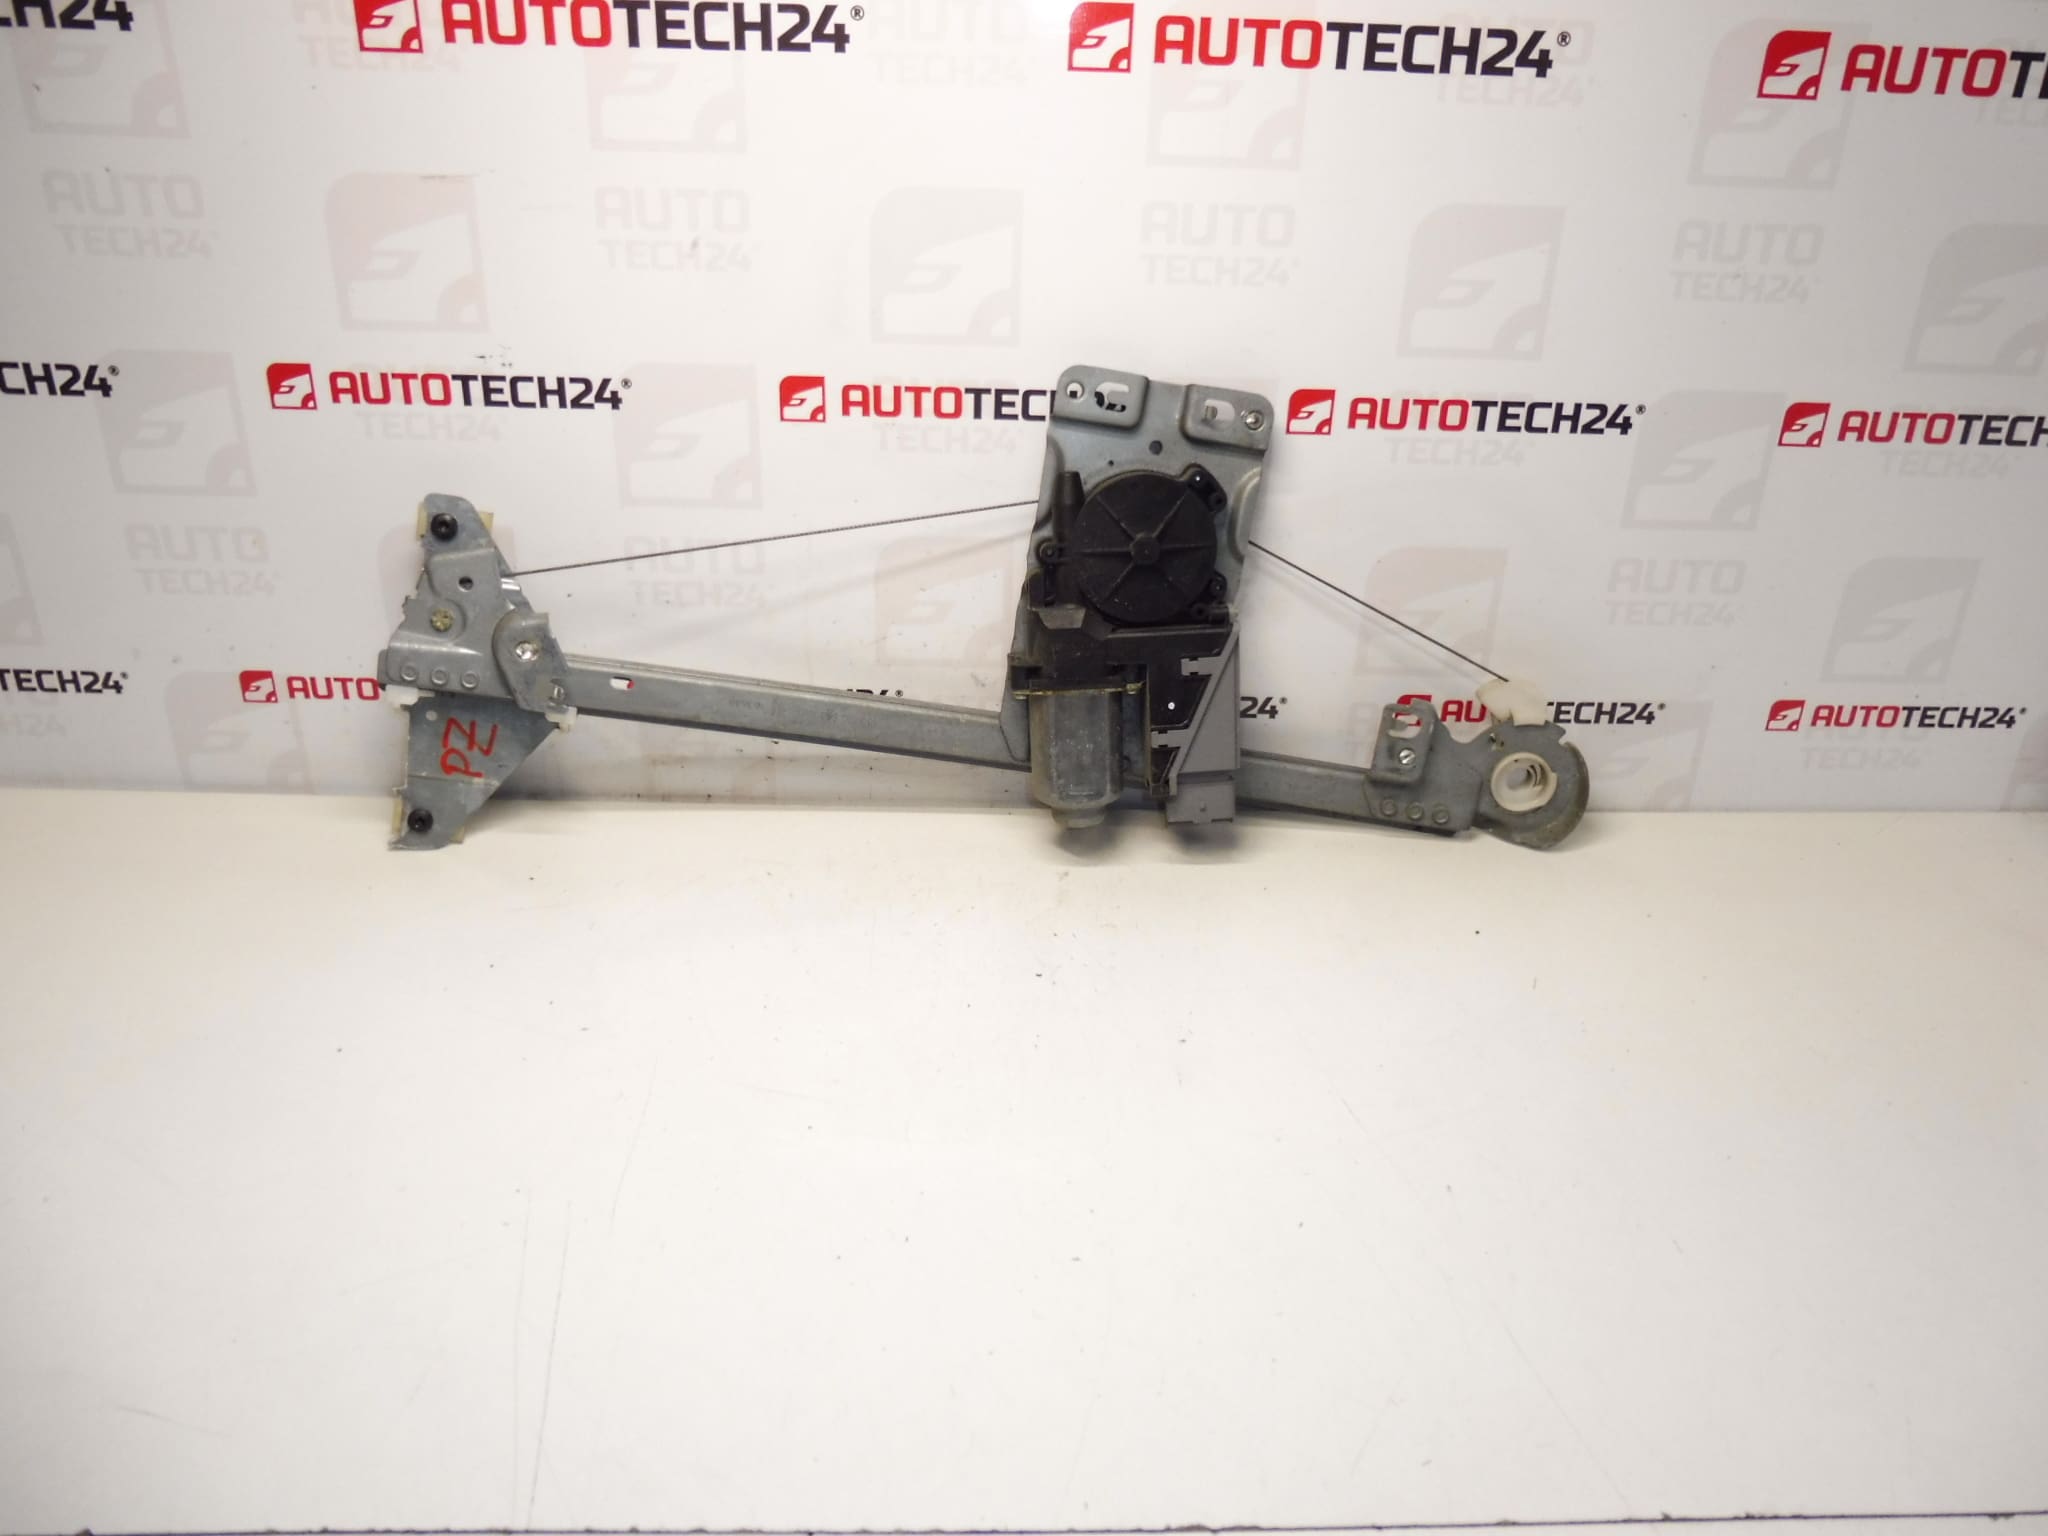
Right rear window retract mechanism
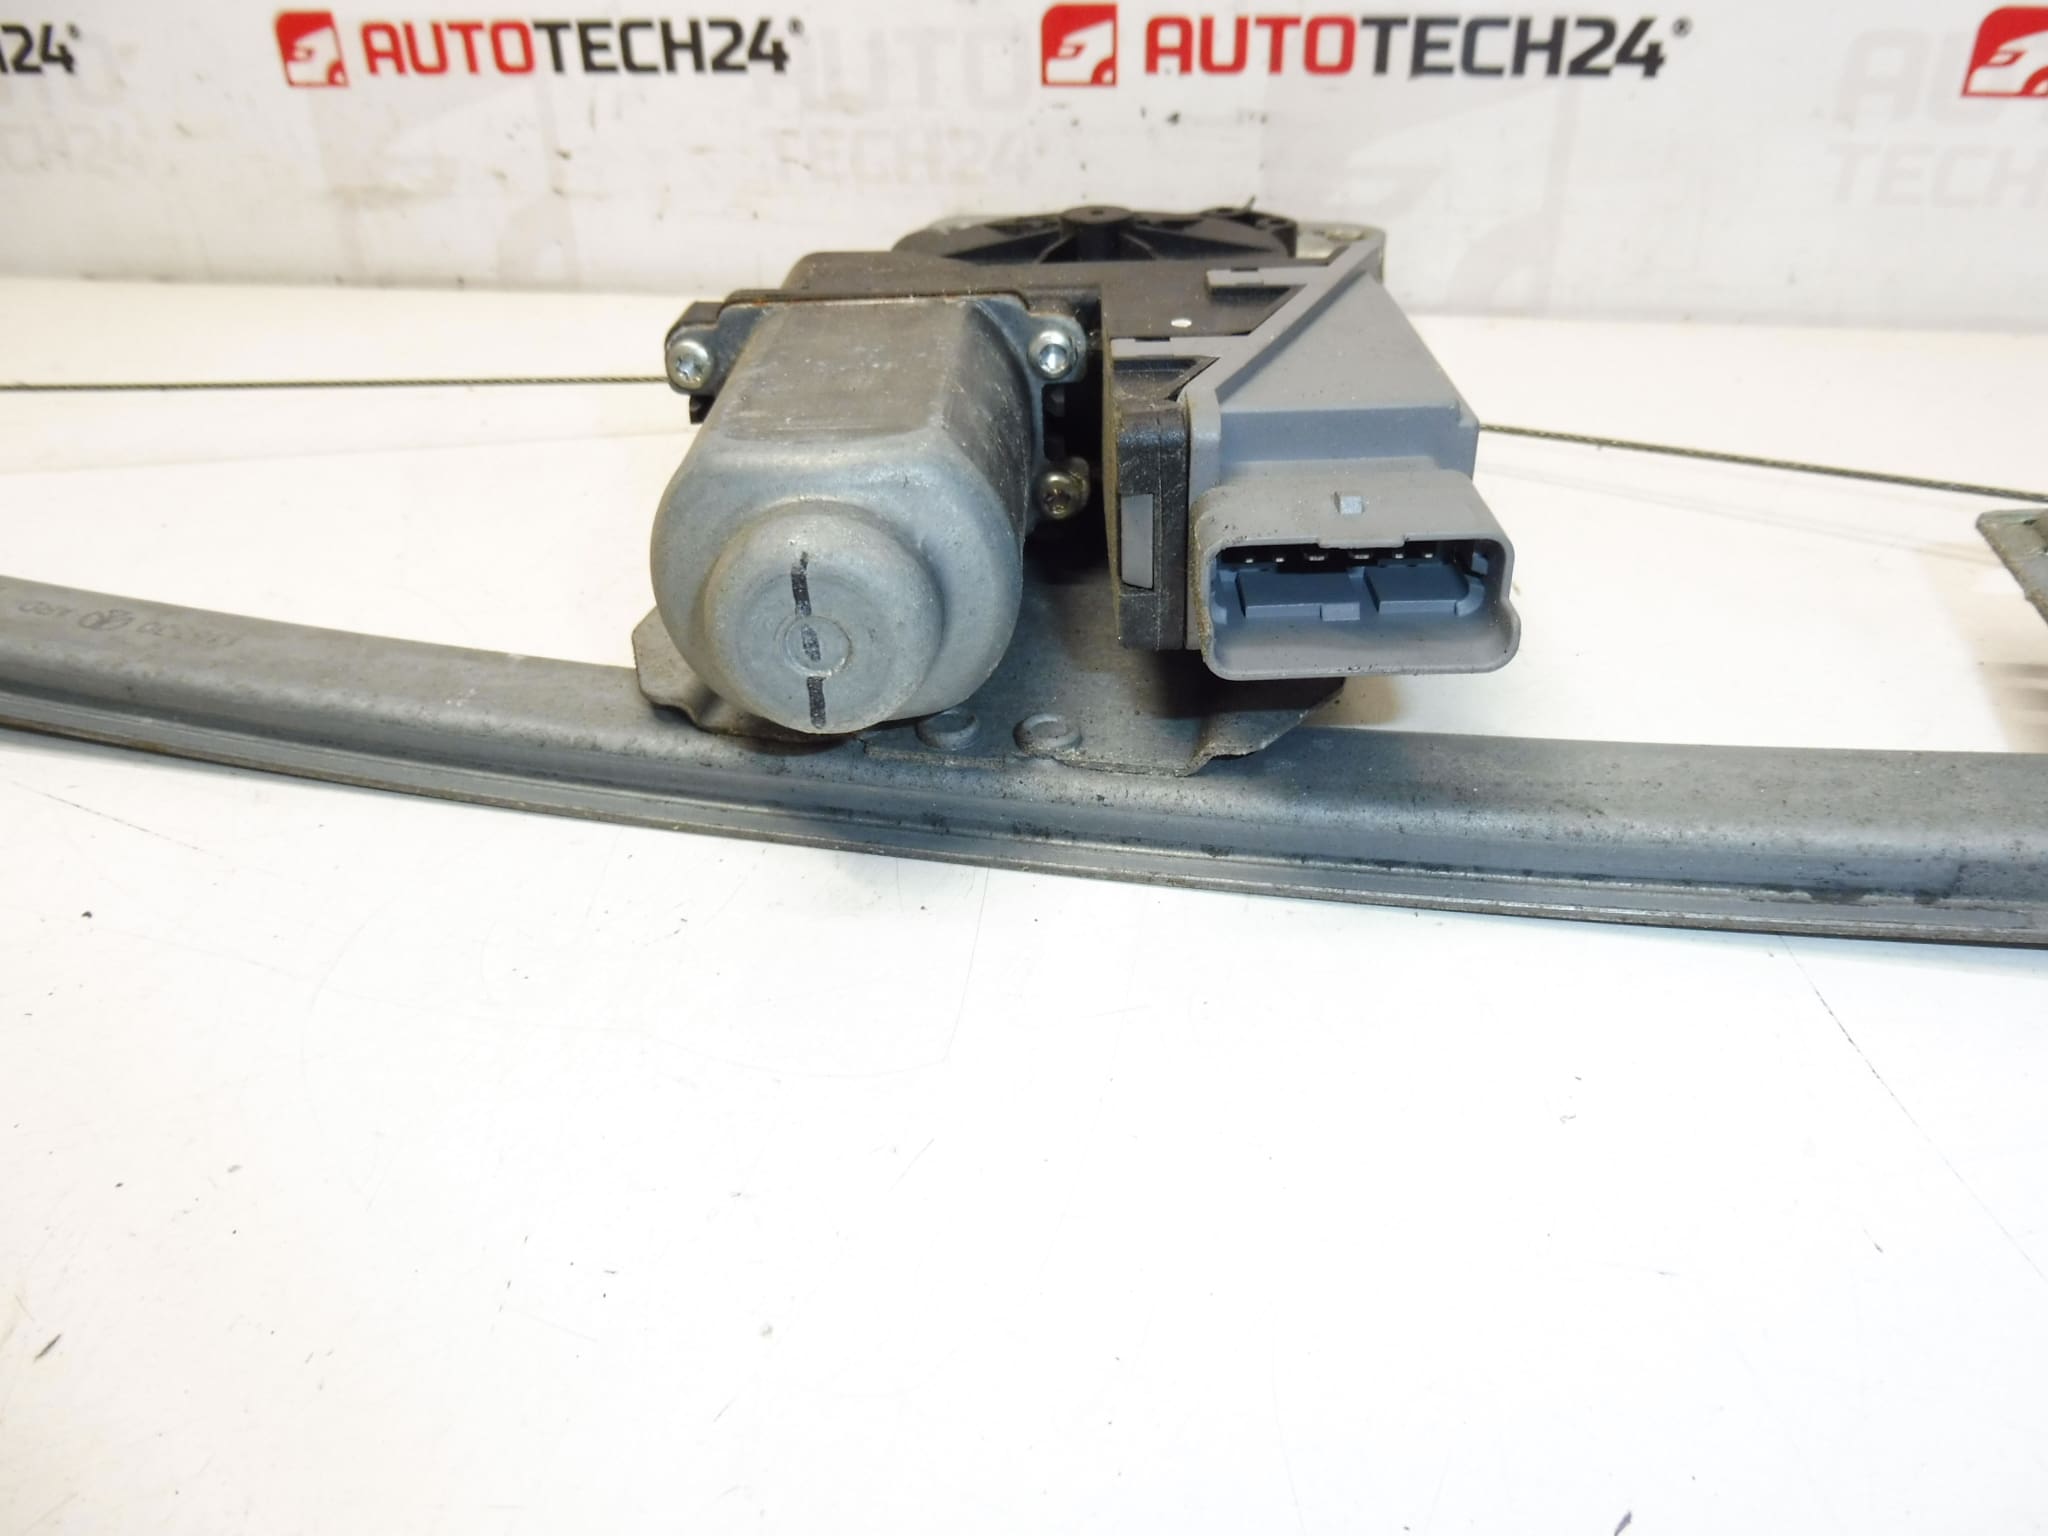
Electric window regulator for PEUGEOT 307 cars
Side behind the passenger
Part description
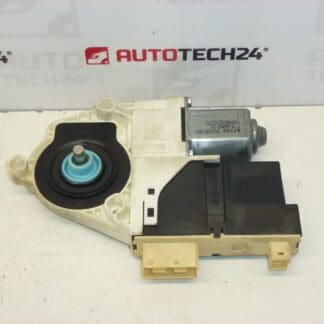
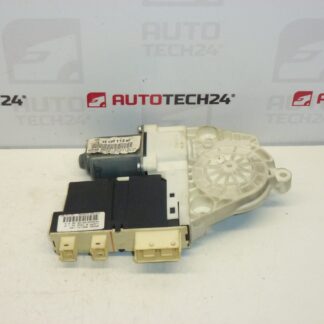
This used rear right window winder mechanism (electric starter) is designed for the Peugeot 307 and solves the typical problems of stuttering, non-functioning window movement or complete inactivity of the winder. It is an electrical component from the window winder category, suitable for repair after the failure of the original mechanism.
The part is searched mainly by the number 9224A4, which will facilitate correct identification when ordering and during stock records in the workshop.
Technical information
Product codes
- Product codes: 9224A4
Installation recommendations
Generally/typically for the power window mechanism, the exact steps may vary depending on the specific door design and vehicle equipment. Consider the procedure below as a practical framework for a common exchange.
1) Before assembly
- Compare the new and original part: side (right rear), mechanism shape and fit, connector/wiring and cable routing (if included).
- Check whether the mechanism is not mechanically damaged (bend guides, cracks, worn out runners) and whether part of the mechanism moves freely.
- Inspect the connector and pins – they must not be oxidized or loose.
2) Necessary tools and materials (in general)
- Set of common hand tools (screwdrivers, gola/Torx according to equipment)
- Plastic crowbar for removing upholstery
- Pliers or cutting pliers (for buckles/tapes)
- Contact cleaner (as needed)
- Protective gloves
3) Step-by-step assembly procedure
- Turn off the ignition and disconnect the battery (recommended for working with door wiring).
- Dismantle the inner lining of the door: carefully release the covers, screws and plastic fasteners.
- Disconnect the electrical connectors in the doors (window controls/speakers, etc. depending on the equipment) and put the panel aside.
- Remove or loosen the protective film/cover (if used) to access the mechanism.
- Secure the glass against falling (typically in the upper position and secured with tape / suitable fixation) and loosen its attachment to the mechanism (depending on the design).
- Disconnect the puller motor/mechanism electrical connector.
- Loosen the mechanism fasteners and remove the mechanism from the door taking care not to damage the wiring and guides.
- Insert the new mechanism into the door, seat it in the correct position and fasten it.
- Connect the electrical connector and check that the wiring is not pinched and has proper routing.
- Reattach the glass to the mechanism and verify that it is properly seated in the guide.
- Temporarily connect the battery, test the operation of the window (up/down) and watch for smoothness, sounds and possible stuttering.
- If all is well, disconnect the battery again, replace the protective film/cover and install the door trim including all clips and screws.
- Connect the battery and perform a final function check.
-
4) Post-assembly checks and functional test verification
- Verify smooth operation throughout and that the window fits correctly.
- Check that the wiring is not chafing anywhere and that the door trim is holding well (no squeaks, loose clips).
- Listen to the mechanism when coasting – unusual clicking/squealing usually indicates a seating or steering problem.
5) The most common assembly mistakes + how to avoid them
- Unsecured glass → risk of falling and breaking; always secure the glass before releasing the attachment.
- Pinched wiring when installing the cladding → run the cables along the original route and check the grommets.
- Bad seating of the glass in the guide → the window crosses and loads the mechanism; run the window through the entire range several times before final composition.
- Damaged cladding fasteners → use a plastic pry bar and replace the fasteners if damaged.
Reasons why the part is damaged
- Fatigue and wear of the mechanics during frequent use (drives, guides, attachment).
- Increased glass resistance due to dirt or stiff window guidance, which overloads the mechanism.
- Moisture in the door and subsequent corrosion/oxidation of contacts or mechanical parts.
- Impact or improper handling during repairs (bending guides, damage to attachment).
- Electrical problems (e.g. bad contacts in the connector) which can cause intermittent operation and additional stress on the part.