Description
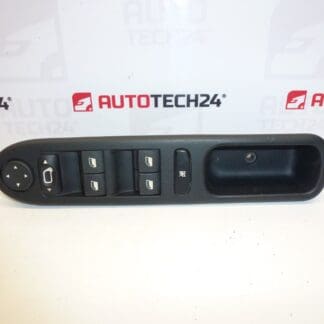
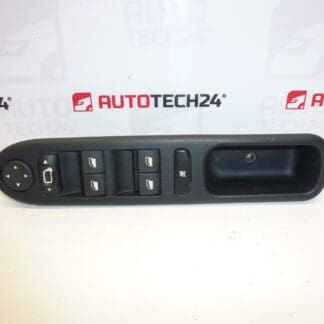
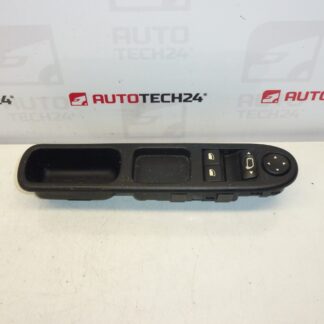
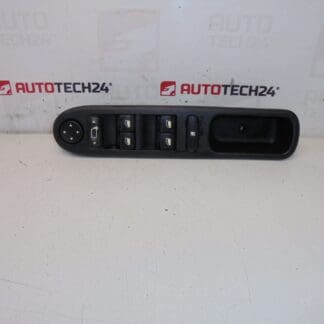
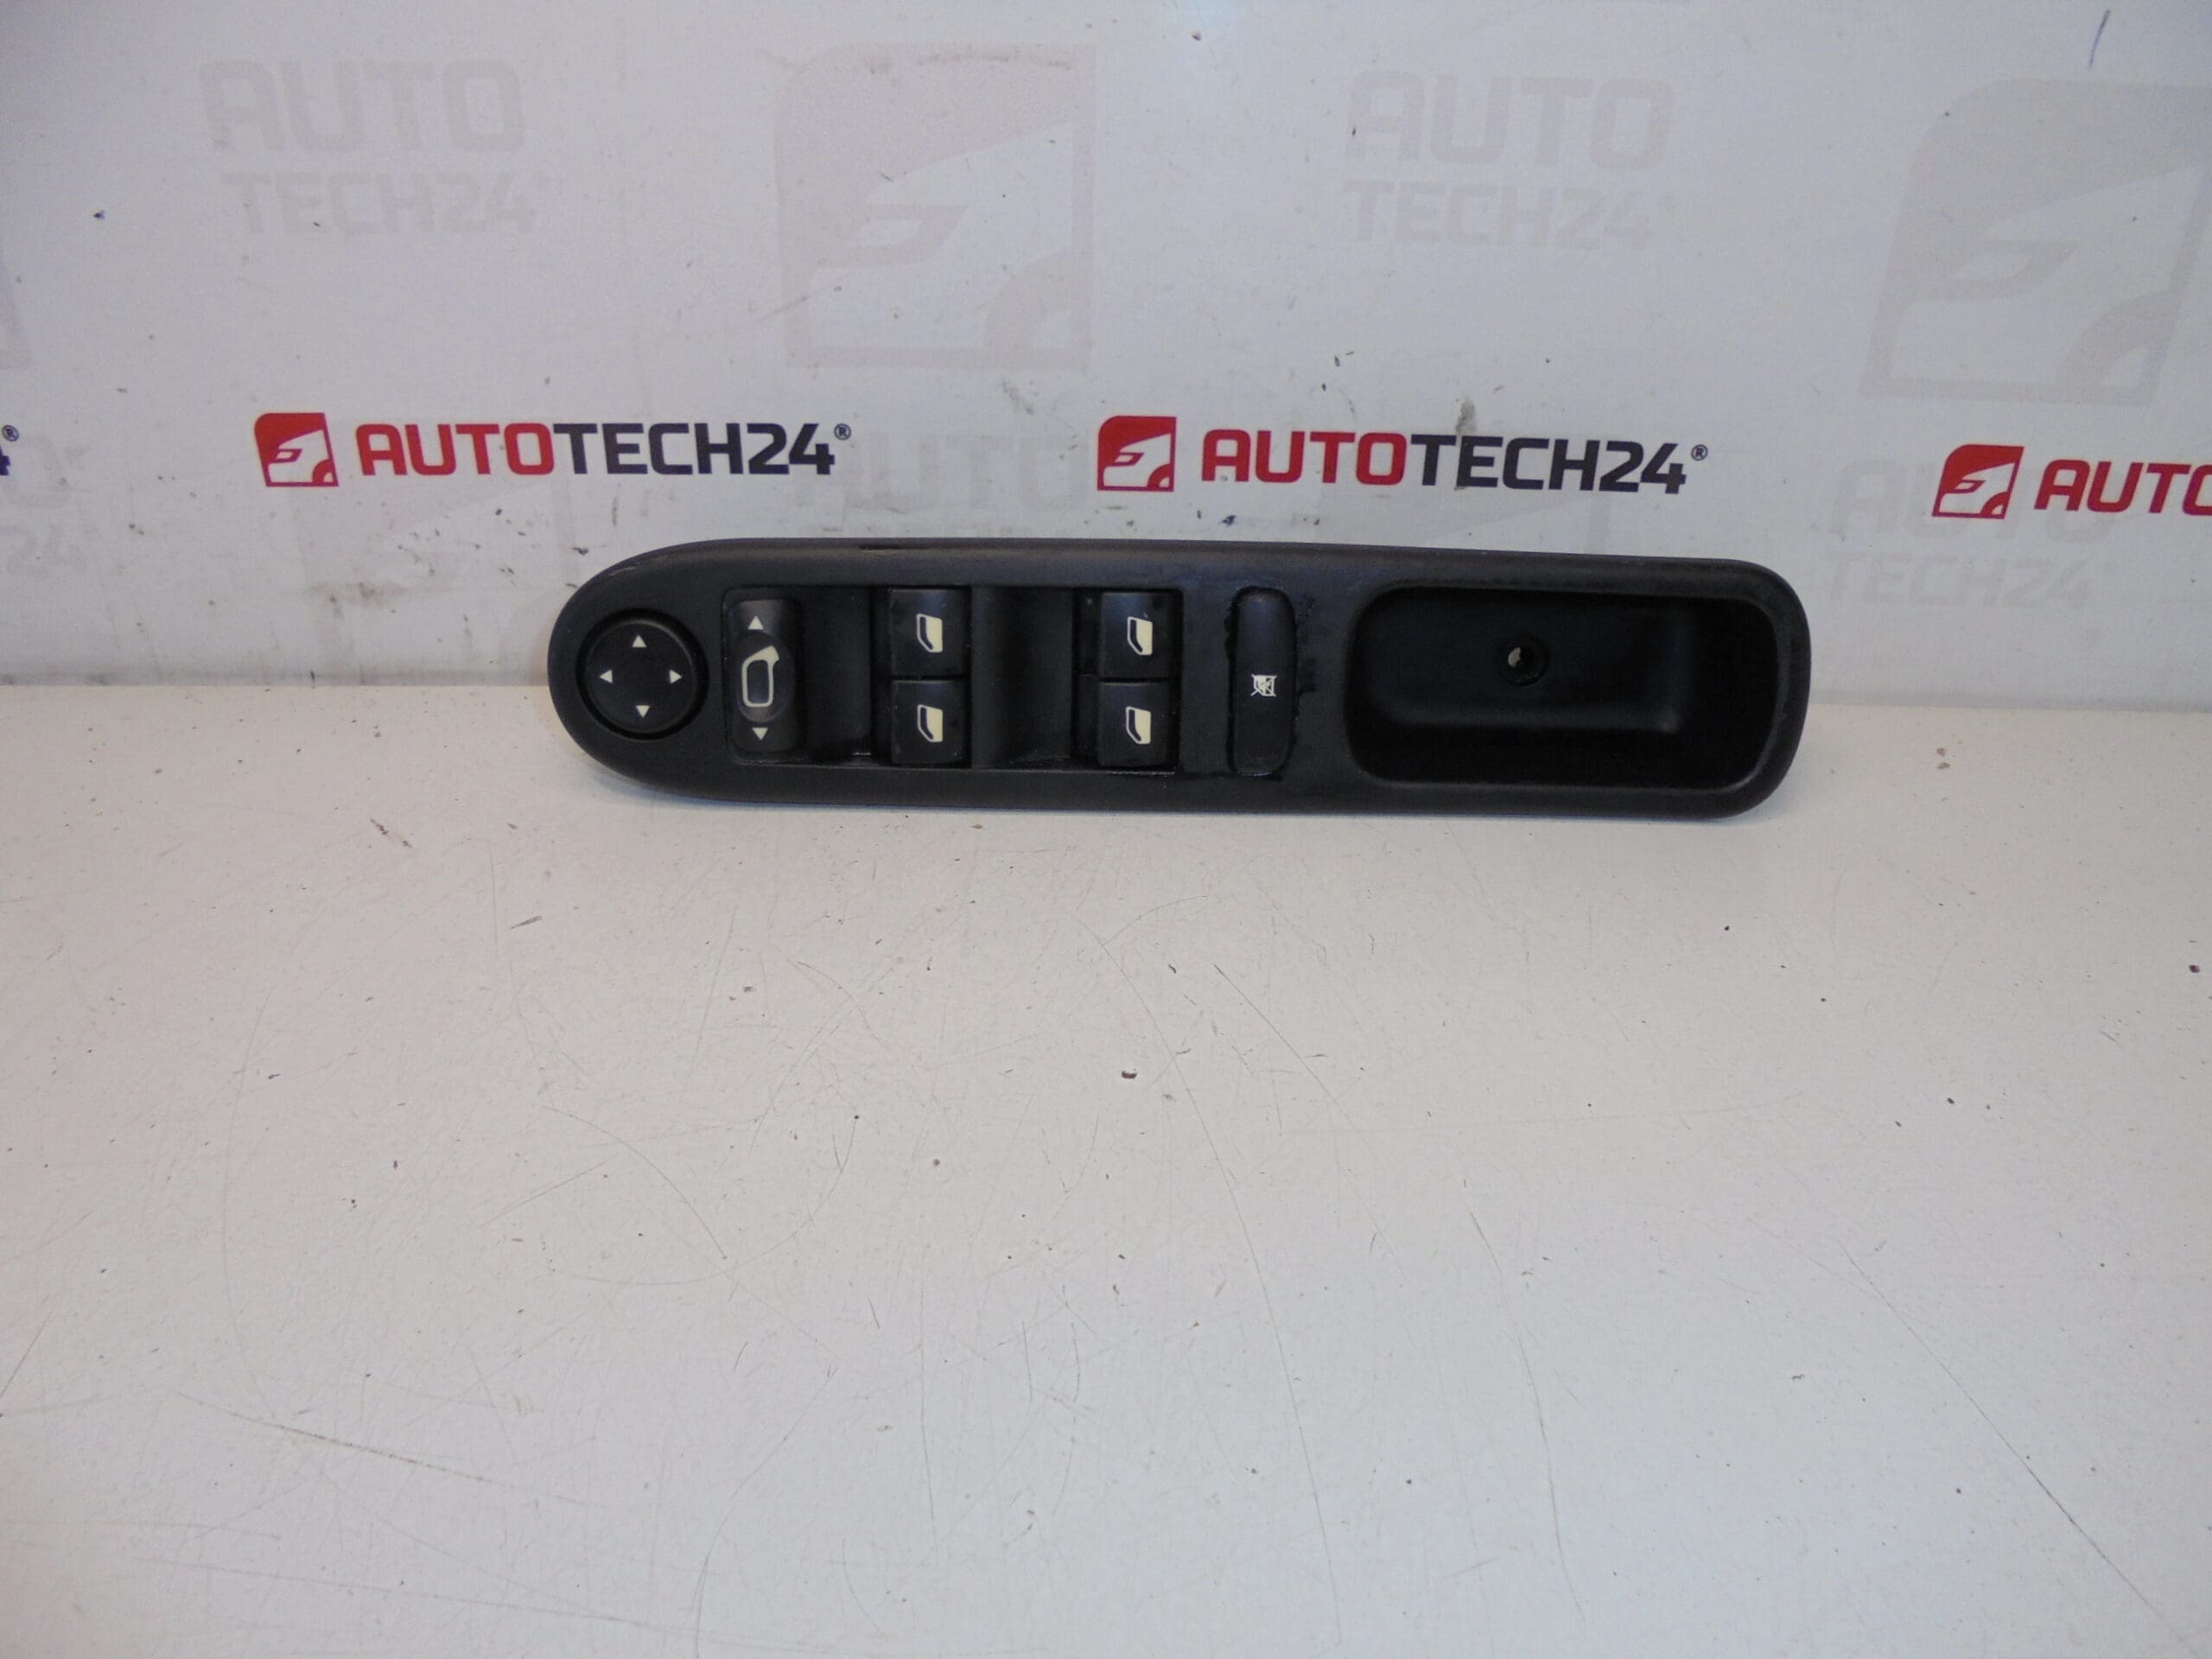
Window control for PEUGEOT 307 cars from 2005
Has signs of use, fully functional
Part description
This used Peugeot 307 window control is designed for PEUGEOT 307 cars from 2005. It is an electrical component that is searched primarily by the original part numbers, which is why the codes 96498421XT and 6554KT are important.
The part is suitable for replacing a damaged or non-functional original controller. Thanks to the fact that this is an original used car part from the Stellantis Citroën Peugeot group, the shape and connector matching corresponding to the given design are maintained. The part shows normal signs of use, but is fully functional.
Technical information
Product codes
- Product codes: 96498421XT, 6554KT
- Model names: Peugeot 307
Installation recommendations
Generally/typically for this type of part, the exact procedure for replacing the window regulator may vary depending on the specific design of the car and the door panel. Below is a safe general procedure for replacing the power window regulator.
1) Before assembly
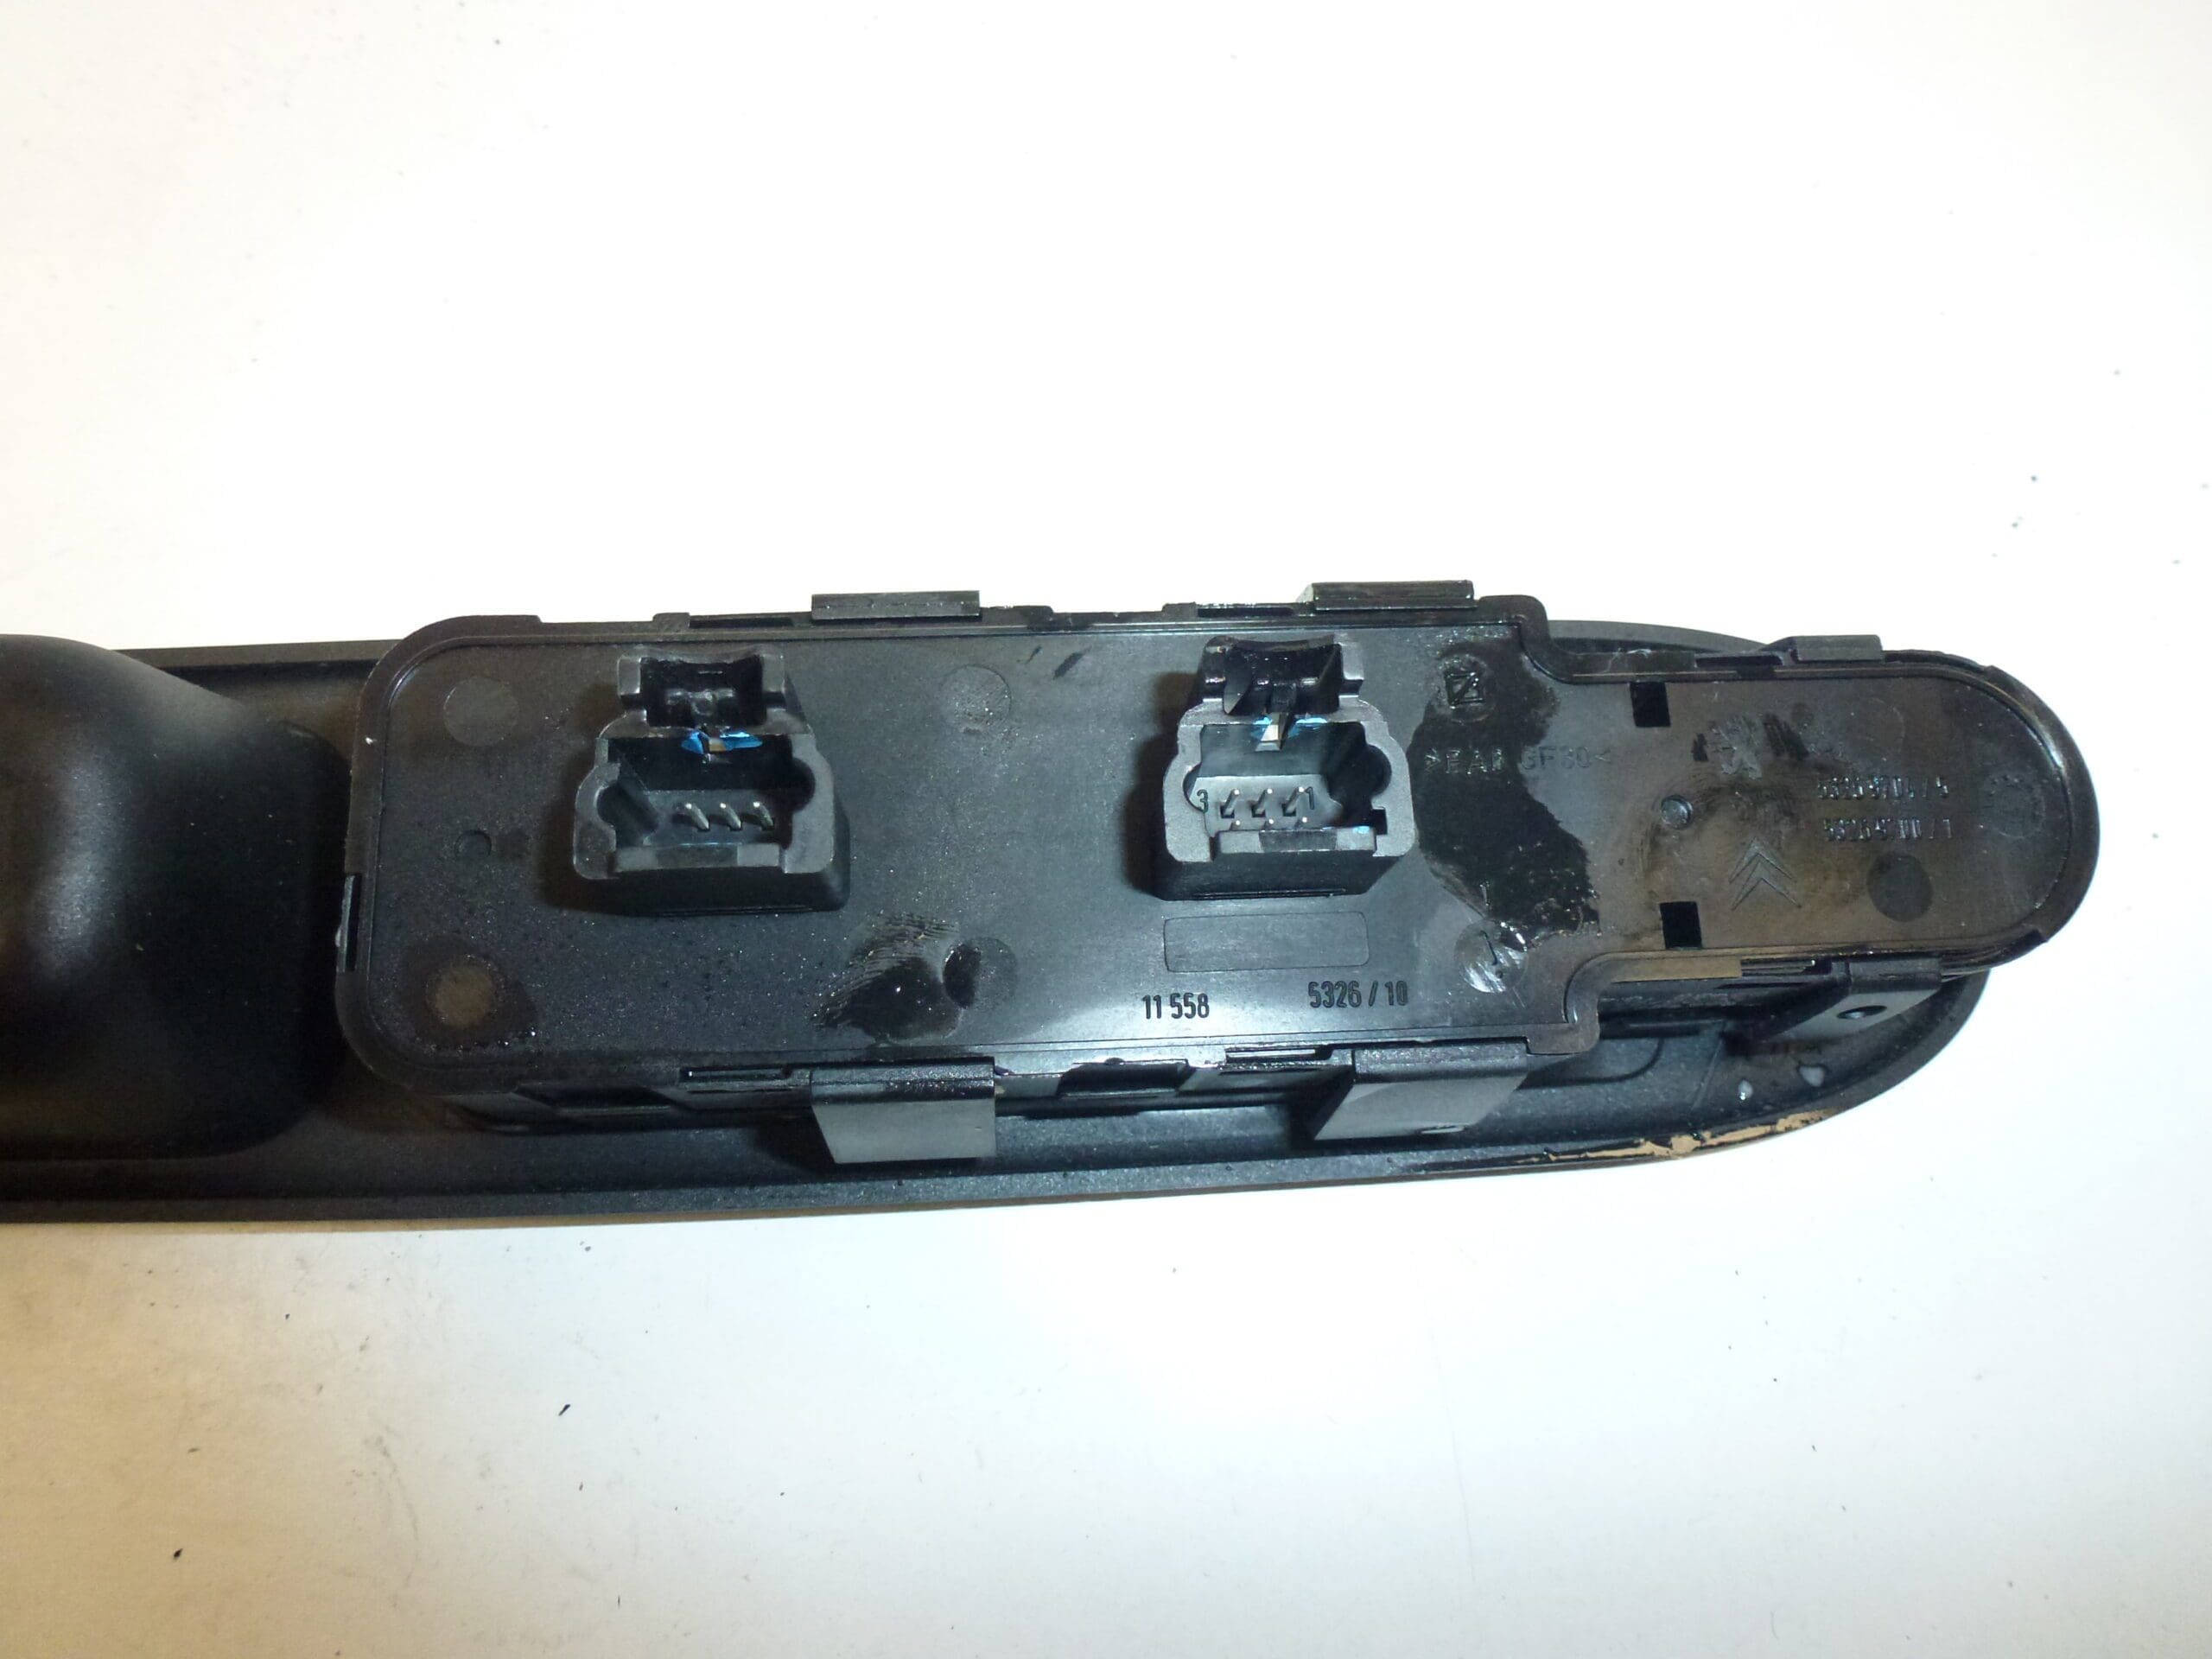
- Compare the new and original part by shape, fit, number and type of connectors and by the designation 96498421XT and 6554KT.
- Check for damage to the plastic body, latches, contacts or buttons.
- Verify smooth operation of the buttons and visually check the condition of the connector part.
- Before starting work, it is advisable to disconnect the battery, especially if you interfere with the wiring of the door.
2) Necessary tools and materials
- set of common hand tools
- plastic pry bar for panel removal
- screwdrivers or bits according to the type of connecting material
- cleaning agent for electrical contacts
- clean cloth or tea towel
- work gloves and suitable lighting
3) Step-by-step assembly procedure
- Switch off the ignition and secure the vehicle against unwanted movement.
- If applicable, disconnect the battery to minimize the risk of a short circuit when handling the connector.
- Carefully remove the relevant cover or part of the panel under which the controller is located.
- Using a plastic pry bar, release the controller from its storage so as not to damage the surrounding plastics.
- Disconnect the electrical connector of the old part. If the connector is secured by a latch, do not release it by force, but by properly pressing the fuse.
- Compare the old and new controller side by side, especially the connector, body shape and mount.
- If necessary, gently clean the electrical contacts and the storage area from dust and dirt.
- Connect the connector to the new controller and check that it is properly seated and secure.
- Place the controller in its original place and carefully click or fasten it according to the design.
- Reinstall the removed covers or part of the trim.
- Connect the battery if it was disconnected.
- Test the function of the buttons before the work is completely finished, if the car design allows it.
-
4) Post-assembly checks and test drive/function verification
- Verify the correct response of the buttons and the smooth operation of the controls.
- Check that the controller is firmly in place and does not fall out.
- Check whether there are no loose linings or ill-fitting covers after installation.
- After a short period of use, check again that the connector is not loose and the control works stably.
5) The most common assembly mistakes + how to avoid them
- Part swapping based on appearance – always compare product numbers as well, not just part shape.
- Latch and plastic damage – use a plastic pry bar and do not use brute force.
- Poorly seated connector – after plugging in, gently check that the connector clicks into place.
- Assembly in a contaminated area – before installing the part, clean the contact surfaces and the contact part.
- Omission of functional test – always check the correct operation of the controller before final assembly.
Reasons why the part is damaged
- normal mechanical wear from everyday use
- pollution around buttons and contacts
- intrusion of moisture into the electrical part
- damage to the connector or wiring during previous disassembly
- excessive stress on buttons or cracking of plastic latches
- fluctuations in the car’s electrical installation, which can affect the function of the switch