Description
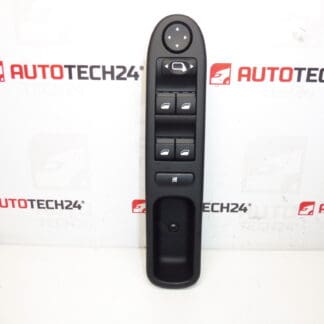
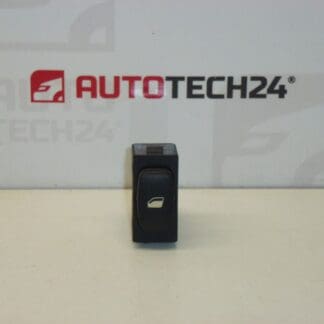
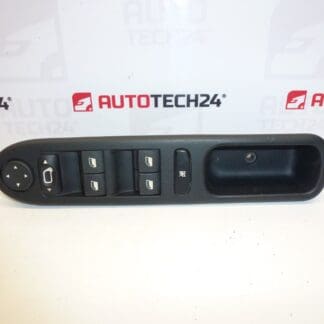
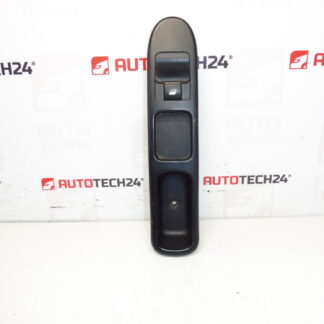
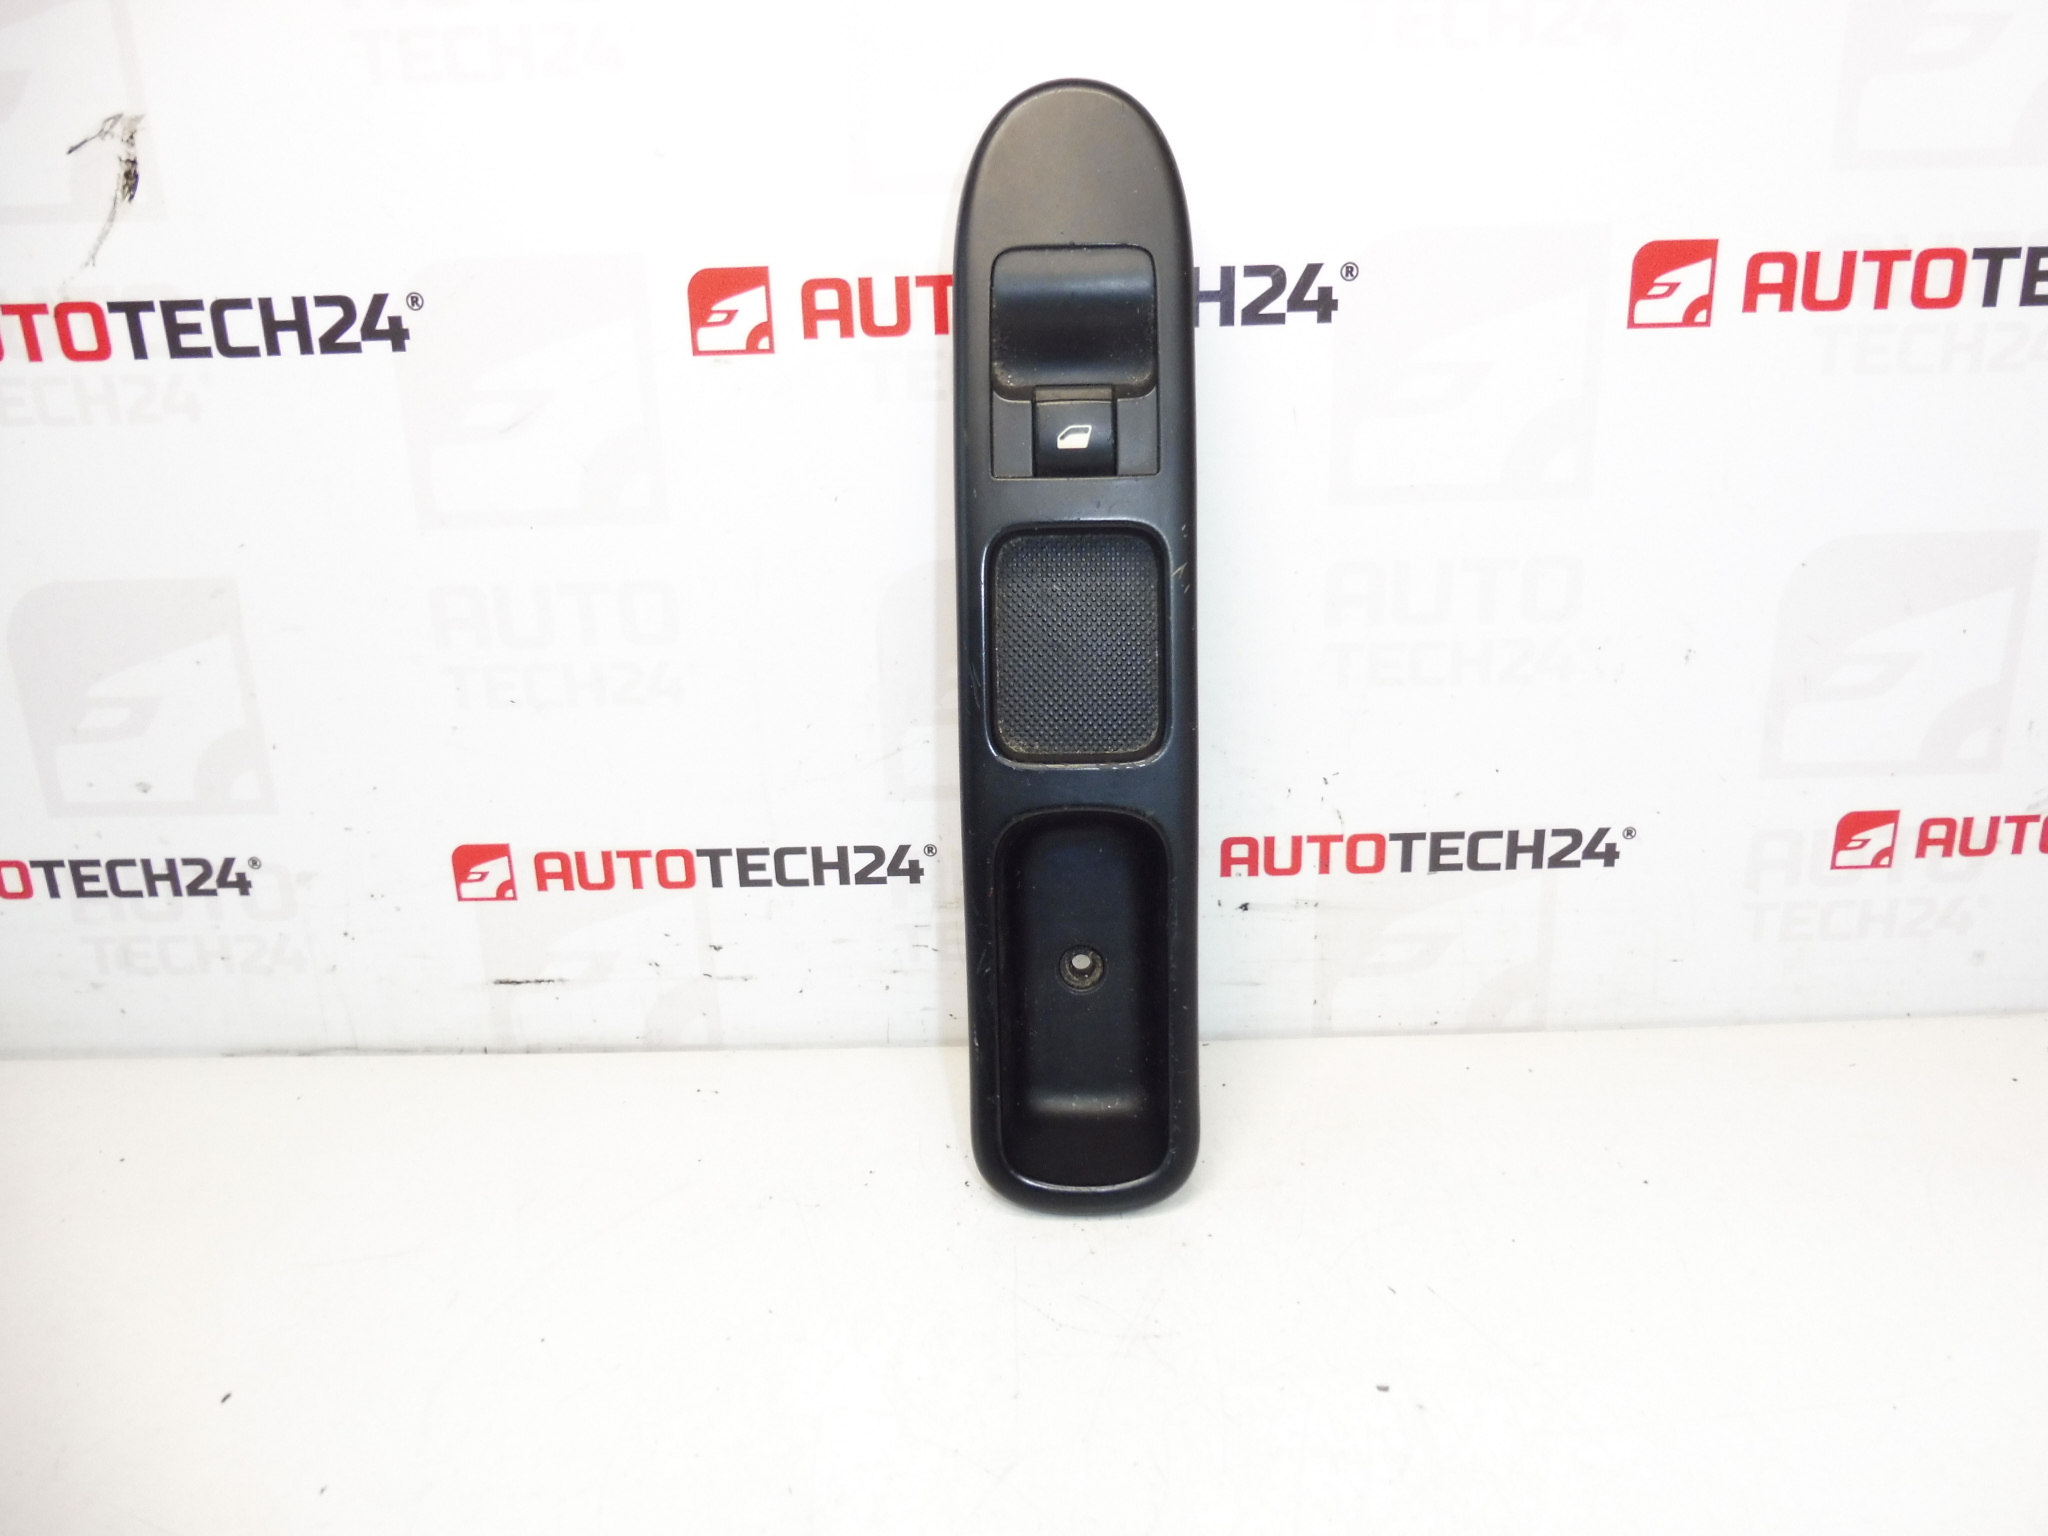
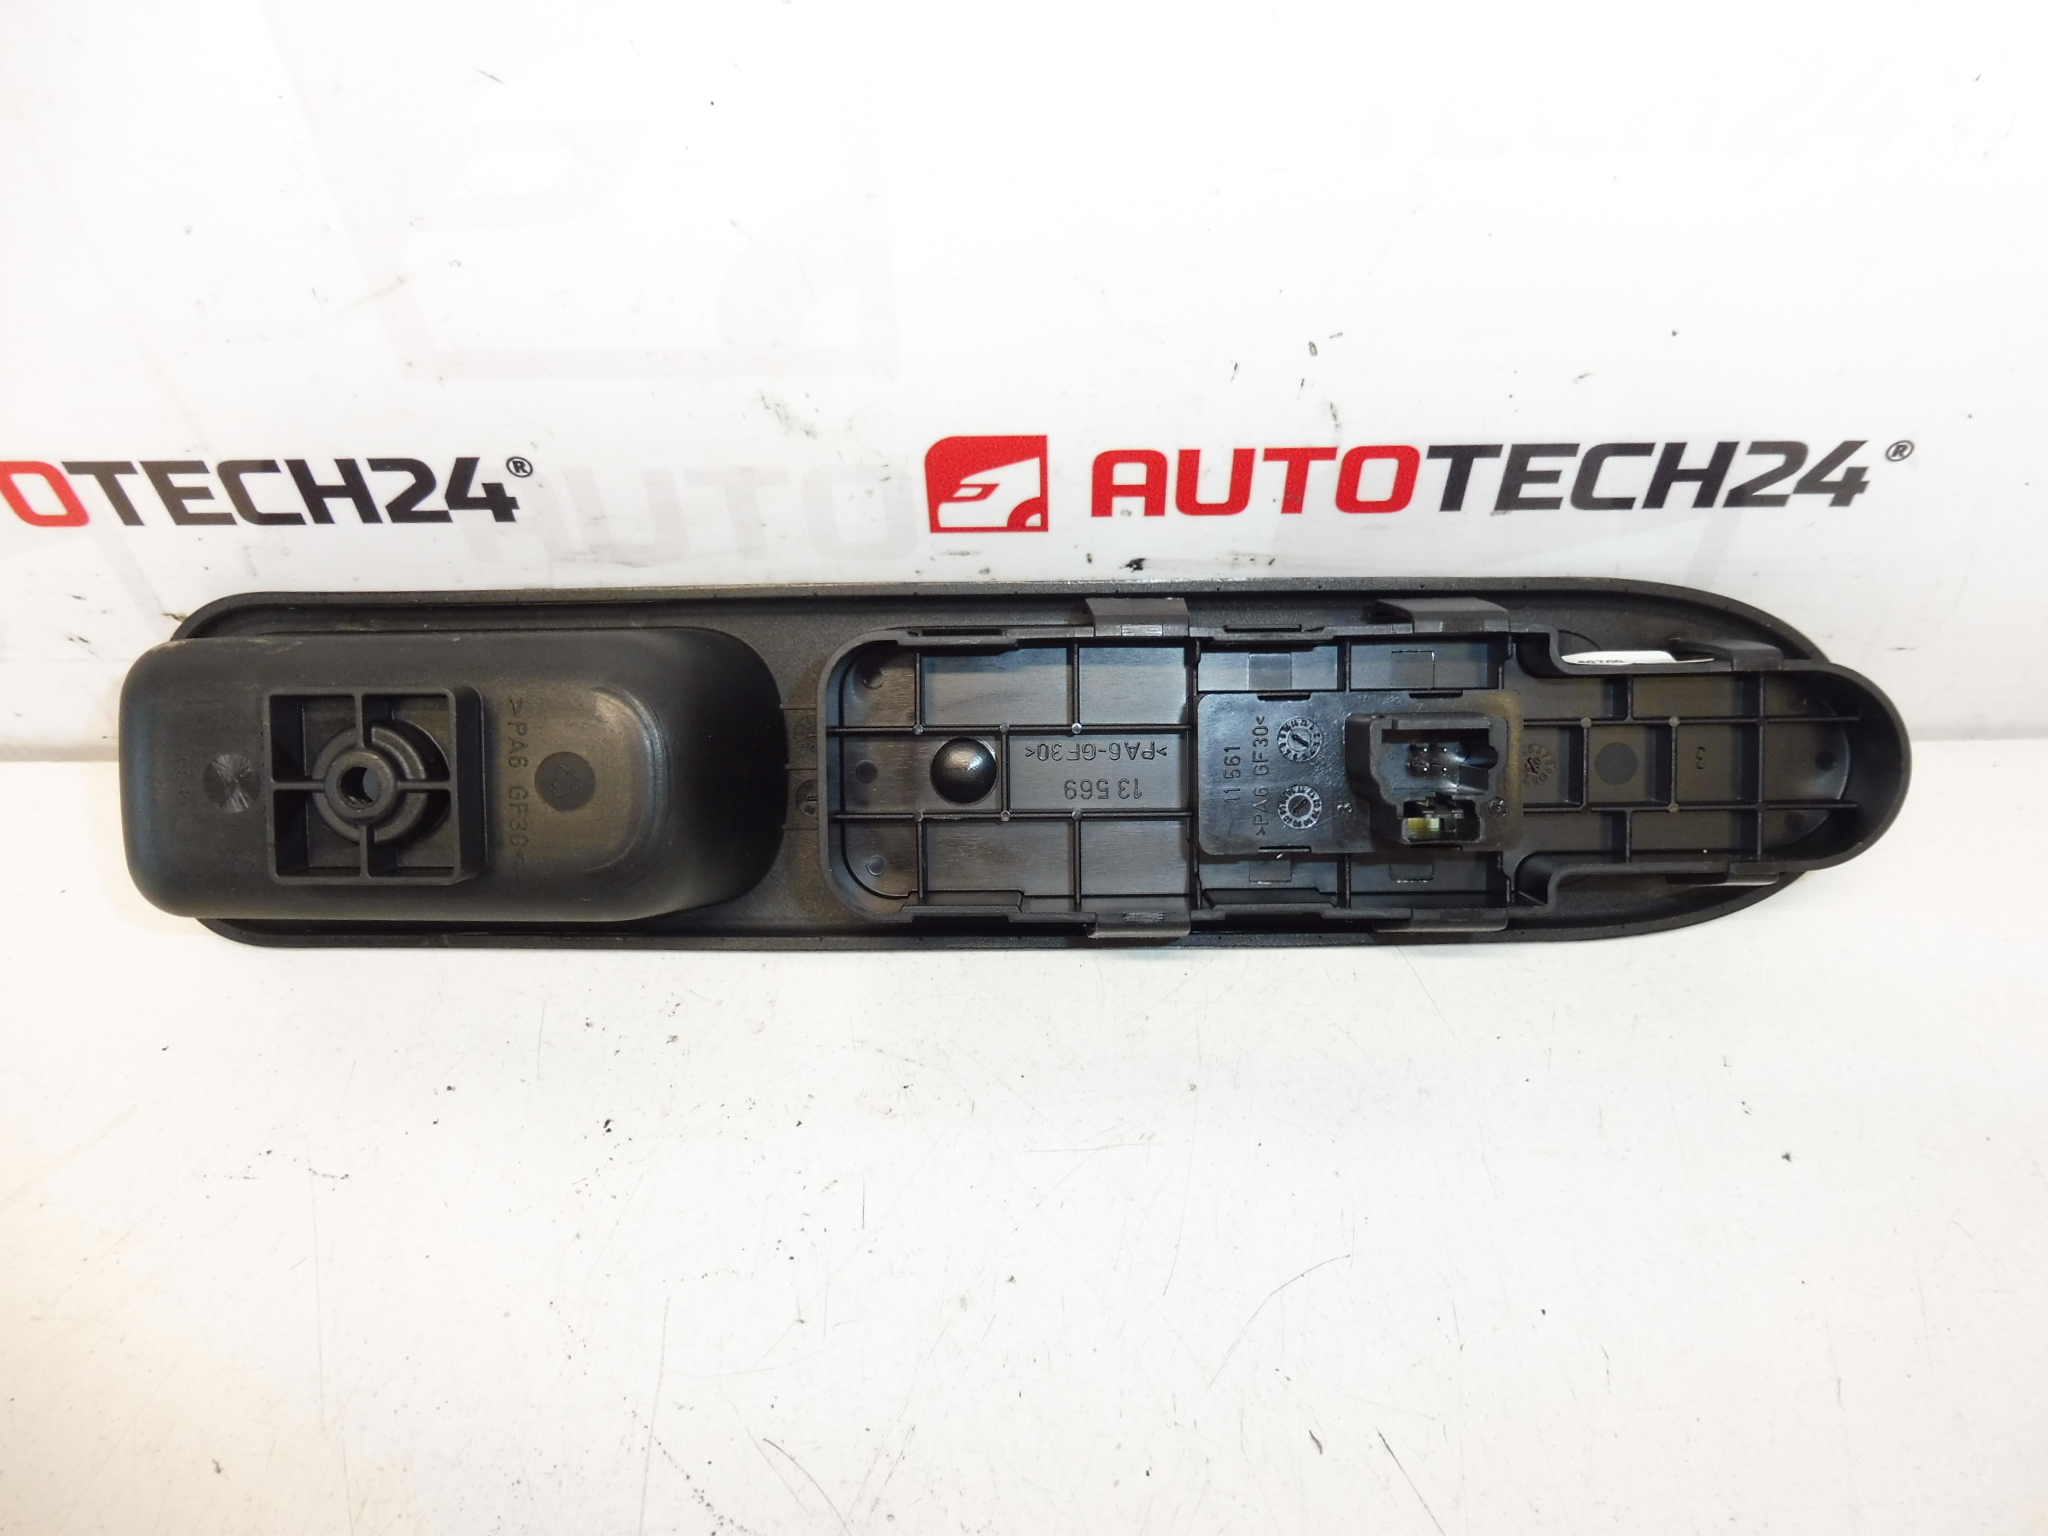
Window Switch Peugeot 307
High-quality replacement power window switch for Peugeot 307 designed for professional workshops and DIY mechanics. This unit restores reliable control of the electric windows, delivering smooth operation and precise tactile feedback when switching windows up and down. Ideal when the original switch shows intermittent operation, sticky buttons, or complete failure on one or more window positions. Commonly referenced by part numbers listed below, this switch is suitable for vehicles from the Peugeot 307 range and meets the expectations of everyday use in passenger cars.
Technical Information
- Manufacturer: Stellantis / Peugeot / Citroën
- Model: Peugeot 307
- Product Codes: 96351625XT, 6554E7
- Other Numbers: 65540000000, 6351625XT
Fitment
Designed for Peugeot 307 vehicles. Typically installed as the driver-side (main) or individual door power window control depending on the variant. Frequently sought under the product codes shown above — always use the part numbers to confirm correct application for your vehicle.
Function
The power window switch controls the electric motors that raise and lower the vehicle windows. On driver-side master switches it can also incorporate child lock and multi-window control. The switch converts the mechanical input from the user into an electrical signal that actuates the window motor via the vehicle wiring and control modules.
Typical Failure Modes
- Contact Wear: Repeated use causes internal contacts to oxidize or wear, leading to intermittent operation or complete failure.
- Moisture Ingress: Water or humidity penetrating the door can corrode contacts and connectors.
- Mechanical Damage: Broken actuator tabs or worn button mechanisms from heavy use or forceful operation.
- Wiring And Connector Issues: Bent pins, loose terminals, or chafed wiring in the door harness that interrupt the circuit.
Installation Recommendations
- Safety First: Disconnect the negative battery terminal before starting work to avoid short circuits or accidental activation of electrical systems.
- Door Trim Removal: Use plastic trim tools to carefully remove the door card and avoid breaking clips. Keep screws and clips organized for reassembly.
- Switch Removal: Pry out the switch bezel or module, press the retaining clips and disconnect the electrical connector(s).
- Replacement: Fit the new switch, reconnect the connector ensuring secure pin engagement, and test all window functions before refitting the door trim.
- Final Check: Verify operation of each window, child lock (if applicable) and central locking interactions. Reassemble door trim and secure all fasteners.
Why Replace
Replacing a faulty switch restores reliable window control, improves comfort and safety (e.g., quick closure in bad weather), and prevents further stress on window motors and regulators caused by repeated faulty switching. If switches are sticky or intermittent, timely replacement avoids more costly repairs to motors or regulators.
Notes For Professionals And Enthusiasts
This part is aimed at mechanics and competent DIYers familiar with door trim removal and basic electrical checks. If faults persist after switch replacement, inspect the window regulator, motor and door harness for damage or corrosion.