Description
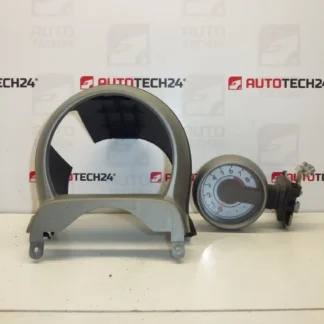
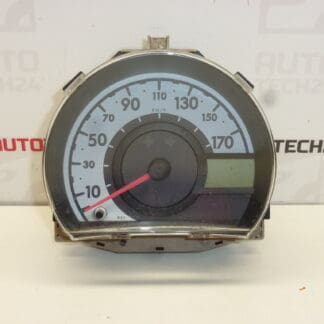
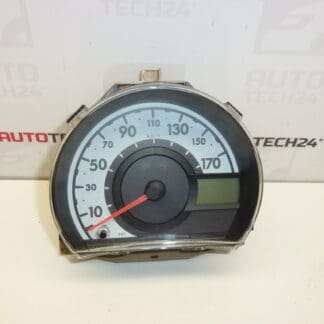
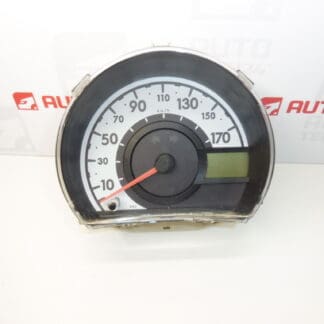
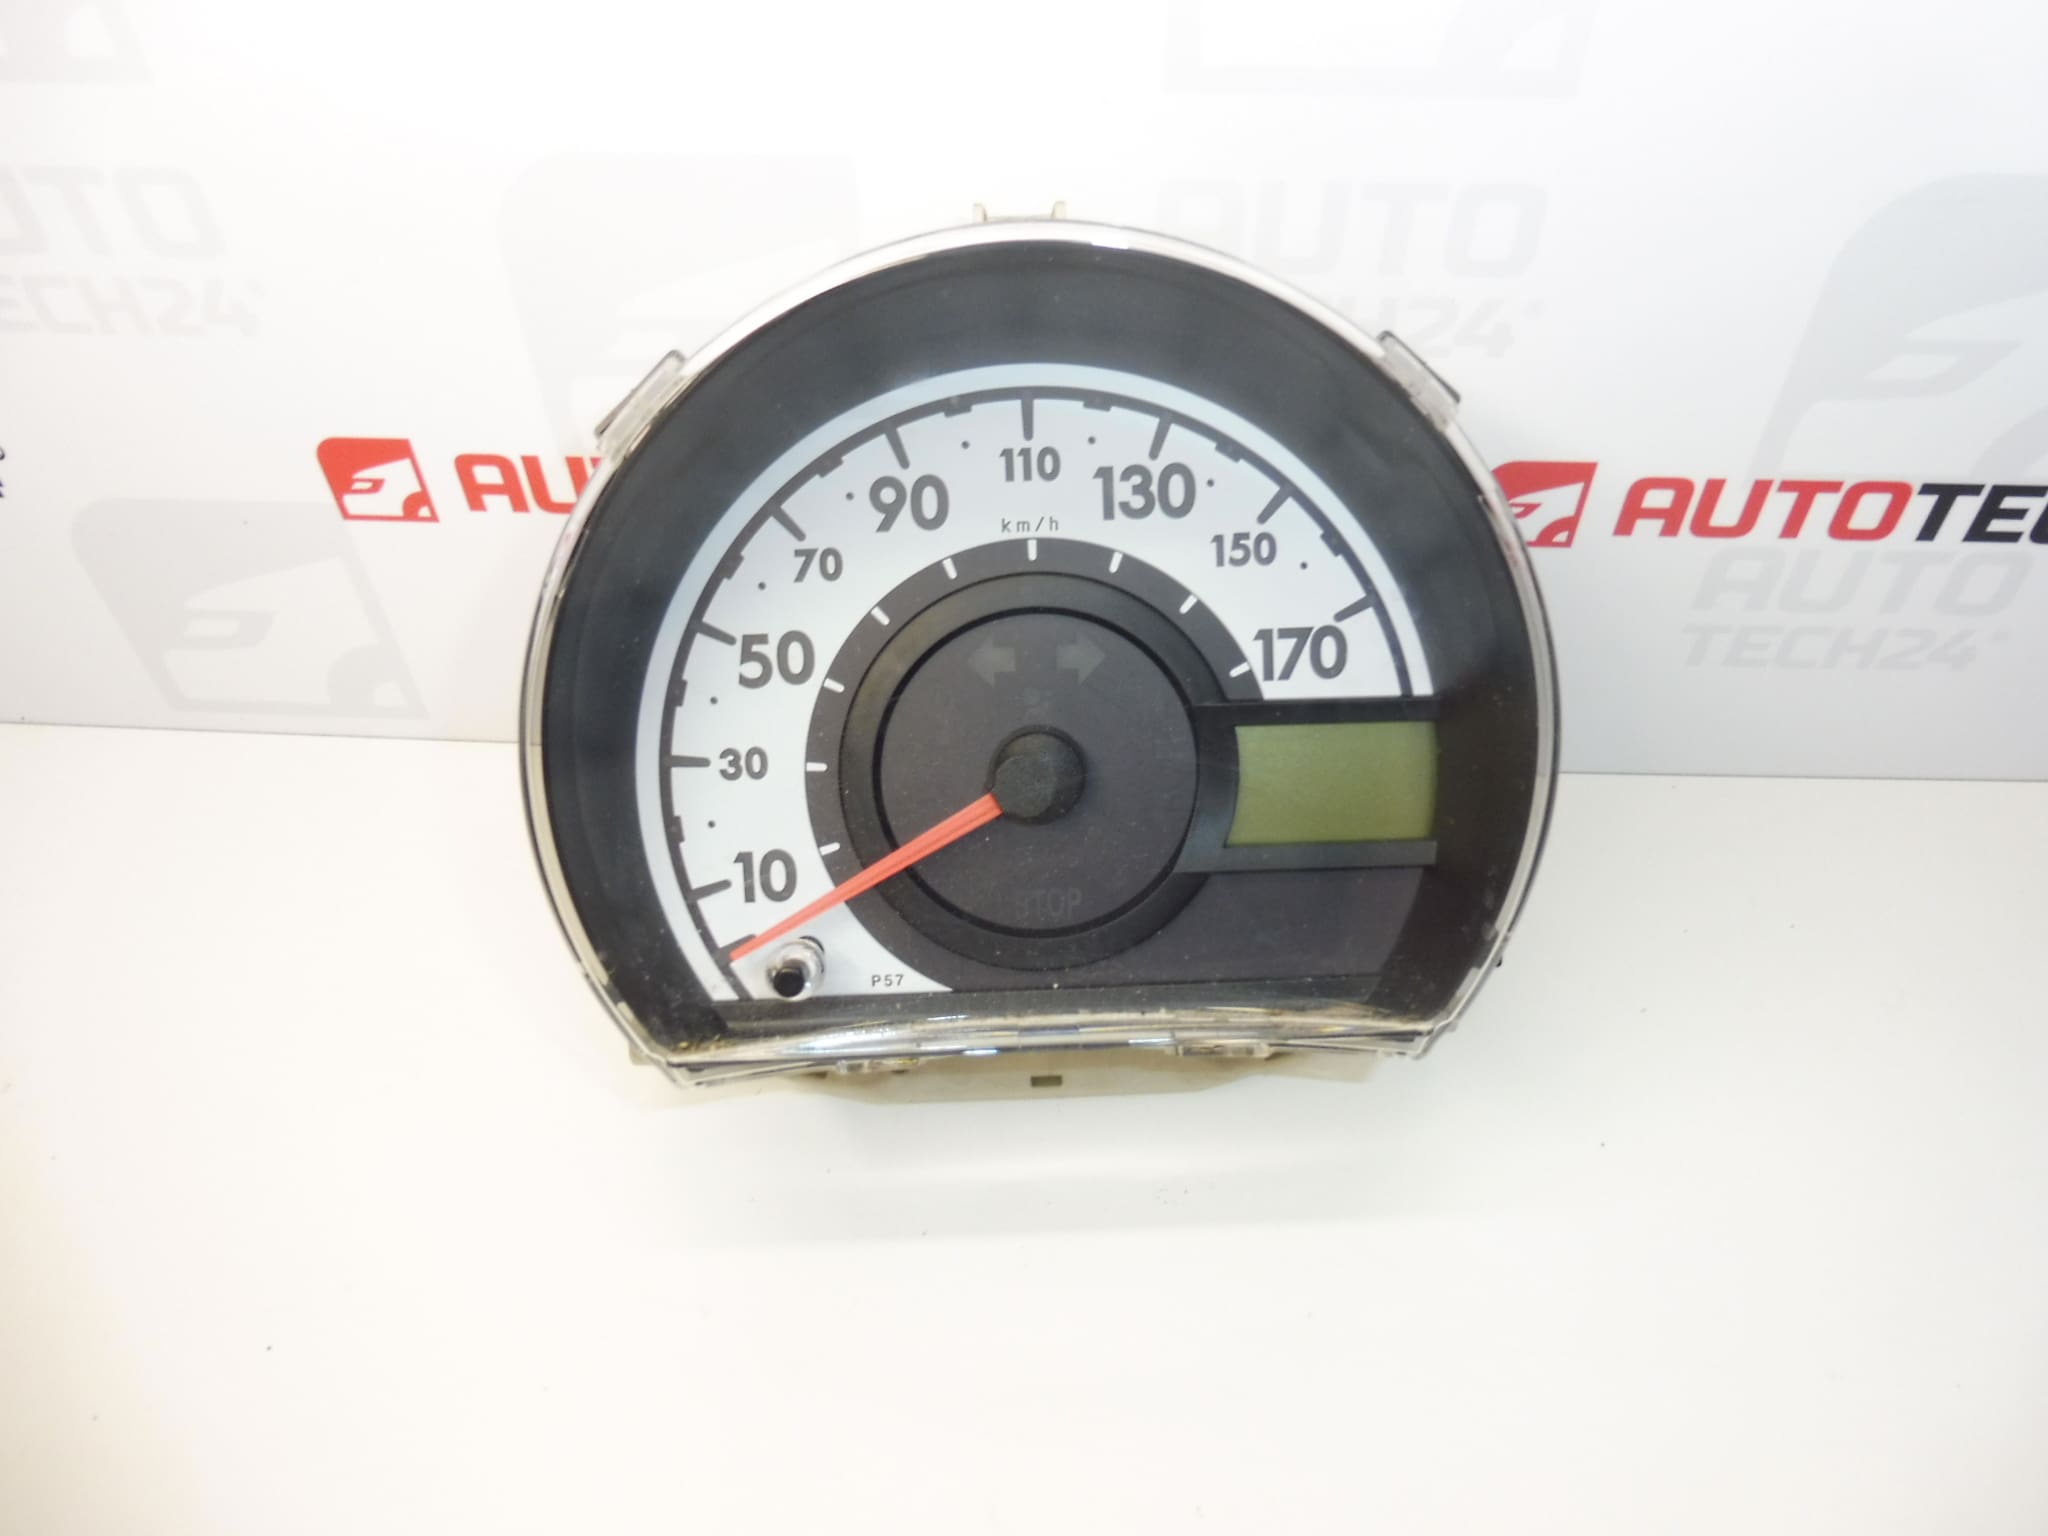
Tachometer for first-series Citroën C1 and Peugeot 107 vehicles
With automated manual transmission
From a vehicle with 63,387 km on the odometer
Part description
This used tachometer for first-series Citroën C1 and Peugeot 107 vehicles with automated manual transmission is a suitable choice when replacing a damaged or non-functional instrument cluster of the corresponding type. It retains the original appearance of the instruments and displays vehicle speed, distance traveled, and operating information.
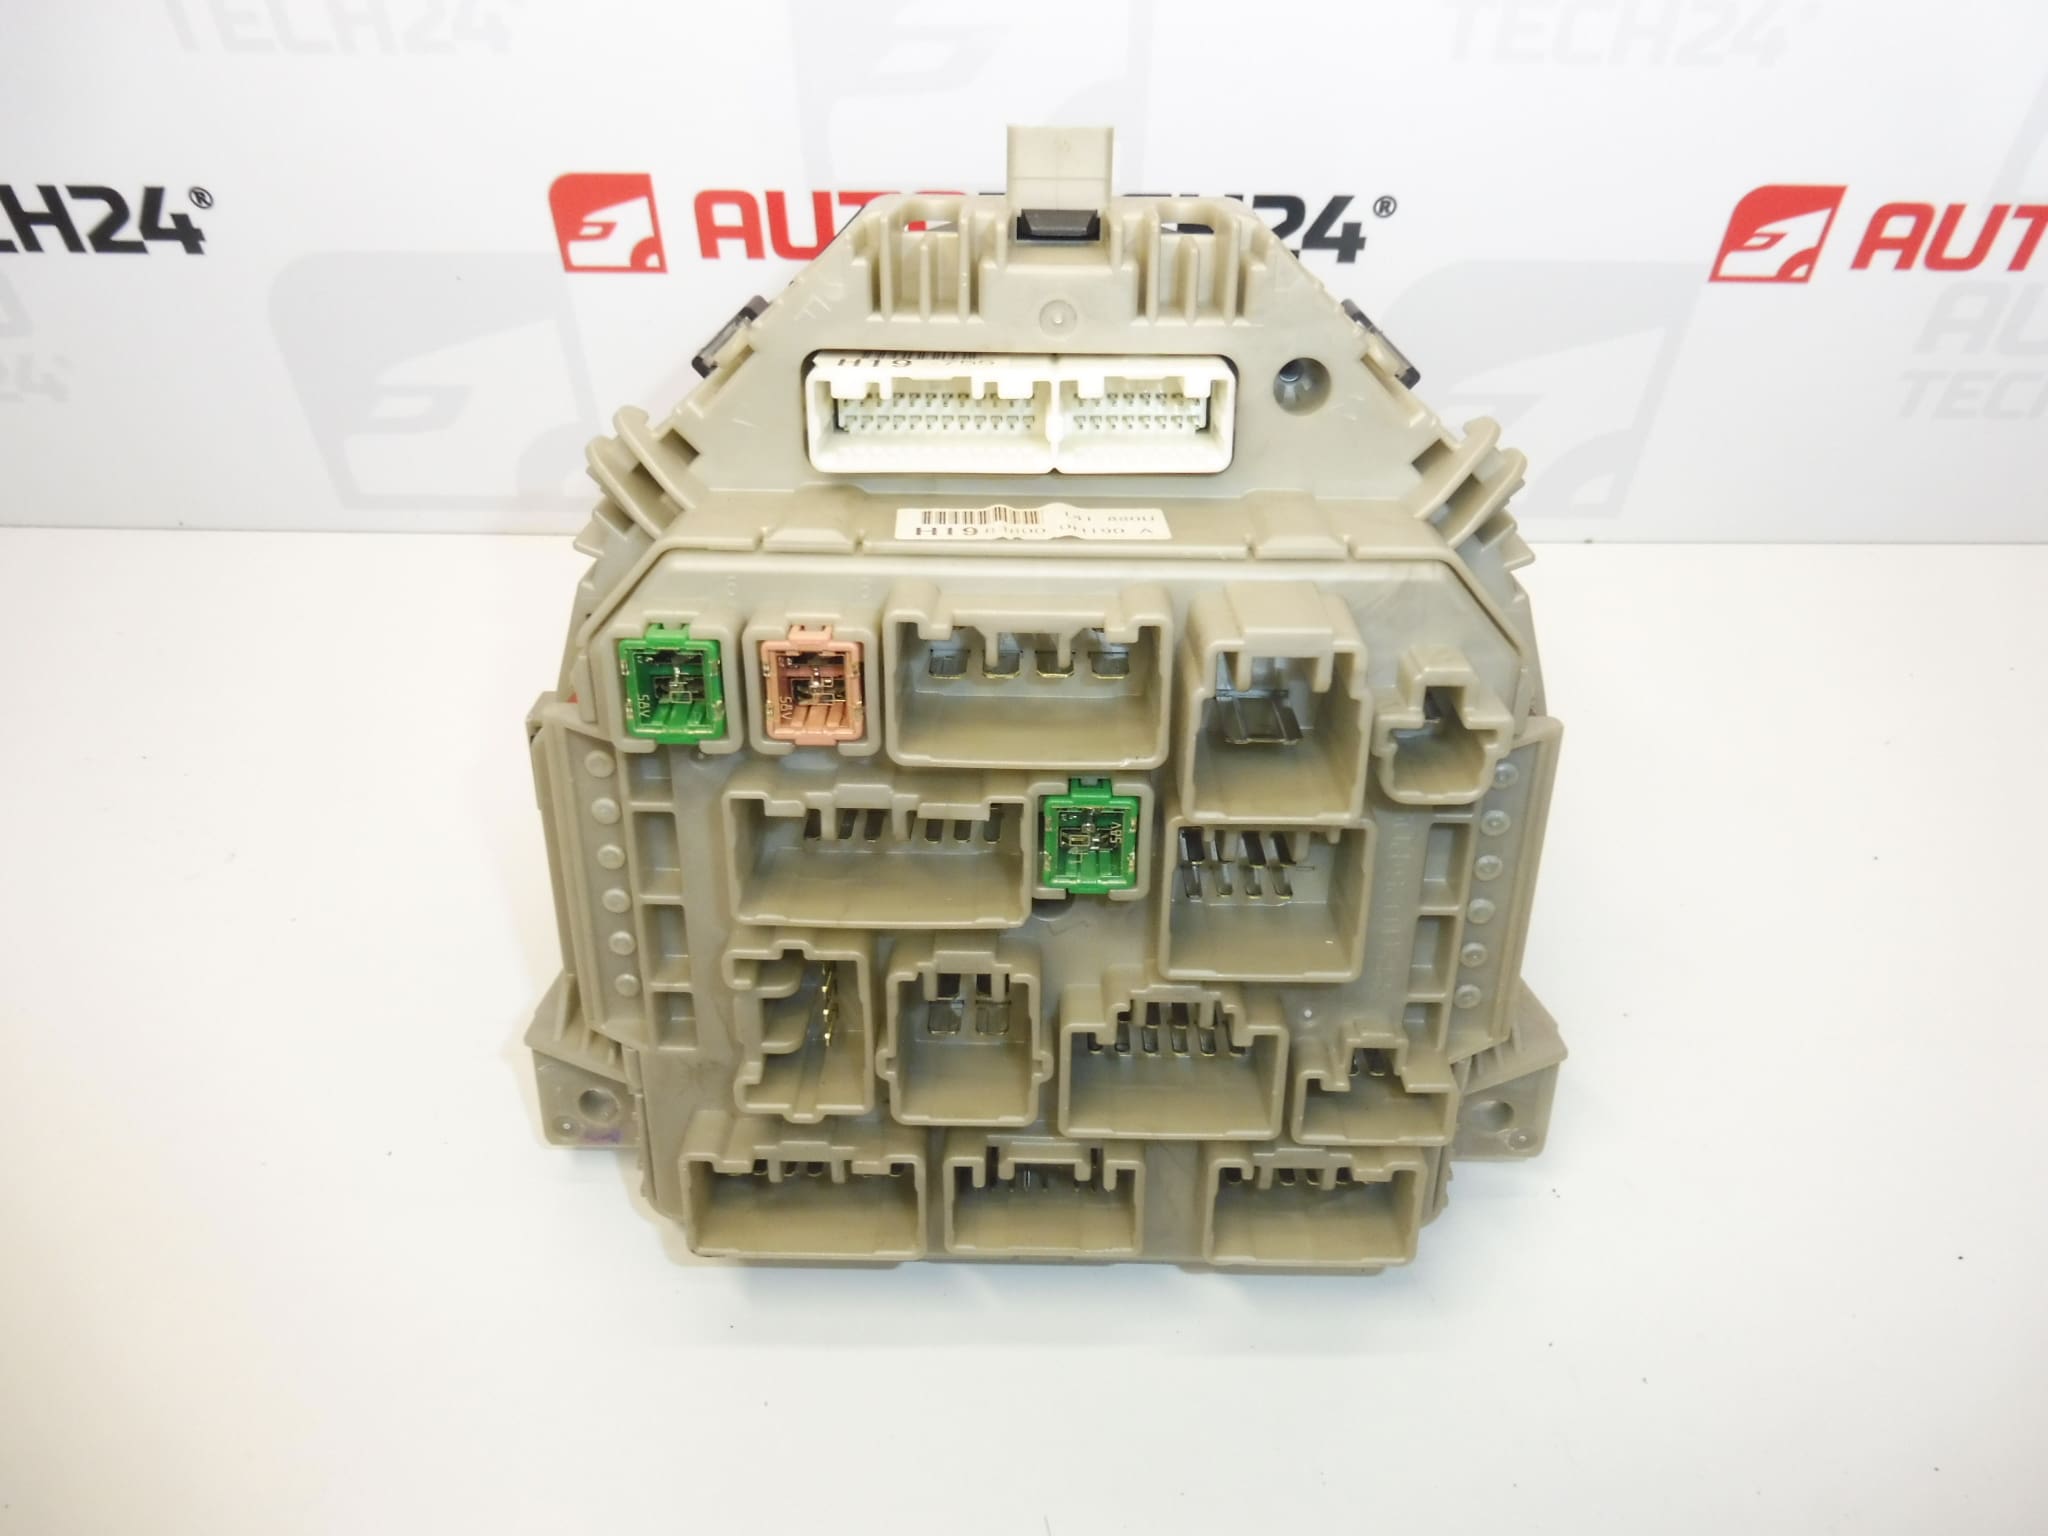
The part comes from a vehicle with the stated mileage of 63,387 km. This figure indicates the mileage of the donor vehicle, not a guaranteed reading that will be displayed after installation in another vehicle. When selecting a part, compare in particular the markings 83800-0H190 / 83800-0H190-A, the connectors, and the version for automated manual transmission with the existing part.
Technical information
- Manufacturer: not specified; the source materials state Stellantis CITROEN PEUGEOT.
- Model: Citroën C1, Peugeot 107 – first series.
- Part type: tachometer / instrument cluster.
- Transmission type: automated manual.
- Donor vehicle mileage: 63,387 km.
- Condition: used part.
- Additional numbers: B000698480; supplementary marking NFP.
Product codes
- Product codes: 83800-0H190, 83800-0H190-A, B000698480.
- Models: Citroën C1, Peugeot 107.
- Additional marking from the source materials: NFP.
Check compatibility using the complete marking, including the final letter, instrument version, and connections. Similarity in appearance alone is not a sufficient basis for selecting a replacement tachometer.
Installation recommendations
The following procedure is general guidance for replacing a tachometer / instrument cluster. The exact removal method, power disconnection procedure, and any required settings depend on the specific vehicle model and version. Follow the manufacturer’s service documentation.
1) Before installation
- Compare the product numbers, connectors and their keying, mounting points, scale, and version for automated manual transmission.
- Inspect the housing, lens, mounts, and contacts. Look for cracks, signs of moisture, corrosion, or deformed pins.
- First check the power supply, fuses, ground connections, and wiring of the original cluster. Replacing the tachometer alone will not resolve a fault elsewhere.
- Record the original odometer reading and check the service requirements for replacement and any required settings. The way mileage is stored and displayed may vary by version.
2) Tools and materials required
- Standard hand tools, depending on the fasteners used.
- Plastic tools for releasing interior trim panels.
- A soft surface, clean cloth, and suitable lighting.
- If needed, a multimeter and diagnostic equipment suitable for the vehicle.
3) Step-by-step installation procedure
- Park the vehicle safely, secure it against movement, and record the odometer reading and symptoms of the original fault.
- Consult the service documentation to determine requirements for replacing the cluster, handling the mileage reading, and any required settings.
- Switch off the ignition, remove the key, and before disconnecting the battery, follow the manufacturer’s prescribed procedure for allowing the electronics to enter standby mode.
- Disconnect the battery according to the manufacturer’s instructions. Do not disconnect the cluster’s electrical connectors while they are live.
- Carefully remove any trim panels that obstruct access. Use plastic tools and do not force hidden clips.
- Release the original tachometer’s fasteners and support the cluster so that it does not hang from the wiring.
- Unlock and disconnect the connectors by holding their bodies, not by pulling on the wires.
- Compare the two parts once more and check the condition of the vehicle connectors. Repair any damaged contacts or wiring before connecting the replacement cluster.
- Connect the used tachometer, secure the connectors, and position the wiring so that it is not stretched or pinched.
- Seat and secure the cluster without putting it under strain. Refit the trim panels, ensuring that all clips are properly engaged.
- Reconnect the battery using the prescribed procedure and check that the unit works. If the service documentation requires settings or diagnostic work, complete it before driving.
4) Post-installation checks and function verification
- After switching on the ignition, check the display readability, warning lights, and backlighting, as applicable to the vehicle’s equipment.
- Check the display of information related to the automated manual transmission, if shown by this version of the cluster.
- Check the odometer reading and document the replacement. Address any discrepancy using the proper service procedure, not by arbitrarily altering the mileage.
- Only take a short test drive after the basic checks have been completed successfully. Monitor the speedometer, display stability, and any interruptions.
- If the speedometer does not work or warning indicators are unclear, do not continue driving; investigate the cause.
5) Common installation mistakes and how to avoid them
- Selecting based on appearance alone: compare the complete marking, connectors, and version for the relevant transmission.
- Disconnecting while live: follow the procedure for shutting down the electronics and disconnecting the battery.
- Damaging clips and contacts: first locate the connector or trim-panel catch; do not use excessive force.
- Pinched wiring or an unsecured connector: check the wire routing and connector locks before closing the trim panels.
- Overlooking a power supply fault: check the electrical supply and ground connection before replacement.
- Overlooking mileage setting and record-keeping requirements: find out what is required before installation and keep a record of the replacement.
Reasons why the part may become damaged
Faults in tachometers and instrument clusters in general can arise for the following reasons. This is not a claim that this particular unit has any faults.
- Aging electronics and connections due to temperature changes and vibration, which may cause intermittent failures.
- Moisture and corrosion that damage contacts and internal electronics.
- Unstable power supply or electrical surges, for example due to an electrical system fault or improper handling of the power supply.
- Mechanical damage caused by careless removal, dropping, or excessive strain on the mounts.
- Wear of display and lighting components, which reduces the readability of operating information.
- Improper work on the electronics or unsuitable cleaning that allows liquid to enter the cluster.