Description
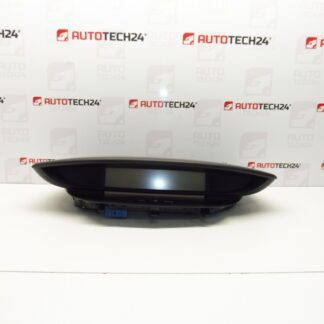
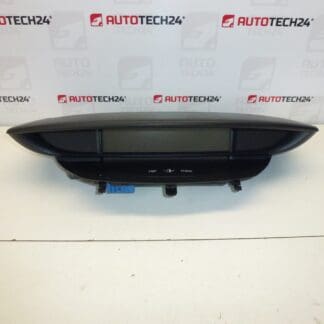
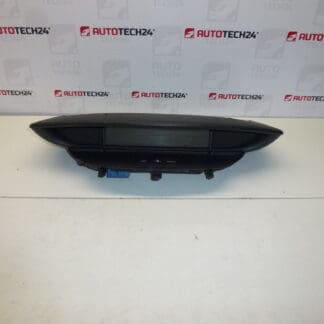
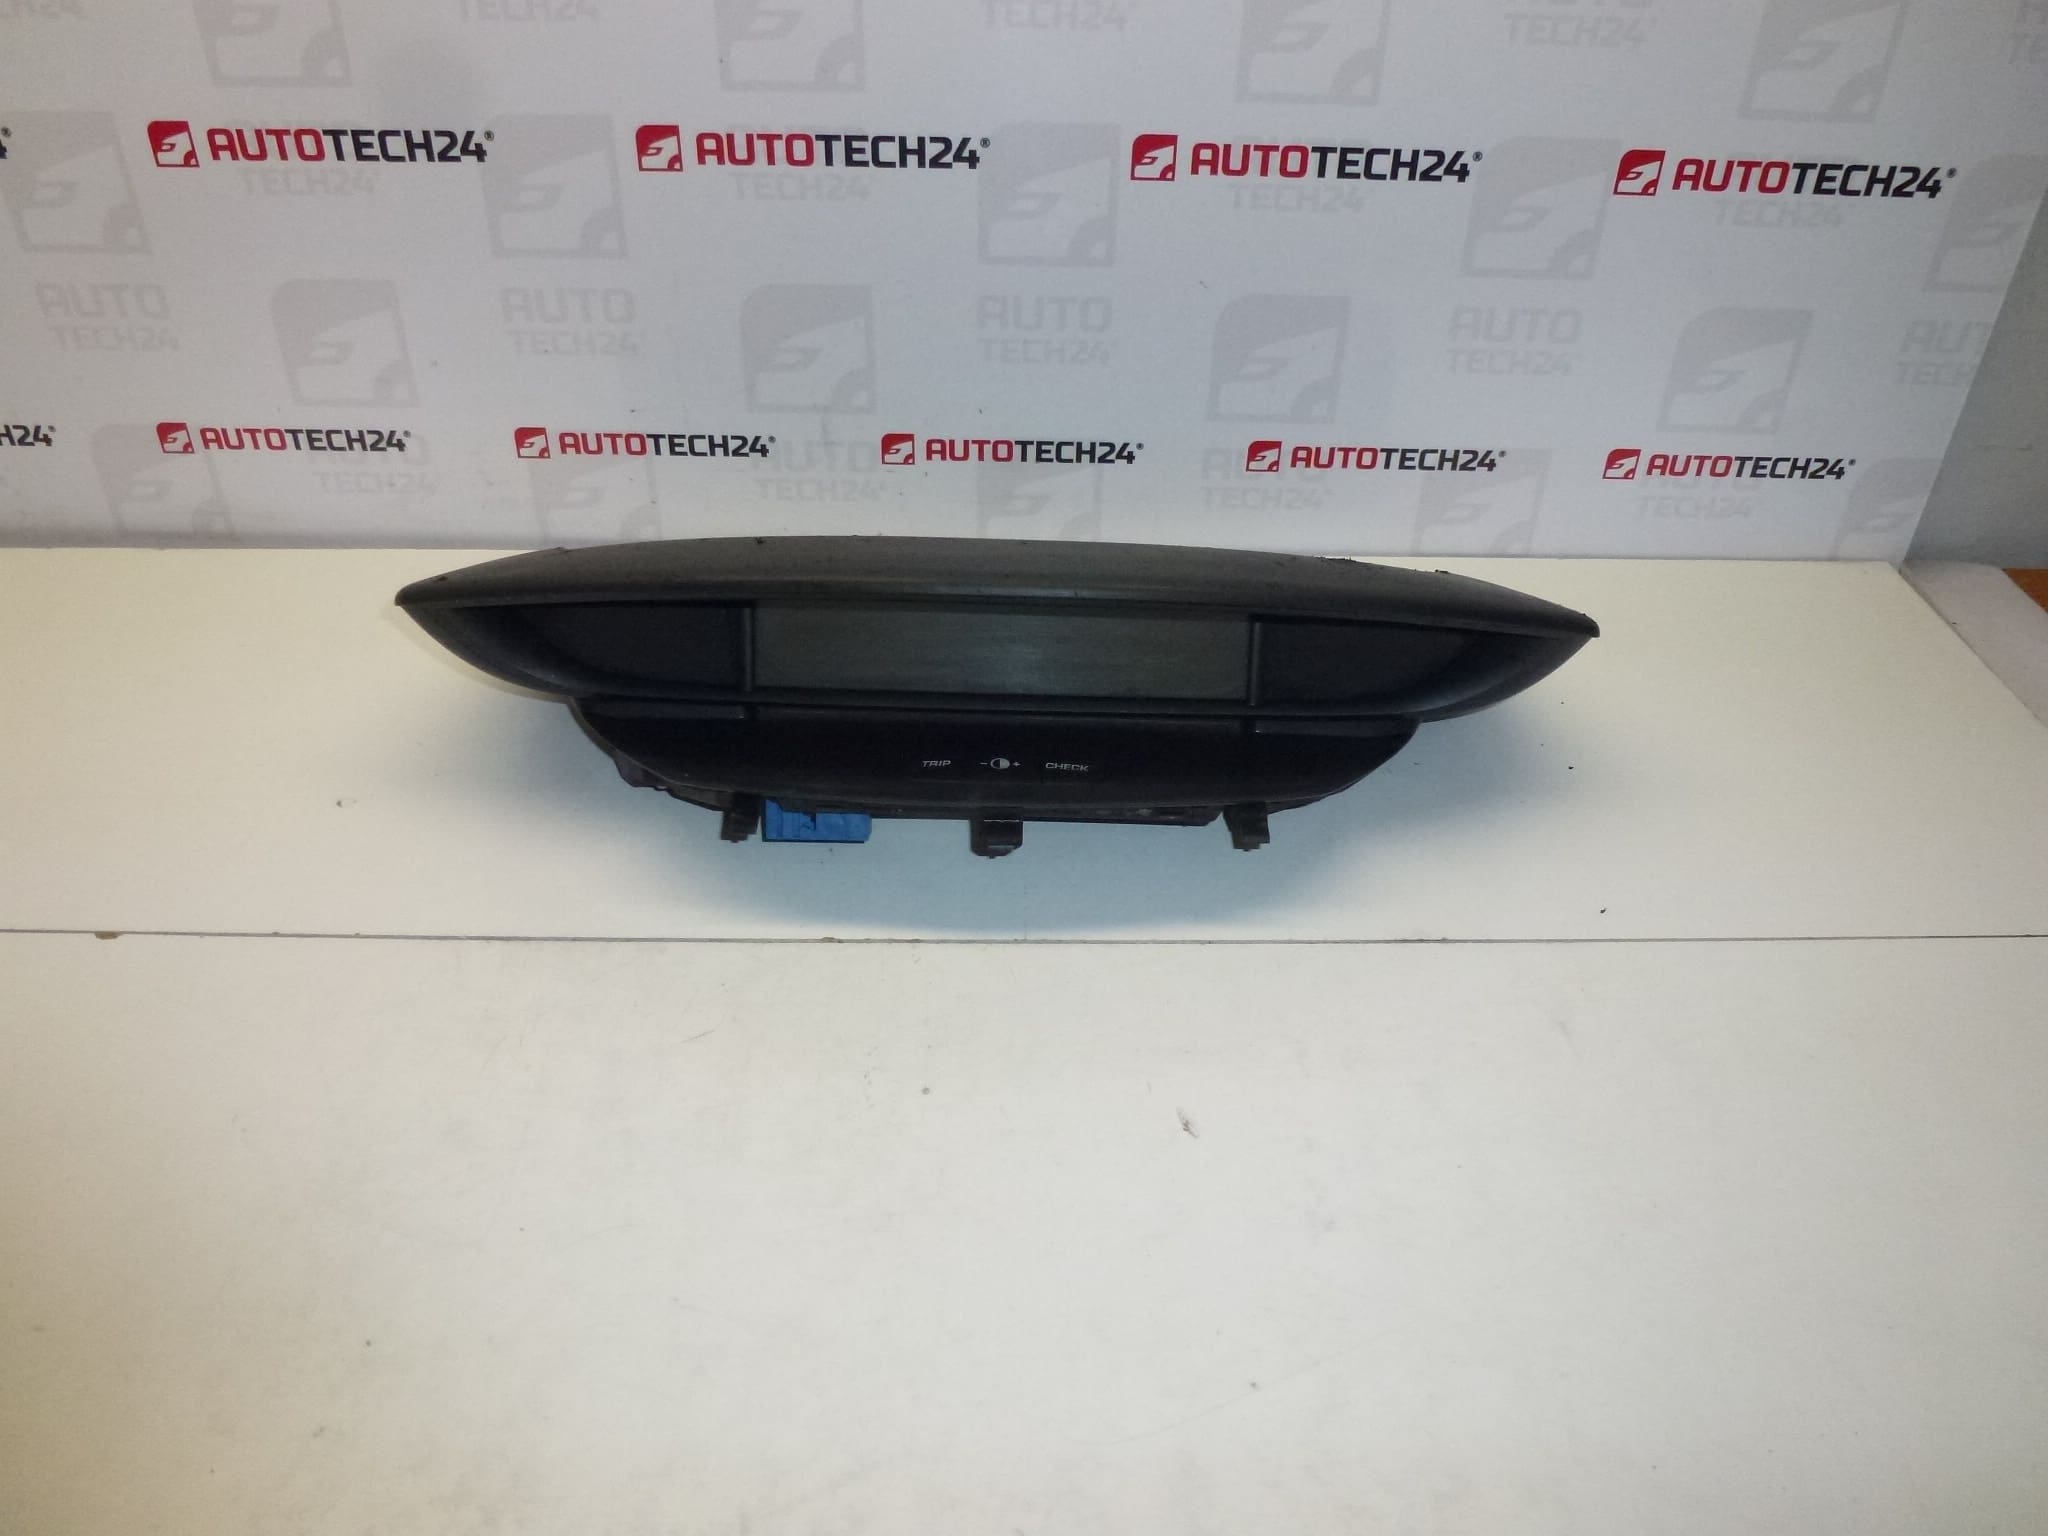
Tachometer / Instrument Cluster for Citroën C4 up to 2008.
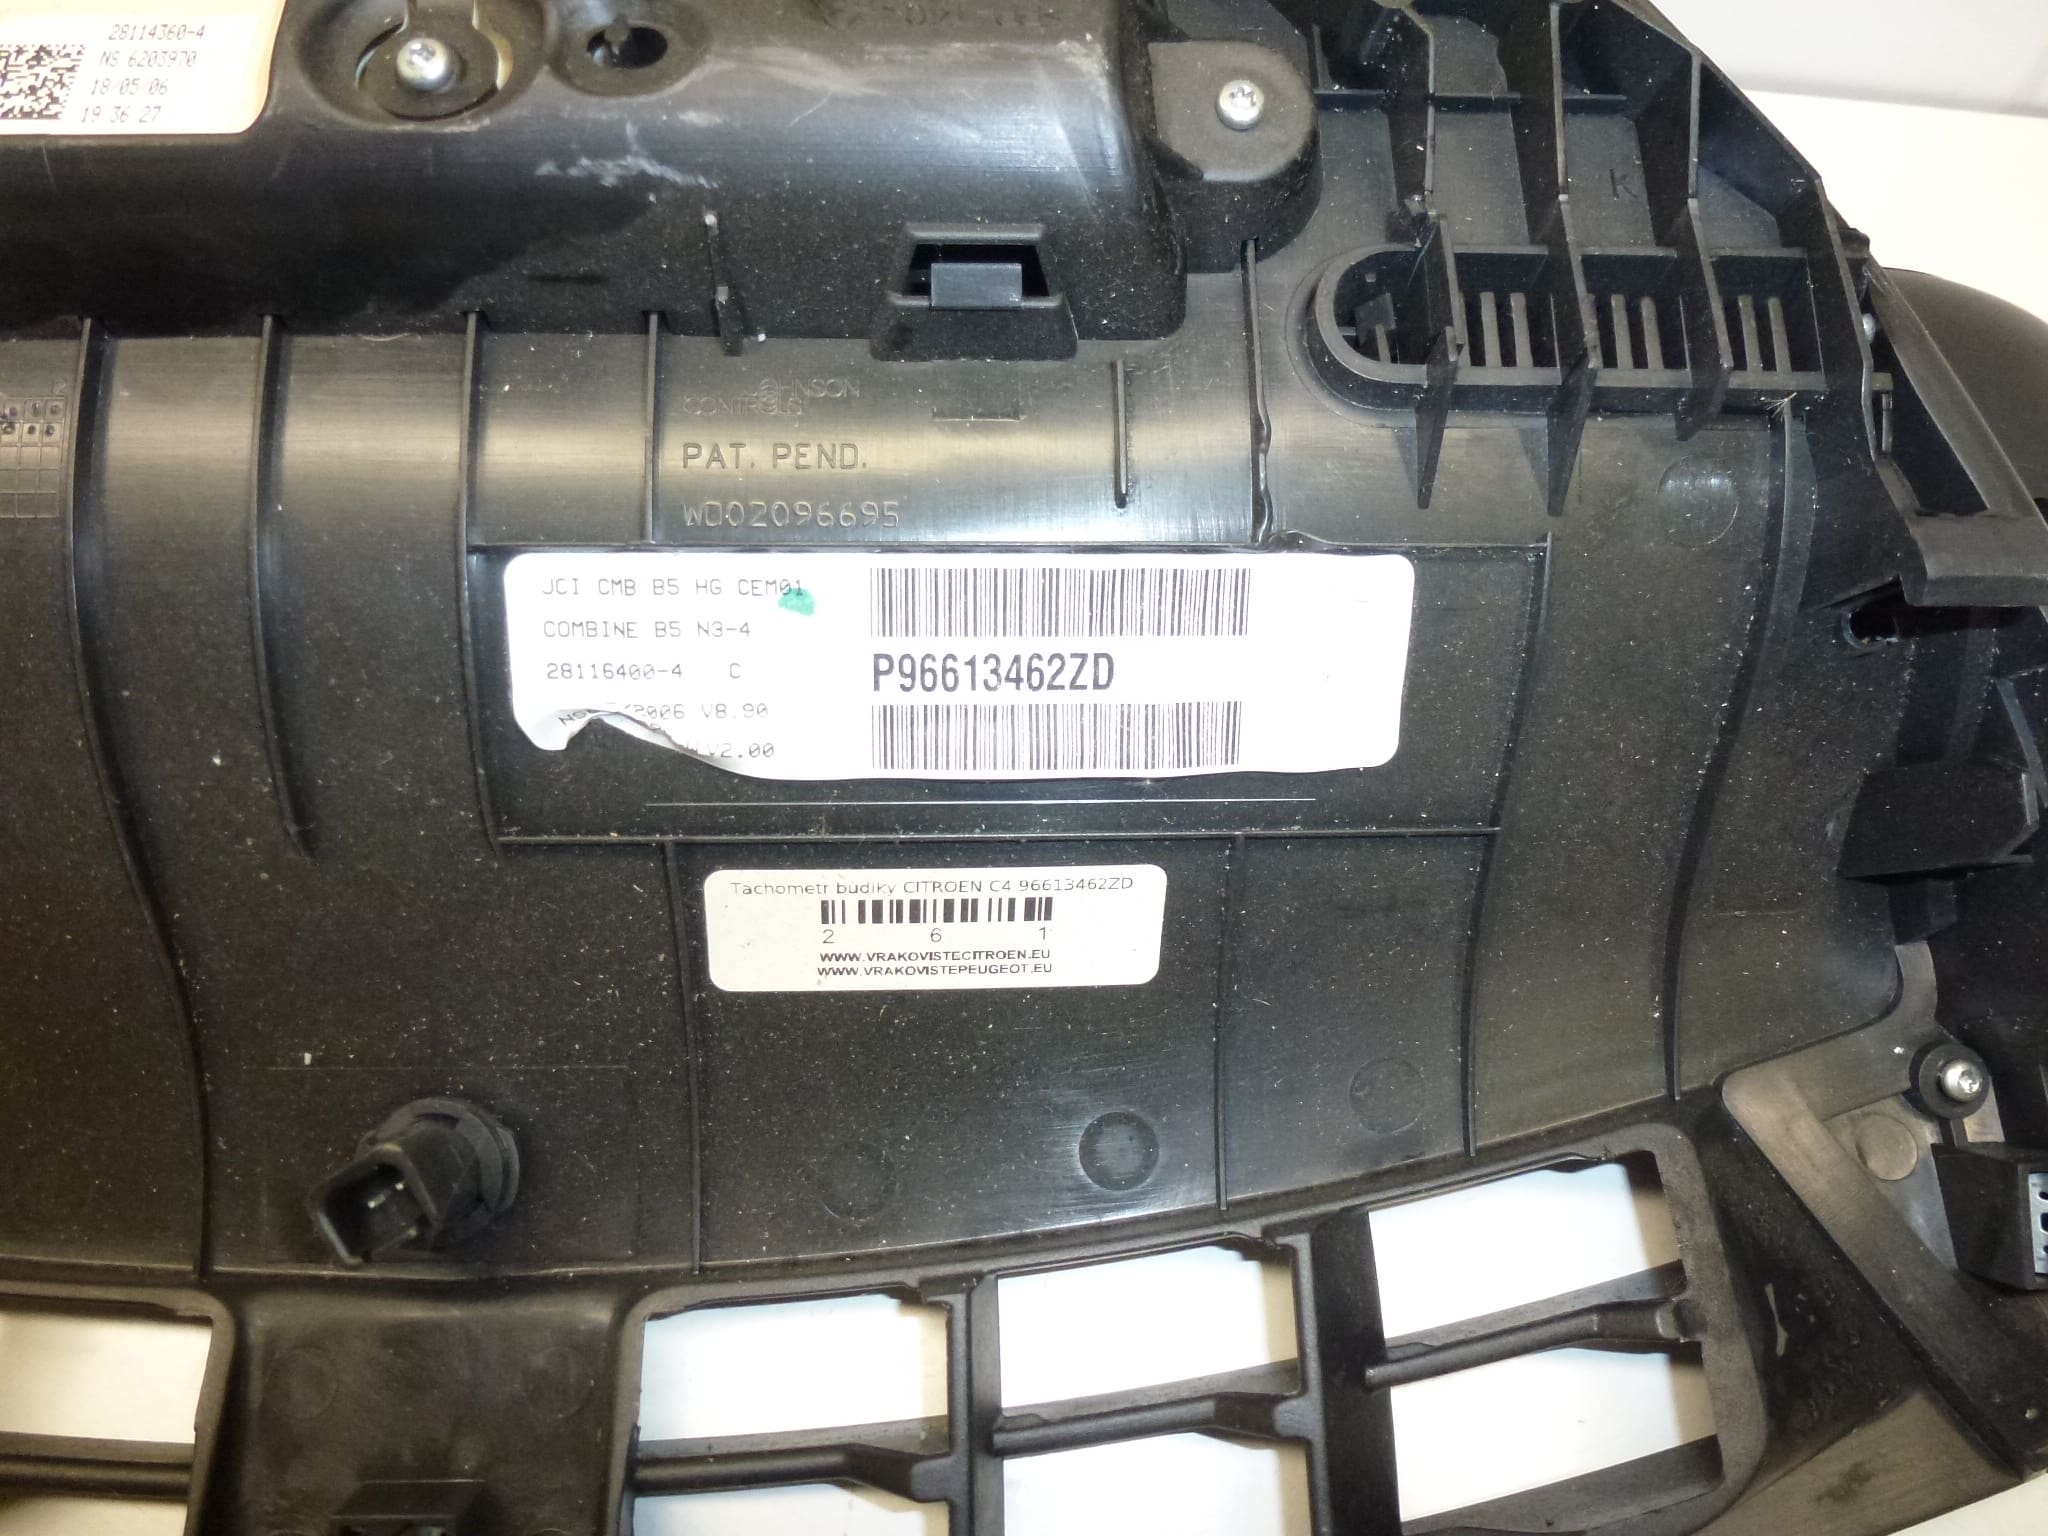
This used instrument cluster is a direct-fit replacement frequently sought by mechanics and DIY enthusiasts under part numbers such as 96613462ZD, P96613462ZD, P96631954ZD, 6106VZ, 6106WA, 6105Q8 and 6105Q9. Designed for the first-generation Citroën C4, this unit restores clear speed, RPM, fuel level and warning-light indications and helps maintain vehicle safety and diagnostics. Listing all common reference numbers in the product title and description increases findability in search engines and speeds up workshop repairs.
Overview
Instrument clusters are a central cockpit component that provide the driver with speed, engine rpm, fuel and temperature readings as well as status and warning indicators. Replacing a faulty cluster is a common repair in body and electrical workshops — this unit is suitable for professionals and competent DIYers who are comfortable with vehicle interior disassembly and basic electrics.
Technical Information
- Manufacturer: Stellantis (Citroën / Peugeot)
- Model: Citroën C4 First Generation (up to 2008)
- Product Codes: P96631954ZD, P96613462ZD, 96613462ZD, 6106VZ, 6106WA
- Additional Numbers: 6105Q8, 6105Q9
Compatibility And Fitment
Fits Citroën C4 first generation models produced up to 2008. This cluster is commonly used as a replacement when the original instrument panel exhibits faulty gauges, dim or non-functional backlighting, or intermittent warning lights. Always ensure the cluster variant matches the vehicle’s dash layout and connector type before installation.
How To Replace The Instrument Cluster
- Disconnect the negative battery terminal before starting any work to avoid short circuits and protect vehicle electronics.
- Remove surrounding trim panels and steering column covers to access the cluster retaining screws. Keep all fasteners organized for reassembly.
- Unscrew the instrument cluster and carefully pull it forward to expose the electrical connectors.
- Unplug electrical connectors by releasing the securing clips; avoid pulling on wiring. Inspect connectors for corrosion or bent pins.
- Fit the replacement cluster, reconnect connectors, and secure the unit with original screws. Reinstall trim panels and reconnect the battery.
- After installation, verify all gauges, warning lights and illumination operate correctly. Test drive to confirm speedometer and odometer behaviour.
Installation Recommendation
Perform installation in a dry, well-lit workspace. Use trim tools to avoid damaging plastic panels. If the cluster variant requires mileage or immobiliser synchronization or any electronic adaptation, have the adaptation performed with appropriate diagnostic equipment. Always follow manufacturer safety procedures when handling vehicle electronics.
Why This Part Usually Fails
- Age-Related Wear: Stepper motors and mechanical gauge components weaken over many years and high mileage, causing inaccurate or non-moving needles.
- Electrical Issues: Voltage surges, poor grounding or corroded connector pins can cause intermittent faults or complete failure of lights and displays.
- Display/Backlight Degradation: LCD segments, LEDs or backlight components may dim or fail, reducing visibility of information.
- Moisture And Contamination: Water ingress or condensation can corrode circuits and connectors, leading to malfunction.
- Poor Solder Joints: Thermal cycling and vibration can create cracked solder joints on the cluster PCB, a common cause of intermittent failures.
Recommended Tools And Tips
- Basic hand tools: screwdriver set, trim removal tools, socket set.
- Multimeter for checking power, ground and connector continuity before and after installation.
- Protective gloves and eye protection when working near airbags and electrical systems.
- Keep the replaced cluster in a safe, dry place if parts need to be referenced or cloned.