Description
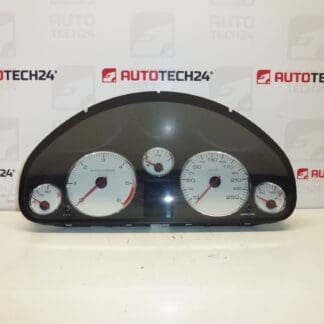
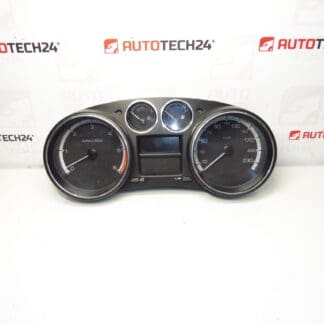
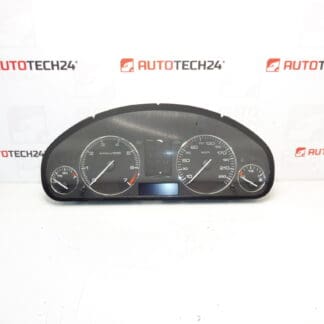
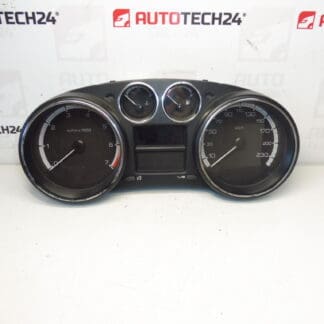
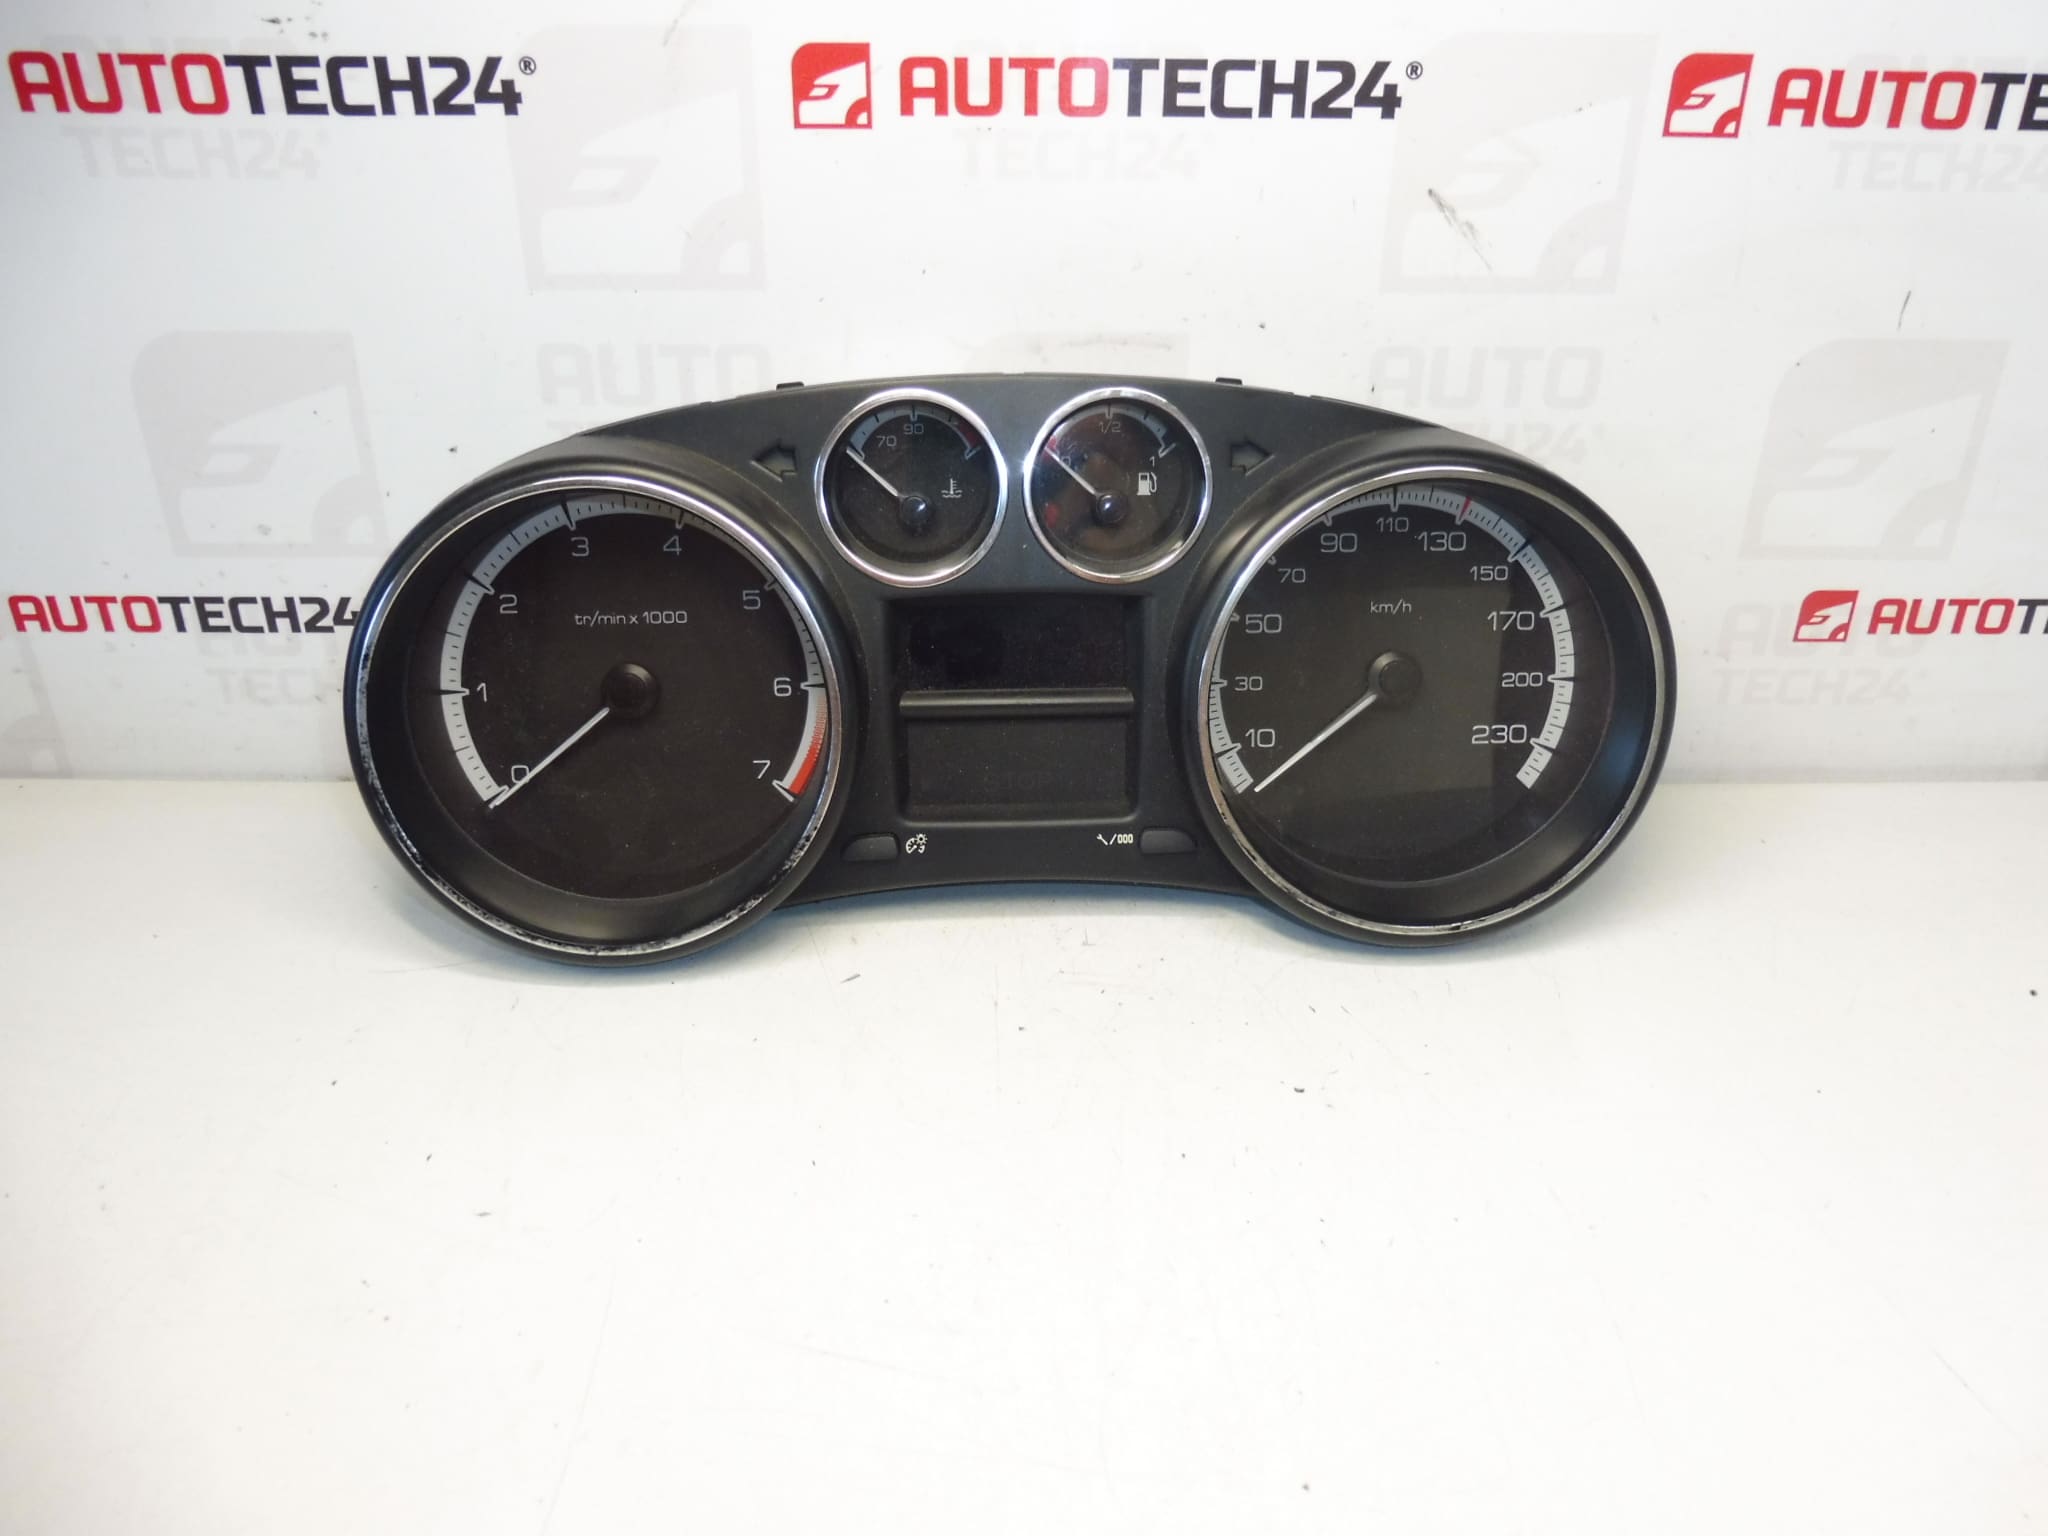
Speedometer, dashboard alarm for PEUGEOT 308 T7 cars with 1.4 VTI and 1.6 VTI engines
Complete instrument cluster
Raid unknown
Part description
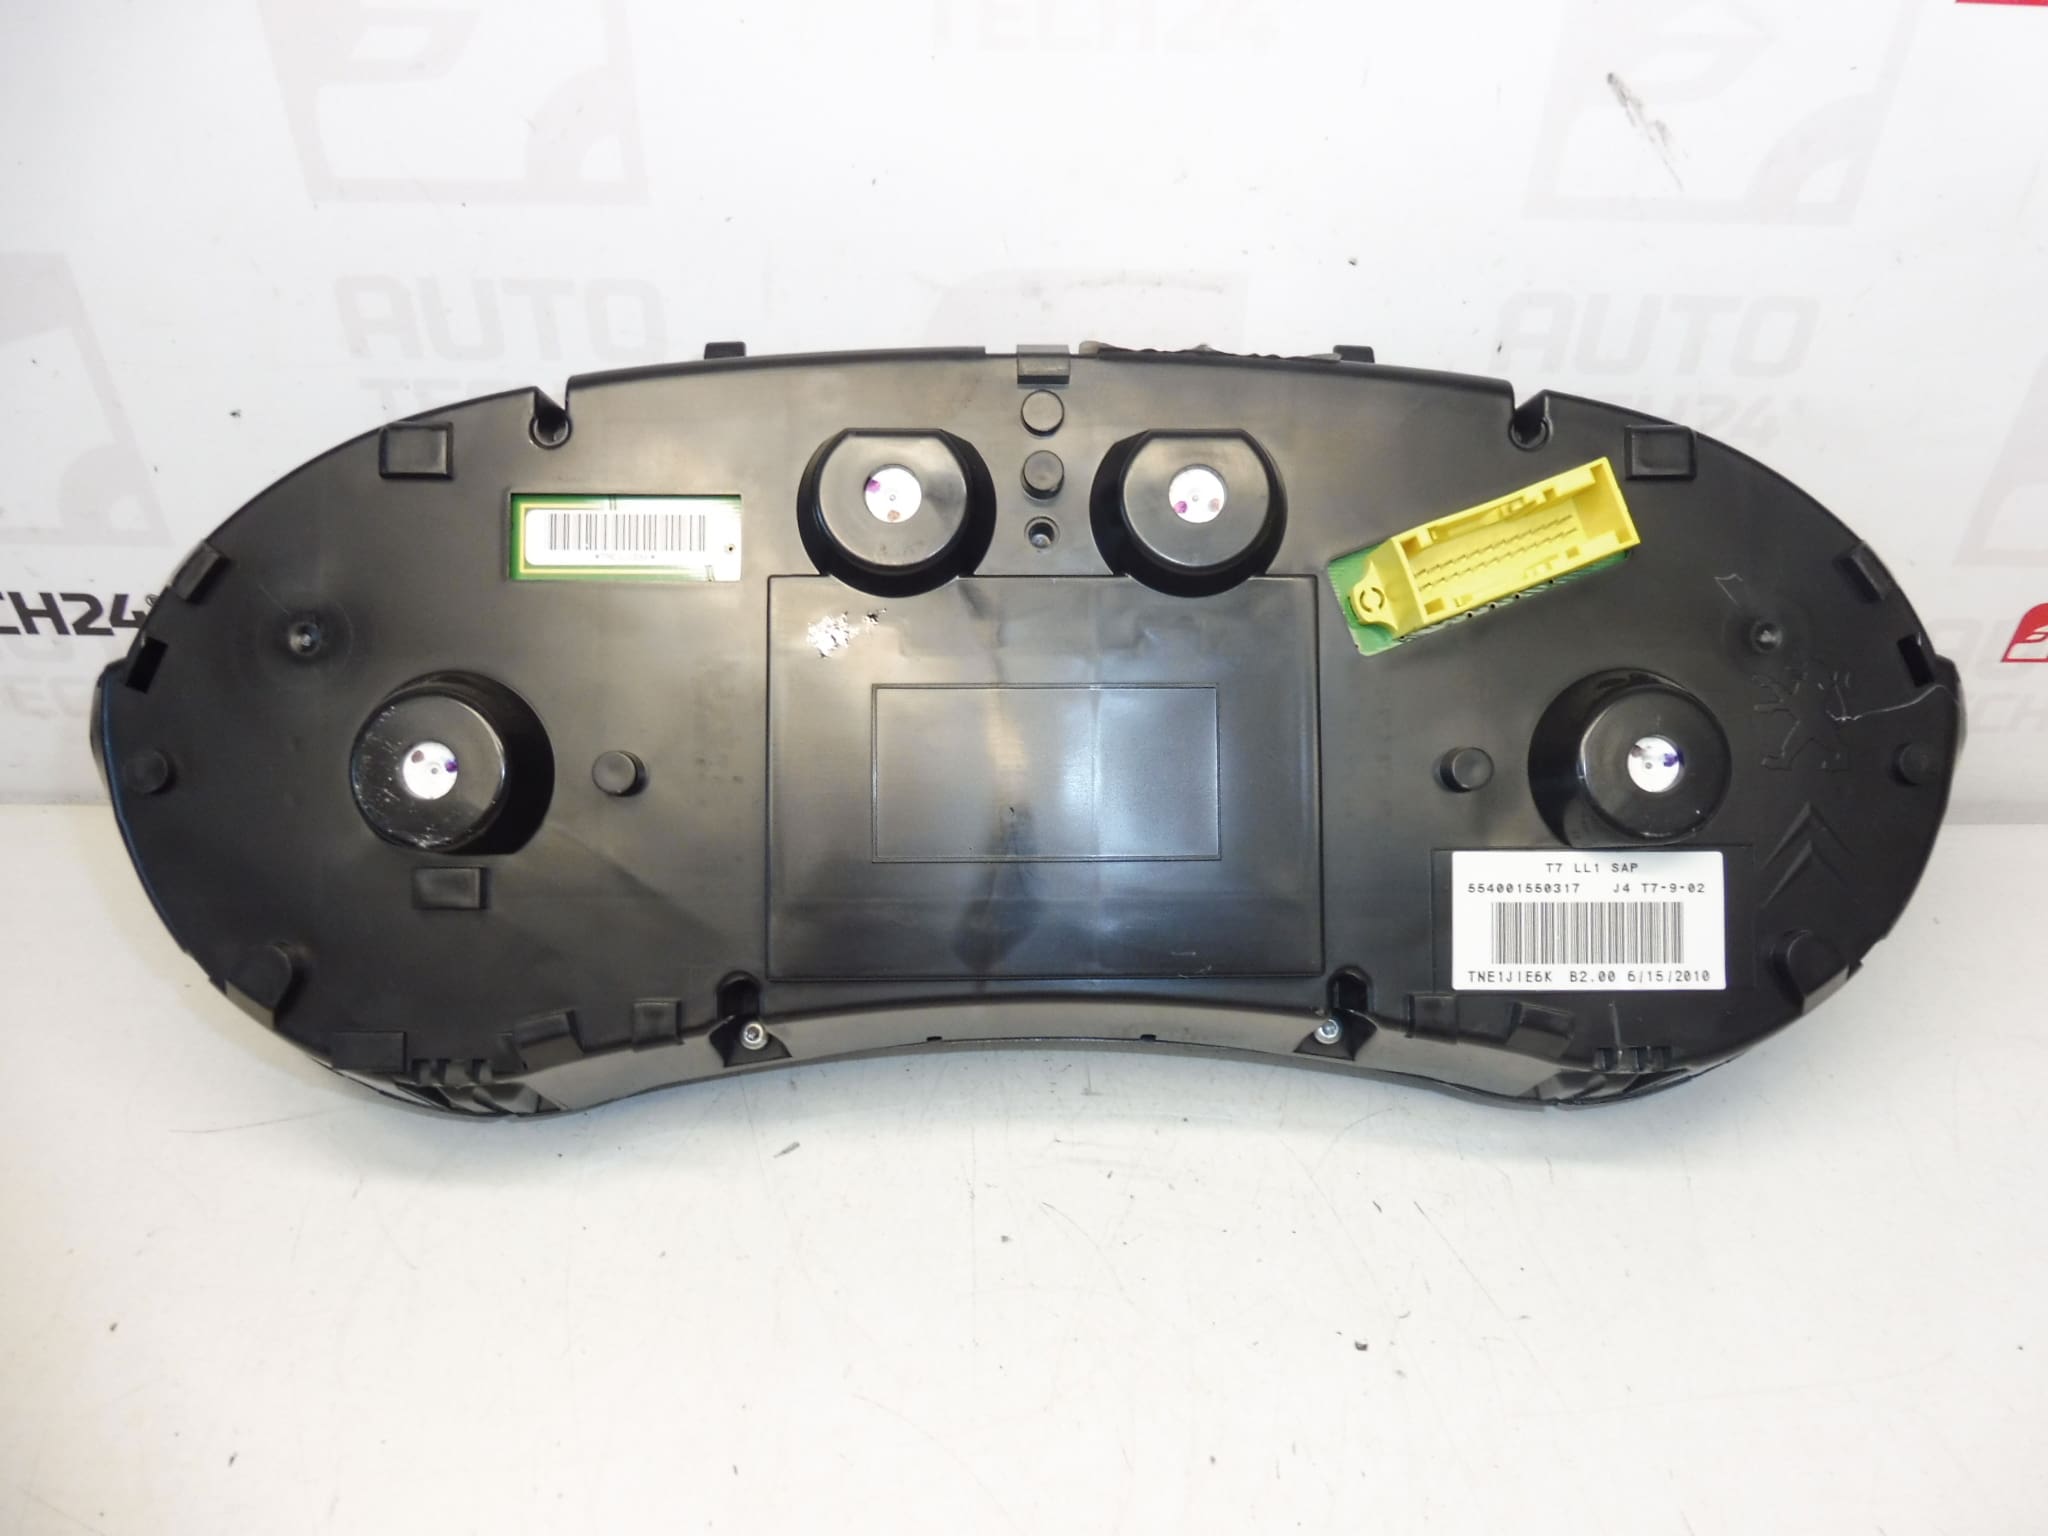
Used speedometer / instrument cluster designed for Peugeot 308 T7. It is a complete unit of the instrument panel, which is also sought after as alarm clocks for the instrument panel or instrument panel. Parts of this type are often searched for by serial numbers, so we list the important designations 9666642080, 9806132380, 6103HR and 6103RL.
The advantage is the delivery of a complete combined device, which facilitates replacement after the failure of the original piece. The mileage is unknown for this part, so it is particularly suitable for repairs when a functional original part for a Peugeot car is a priority.
Technical information
- Manufacturer: Stellantis Citroën Peugeot
- Model: Peugeot 308 T7, 1.4 VTI and 1.6 VTI engines
- Other numbers: 9666642080, 9806132380, 6103HR, 6103RL
Product codes
Installation recommendations
This part is an electrical part – combined instrument. The exact replacement procedure may vary depending on the specific model of the car, so below is a general and typical procedure for replacing the speedometer / instrument panel.
1) Before assembly
- Check that all markings on the part match, especially 9666642080, 9806132380, 6103HR and 6103RL if applicable.
- Compare the old and new piece visually: the shape of the cover, the mounting, the connectors, the layout of the sockets and the overall design of the device.
- Make sure that there is no damage to the cover, handles, front plexiglass or the connector part.
- Before starting work, disconnect the battery and wait until the vehicle’s electrical system is completely asleep.
2) Necessary tools and materials
- set of common hand tools
- plastic pry bar for panel removal
- screwdrivers or bits corresponding to the fasteners used
- clean cloth
- possibly work gloves and work area lighting
3) Step-by-step assembly procedure
- Park the vehicle in a safe place, turn off the ignition and disconnect the battery.
- Prepare the working area around the instrument panel so that the surrounding plastics are not damaged.
- Carefully remove the covering plastic parts or frames that cover access to the instrument cluster.
- Undo the fasteners holding the original speedometer in place.
- Pull the old device out just enough to safely access the connectors on the back.
- Disconnect the electrical connectors carefully, without force and without prying the wiring.
- Compare the disassembled piece with the supplied part and verify the compatibility of the connectors, mounting and part numbers.
- Connect the connectors to the new device and check that they are properly seated.
- Place the tachometer in the mounting position and secure it with the original fasteners.
- Reinstall all plastic covers and bezels in the reverse order of removal.
- Connect the battery.
- Turn on the ignition and verify the basic function of the device, the backlight and the readability of the display or indicators.
-
4) Post-assembly checks and function verification
- Check if the device lights up correctly after switching on and communicates with the vehicle.
- Verify the function of basic indicators and lights.
- Watch for backlight outages, display flickering, or misalignment in the dashboard.
- After a short test drive, recheck the stability of the attachment and the correct operation of the alarm clocks.
5) The most common assembly mistakes + how to avoid them
- Part replacement by appearance instead of by code – always compare all part numbers.
- Damage to plastic parts during disassembly – use a plastic pry bar and proceed without excessive force.
- Insufficiently inserted connector – always check the correct seating and securing of the connector after connection.
- Handling with the battery connected – always disconnect the vehicle from the power supply before working on the electrical part.
- Transfer of dirt to the front part of the device – mount the part in a clean environment and protect the front surface from scratches.
Reasons why the part is damaged
- internal wear of electronics and connections due to age of operation
- voltage fluctuations in the on-board network or faults in the power supply
- moisture, oxidation of contacts or leakage into the interior
- mechanical damage during unprofessional disassembly of the instrument panel
- damage to connectors or wiring
- vibration and long-term thermal stress