Description
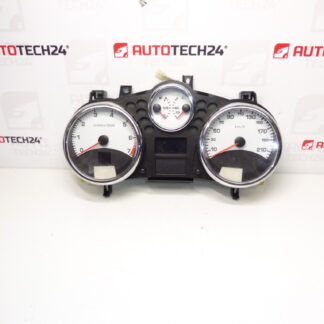
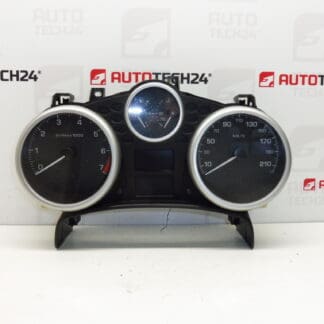
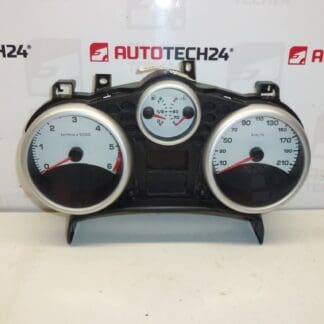
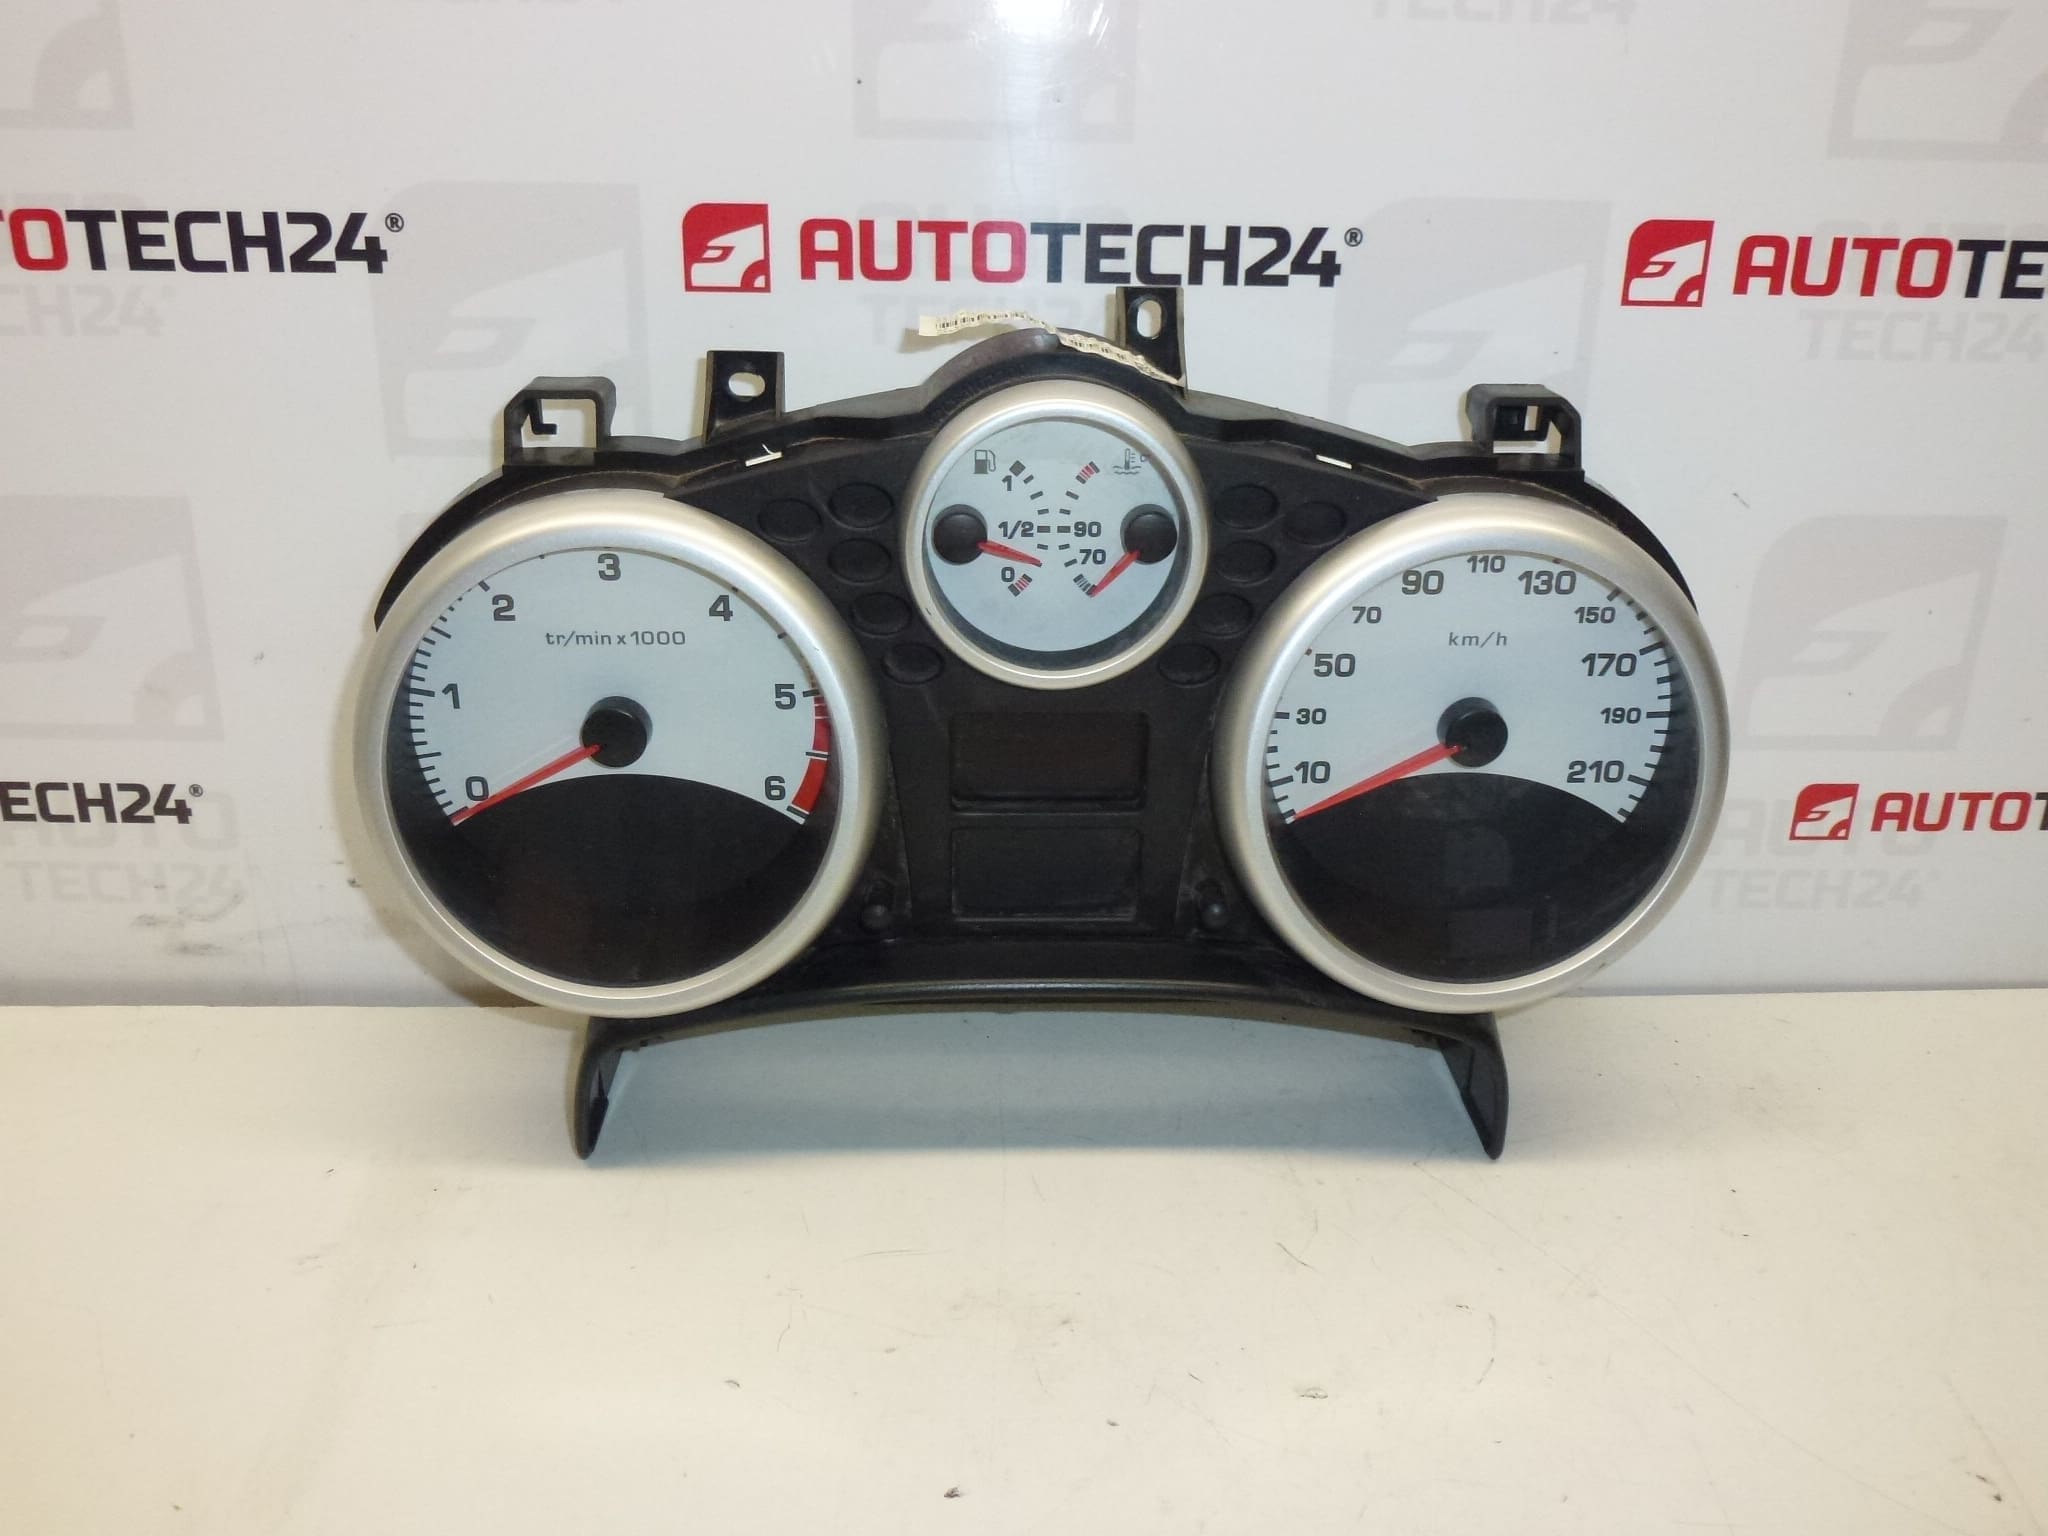
Speedometer, alarms, complete instrument cluster for PEUGEOT 207 cars
Drive km unknown
Part description
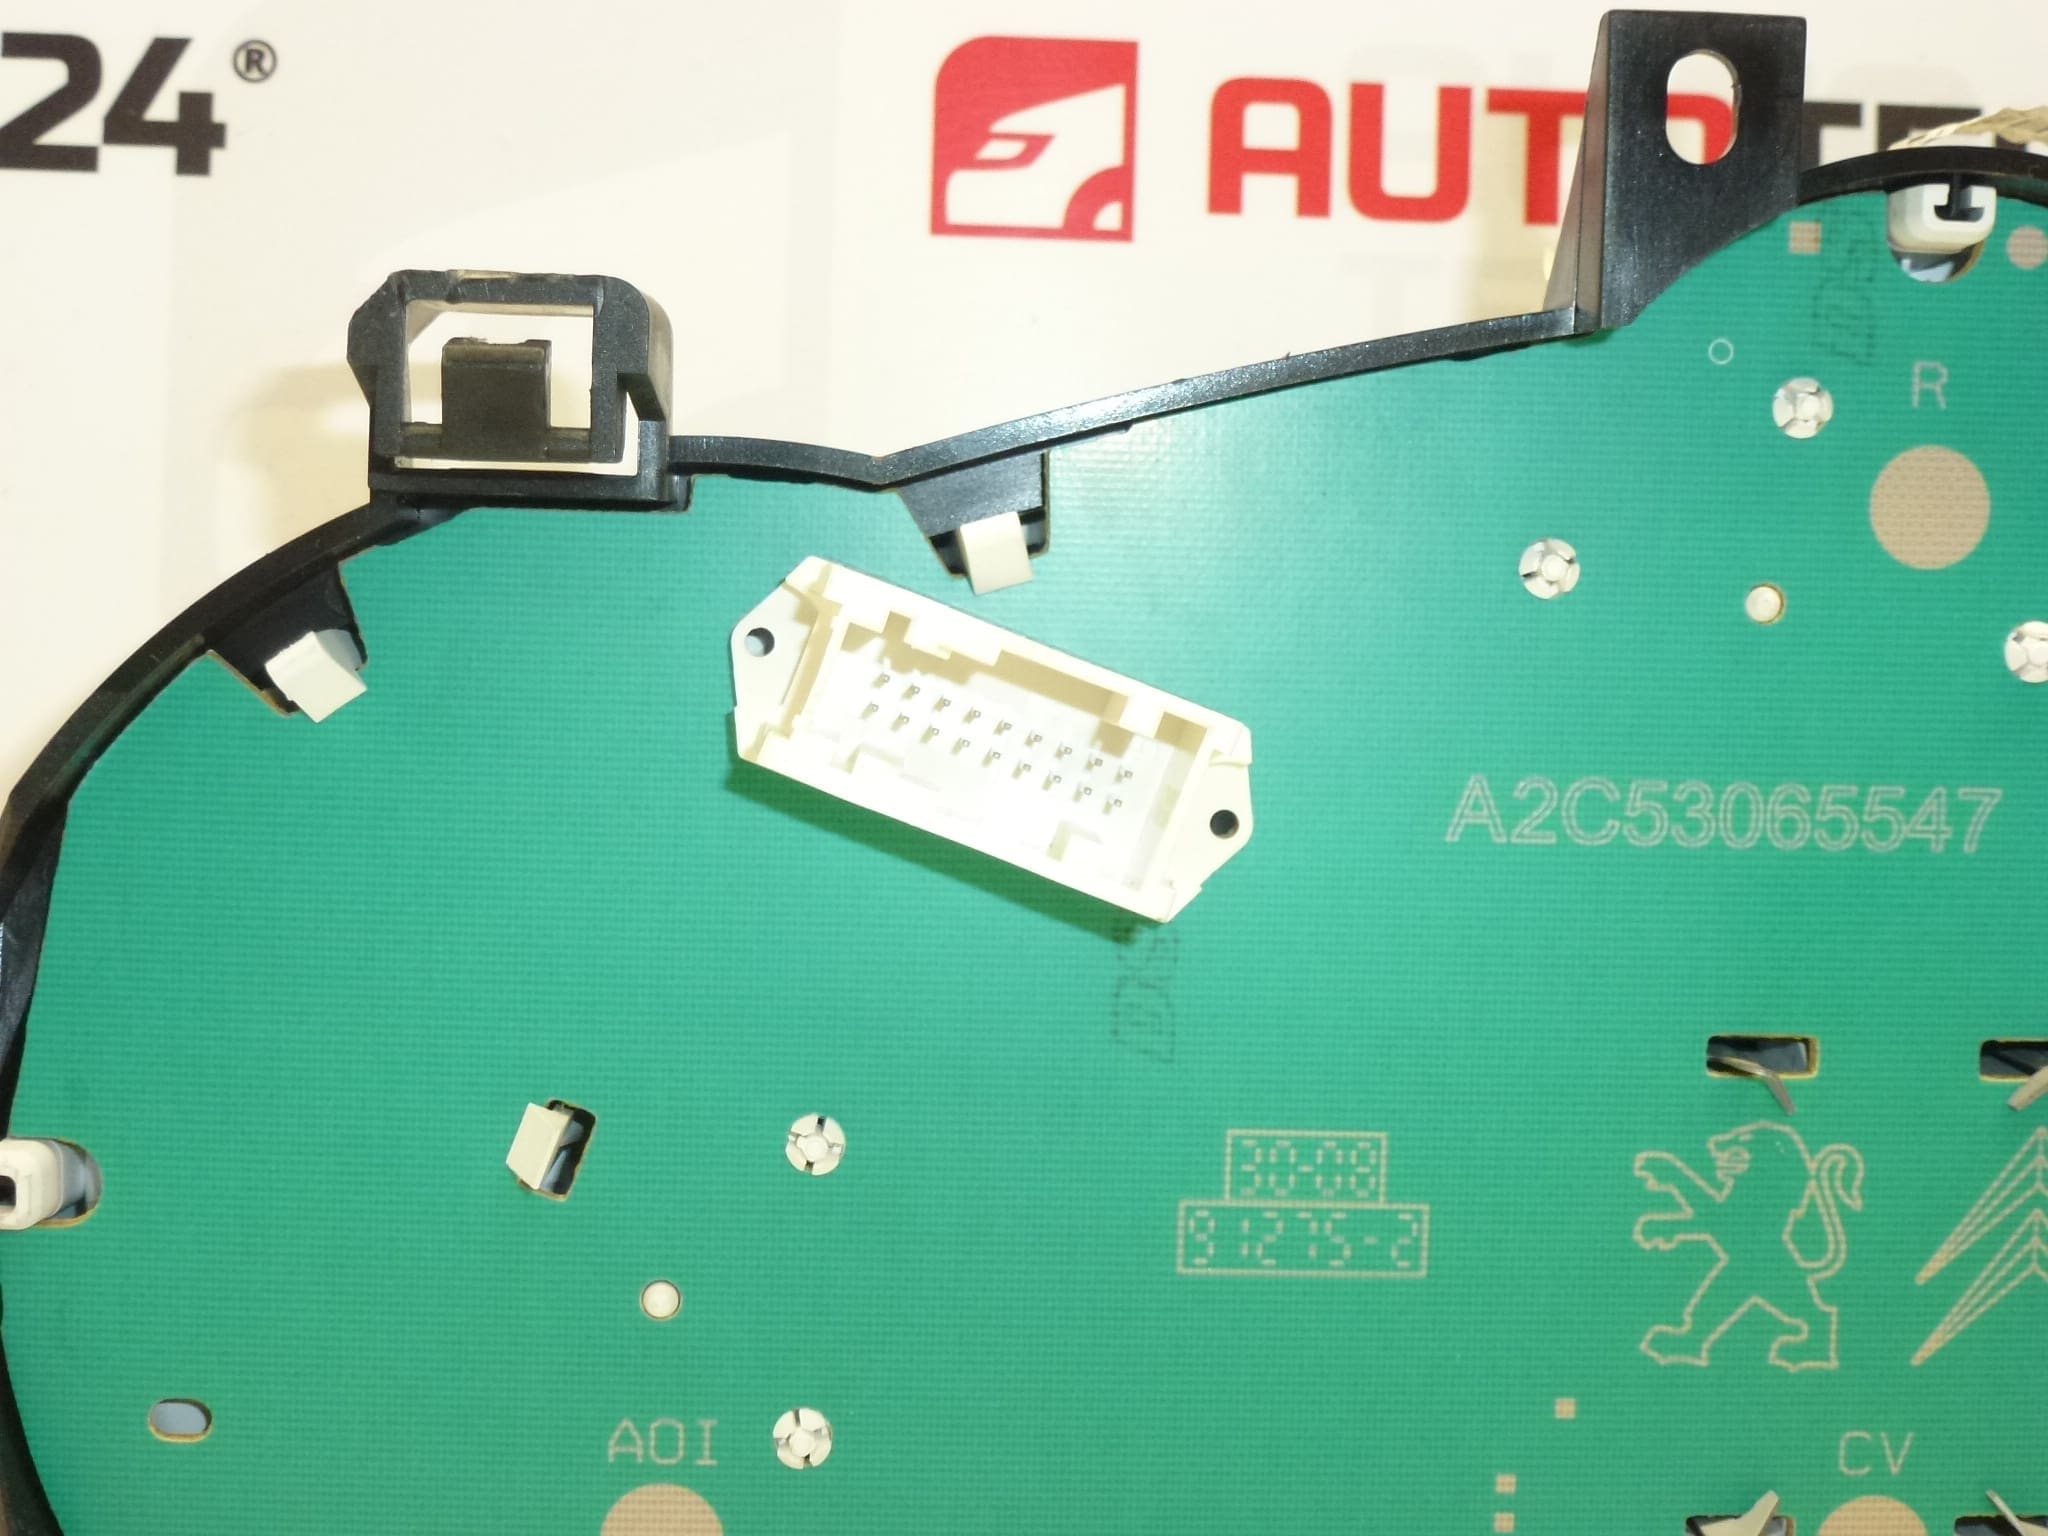
This used combined instrument (speedometer/alarm clocks) is intended for the Peugeot 207 and serves as a complete instrument panel to display basic information about driving and the condition of the car. When choosing, it is crucial to follow the OEM numbers – according to them, you can easily find the part and compare it with the original piece, which significantly reduces the risk of confusion.
Condition: used part. Riding km is unknown.
Technical information
Product codes
- Product codes: 9662904780
Installation recommendations
Generally/typically for changing the instrument cluster (speedometer/alarms): the exact steps may vary according to the specific car design and equipment.
1) Before assembly
- Compare the markings and codes on the original part with this piece (especially 9662904780 and other listed numbers 610640, 6103EC).
- Check the connectors (shape, locking, number) and the condition of the pins – no bends, looseness or oxidation.
- Inspect the body of the device, handles and cover plexiglass (cracks, abrasions, broken locks).
- Consider that mileage is unknown – check in advance how the display/storage of kilometers is handled in your car.
2) Necessary tools and materials
- Normal set of screwdrivers and socket wrenches (according to design)
- Plastic crowbar for dismantling interior parts
- A clean cloth or a gentle contact cleaner (depending on the condition of the connectors)
3) Step-by-step assembly procedure
- Turn off the ignition and secure the vehicle against movement.
- Disconnect the battery (typically the negative pole) and wait a while for the systems to sleep.
- Remove the surrounding dash covers/panels to access the instrument cluster mounting.
- Remove the fastening elements of the combined instrument (screws/handles depending on the version).
- Carefully slide the device out so that you can access the connectors without straining the wiring.
- Disconnect the connectors – unlock the lock first, don’t pull the harness.
- Connect the connectors to the replacement device and check for proper fit and locking.
- Sit the device back into position and screw/secure it.
- Reinstall all the removed covers and rails.
- Connect the battery.
- Turn on the ignition and verify that the device starts up and the display is stable.
-
4) Post-assembly checks and test drive/function verification
- Verify the backlight, readability of the display, the function of the indicator lights and the stability of the pointers.
- Take a short test drive and check that the speedometer and other indicators work smoothly and without interruptions.
- If flickering or malfunctioning parts occur, recheck the connectors and seating of the device.
5) The most common assembly mistakes + how to avoid them
- Damage to plastic covers/handles – use a plastic pry bar and don’t pry “by force”.
- Untightened/unsecured connectors – always verify locking, otherwise there is a risk of display or backlight blackouts.
- Manipulation without disconnecting the battery – may cause electrical errors; disconnection is typically recommended.
- Exchanging for another type of device – the decisive factors are the part codes and the matching of the connectors, not just the appearance.
Reasons why the part is damaged
- Aging of electronics and solder joints (backlight outages, intermittent display).
- Voltage fluctuations in the on-board network, weak battery or inappropriate starting via the source.
- Moisture in the interior or leaking into the instrument panel.
- Damage to connectors and wiring (oxidation, squeezed pins, poor contact).
- Mechanical damage during previous disassembly (cracked handles, scratched cover glass).