Description
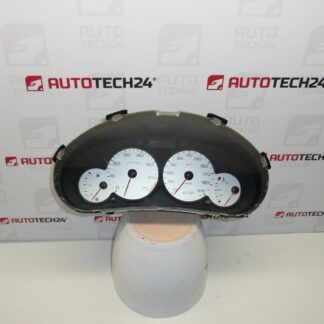
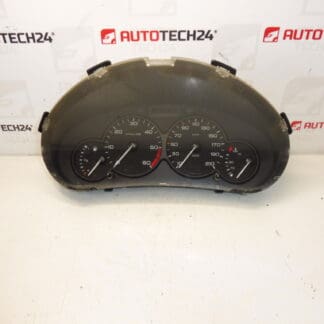
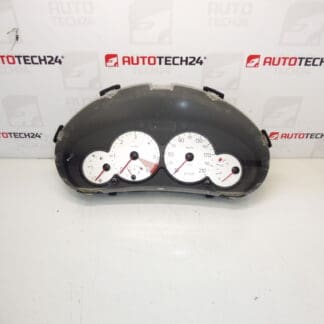
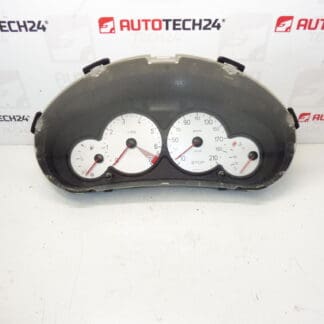
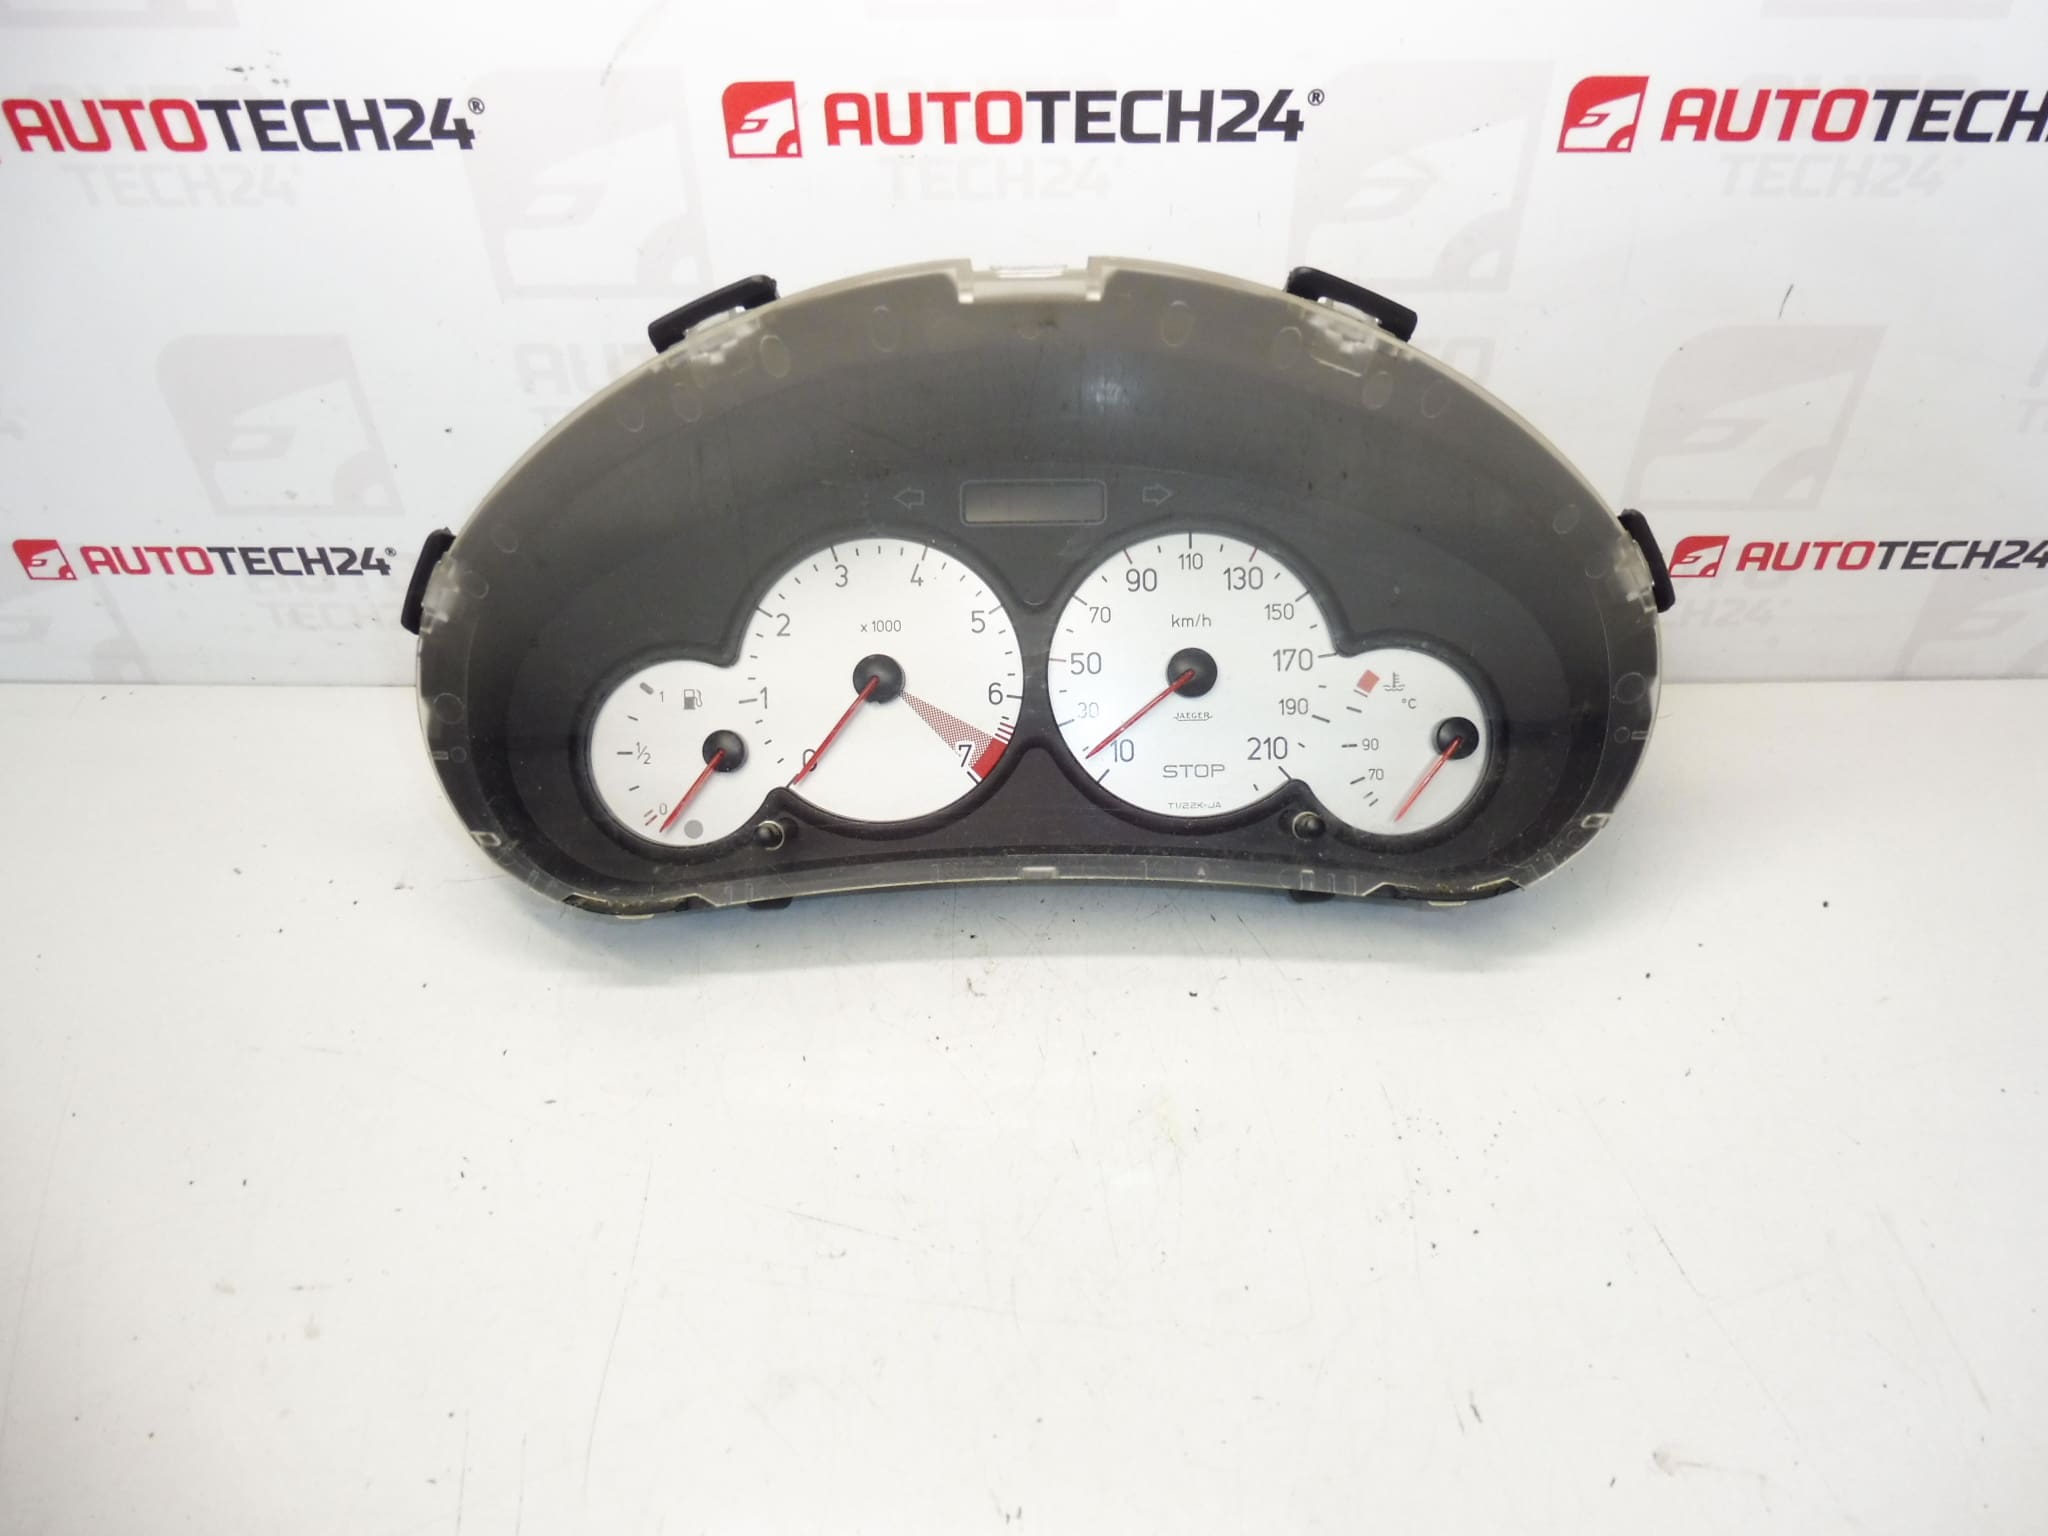
Instrument Cluster (Tachometer) from a Peugeot 206 1.4i 2006. Removed from a vehicle with unknown mileage.
High-quality used instrument cluster for Peugeot 206 owners and professional technicians. This unit restores accurate speedometer and tachometer readings, odometer display and dashboard warning lights — essential for safe diagnostics and roadworthy repairs. The cluster is a direct-fit replacement in many Peugeot 206 dashboards and is frequently searched by its OEM numbers, making it easy to find when you need a quick swap.
Technical Information
- Manufacturer: Stellantis / Peugeot
- Model: Peugeot 206 (1.4i, 2006)
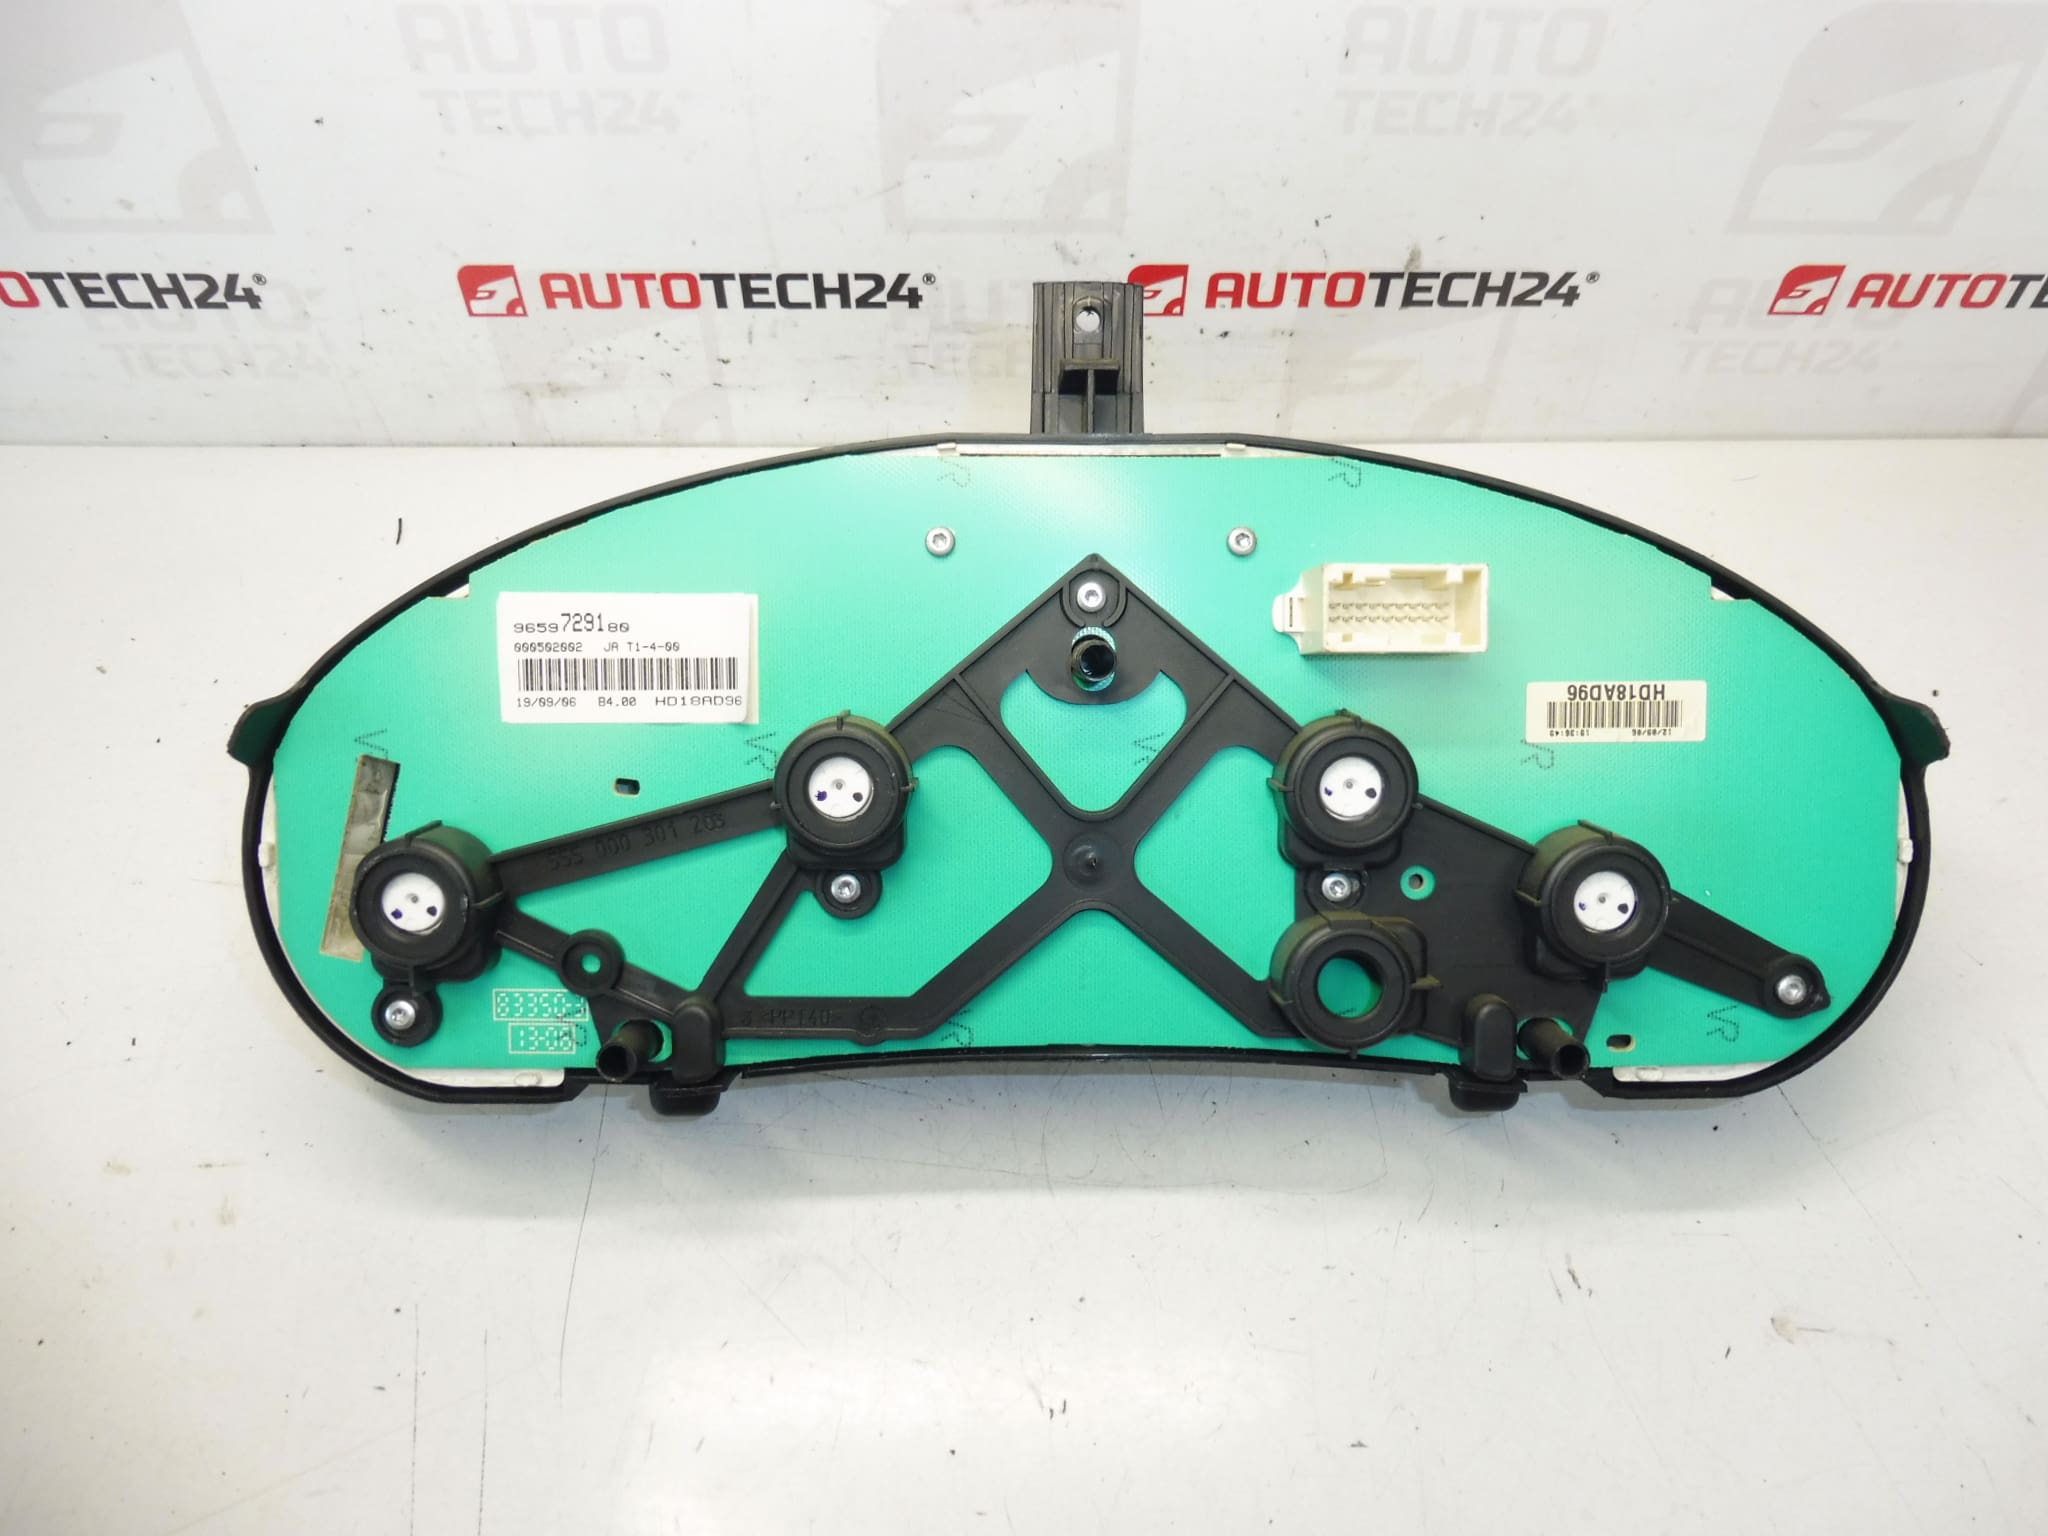
- Product Codes: 9659729180, 6106LL
- Additional Numbers: 6106LN, NFP
Function And Features
The instrument cluster provides the primary driver information: speedometer, tachometer (RPM), fuel level, coolant temperature, odometer/trip meter and warning indicator lamps. Typical Peugeot 206 clusters use analogue needle gauges combined with a small digital display for mileage and warnings. Properly functioning gauges and warning lights are critical for vehicle safety and correct fault diagnosis.
Installation Recommendations
- Always Disconnect The Battery Before Starting Work To Avoid Short Circuits And Data Loss.
- Use Trim Tools To Remove Dash Surrounds, Then Unscrew Mounting Fasteners (Usually Torx) To Release The Cluster.
- Carefully Unplug Electrical Connectors And Avoid Pulling On Wiring; Check Connector Pins For Corrosion Or Bent Contacts.
- Handle The Unit By Its Housing; Avoid Touching Circuitry Or LCD Surfaces. Use An ESD Wrist Strap If Available.
- After Installation, Reconnect Battery And Verify All Gauges, Warning Lights And Odometer Functionality. Clear Any Stored Fault Codes If Needed.
- Recommended Tools: Trim Removal Tools, Torx Set, Multimeter, Basic Hand Tools.
How The Replacement Is Performed
Replacement is straightforward for experienced technicians: remove surrounding trim, unscrew the instrument cluster fasteners, pull the cluster forward, disconnect the multi-pin connectors and remove the unit. Fit the replacement by reversing the procedure. Ensure secure connector engagement and correct seating to avoid rattles or intermittent contacts. If the vehicle uses immobilizer-related displays or stored configuration, follow the factory service manual procedures to preserve settings.
Most Common Failure Reasons
- Worn Stepper Motors: Needle movement can become erratic or stop if internal stepper motors wear out after many years of use.
- Display Or Backlight Failure: Dim or dead backlighting and pixel loss on digital displays are common with age and heat exposure.
- Connector Corrosion Or Poor Ground: Moisture ingress or poor grounding causes intermittent gauges and warning lights.
- Electrical Surges: Jump-starts or charging system faults can damage internal electronics.
- Mechanical Damage: Impact or improper removal can break mounting points or internal components.
Why Choose This Unit
This instrument cluster is ideal when the original unit shows faulty needles, non-functional odometer display, or lighting issues. It provides a cost-effective way to restore correct dashboard operation without replacing the entire dash assembly. Searchable OEM numbers such as 9659729180 and 6106LL make identification straightforward for both workshops and DIY mechanics.
Notes
Compare Product Codes And Connector Layouts Before Installation To Ensure Fitment. Mileage Information On Used Units May Differ From Your Vehicle; Be Aware Of Legal Requirements In Your Region When Transferring Odometer Values.