Description
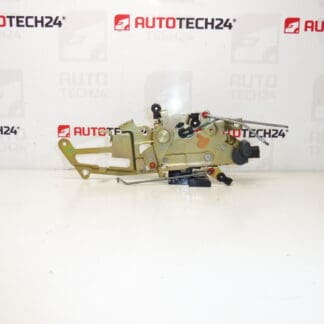
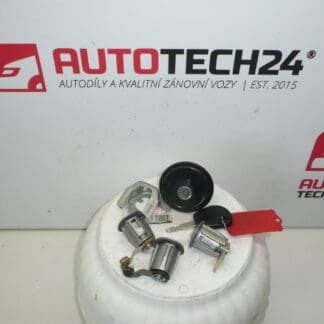
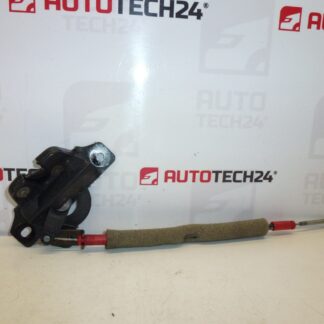
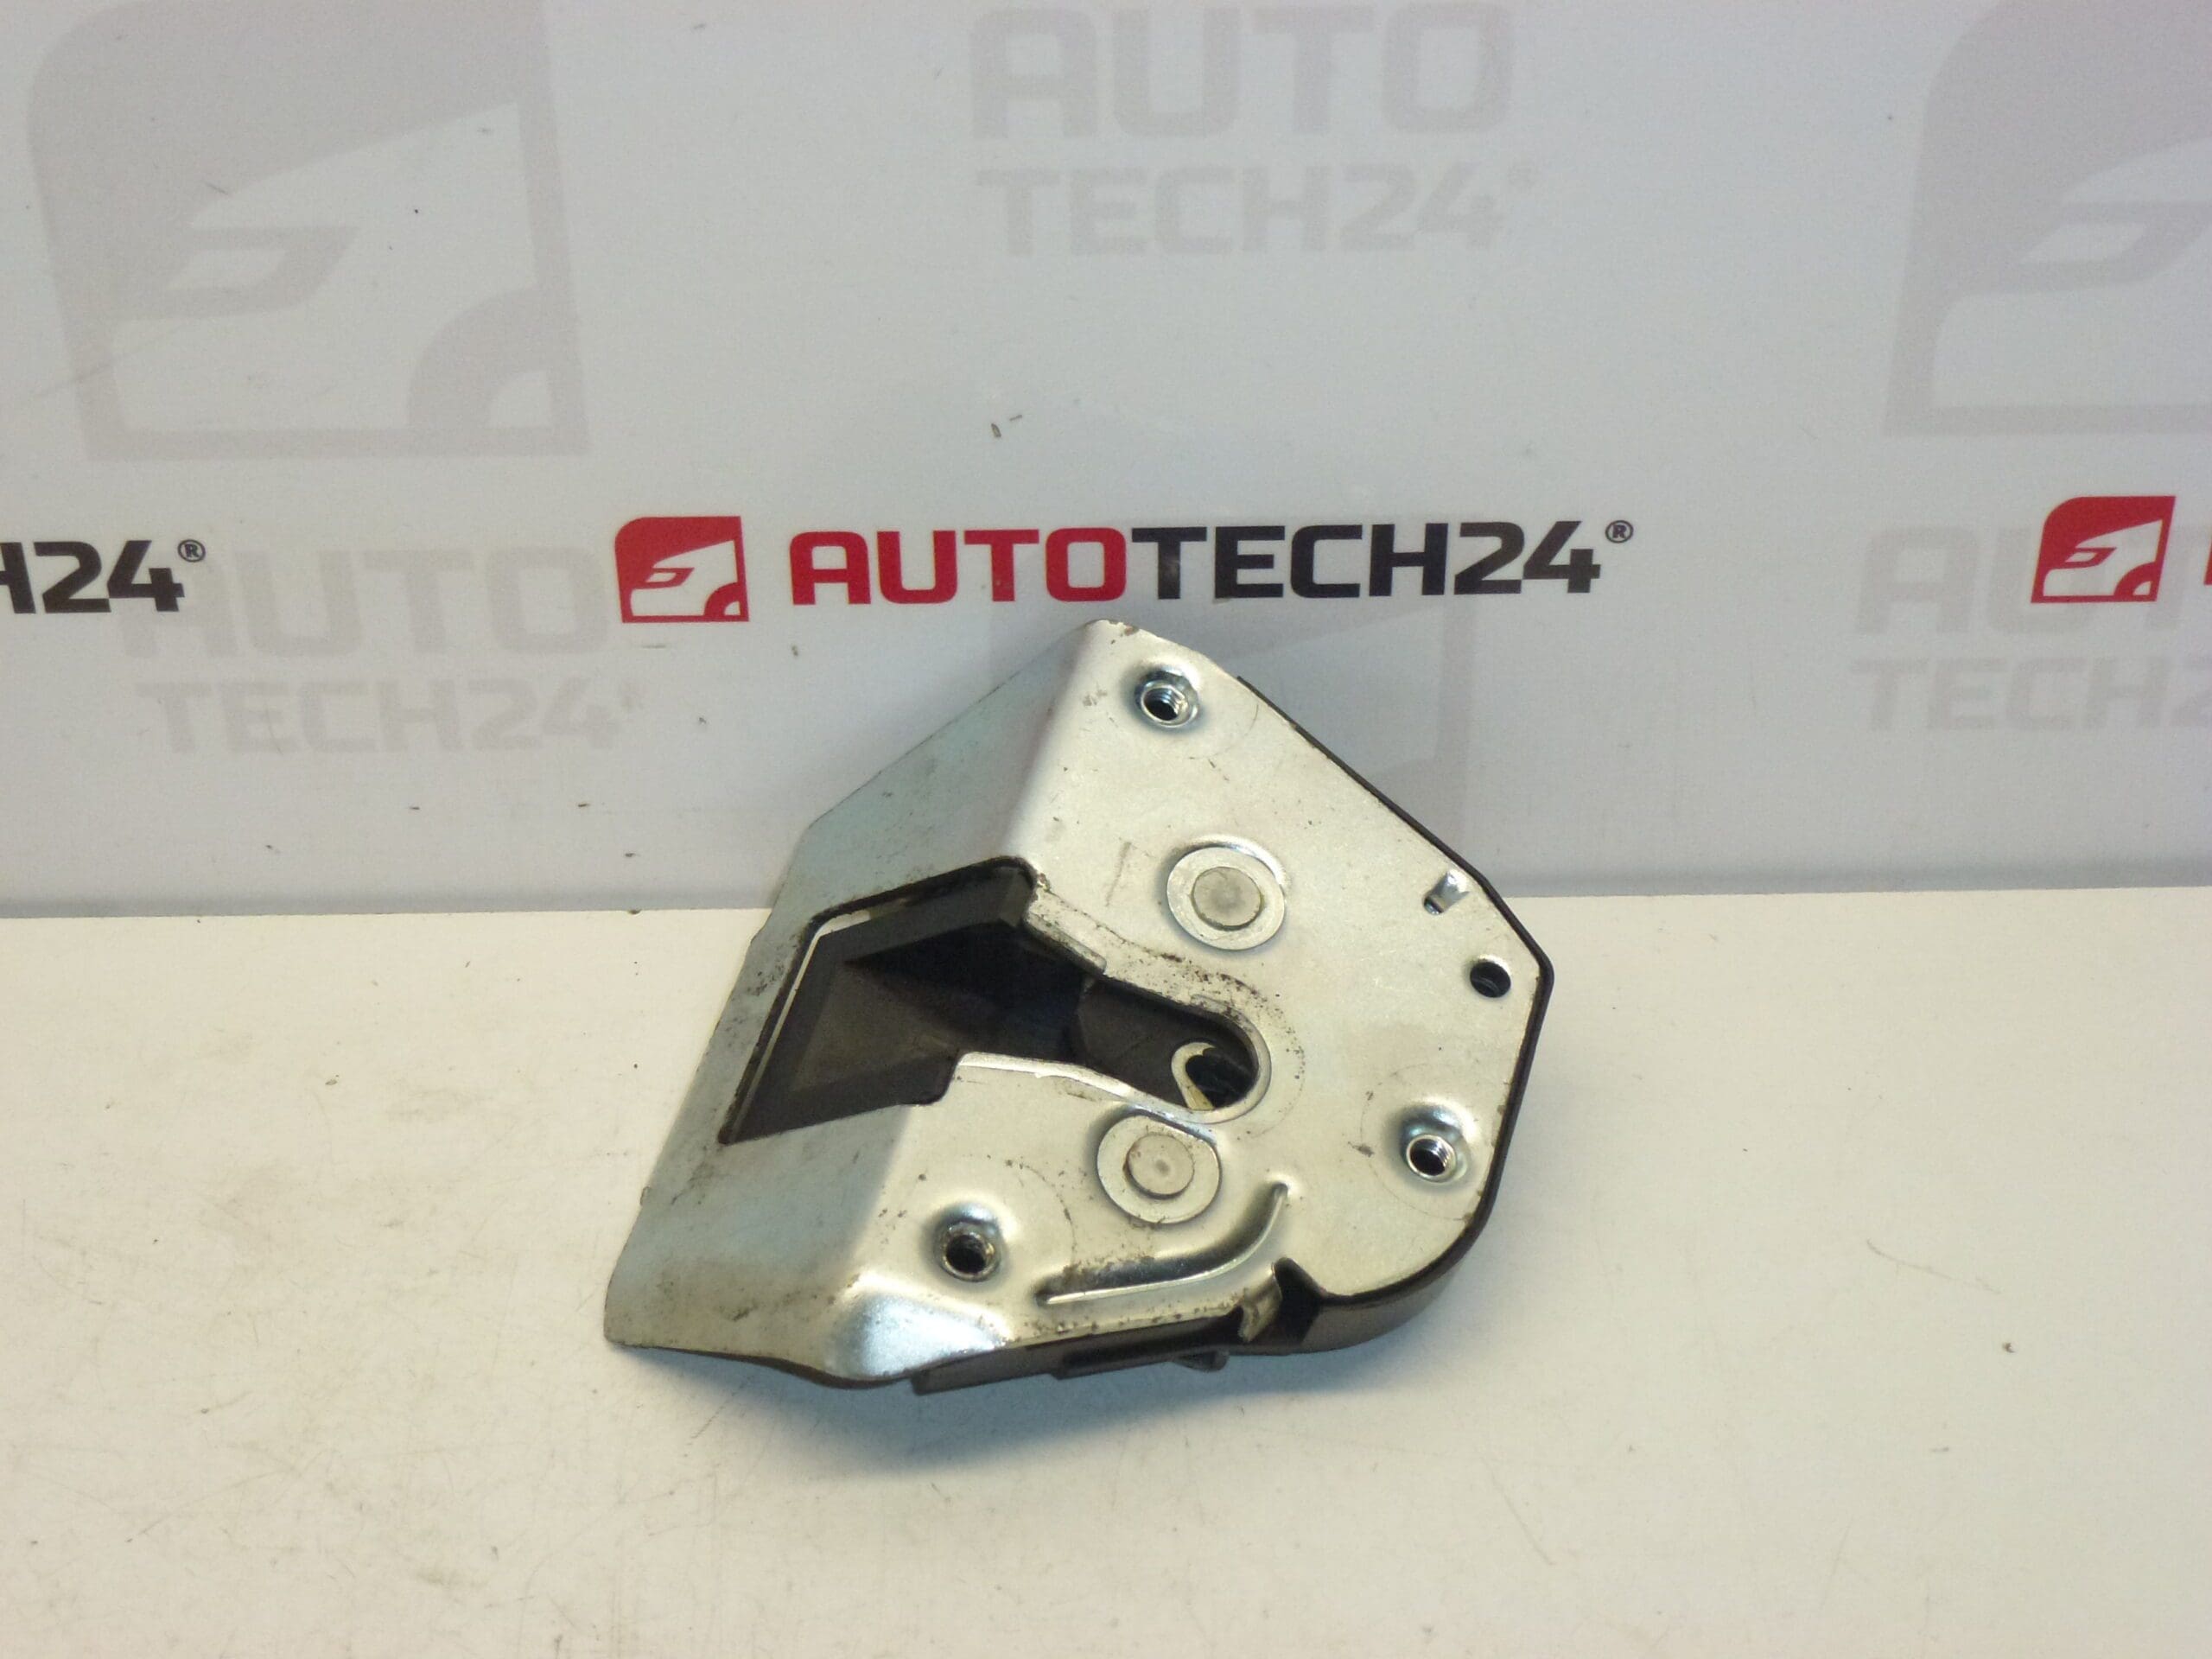
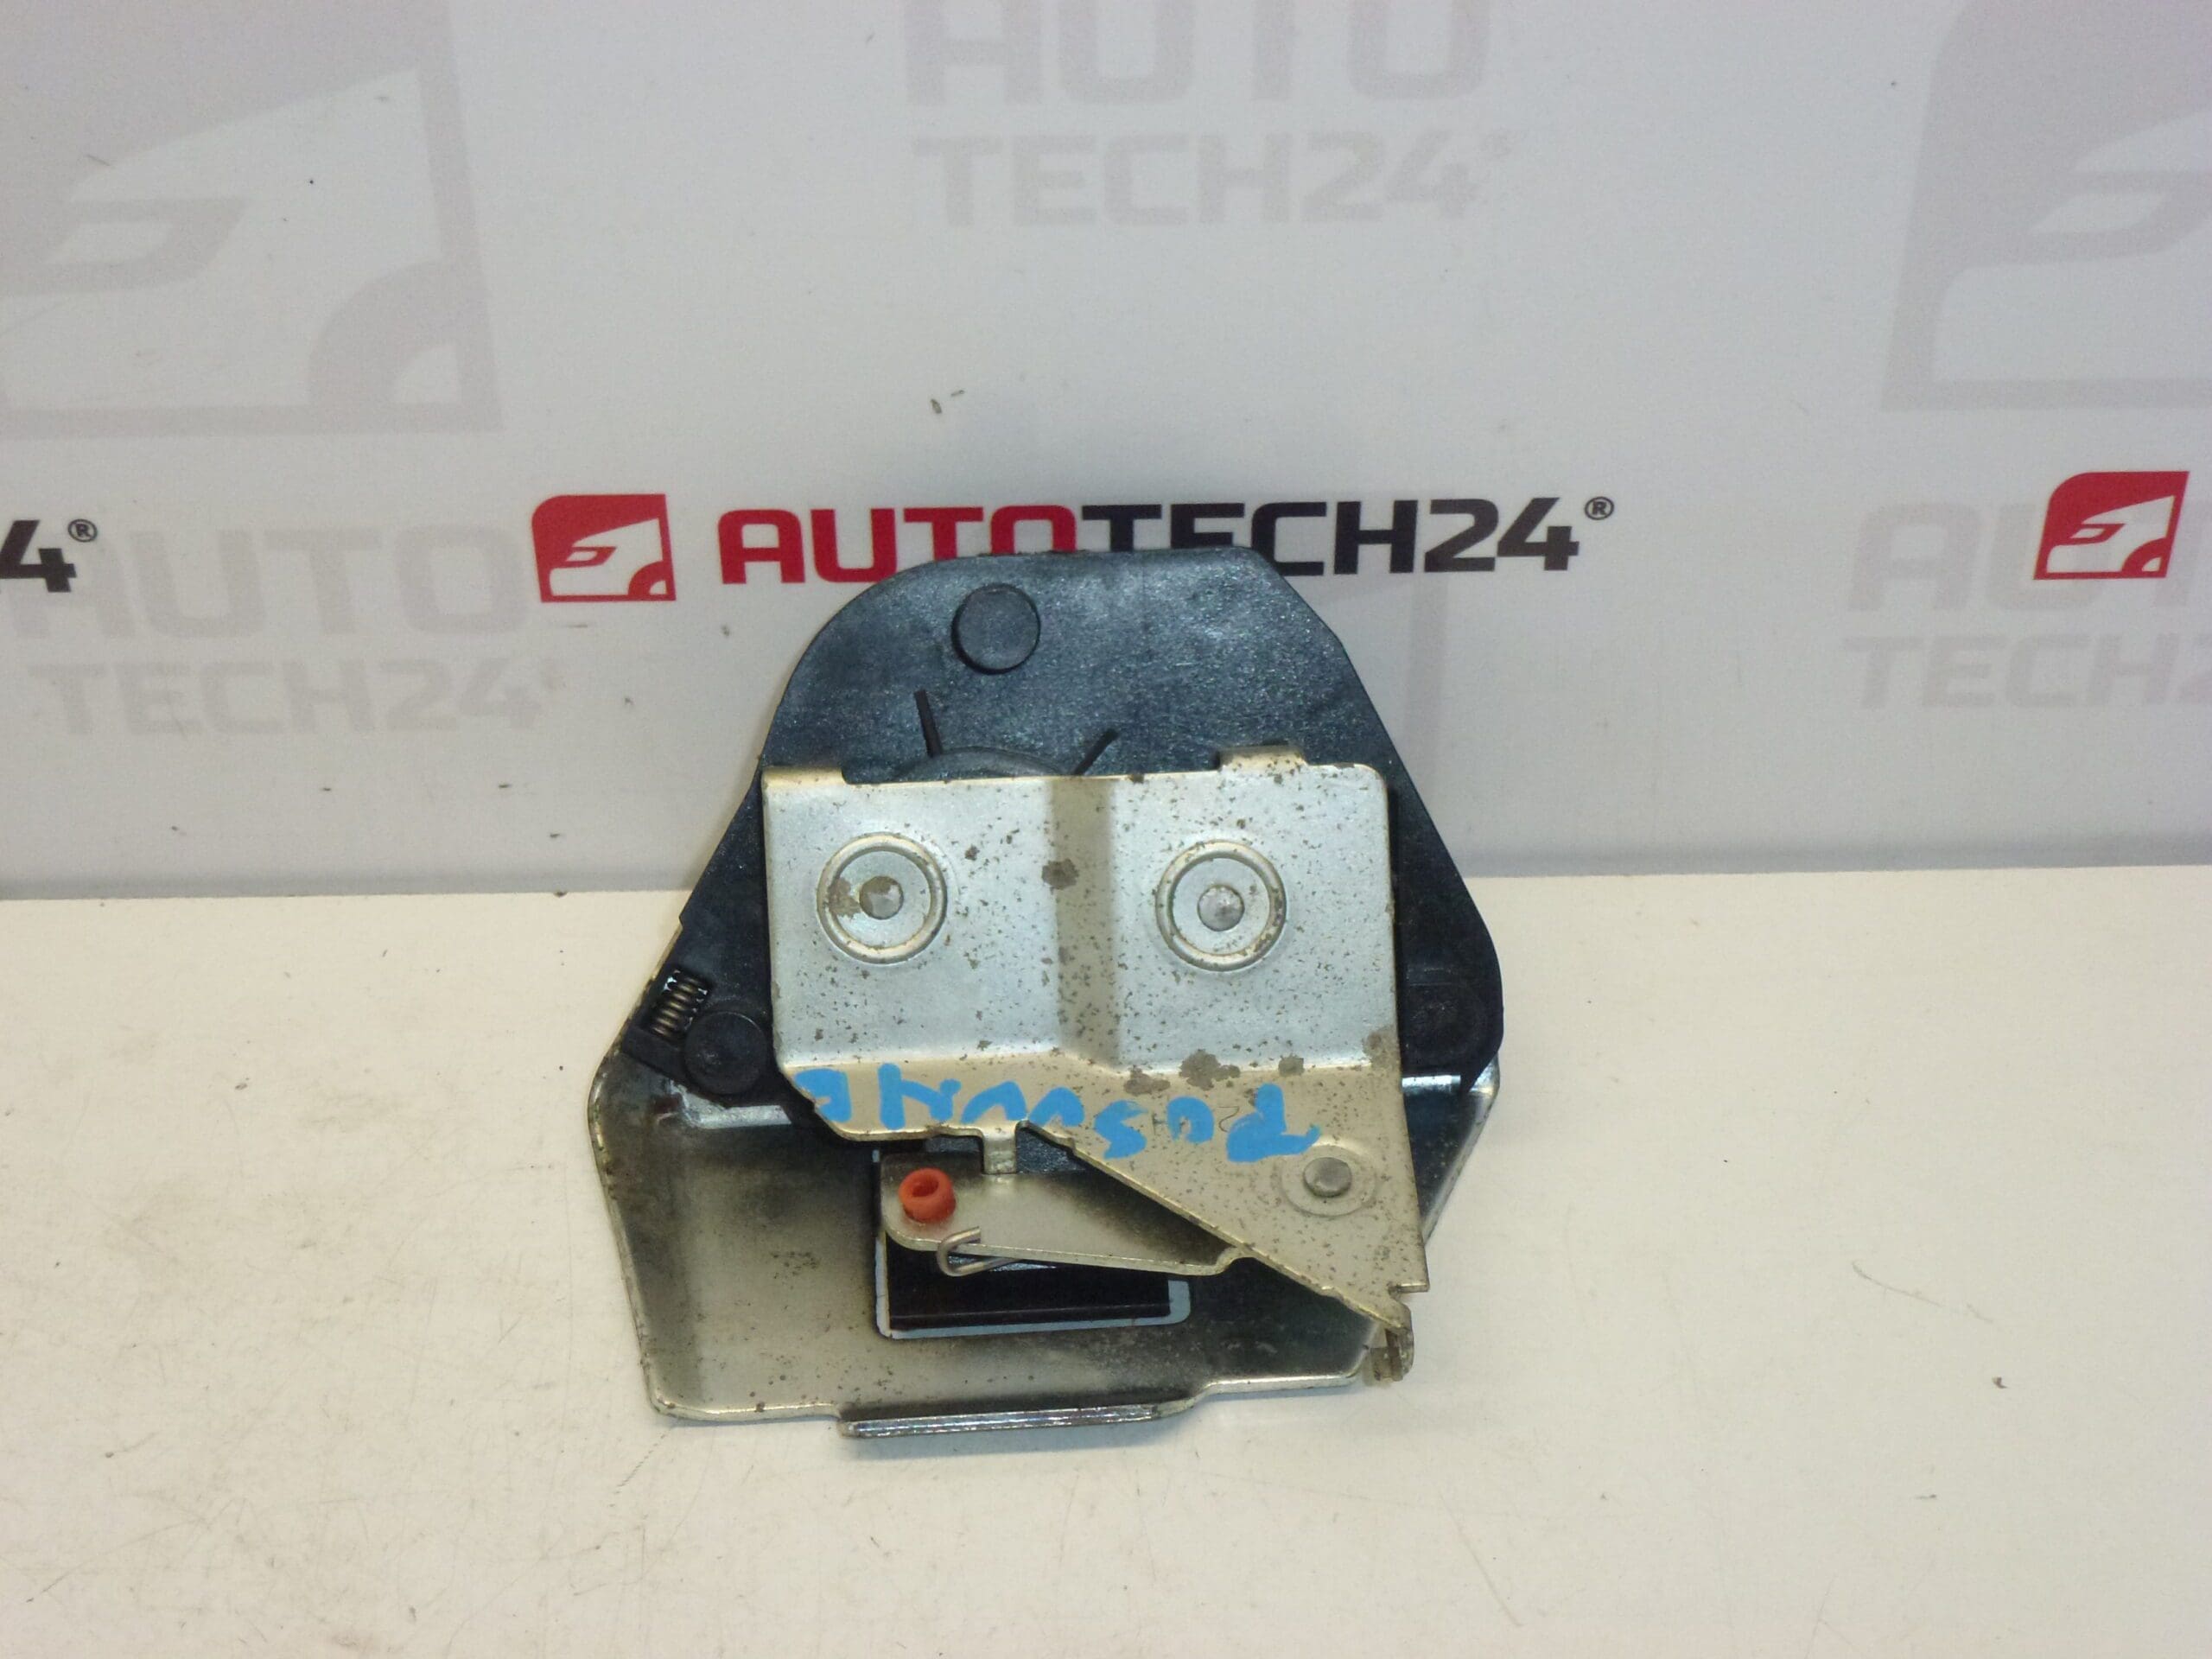
Locking mechanism for the right rear door of Citroën Berlingo and Peugeot Partner II from model year 2005.
This right rear door lock (door latch) is a direct-fit replacement often searched for under part number 913877. Designed for utility and reliability in commercial and passenger use, the unit operates the mechanical and central locking functions of the rear door. Ideal for professional workshops and experienced DIYers, the lock restores secure closing, prevents rattles and eliminates central locking failures caused by worn or corroded latch components.
Key Features
- Direct replacement for the right rear door latch on affected Citroën and Peugeot models
- Restores mechanical locking and central locking actuation
- Robust metal latch combined with plastic gearing and electrical actuator components
- Commonly referenced by product code 913877 for quick lookup
Technical Information
- Manufacturer: Stellantis (Citroën / Peugeot OEM)
- Model: Citroën Berlingo and Peugeot Partner (commonly used on Partner II). Compatibility typically from model year 2005 for Partner II; also used across Berlingo generations—verify visually before installation.
- Product Codes: 913877
- Other Numbers: No additional cross-reference numbers provided in the original listing
How The Part Works
The door lock assembly secures the right rear door by engaging a striker on the door frame and by operating the central locking actuator. When the central locking is activated, an internal actuator moves linkages that lock or unlock the door. The latch also contains mechanical pawls that hold the door closed when shut and allow emergency opening from inside.
How To Replace
Replacement requires basic workshop tools and moderate experience. Typical procedure:
- Open the door and remove the interior trim panel and any plastic moisture barrier to access the latch.
- Disconnect the electrical connector to the actuator and unclip or detach the locking cables/linkages.
- Remove the mounting bolts securing the latch to the door (commonly Torx or hex fasteners) and extract the old unit.
- Install the new latch in reverse order: secure bolts, reconnect cables/linkages and the electrical connector, then test locking/unlocking operation before refitting the trim.
- Test central locking, manual lock, and door closing/striker alignment. Adjust striker if necessary to eliminate noise or difficulty closing.
Installation Recommendations
- Disconnect the negative battery terminal before starting to avoid accidental short circuits and to protect central locking electronics.
- Keep all fasteners and clips organized and replace any damaged trim clips or moisture barriers to prevent future water ingress.
- Lubricate the latch pivot points and striker with suitable long-life grease during installation for smooth operation and to reduce wear.
- After installation, cycle the lock several times and check that the central locking system and interior/exterior handles operate correctly.
- If the vehicle has persistent electrical faults after replacement, inspect wiring and connectors for corrosion or damage.
Why This Part Most Commonly Fails
- Water Ingress And Corrosion: Moisture entering the door or breached moisture barrier causes corrosion of metal parts and electrical connector degradation.
- Wear Of Plastic Gears Or Pawls: Repeated use over years can wear internal plastic components, leading to slipping or failure to latch.
- Actuator Motor Failure: The small electric motor or its brushes can fail, especially under high load or after long service life.
- Mechanical Damage Or Misalignment: Impact, door sag, or a misaligned striker increases stress on the latch and accelerates failure.
- Contaminants And Dirt: Road grime and debris can jam the mechanism if the moisture barrier is compromised.
Typical service life depends on vehicle use and environment; units on high-mileage or frequently loaded vehicles tend to fail earlier. Replacing the latch and addressing the root cause (moisture, alignment, damaged seals) will restore reliable operation.