Description
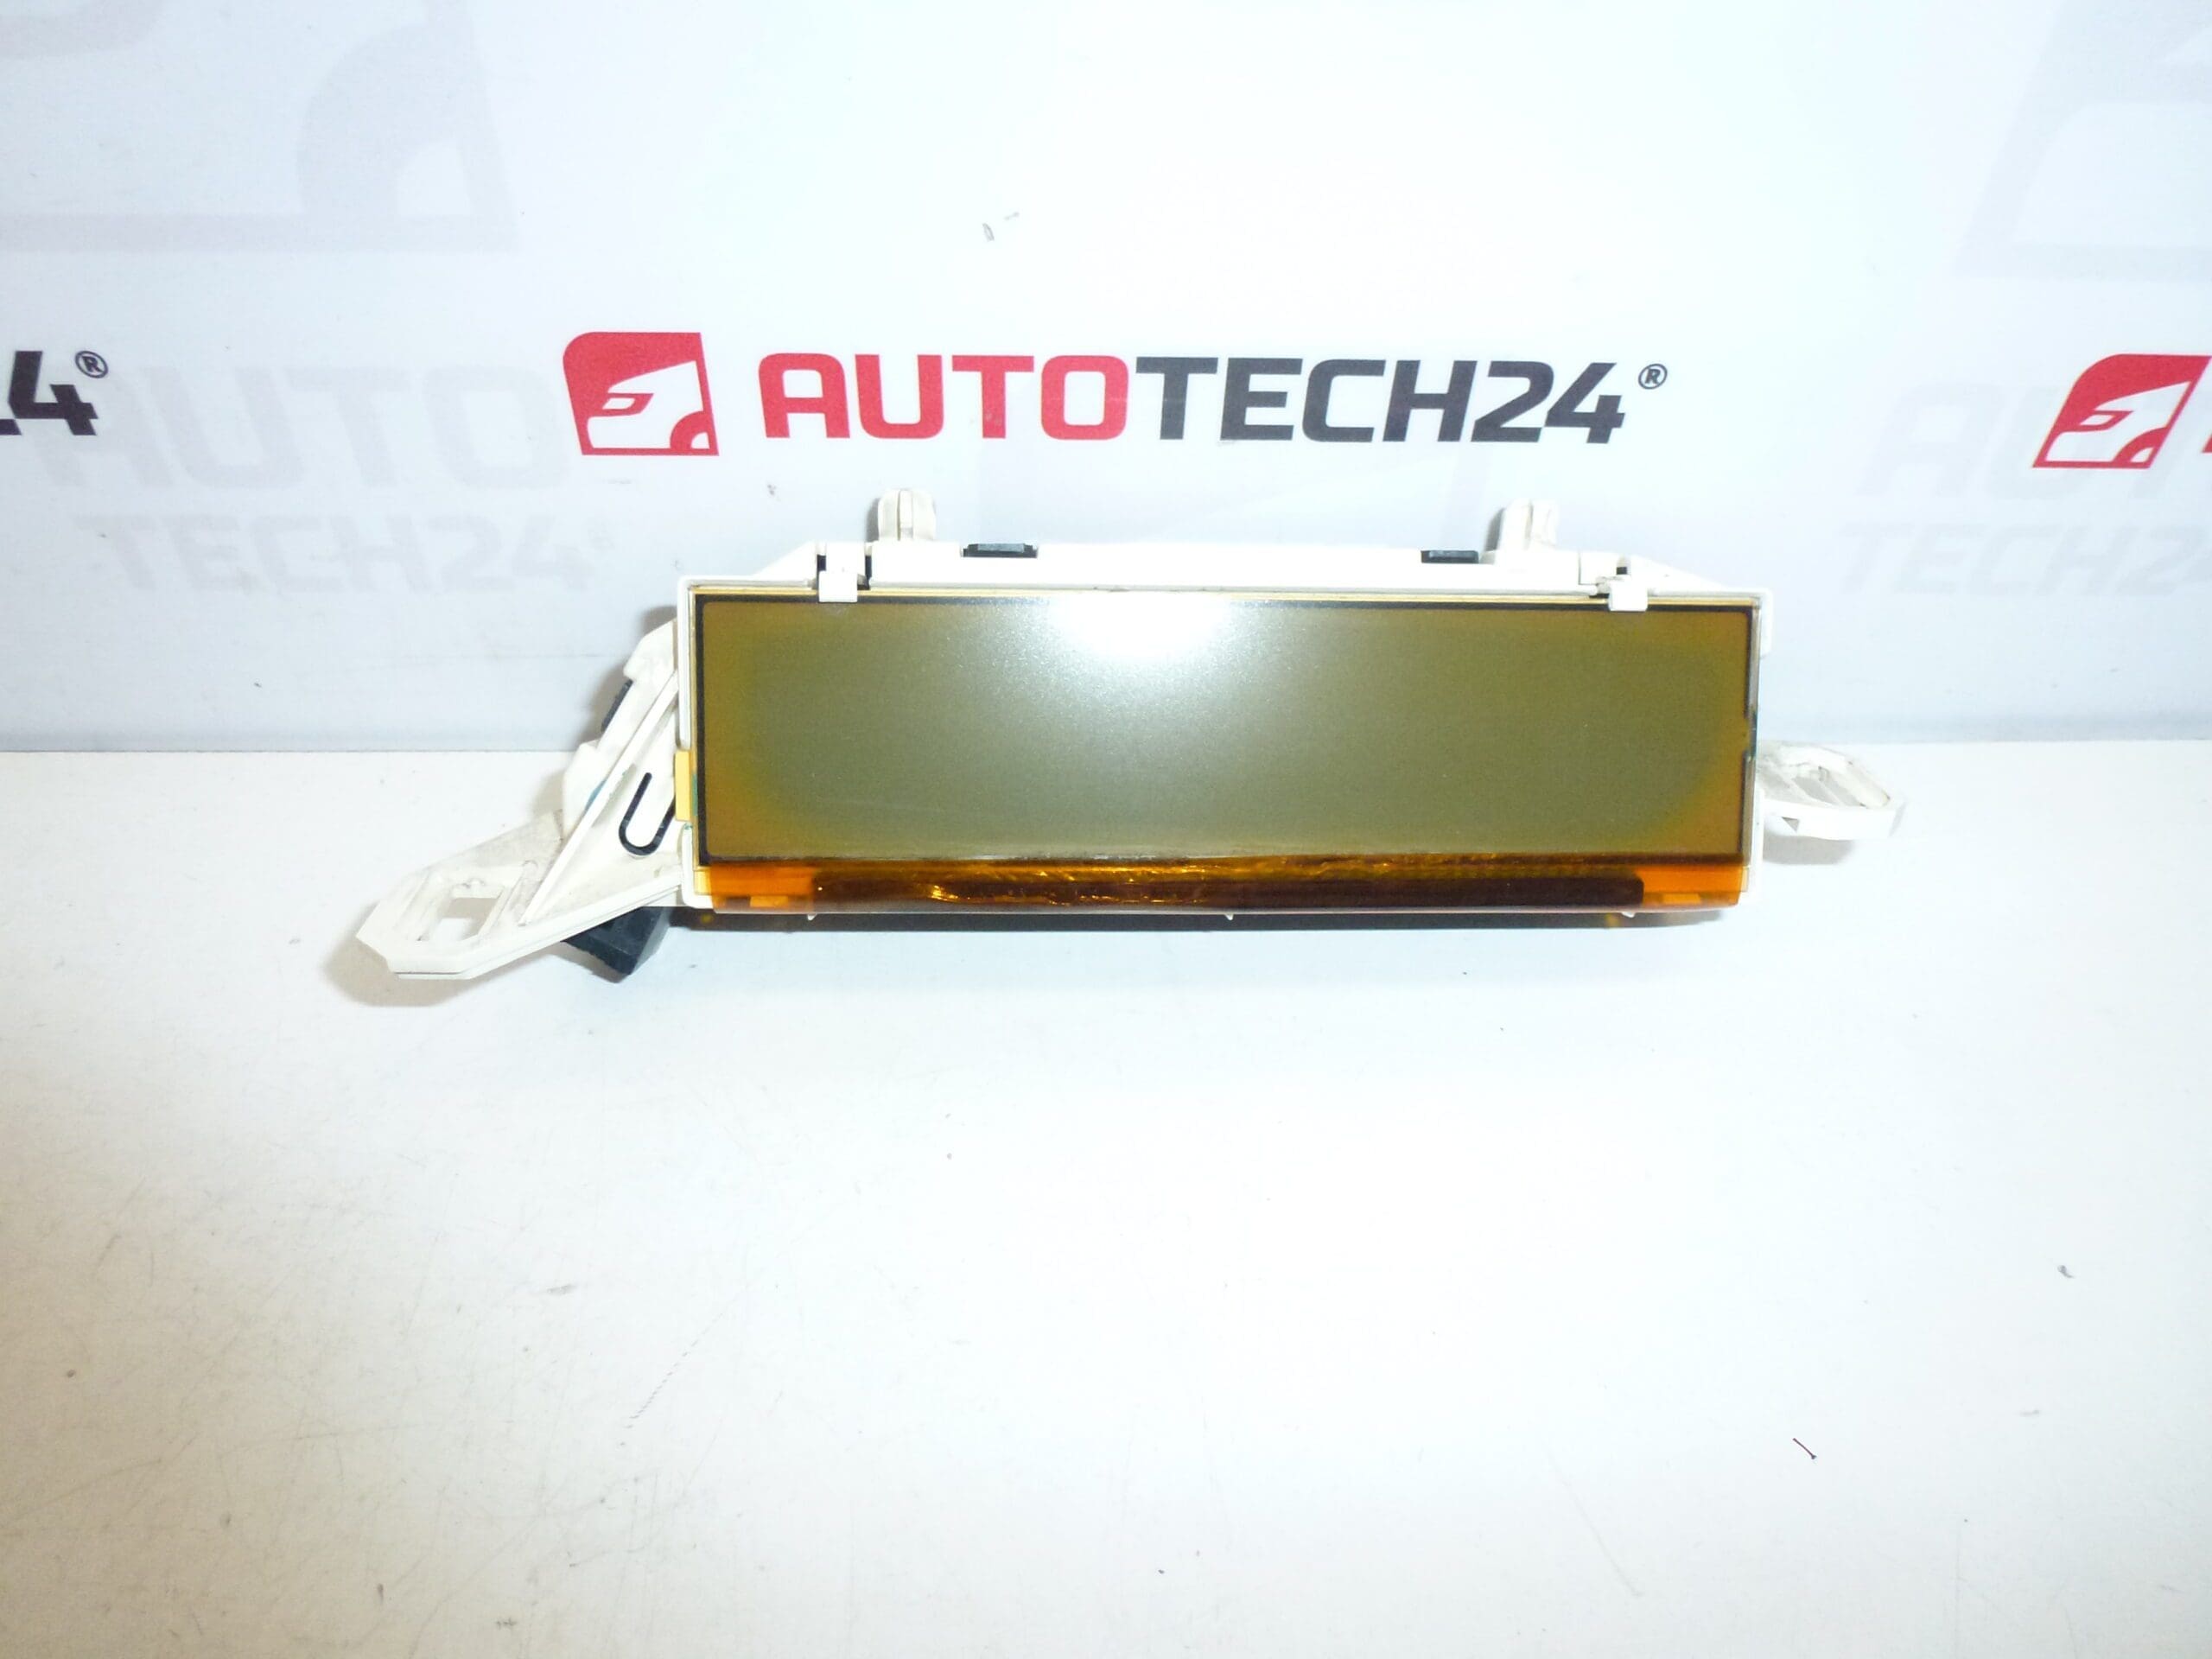
Display – Tachometer for Citroën C4 vehicles up to 2008
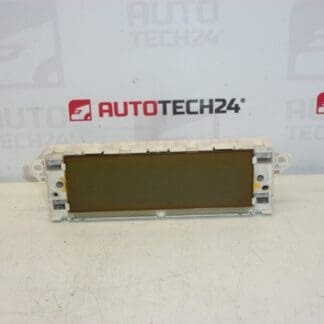
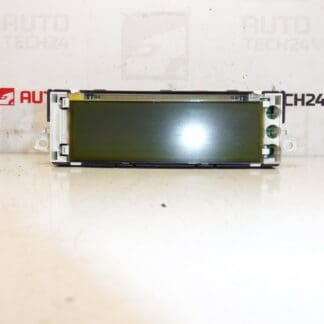
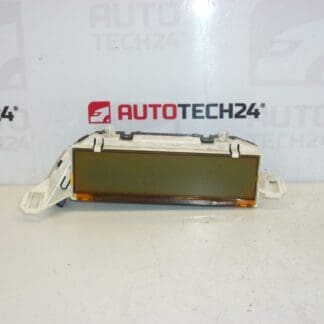
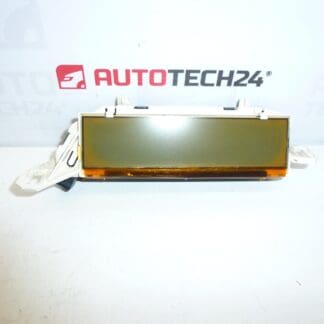
This used tachometer display is a direct-fit instrument panel component for the Citroën C4 (first generation) produced up to 2008. Referenced under part numbers 9662225980, 6106E0 and 6106E1, this unit restores accurate engine RPM readout and original dashboard appearance. Suitable for professional workshops and experienced DIY mechanics who locate parts by product code and require a reliable replacement for a failed rev-counter display.
Technical Information
- Manufacturer: Stellantis / Citroën
- Model: Citroën C4 I (up to 2008)
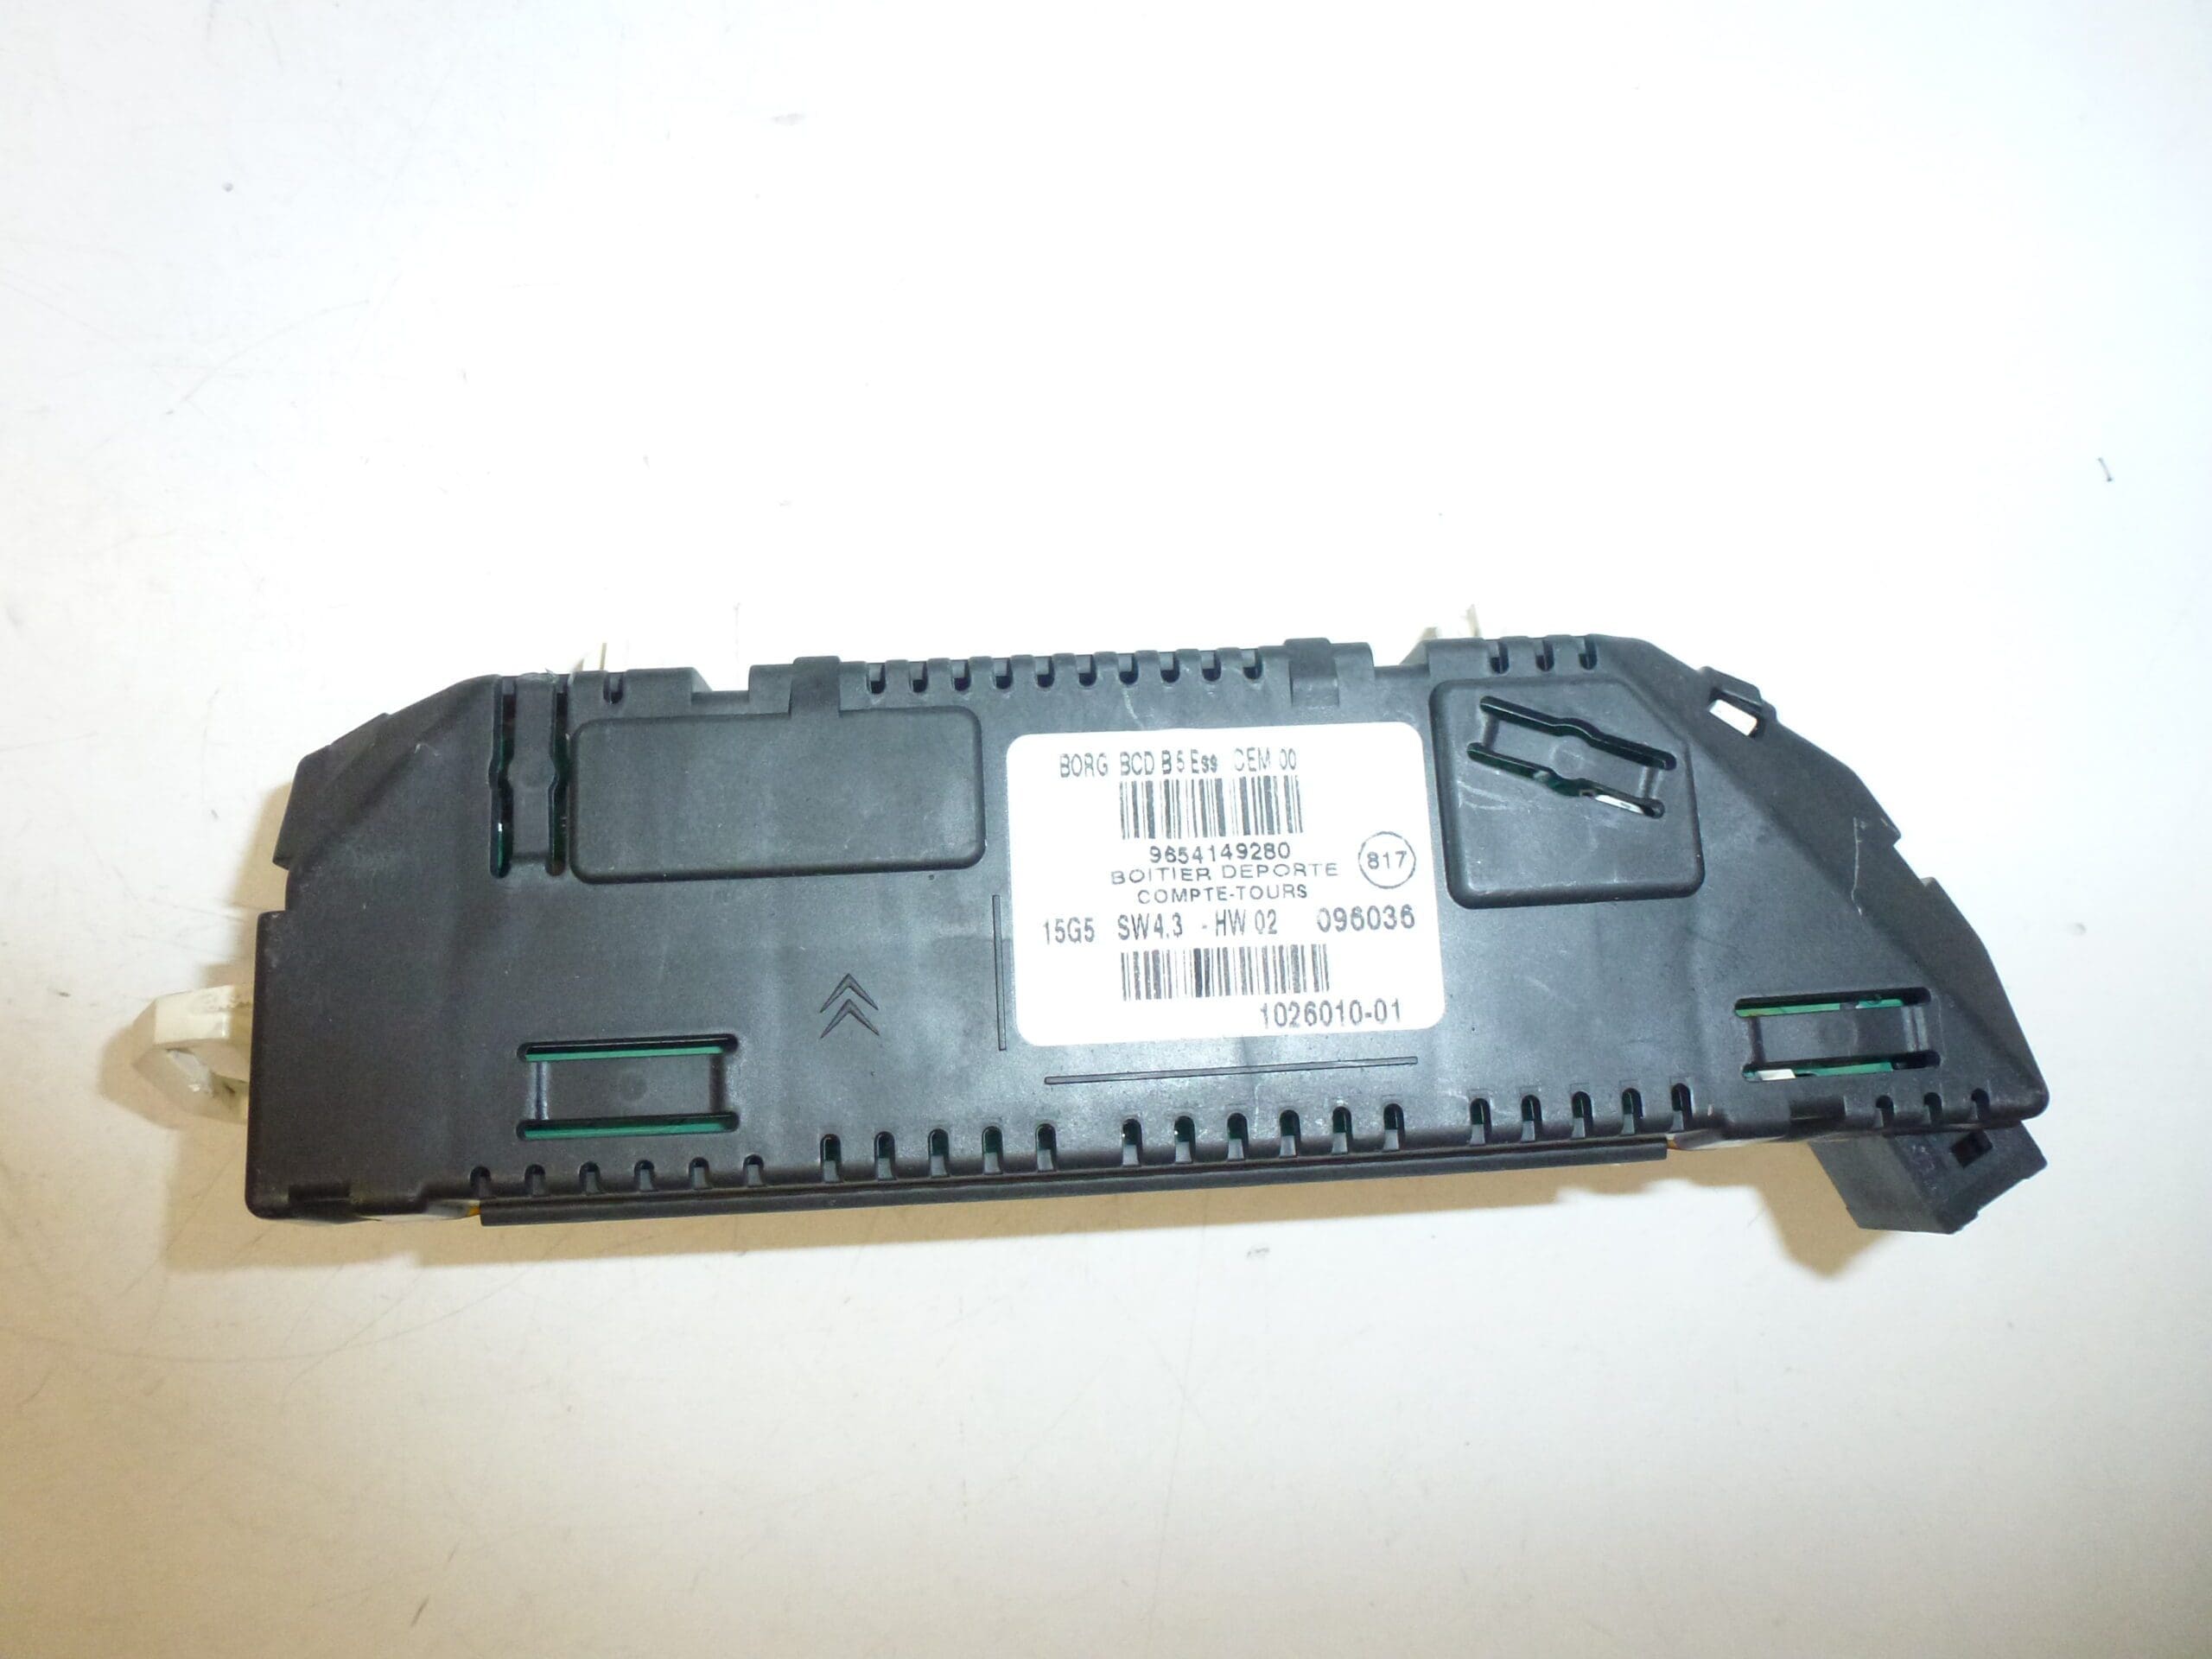
- Product Codes: 9662225980; 6106E0; 6106E1; 6106
- Other Numbers: 454297; NFP
Function and Purpose
The tachometer display shows engine speed (RPM) to the driver and is part of the instrument cluster. It receives an RPM signal from the engine management system or ignition and presents this as an analogue or digital needle/value on the dash. Accurate RPM information is critical for safe gear changes, engine protection from over-revving and for diagnostics during engine tuning or troubleshooting.
Common Failures and Causes
- Backlight or illumination failure due to aging LEDs or poor solder joints.
- Display pixel damage, fading or partial visibility from heat exposure or long-term UV/temperature cycling.
- Intermittent reading caused by corroded or loose connector pins and harness issues.
- Failure of internal components (capacitors, resistors, connectors) after many years in service—typically appearing after 8–15 years depending on vehicle usage and environment.
- Electrical surges or improper battery jump-starts can damage display electronics.
Replacement Procedure
Basic replacement steps for technicians or experienced DIYers:
- Disconnect the vehicle battery before beginning to avoid short circuits and airbag deployment risks.
- Remove dashboard trim pieces and securing screws to access the instrument cluster following manufacturer procedures.
- Unscrew and carefully withdraw the instrument cluster, then unplug the multi-pin connectors from the rear of the unit.
- Swap the display or complete cluster, reconnect harnesses and reassemble the dash in reverse order.
- Reconnect the battery and perform a functional check: illumination, RPM response at idle and under rev, warning lights and gauge behavior.
Note: After installation some functions (odometer display, certain settings or feature flags) may require adaptation or coding. If full functionality or calibration is needed, use PSA diagnostic tools (DiagBox/Lexia/PP2000) or ask a qualified workshop to perform the adaptation.
Mounting Recommendations
- Always disconnect the battery before removing the cluster to prevent damage and ensure safety.
- Keep connectors and mating surfaces clean and free of corrosion; apply dielectric grease sparingly if appropriate.
- Tighten mounting screws evenly and avoid over-torquing to prevent stress on the instrument housing.
- Check illumination and gauge sweep on first power-up. If any needle or display anomalies appear, recheck connectors and grounding points.
- When in doubt, have a trained technician perform the replacement and final coding to guarantee correct integration with vehicle electronics.
Why This Part Fails Most Often
The tachometer display typically fails due to long-term thermal stress, degraded illumination components, brittle solder joints from repeated temperature cycles, moisture ingress behind the dash and electrical transients. Vehicles exposed to high humidity, frequent short trips or extreme temperatures accelerate wear of the display electronics and connectors.
Check the part numbers printed on your existing unit (9662225980, 6106E0, 6106E1) to confirm fitment. Order the matching code to increase the chance of correct replacement and fast installation.