Description
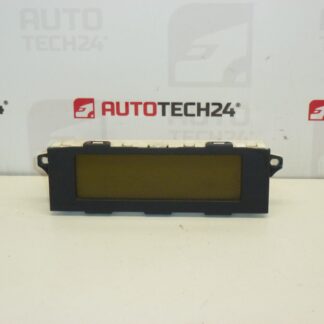
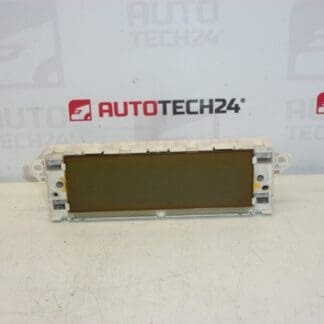
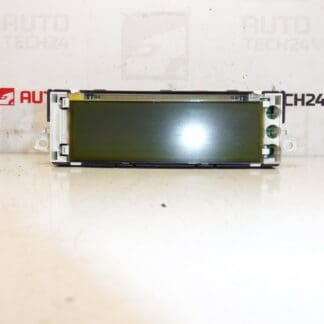
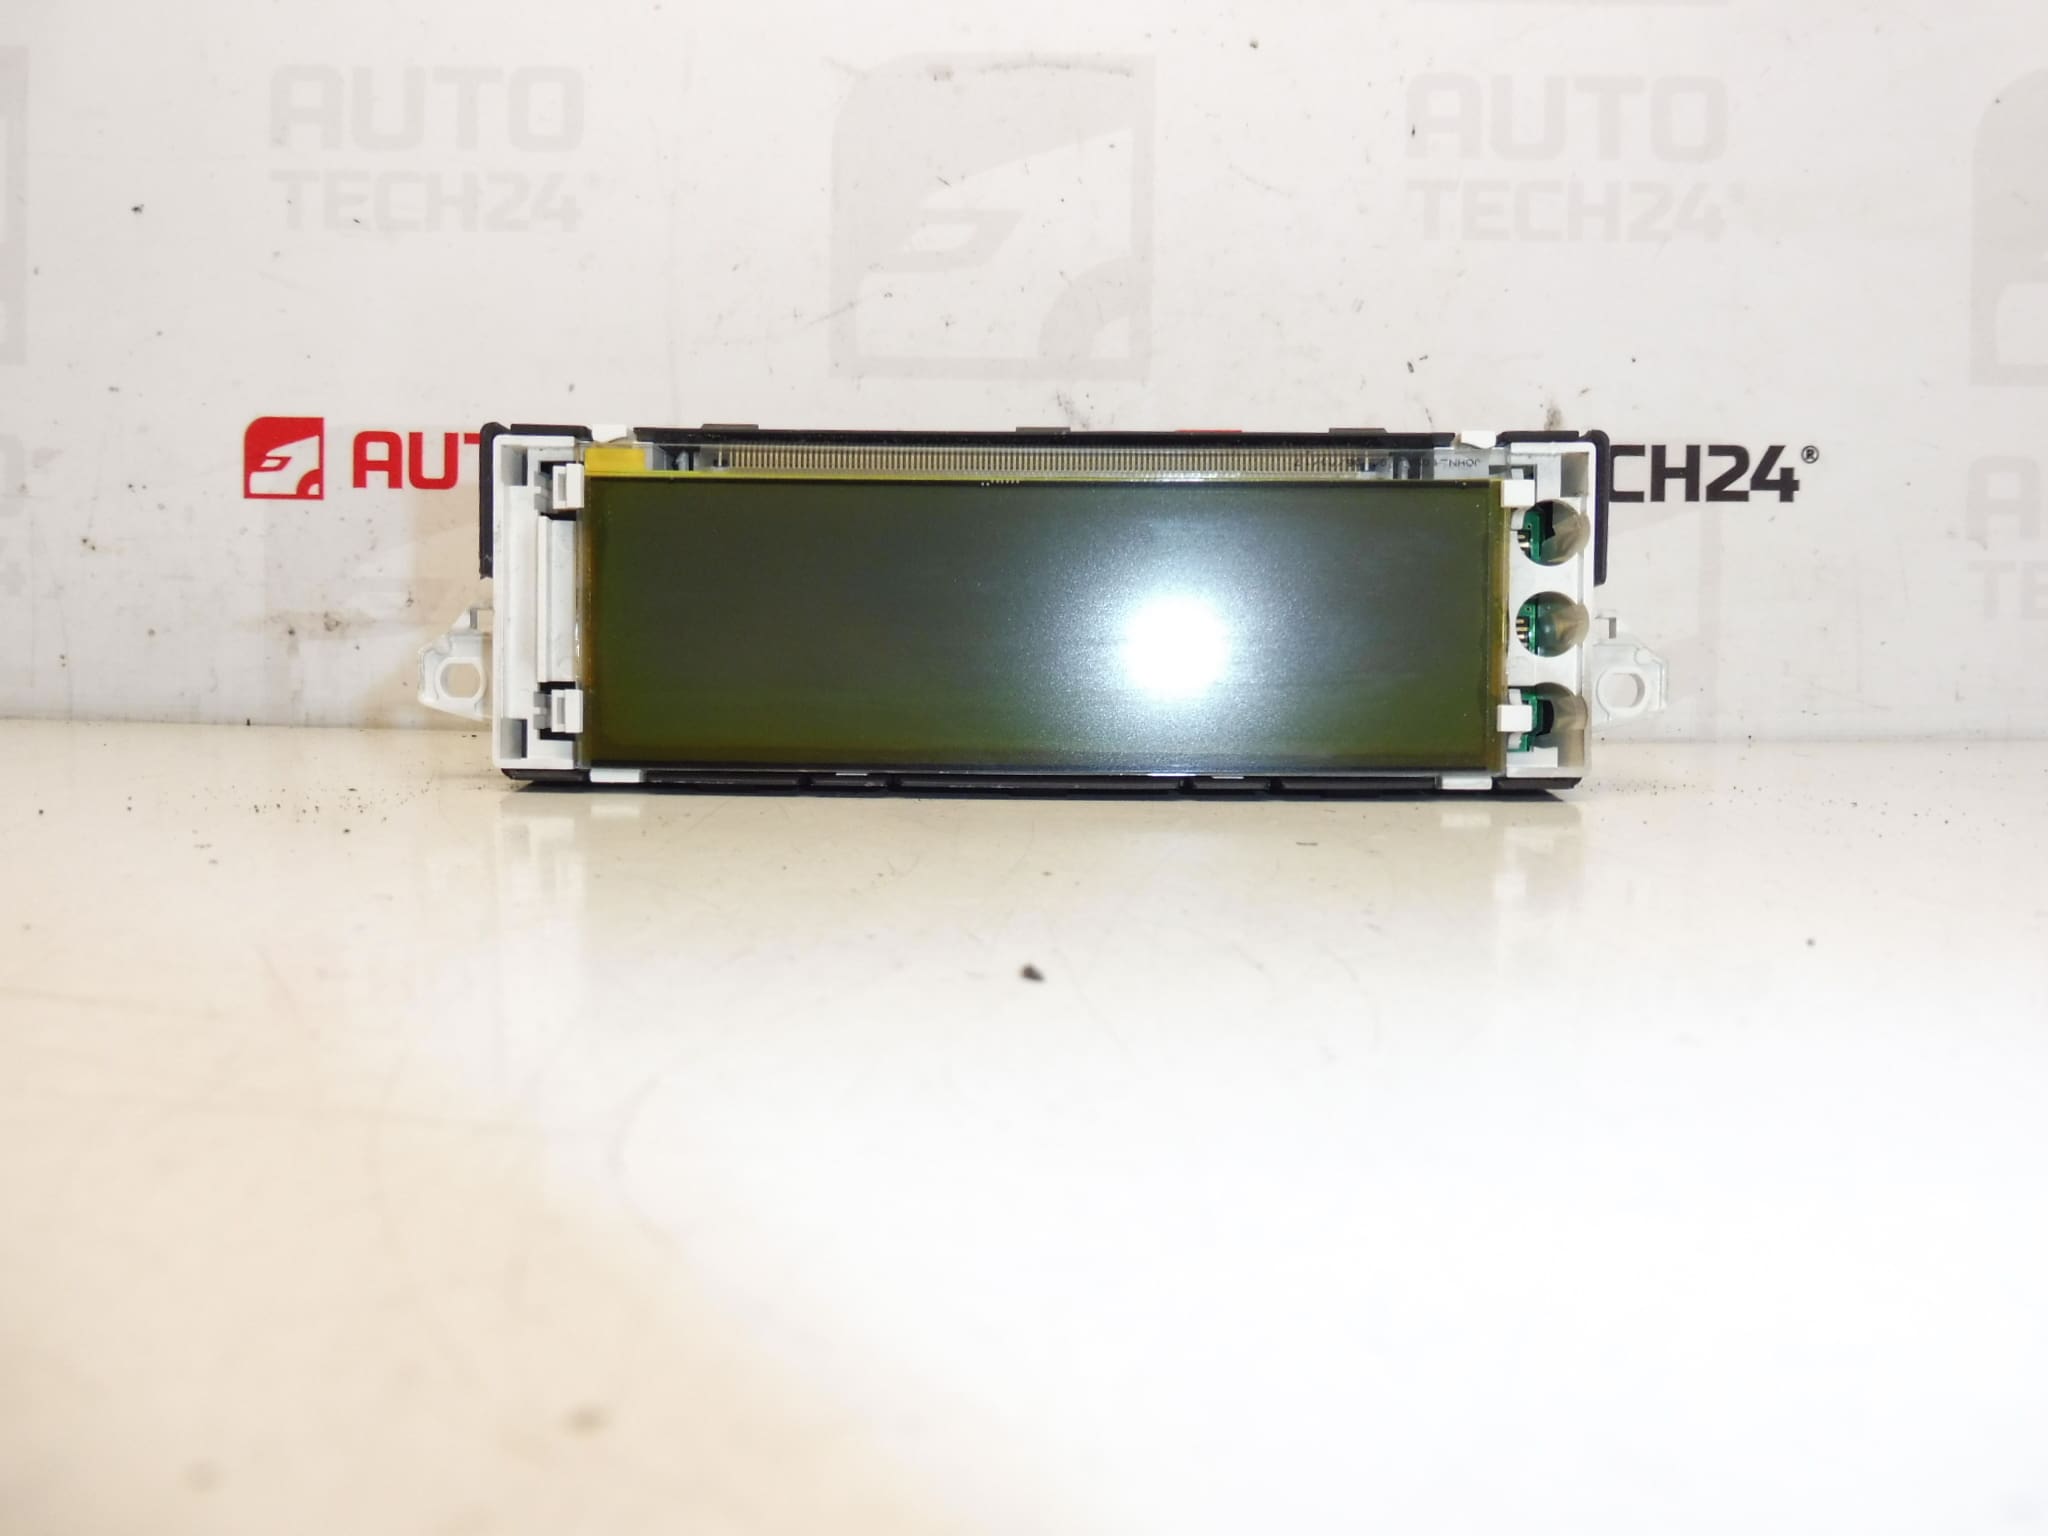
Radio and onboard computer display for first-generation Citroën C4
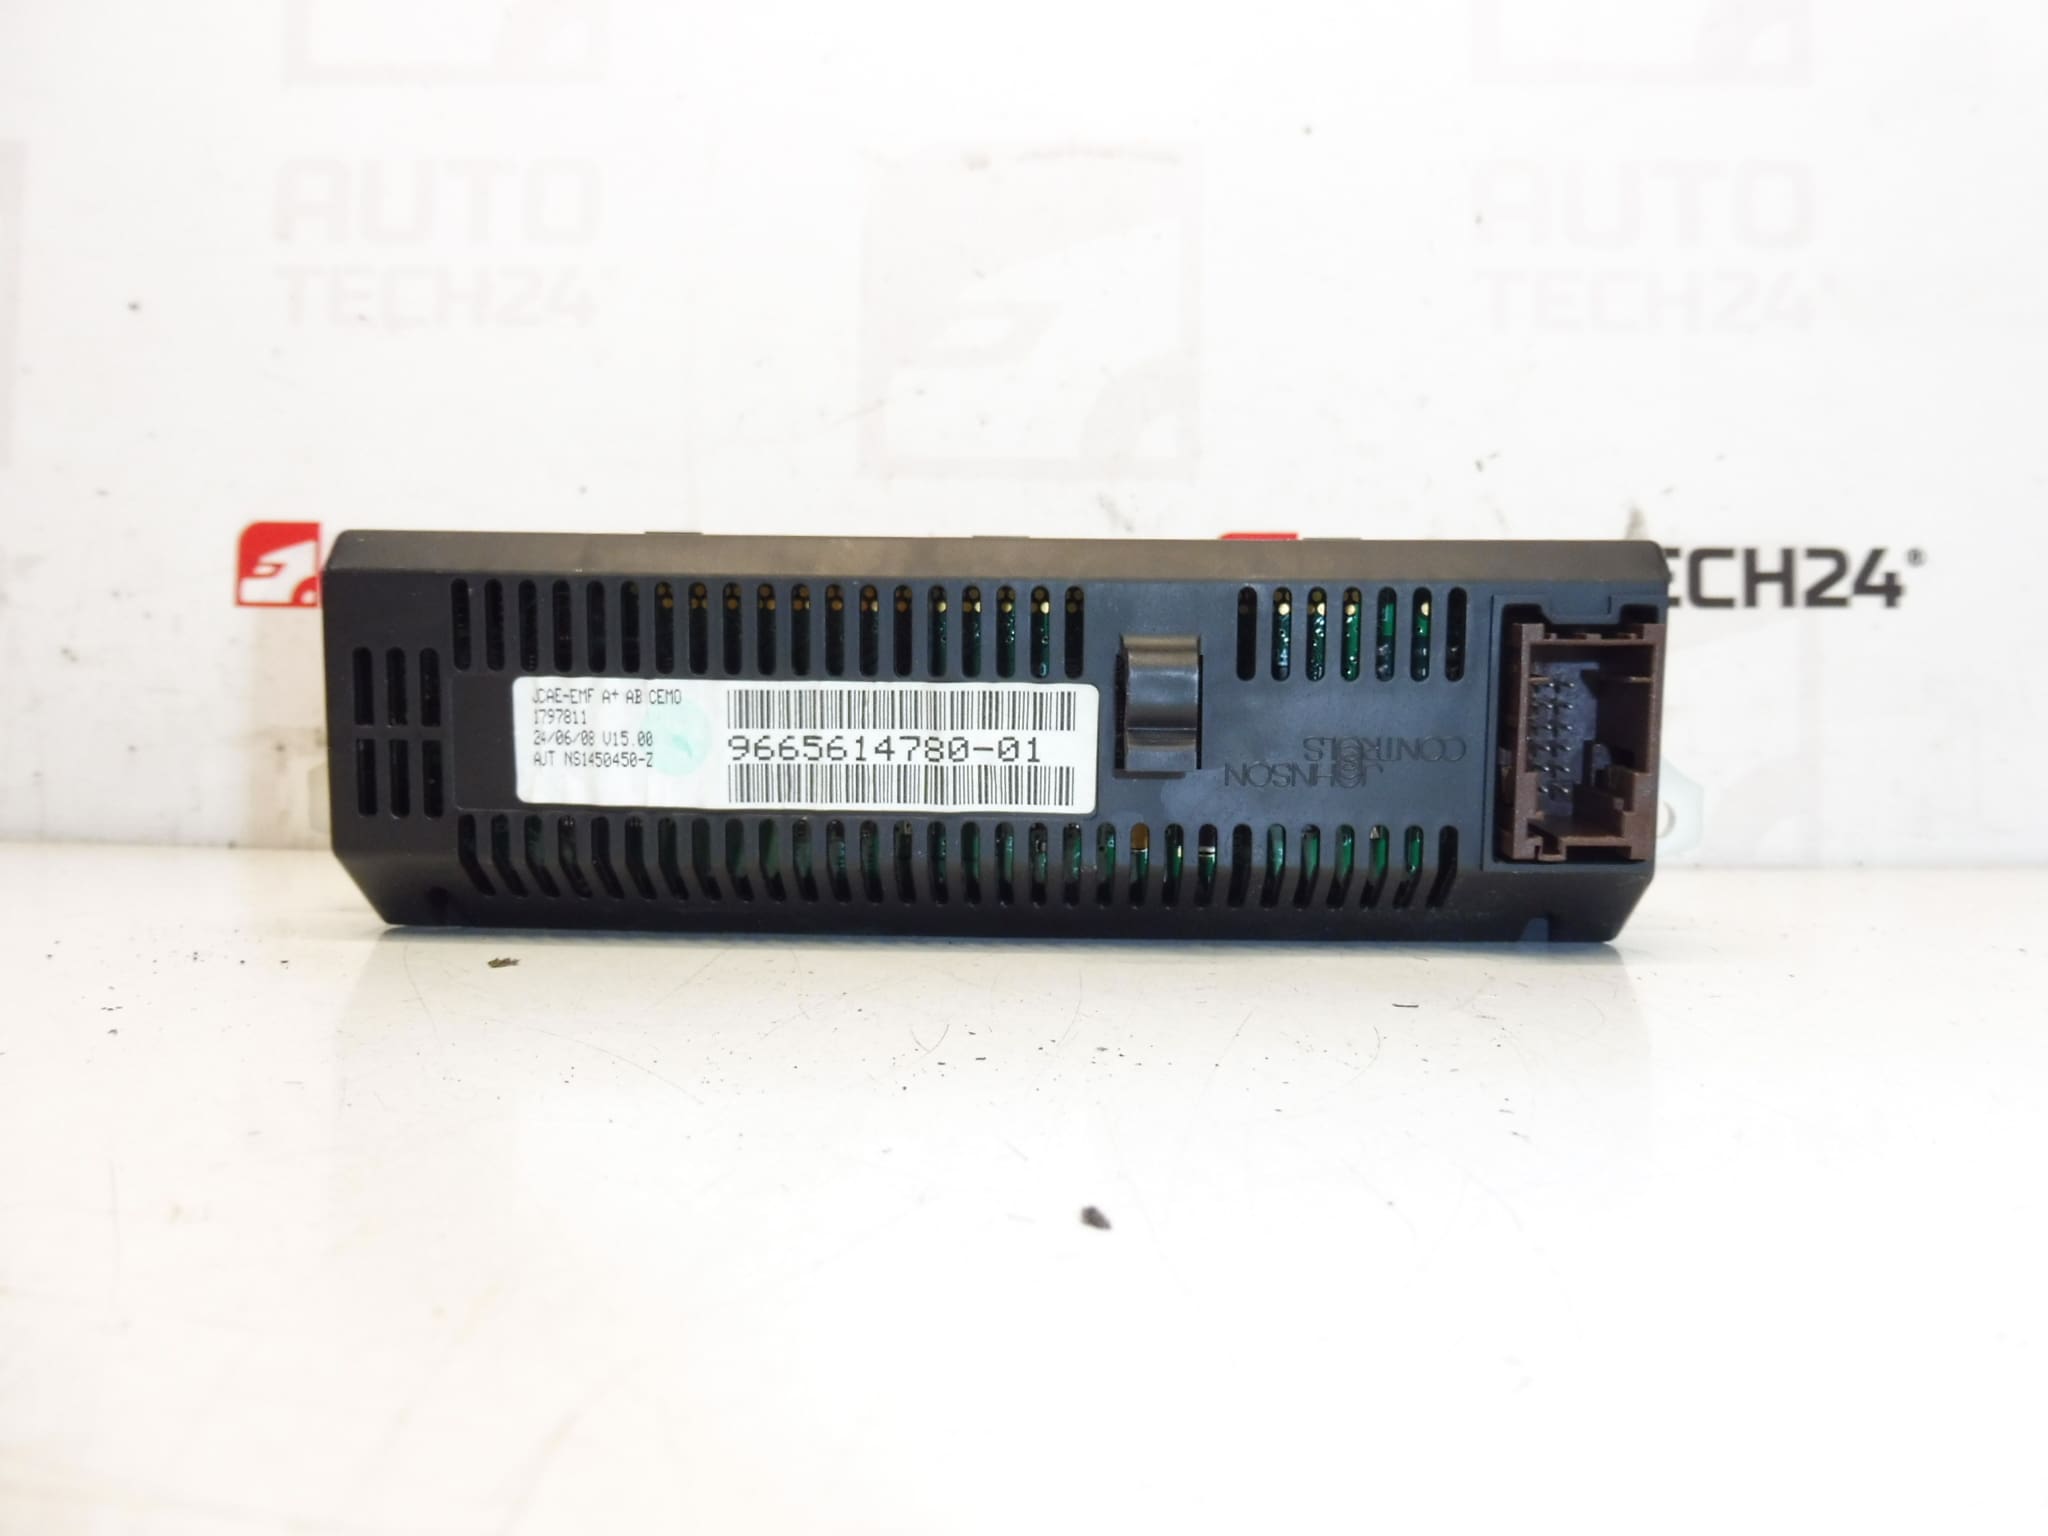
This replacement display is designed for mechanics and skilled DIY enthusiasts who need a reliable screen for the Citroën C4 I. Commonly searched by product numbers 9665614780, 9665614780-01, 6155GX and 6155GY, the unit restores clear readout of radio information, menu navigation and vehicle trip/computer data. The display fits original PSA radio and infotainment assemblies and is a practical service item when the factory screen shows dead pixels, faded backlight or intermittent communication with the head unit.
Technical Information
- Manufacturer: Stellantis / Citroën
- Model: Citroën C4 I (first generation)
- Product Codes: 9665614780, 9665614780-01
- Additional Numbers: 6155GX, 6155GY
Function
The display provides visual output for the radio and the onboard computer: station and track data, menu navigation, clock and trip/computer readouts (fuel consumption, range, average speed). It interfaces with the vehicle’s radio/information controller via multi-pin connectors and communicates status and settings to the driver.
Compatibility and Fitment
Primarily intended for Citroën C4 first-generation models (C4 I, approx. 2004–2010) equipped with PSA radio units that use the 6155GX / 6155GY series displays. Always verify the part numbers printed on the original display or radio housing before ordering; many customers search directly using the numbers 9665614780 or 6155GX.
Replacement Procedure
Suitable for experienced mechanics and competent DIYers. Typical replacement steps:
- Disconnect the negative battery terminal to avoid electrical damage or short circuits.
- Remove surrounding trim panels carefully using plastic trim tools to avoid scratching. Keep fasteners and clips organized.
- Unscrew and slide out the radio/information unit as required to access the display. Some radios require removal of the full chassis.
- Unplug the display’s ribbon and wiring connectors. Note connector orientation and locking mechanisms.
- Fit the replacement display, reconnect the ribbon and connectors, reassemble the radio and trim in reverse order.
- Reconnect the battery and verify display operation and menu navigation. Check for stable backlight and responsiveness.
Installation Recommendations
- Always disconnect the battery before beginning work.
- Use plastic trim removal tools to avoid damaging dashboard surfaces.
- Handle the LCD and ribbon cable carefully; do not crease or overstress flex cables.
- Ensure connectors are clean and fully engaged. Corrosion or loose pins are common causes of intermittent faults.
- If the radio unit requires deeper disassembly, document screw locations and connector positions to ensure correct reassembly.
Why This Part Most Often Fails
- Backlight deterioration: LEDs or diffuser layers age, causing dim or uneven illumination.
- Dead pixels or LCD damage: thermal stress, impact or manufacturing wear can create black spots or lines.
- Connector and ribbon cable faults: flex cable wear, broken traces or poor contact lead to intermittent or total loss of image.
- Moisture ingress and contamination: humidity or condensation inside the dash can corrode contacts and circuit traces.
- Electronics ageing: failing components on the display driver board (solder joints, capacitors) can cause malfunction.
Troubleshooting Tips
- If the display is dim but visible, check contrast/brightness settings first and inspect backlight power lines.
- Intermittent blanking often points to loose ribbon cables or connector corrosion—reseating connectors can restore function.
- Persistent artefacts or lines usually indicate LCD panel damage and require replacement.
Notes For The Buyer
This listing uses common PSA part numbers to help with search and fitment. The display is a direct-fit replacement for units identified by the above product codes; installing mechanics should follow the replacement procedure and installation recommendations to avoid damage during service.