Description
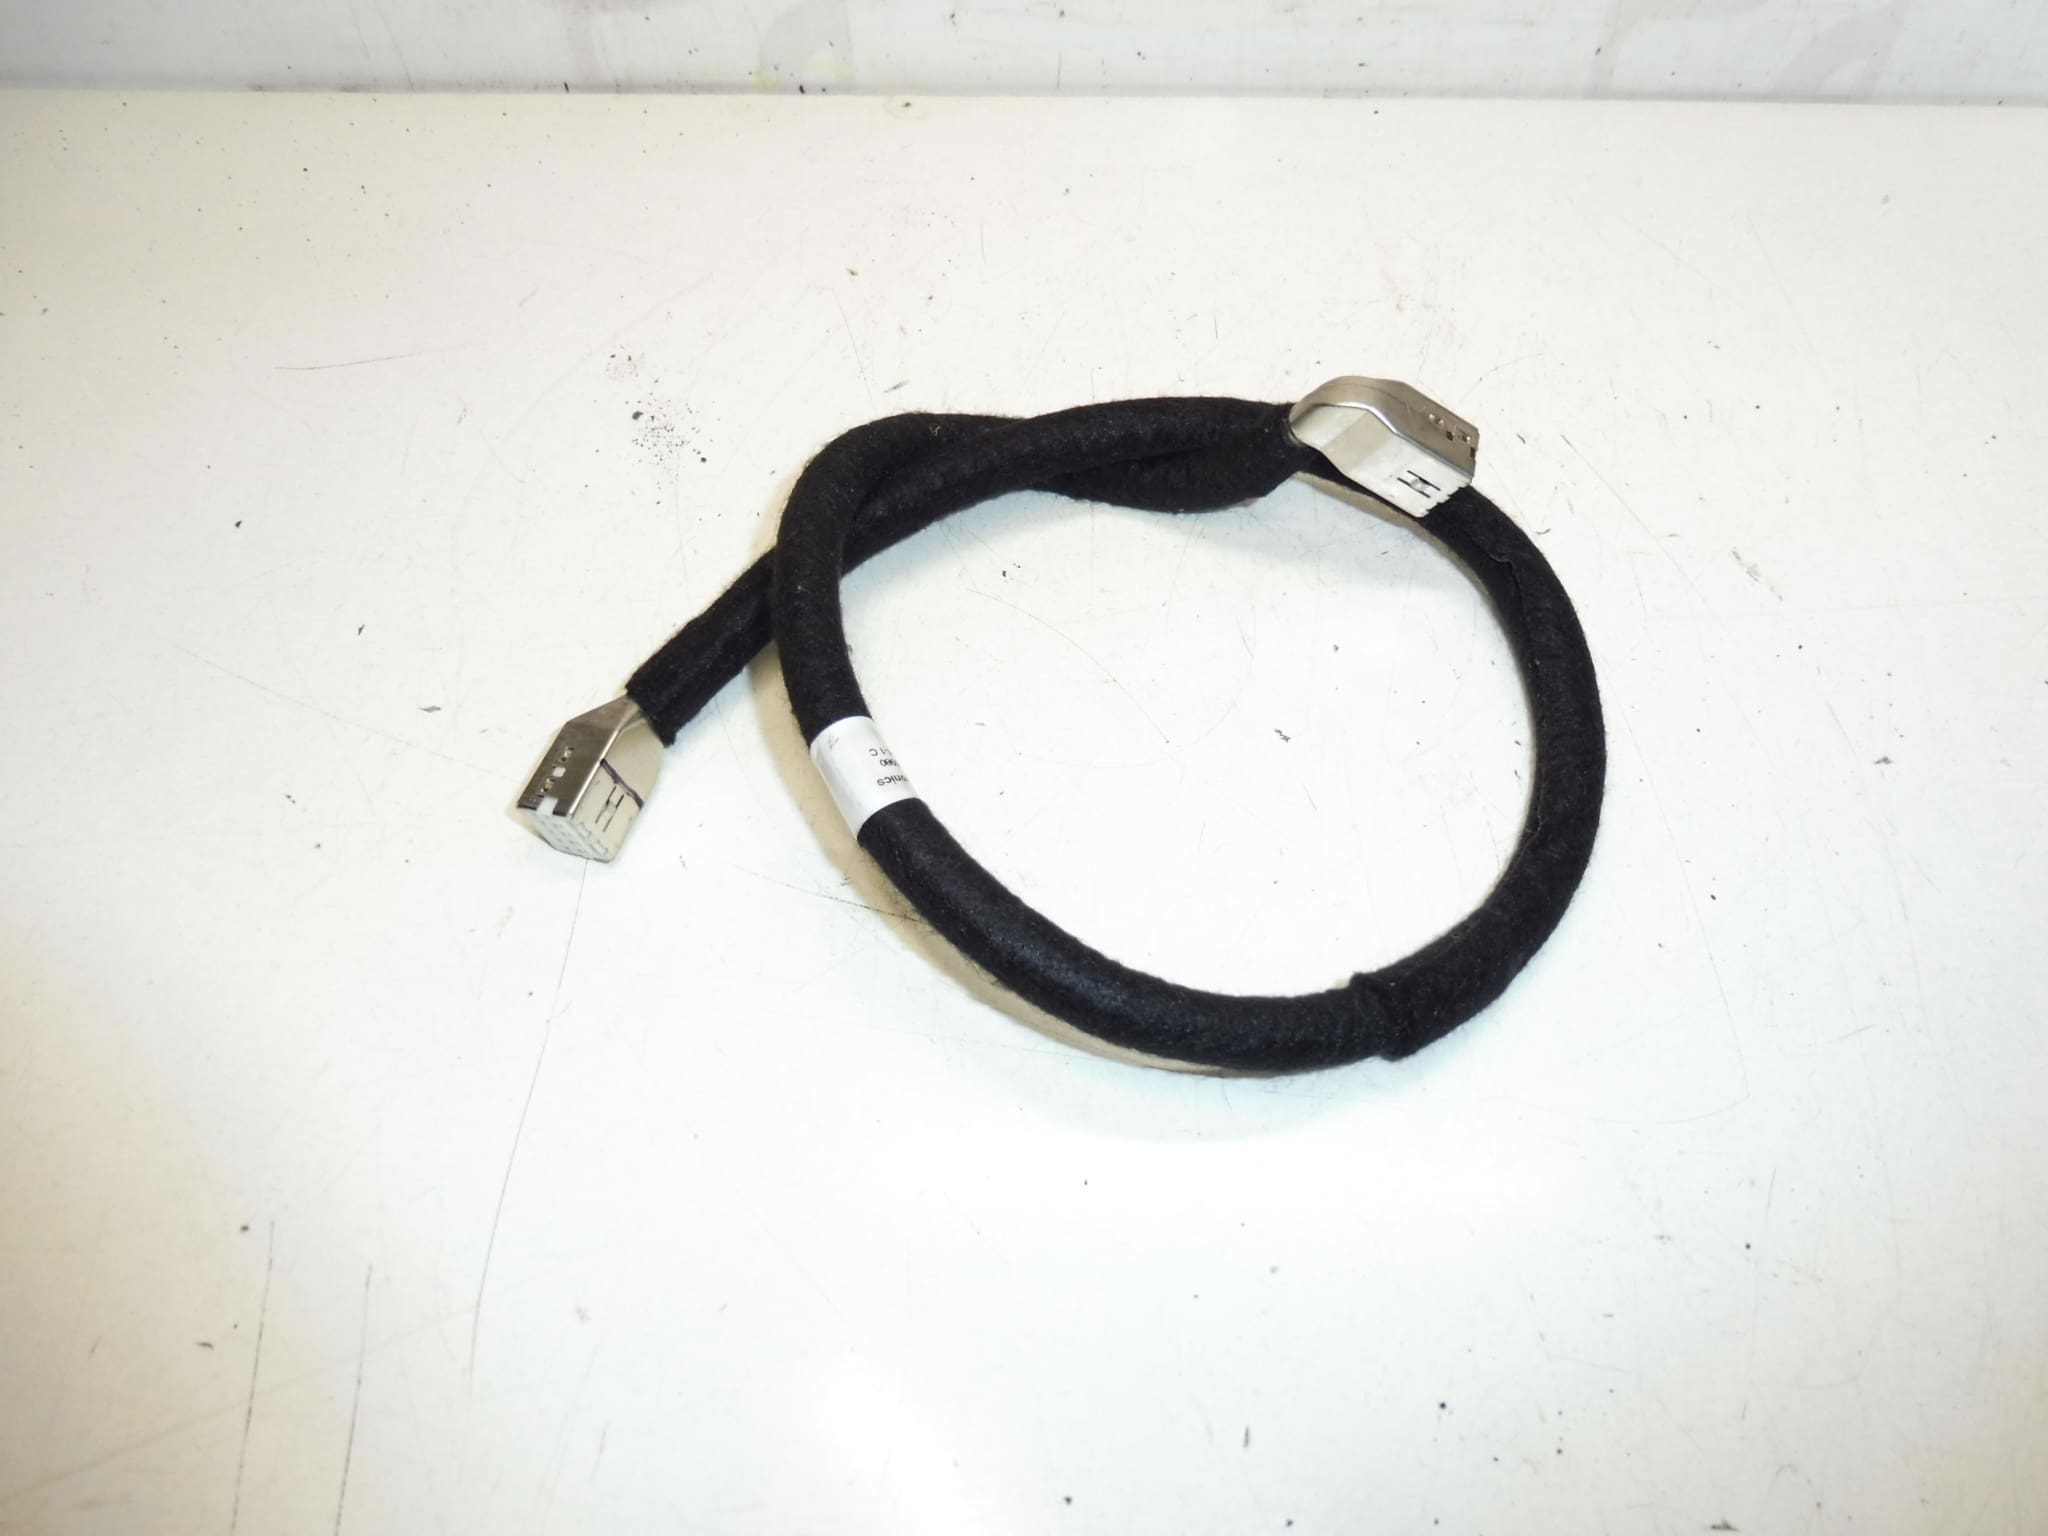
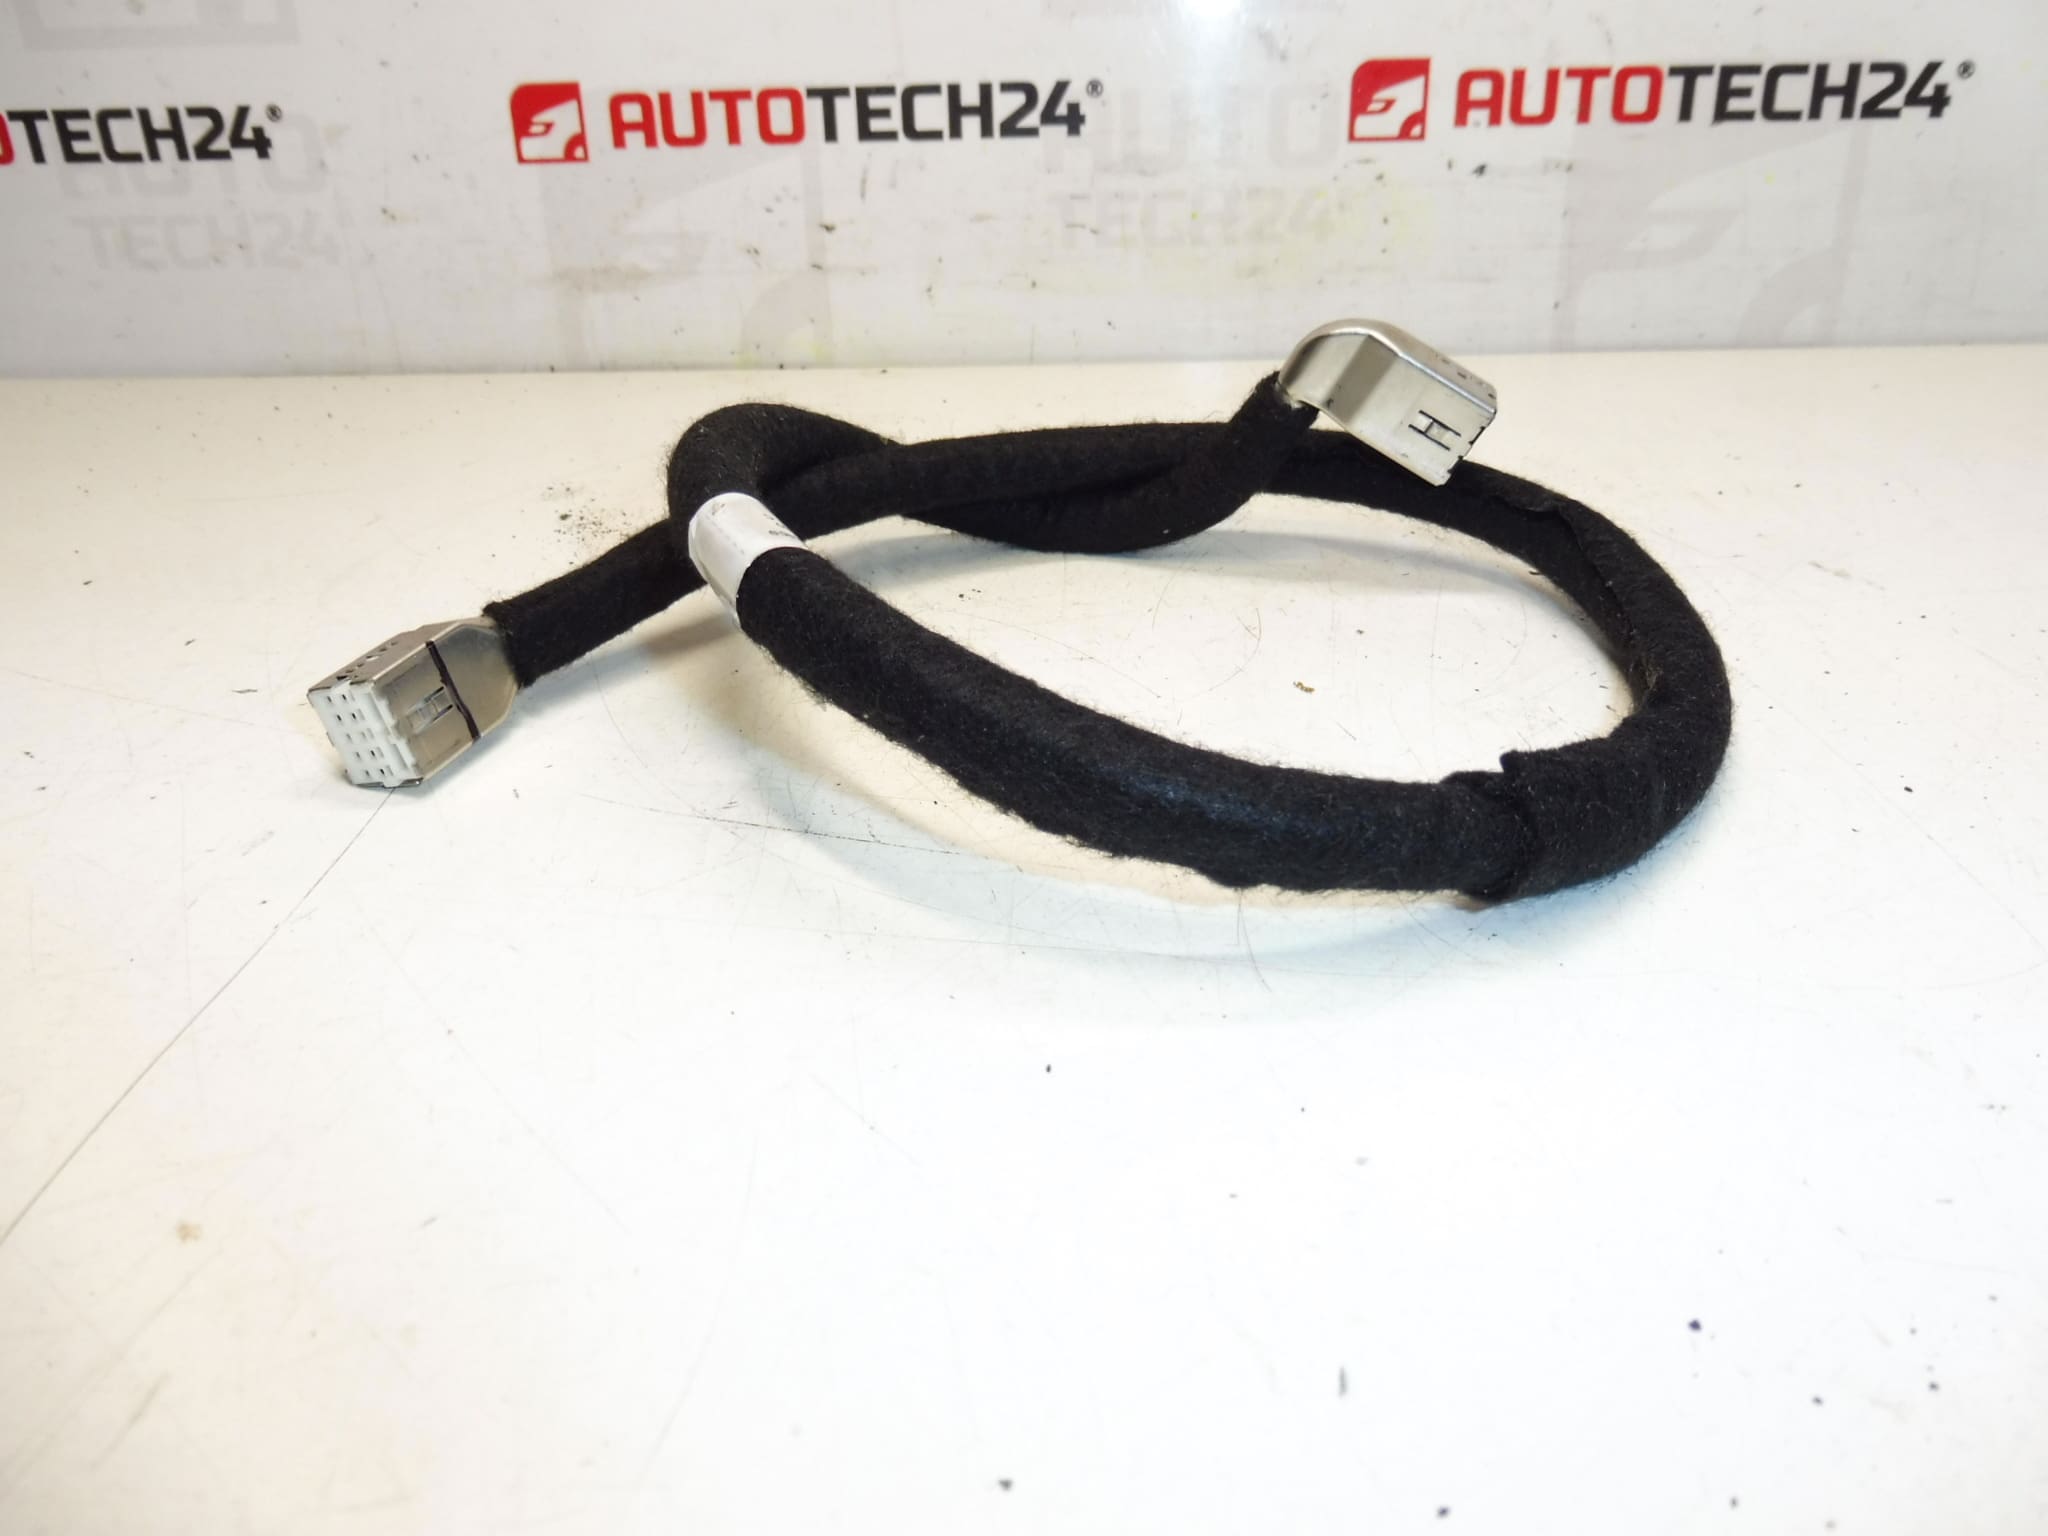
Multifunction video screen cable for Peugeot 407 facelift. It is from Peugeot 407 2008.
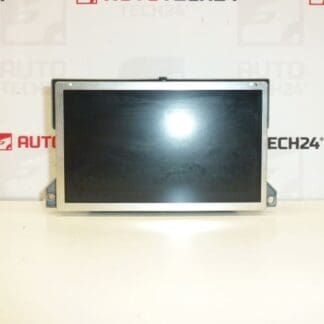
This multifunction display cable is a direct-fit replacement for the in-dash video/display system used on Peugeot 407 facelift models. Ideal for professional workshops and experienced DIYers, the cable restores screen functionality (image, menu navigation and touch input where applicable) and resolves intermittent or complete loss of display due to wiring faults. Key search terms: Peugeot 407 screen cable, 9662390980, 6563ZZ, display cable for Peugeot 407 facelift.
Benefits at a glance:
- Direct compatibility with Peugeot 407 facelift display units (see Technical Information below for product codes).
- Restores stable video signal and control connections between the vehicle harness and the head unit/display.
- Designed for easy routing behind the dashboard with original connector interfaces—suitable for professional refit or competent DIY replacement.
Technical Information
- Manufacturer: Stellantis / Peugeot
- Model: Peugeot 407 (Facelift), specifically referenced from 2008
- Product Codes: 9662390980
- Other Numbers: 6563ZZ
Function
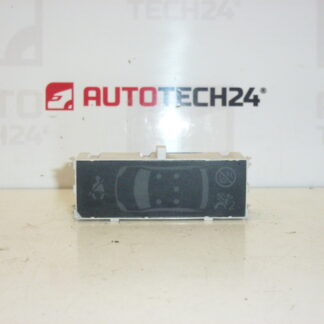
The cable transmits video signal, power supply lines and control signals between the vehicle wiring loom and the multifunction display/head unit. It ensures communication for on-screen menus, reverse camera (if fitted), and display illumination. A damaged cable typically results in a blank screen, flickering image, intermittent audio/video, or loss of certain display functions.
Installation Recommendations
- Disconnect the negative battery terminal before starting to avoid short circuits and ECU issues.
- Use plastic trim tools to remove dashboard panels and the center console trim without damaging clips.
- Carefully release the display unit from its mount and access the rear connector(s). Note the routing of the original cable to replicate correct positioning and avoid pinch points.
- Unplug the old connector(s) by depressing any locking tabs; avoid pulling on wires directly.
- Fit the replacement cable, ensuring secure seating of all connectors and correct routing away from sharp edges, moving parts and heat sources.
- Reconnect the battery and verify screen operation and all related functions before reassembling trims completely.
Reason For Failure
Common causes of cable failure include:
- Flex fatigue at connector entry points due to repeated opening/closing of the display or vibration over time.
- Heat-related deterioration of insulation in older vehicles, leading to internal wire breaks or short circuits.
- Corrosion or contamination on connector pins causing intermittent contact and signal loss.
- Incorrect routing or previous poor repairs that allow pinching or abrasion of the cable.
In practice, these cables can last many years, but failures are more likely on higher-mileage vehicles or where the dashboard has been disassembled frequently. Replacing the cable with the correct part numbers listed above is a reliable way to restore full display functionality.
Notes for fitters: Always confirm connector type and pin alignment visually during installation. Test the display and related functions (brightness, menu control, camera image if applicable) before refitting panels to ensure no further faults remain.