Description
Radio and Instrument Display for Citroën and PEUGEOT Vehicles. Some functions may need to be activated via diagnostics.
Product Overview
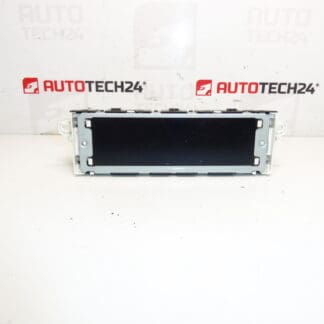
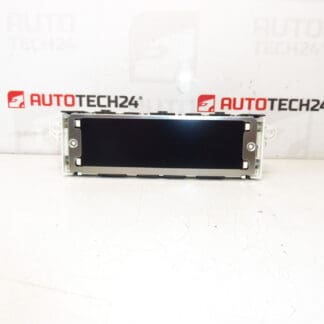
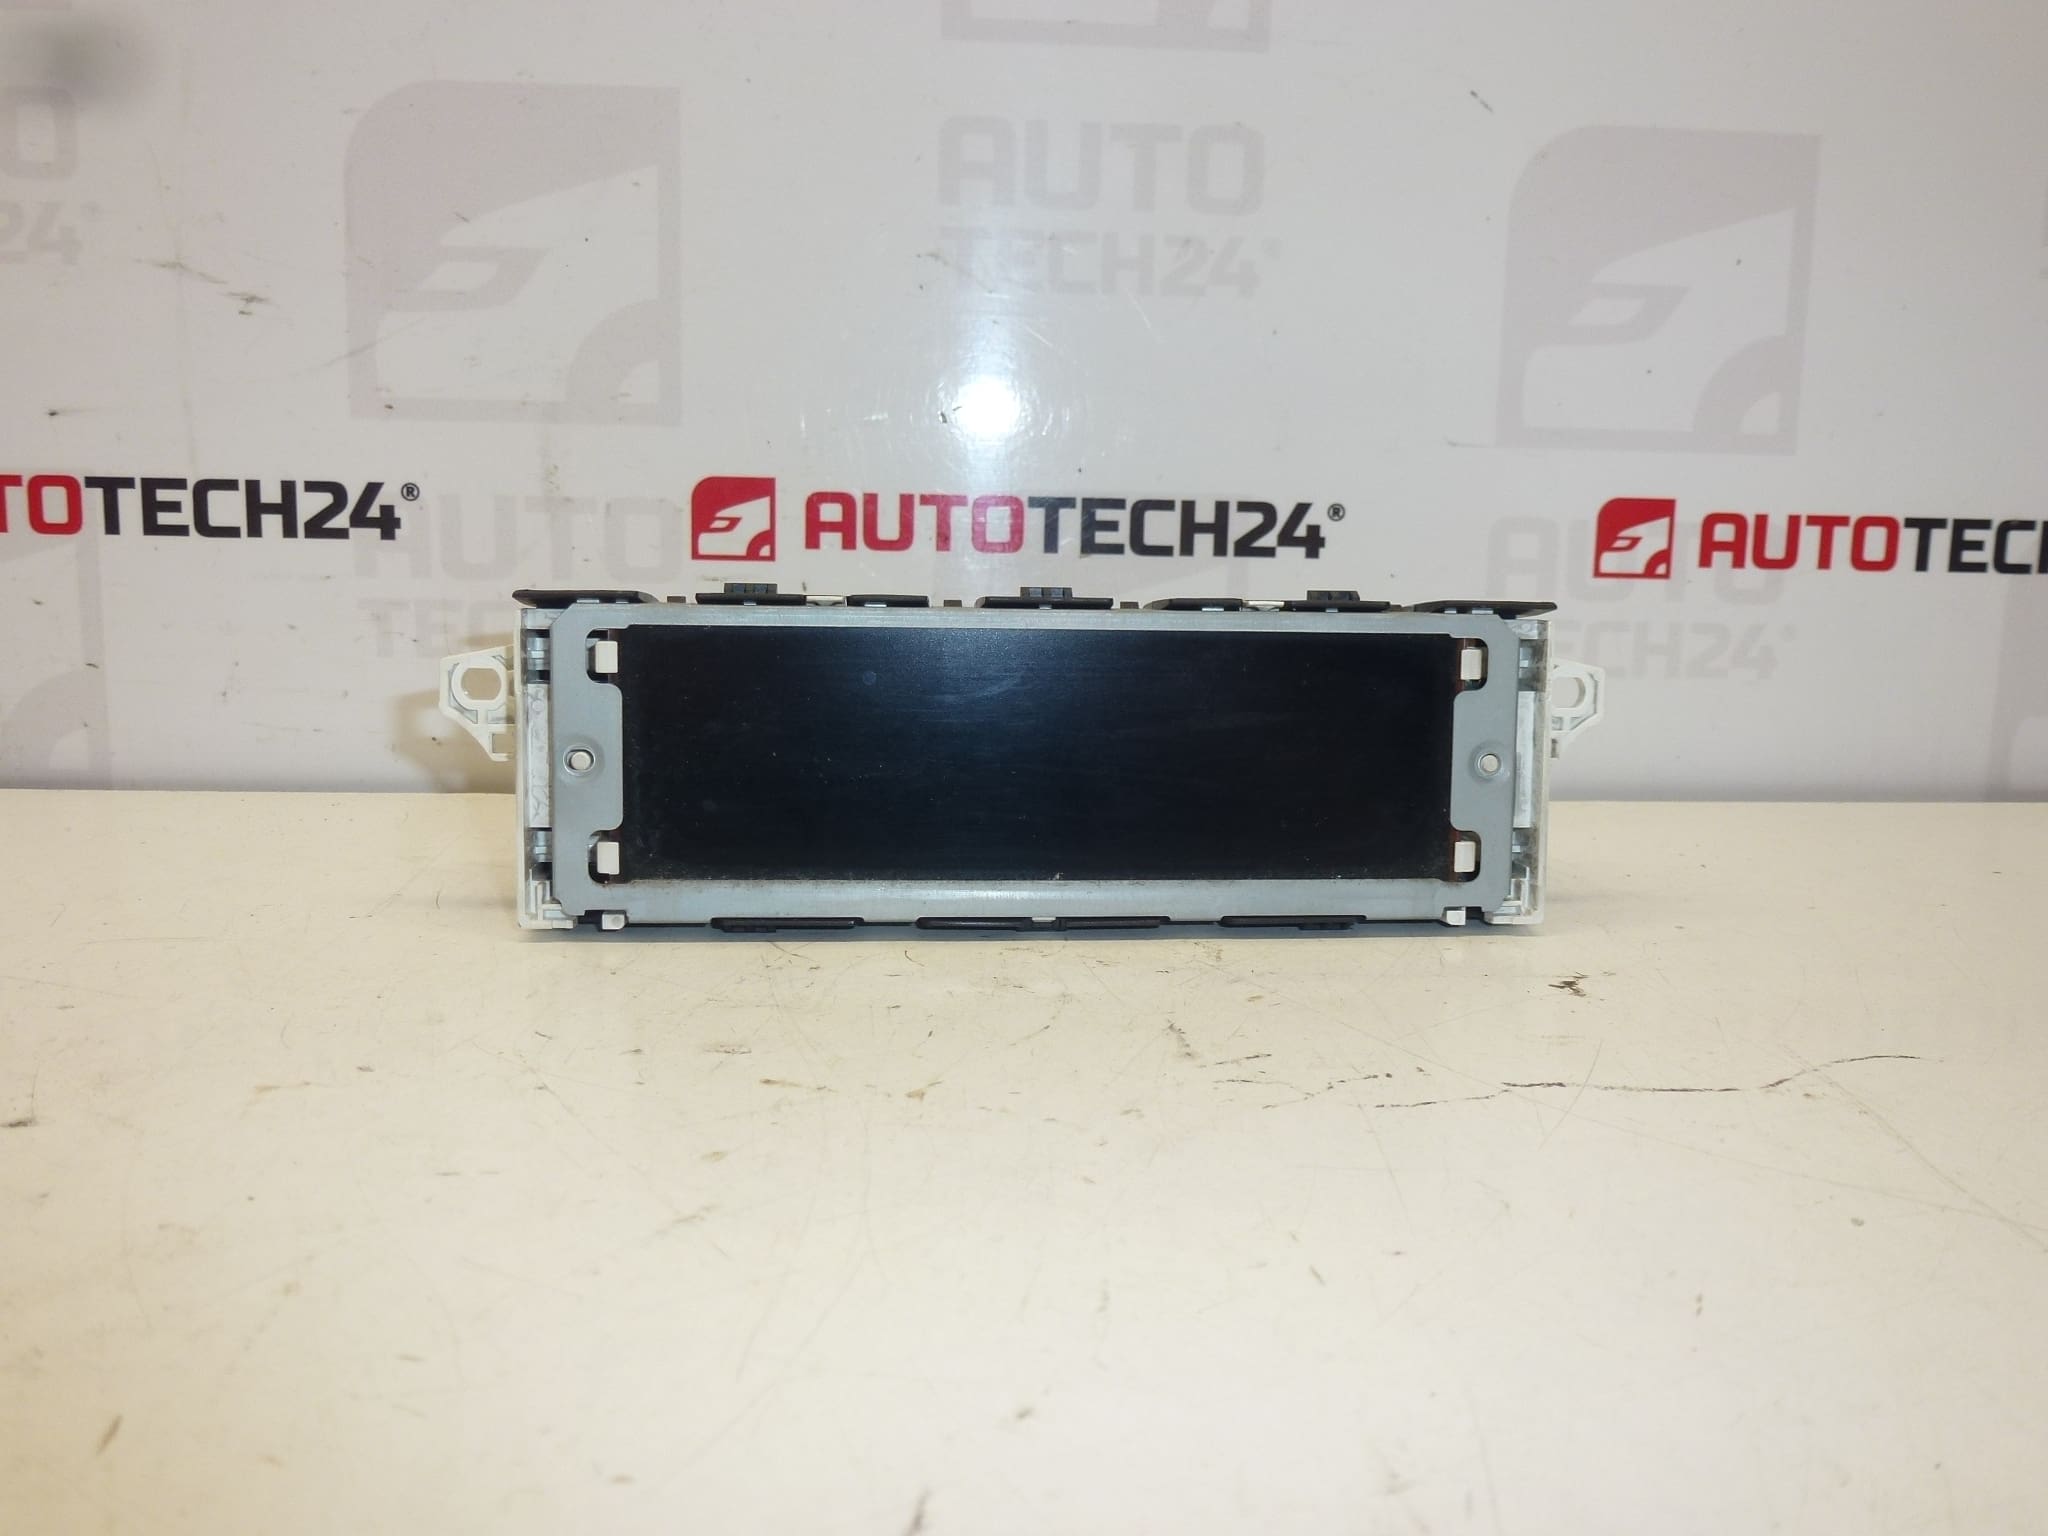
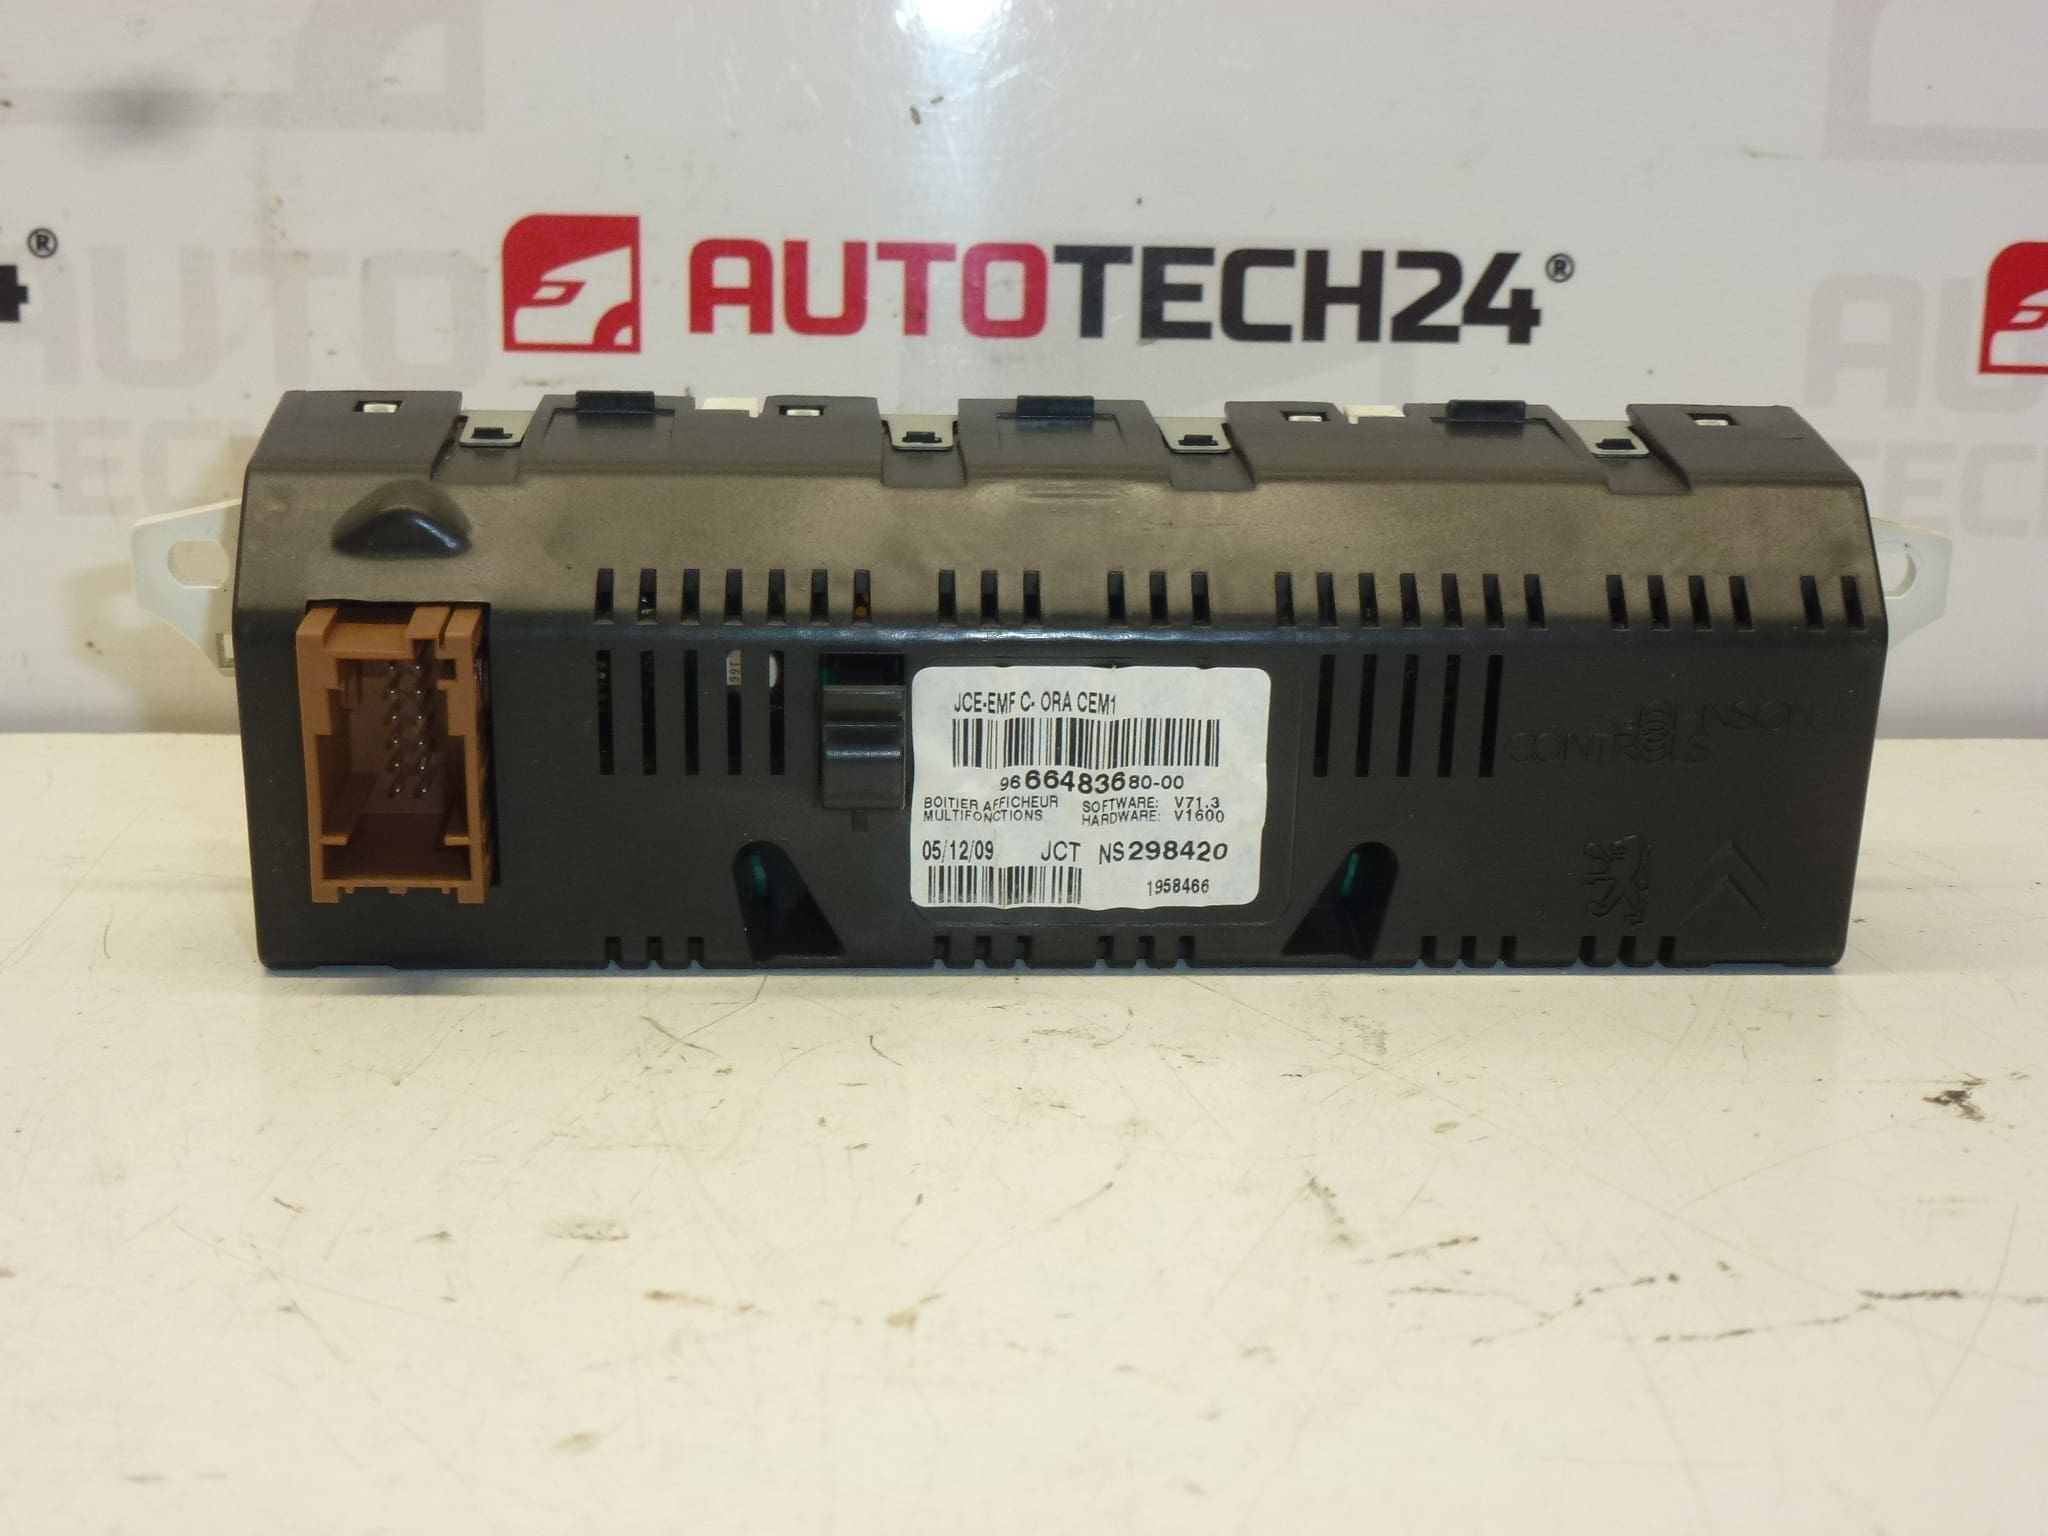
This replacement display unit is designed for Citroën and Peugeot vehicles and serves as the visual interface for the radio and on-board computer. It reproduces radio station information, menu screens, trip computer readouts and controlled settings. The unit is a direct-match electronic module commonly searched by part numbers such as 9666483680-00, 9821851780, 6593H7 and 6593H8, making it easy to find for professional workshops and DIY mechanics.
Benefits
- Restores clear, legible display for radio and trip computer functions.
- Direct-fit product that replaces faulty or dark screens caused by backlight or connector faults.
- Improves usability of infotainment and instrument menus for everyday driving and diagnostics.
Technical Information
- Manufacturer: Stellantis
- Model(s): Peugeot 207, Peugeot 308 (Also Compatible With Selected Citroën And Peugeot Models)
- Product Codes: 9666483680-00, 9821851780
- Other Numbers: 6593H7, 6593H8
Compatibility And Notes
The display is commonly fitted to earlier-generation Peugeot 207 and 308 platforms and to equivalent Stellantis electrical architectures. Some features or menu items may require activation or enabling via diagnostic equipment to function exactly as the original unit did. Check that the connector layout and housing match your vehicle before installation.
How The Unit Is Replaced
Replacement is straightforward for a trained technician or an experienced DIYer with basic tools. Typical steps:
- Disconnect the negative battery terminal before you start to avoid short circuits and protect vehicle electronics.
- Remove surrounding trim panels carefully to access the radio/display area—use plastic trim tools to avoid damage.
- Unscrew and extract the radio/head unit to reach the display module if it is mounted separately.
- Disconnect the display electrical connectors (pay attention to ribbon cables and locking clips).
- Install the new display, reconnect all plugs, test functionality before reassembling trim.
- After installation, reassemble trim and reconnect the battery. Perform any required diagnostic enabling if certain functions are not active.
Installation Recommendation
Always disconnect the battery prior to removal and follow manufacturer procedures to prevent damage to sensitive electronics. Handle the display and ribbon cables gently, observe electrostatic discharge (ESD) precautions, and use correct torque settings for screws. If certain features are inactive after fitment, use PSA-compatible diagnostic tools (e.g., DiagBox/Lexia) to enable or code functions.
Why This Part Fails Most Often
Display failures are usually caused by age and environmental factors. The most common issues are backlight burnout, failing solder joints or cracked solder traces from thermal cycling, damaged ribbon cables or connector pins, and moisture ingress leading to corrosion. Sudden screen loss can also result from intermittent power supply faults or internal component degradation after many years of use.
Advice For Workshops And DIY Mechanics
Search by the part numbers 9666483680-00, 9821851780, 6593H7 or 6593H8 to locate the correct unit quickly. When replacing the display, inspect connectors and wiring for signs of corrosion or damage—repairing a corroded connector can prevent repeat failures. If diagnostic activation is required, use appropriate PSA diagnostic software to enable all functions and confirm proper operation.