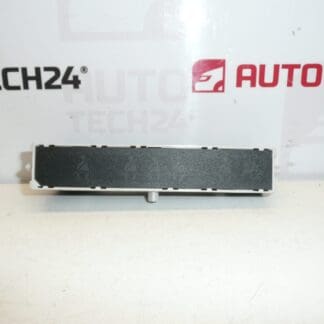
Description
Radio display for Citroën and Peugeot vehicles.
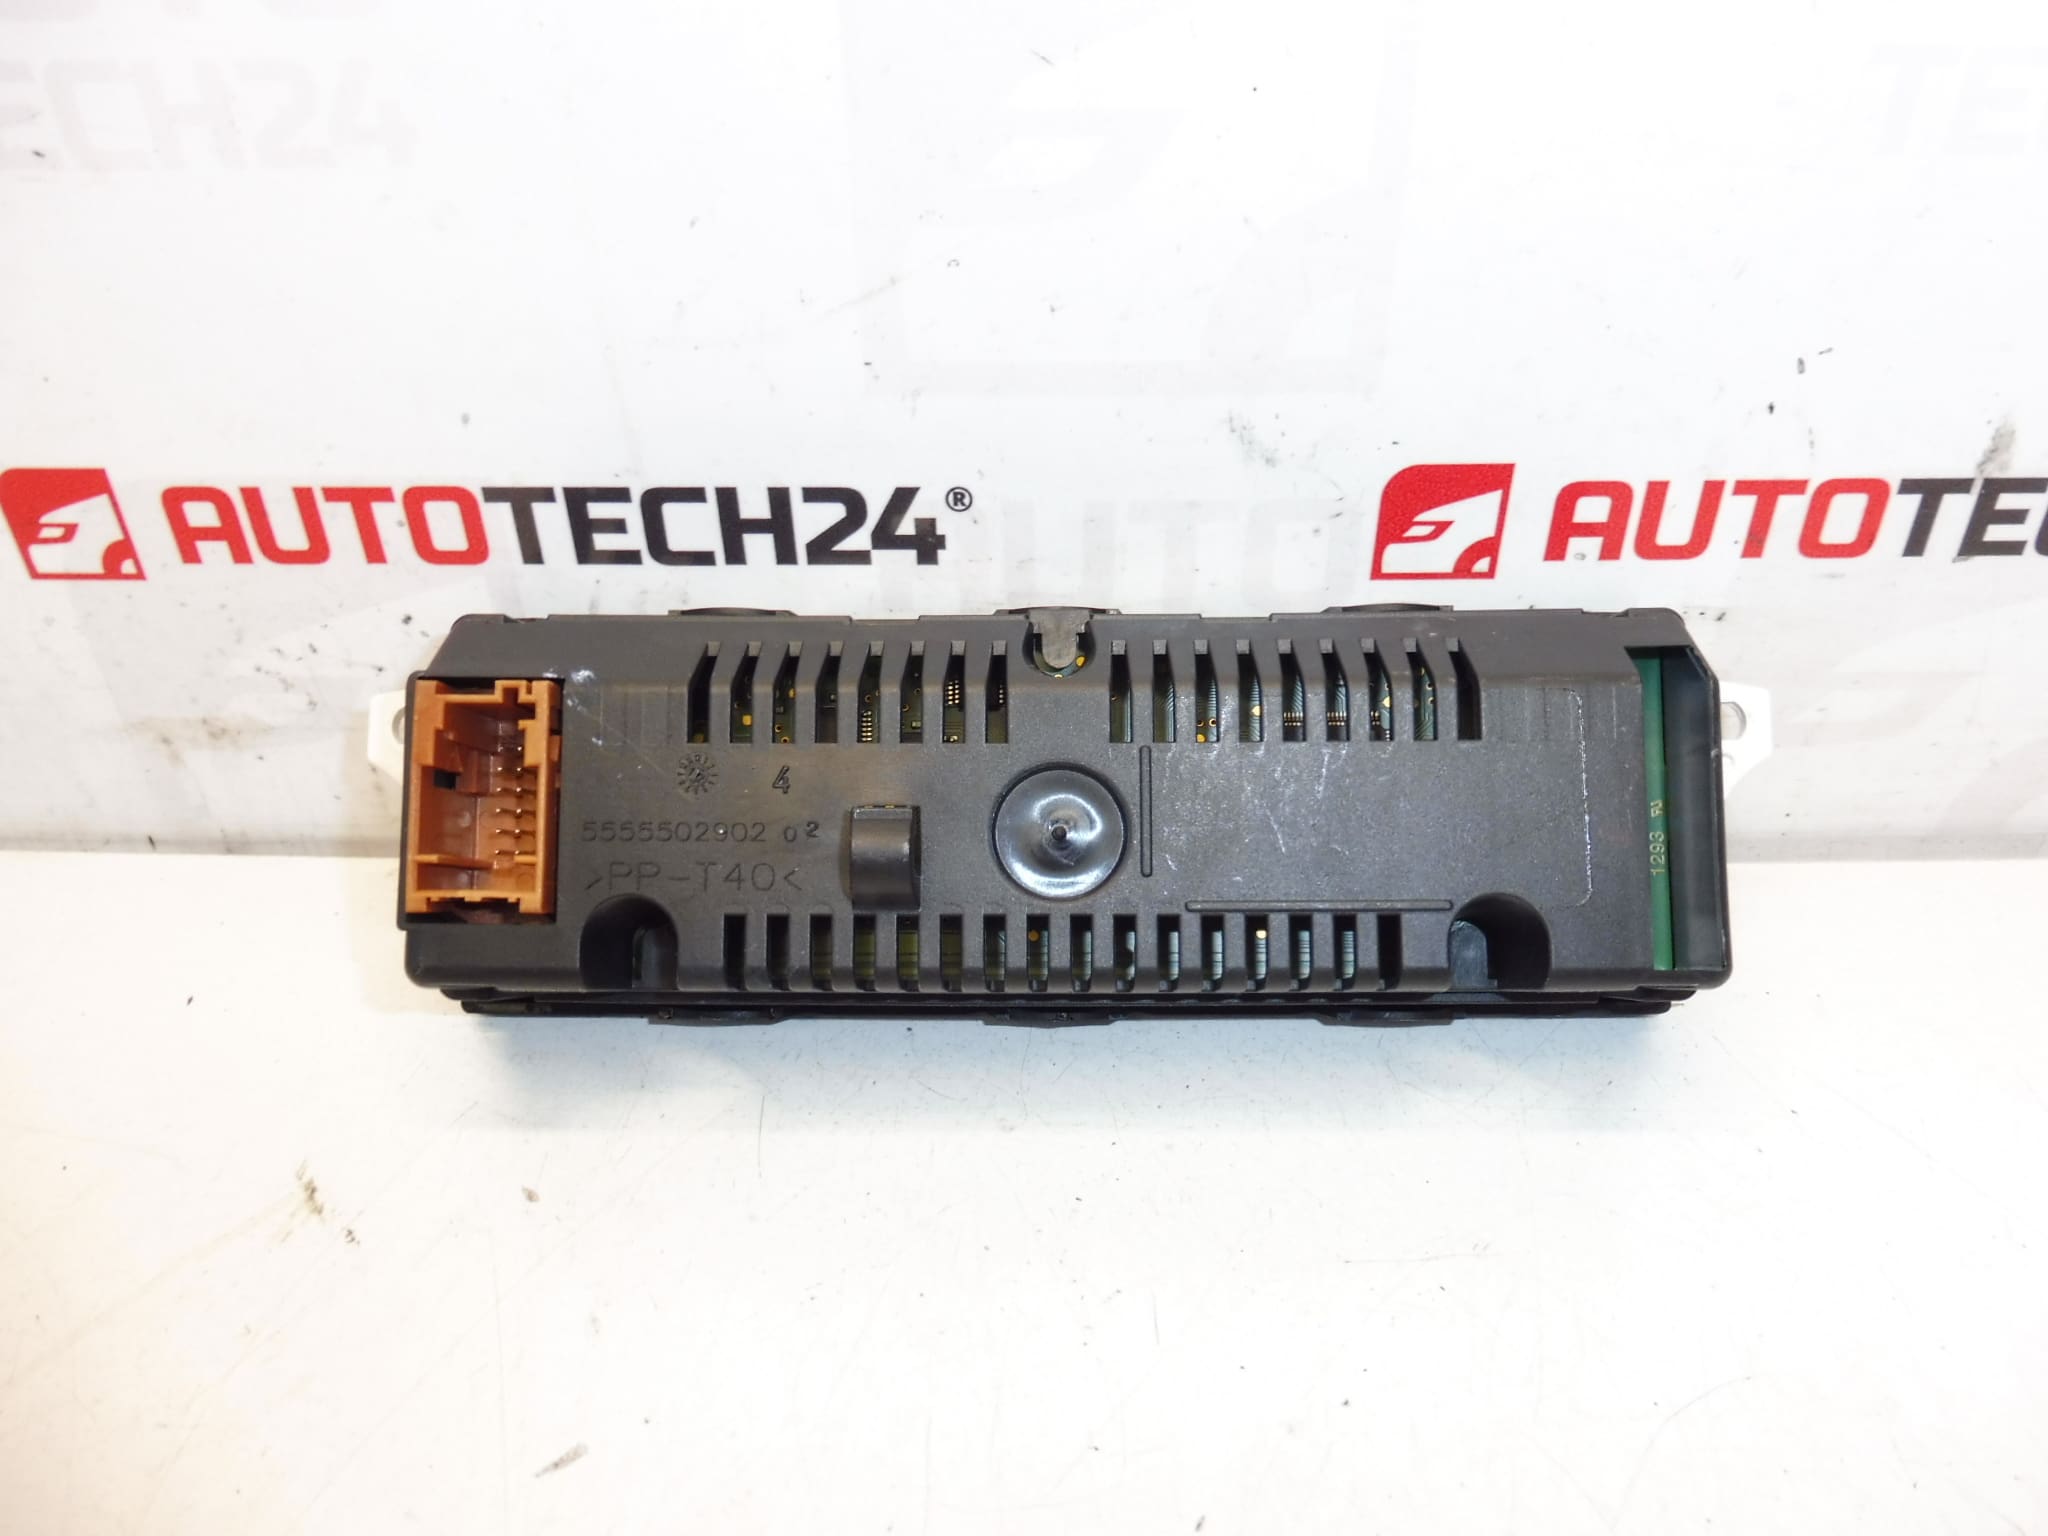
This replacement radio/display unit is compatible with a range of Stellantis small cars and MPVs and is commonly sought by part numbers 9800132680 and 9822637880. Designed for professional workshops and competent DIY mechanics, the unit restores clear readout of radio information, clock and trip computer data. Buyers often search by OE number, so check the product codes below when ordering to ensure correct fitment.
Fitment
Compatible Models (examples): Citroën Berlingo B9, Citroën C3 II, Citroën C3 Picasso, Peugeot 207, Peugeot Partner Tepee. Verify the listed part numbers against the unit on the vehicle before installation.
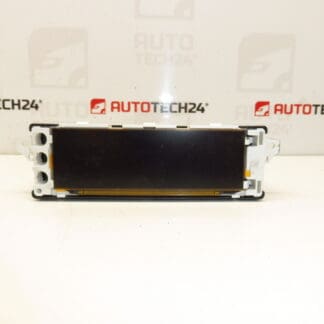
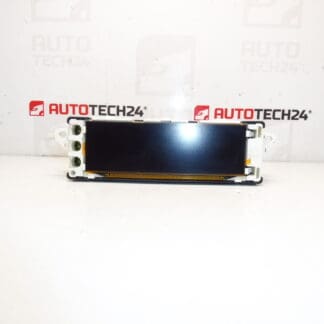
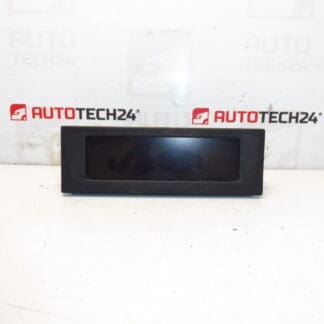
Function
The display provides visual output for the radio and onboard computer: radio station/frequency, audio menu information, clock, basic trip computer readouts and status messages. It is a direct interface between the head unit/electronics and the driver, allowing easy reading of audio and vehicle information.
Technical Information
- Manufacturer: Stellantis / Citroën / Peugeot
- Model: Radio/Onboard Computer Display
- Product Codes: 9800132680, 9822637880
- Other Numbers: Not Specified
Replacement Procedure
High-Level Steps: Disconnect the battery. Remove the surrounding fascia panels to access the radio unit. Unscrew and slide out the radio to reveal the display connector(s). Carefully unplug the multi-pin connector and any ribbon cables, then replace the display with the new unit. Reconnect connectors, refit the radio and fascia, then reconnect the battery. Power up and verify the display functions before completing reassembly.
Installation Recommendations
- Always Disconnect The Battery Before Work To Avoid Short Circuits And Risk Of Damage.
- Handle The Display Carefully To Prevent Static Damage And Scratches; Avoid Touching Connector Pins.
- Test The Unit Before Final Reassembly To Confirm Backlight, Characters And Menus Are Operating Correctly.
- Inspect Connectors And Wiring For Corrosion Or Broken Clips; Clean Contacts If Necessary.
- Use Appropriate Trim Tools To Avoid Damaging Dash Panels.
Common Failure Causes
Typical reasons For Display Failure Include Heat Damage From Prolonged Sun Exposure, Moisture Ingress Leading To Corrosion, Loose Or Corroded Connectors, Damaged Ribbon Cables During Previous Repairs, And Backlight Or Segment Wear Over Time. Intermittent Faults Can Also Result From Power Supply Issues Or Faulty Ground Connections.
Why Choose This Part
This display is an OE-compatible replacement sold under the referenced part numbers that restores readability and functionality to the radio and trip computer interface. It is ideal for workshops and competent DIYers who need a reliable replacement without modifying the vehicle’s original wiring or electronics.
Notes
Search By Part Number: Customers frequently locate this component using codes 9800132680 or 9822637880. Ensure these numbers match the unit on the vehicle to confirm fitment.