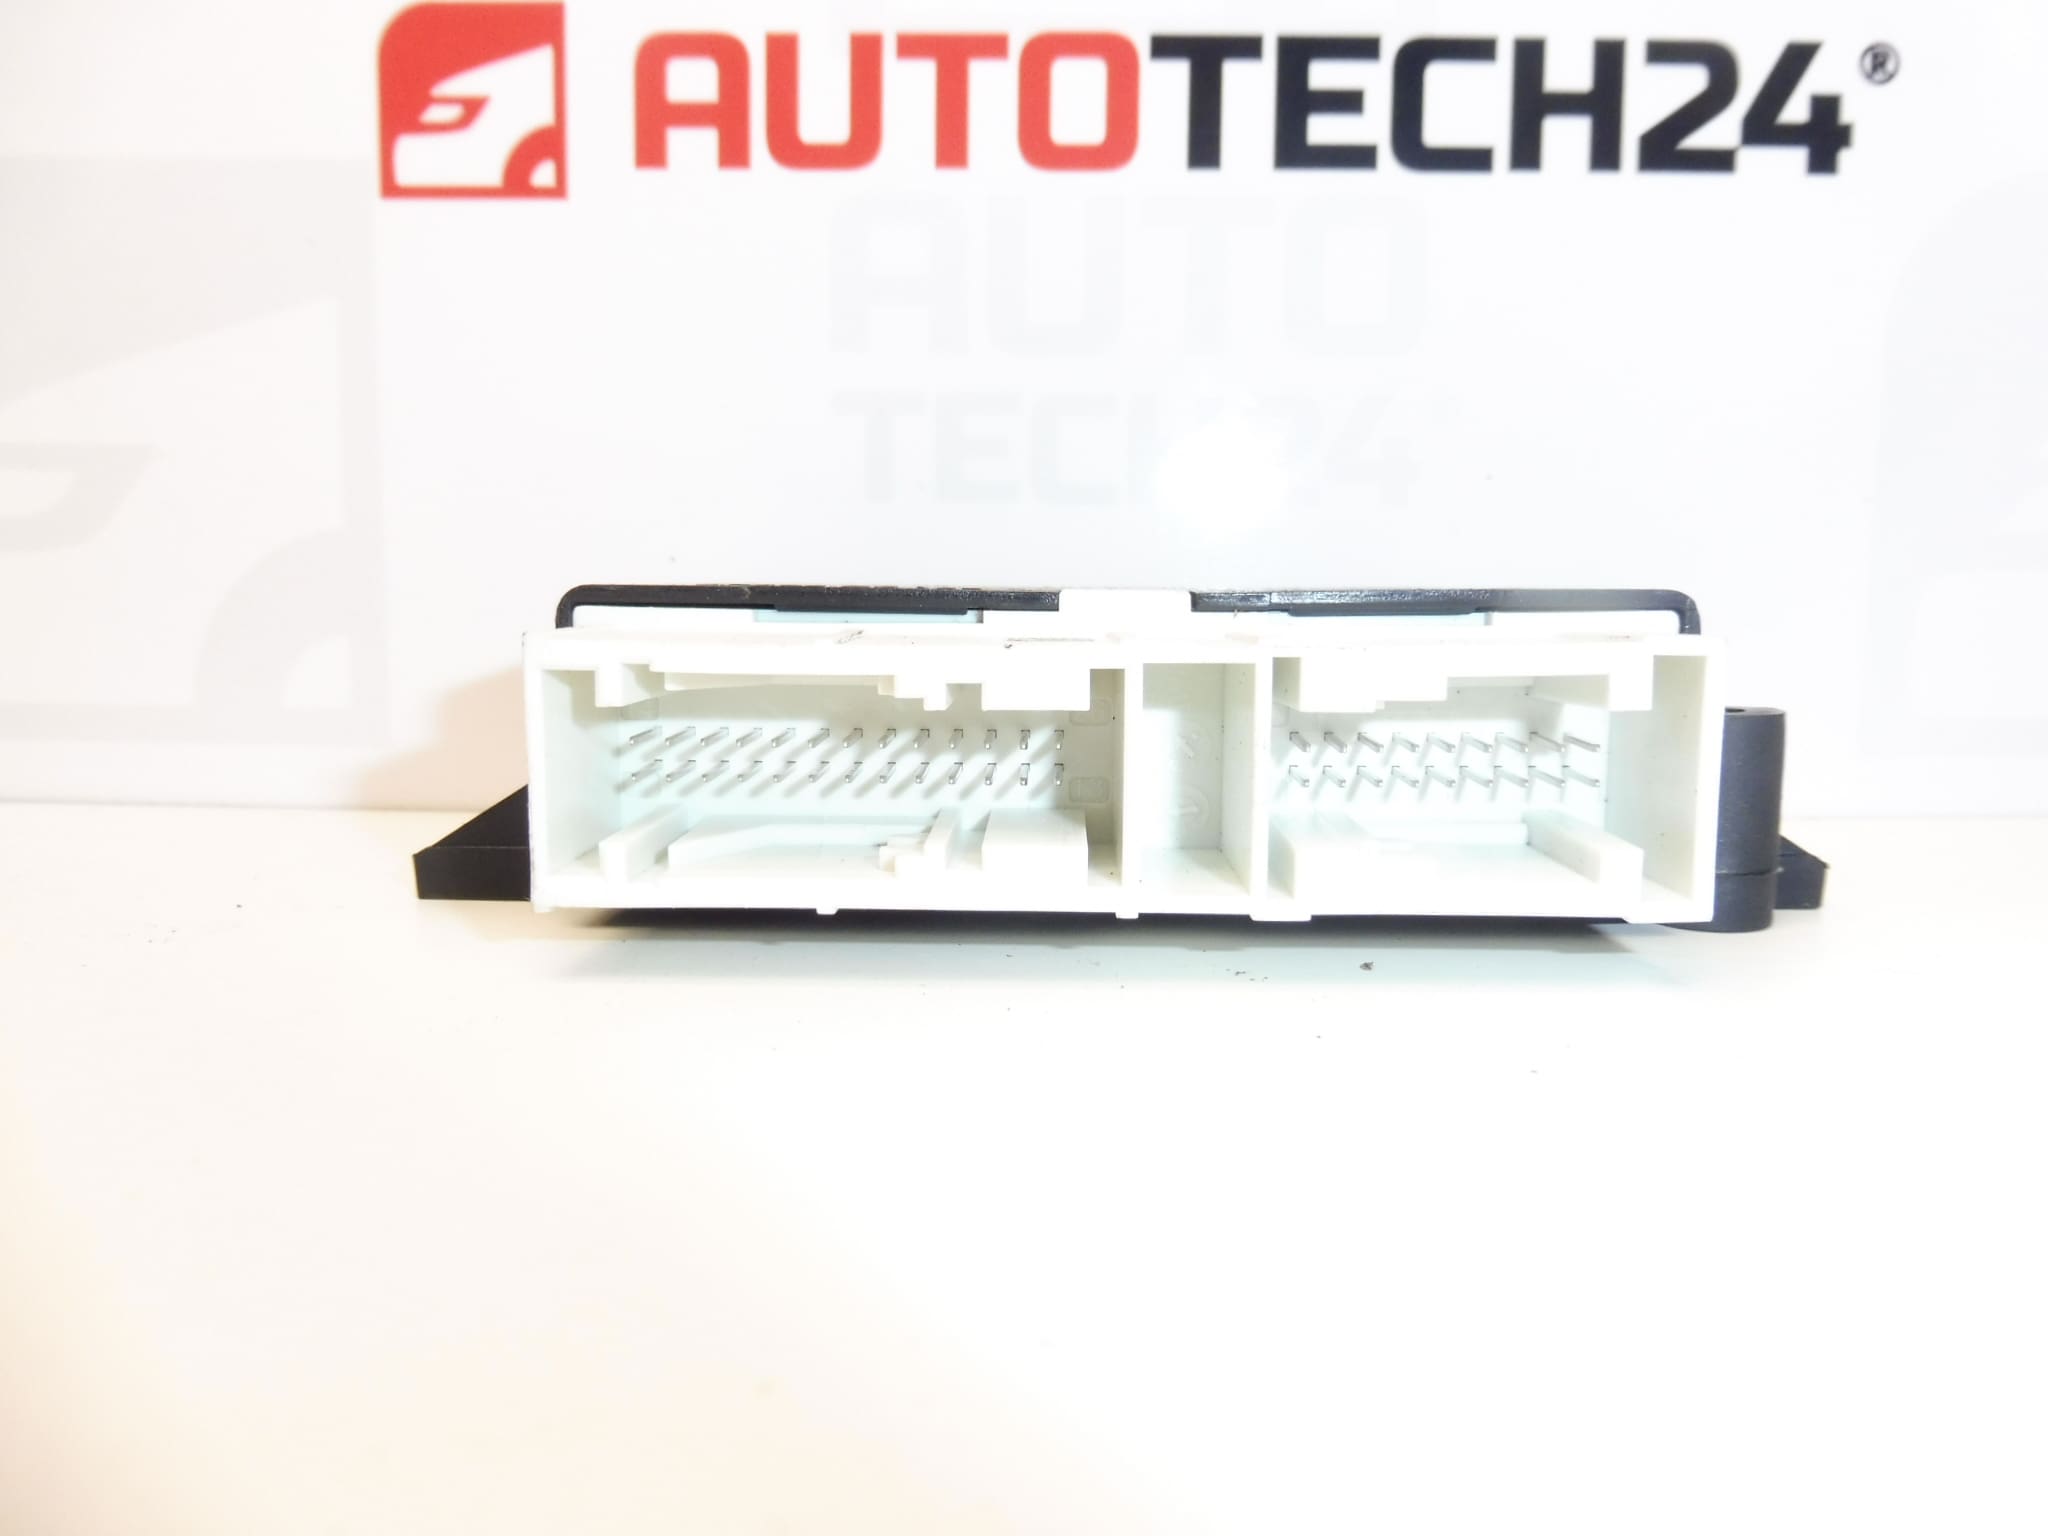
Description
PDC obstacle detection control unit for Stellantis vehicles
Part description
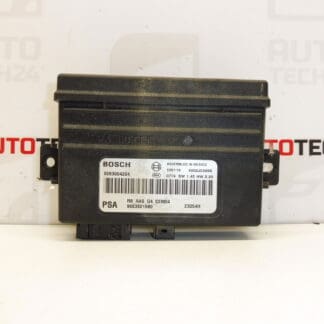
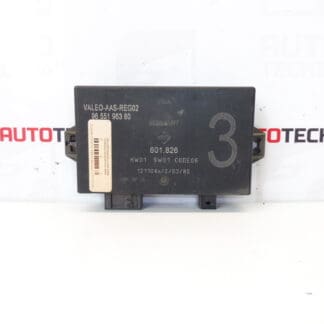
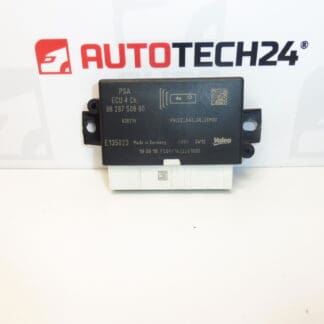
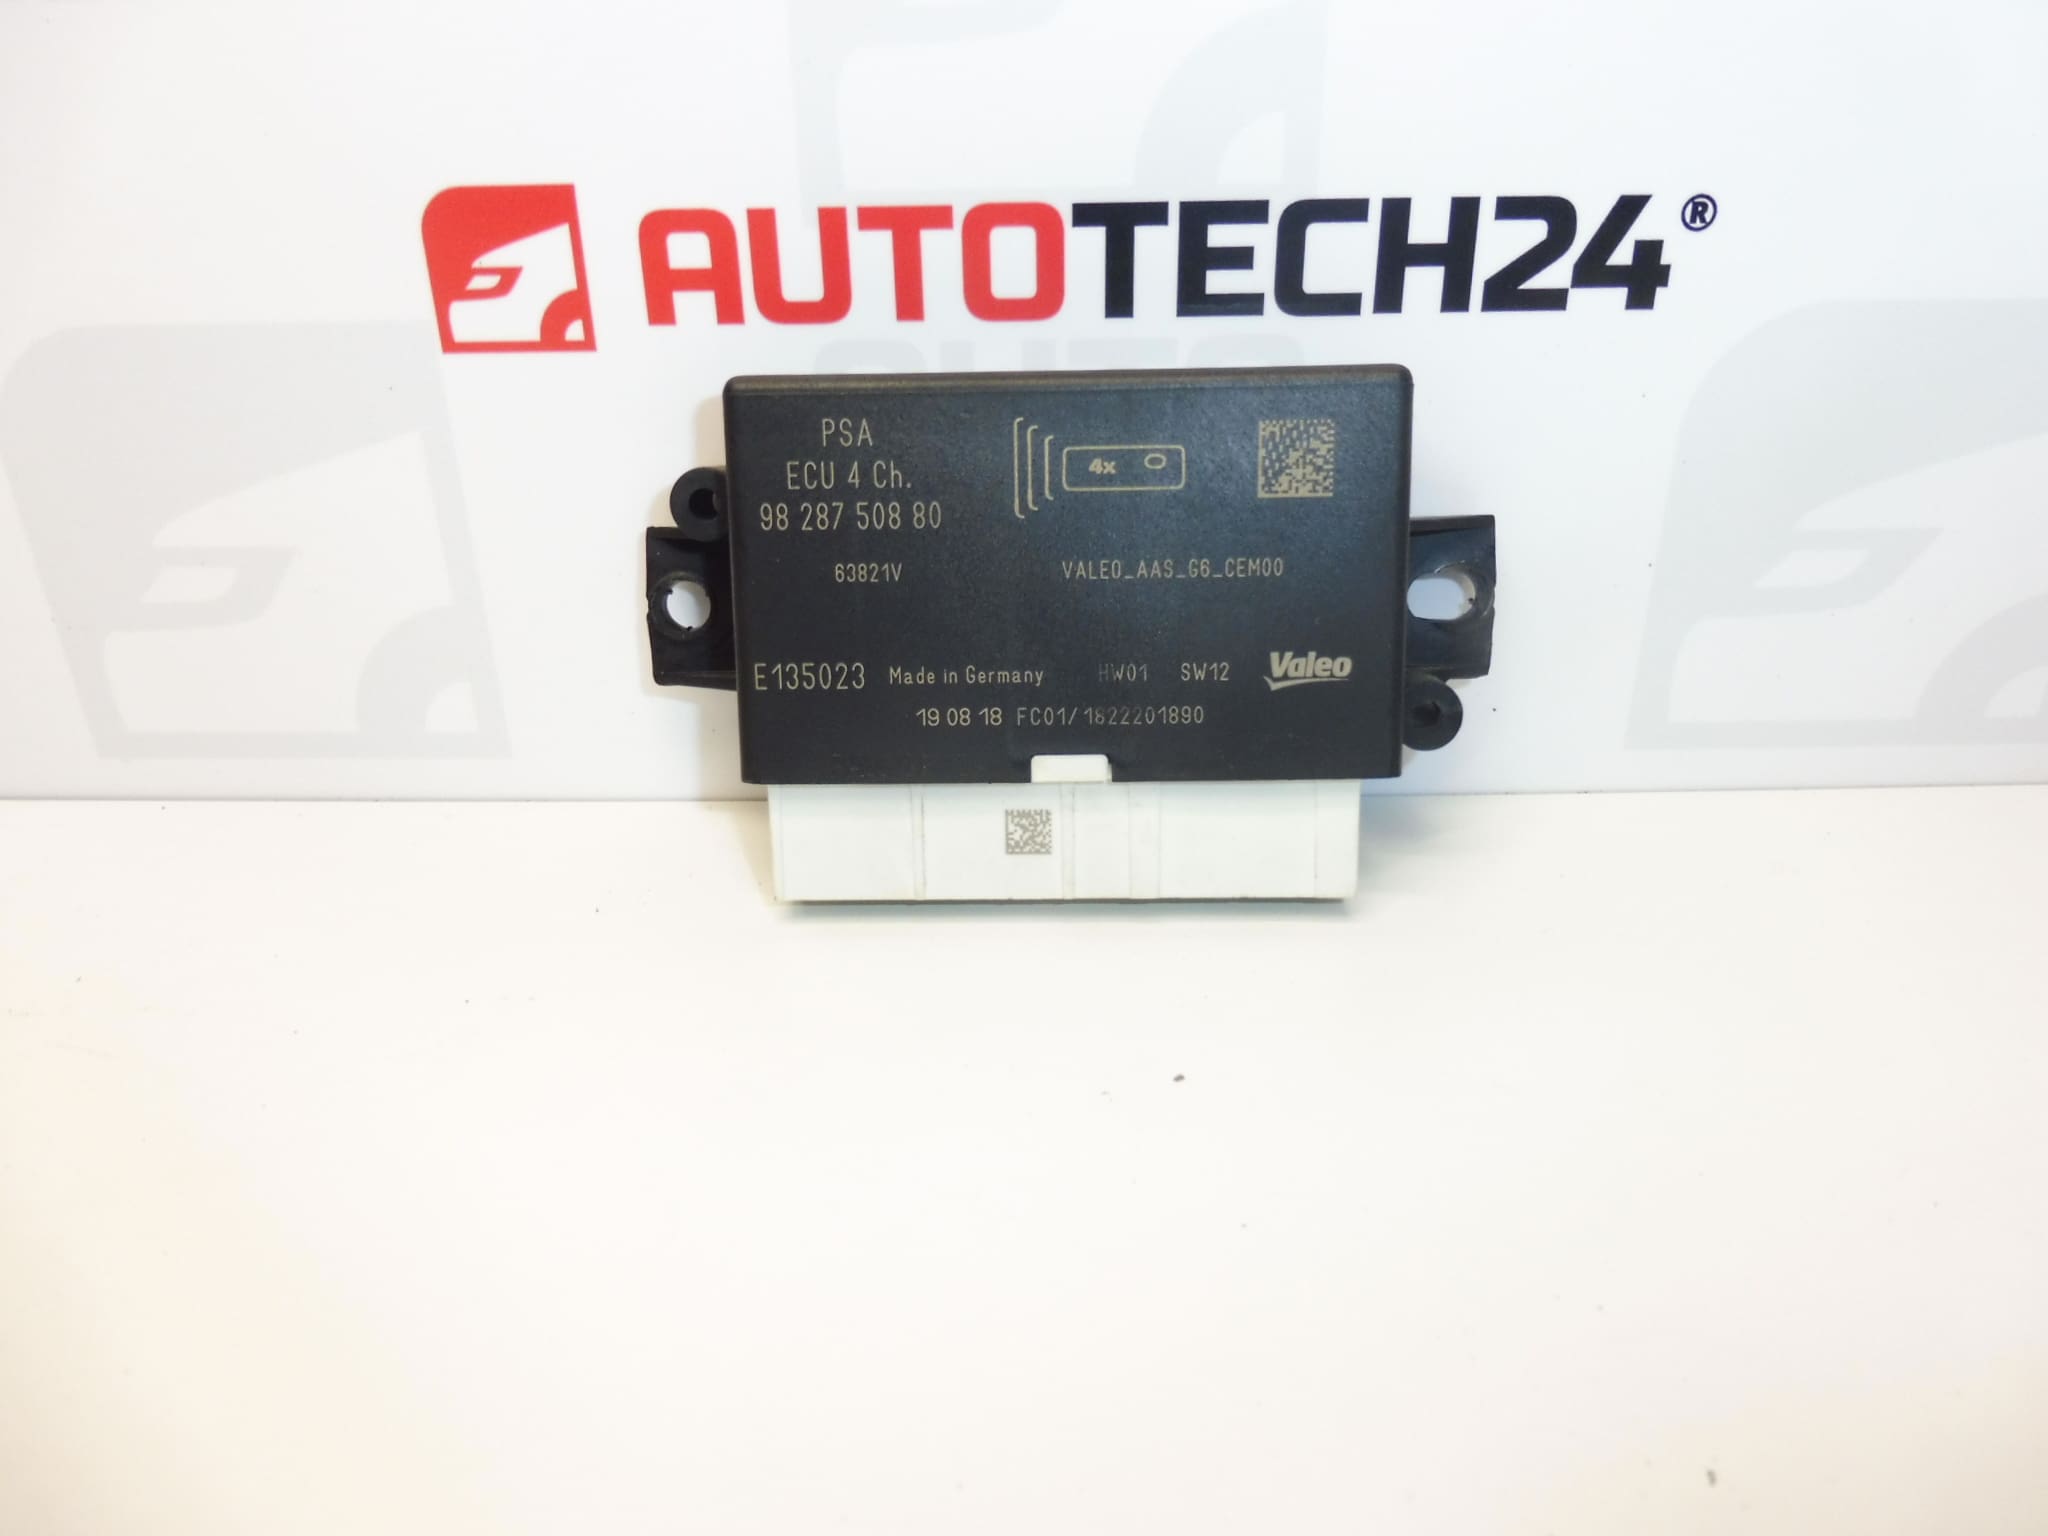
Used PDC parking assist control unit with part numbers 9828750880 and 1679621280, designed for the obstacle detection system. This type of unit evaluates signals from the parking sensors and helps alert the driver to obstacles while parking. If the original unit is faulty, this may be a suitable way to restore the parking assist function without purchasing a new part.
When selecting a part, compare the product numbers, connector design and markings on the original unit in particular. Matching the vehicle model alone is not enough to determine interchangeability; the specific parking system configuration is also important. The available information does not state whether this unit requires configuration after installation.
Technical information
- Manufacturer: not specified; the information provided refers to the Stellantis group.
- Model: Citroën Berlingo K9, Citroën C4 Cactus, Citroën C4 Picasso II, DS7, FIAT DOBLO III, PEUGEOT RIFTER, Toyota ProAce City.
- Part type: PDC obstacle detection / parking assist control unit.
- Category: electrical components – parking assist – control units.
- Condition: used car part.
- Other numbers: not specified.
The listed models are taken from the product labels. Model years, engine types and specific equipment variants are not specified in the information provided.
Product codes
- Product codes: 9828750880, 1679621280.
Both numbers can be used to look up the offered part. The information provided does not confirm that they are interchangeable or suitable for all variants of the listed models.
Installation recommendations
General guidance for this type of part: replacing a PDC control unit requires careful handling of connectors and following the manufacturer’s procedure for disconnecting and reconnecting the battery. The following procedure is general; the exact access to the unit, its mounting and any configuration depend on the specific model and vehicle configuration.
1) Before installation
- Use diagnostic equipment to verify the cause of the fault. A non-functioning parking assist system may also be related to the sensors, wiring, power supply or connectors, not just the control unit.
- Compare the markings on the old and replacement parts, the shape and number of connectors, their keying and the mounting points.
- Inspect the housing of the used unit, the locking mechanisms and the contacts. Cracks, signs of moisture, corrosion or deformed pins must be addressed before connection.
- If the original unit can be accessed with diagnostic equipment, record its identification and settings in case subsequent adaptation is required.
2) Tools and materials required
- Basic hand tools suitable for the fasteners used.
- Plastic trim removal tools if access requires removing trim.
- Diagnostic equipment that supports the vehicle’s parking system.
- A flashlight and, if necessary, a product intended for cleaning electrical contacts that is suitable for the connectors in question.
3) Step-by-step installation procedure
- Park the vehicle safely and secure it against movement. Before starting work, record the symptoms of the fault and any available diagnostic data.
- Switch off the ignition and, following the manufacturer’s service procedure, allow the electronic systems to enter sleep mode.
- Disconnect the battery as specified by the vehicle manufacturer. Do not disconnect or connect the unit’s connectors while they are live.
- Access the unit according to the service documentation for the specific vehicle. Release covers and trim without force to avoid damaging their clips.
- Before disconnecting anything, record the wiring routing and connector connections, for example with a photograph.
- Release the connector locks and disconnect them by pulling on the connector body, not the wires. Check the condition of the contacts and wiring harness.
- Release the original unit’s mounting and remove it. Also check the surrounding area for moisture or mechanical damage.
- Compare the two units once again. If you find different connectors or are unsure about the configuration, stop the installation and verify suitability using catalog and service data.
- Secure the replacement unit as specified. Route the wiring without tension, pinching or contact with sharp edges.
- Connect the connectors and check that their locks are fully engaged. Refit any covers and trim that were removed.
- Reconnect the battery according to the manufacturer’s procedure and use diagnostic equipment to check communication with the unit. If required for the specific configuration, perform the specified parking system configuration.
- After resolving the cause of the fault, clear the relevant fault records and perform a functional check. Then read the diagnostic data again.
4) Post-installation checks and function verification
- Verify that the unit communicates and that the system does not report a parking assist fault.
- In a safe, open area, test its response to a suitable inanimate obstacle. Check the audible and, if applicable, visual alerts, depending on the vehicle’s equipment.
- Proceed slowly during the test maneuver, monitor your surroundings and do not rely solely on the parking sensors. Do not use a person standing in the vehicle’s path for testing.
- If operation remains intermittent, continue by checking the sensors, wiring, power supply and system settings.
5) Common installation mistakes and how to avoid them
- Replacing the unit without diagnostics: first rule out sensor faults, broken wires and power supply problems.
- Selecting a part based only on the vehicle name: compare the part numbers and the parking system configuration.
- Forcing connectors into place: check their orientation, keying and pin condition; a correct connector should not require force.
- Leaving moisture or corrosion in place: address the cause of water ingress and repair damaged connections before installation.
- Skipping any required configuration: check the service procedure for the vehicle’s specific configuration for setup requirements.
Reasons why the part may be damaged
The following factors can generally lead to damage to parking assist control units. This is not a description of the condition of the unit offered for sale.
- Moisture and water ingress, which can cause contact corrosion or damage to the internal electronics.
- Electrical faults, such as a short circuit in the connected wiring, overvoltage or incorrect handling of the power supply.
- Mechanical stress, impact, housing damage or loose mounting.
- Improper handling, particularly damage to pins or connector locks, or connecting the unit while live.
- Aging of electronic components and thermal stress, which can gradually impair the reliability of the unit.
Before replacement, it is important to address the cause of the original fault as well, so the replacement part is not exposed to the same risk.