Description
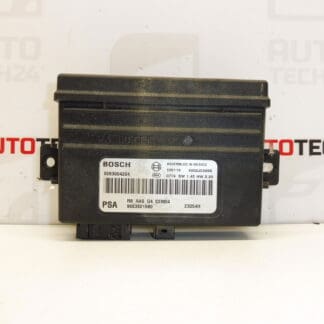
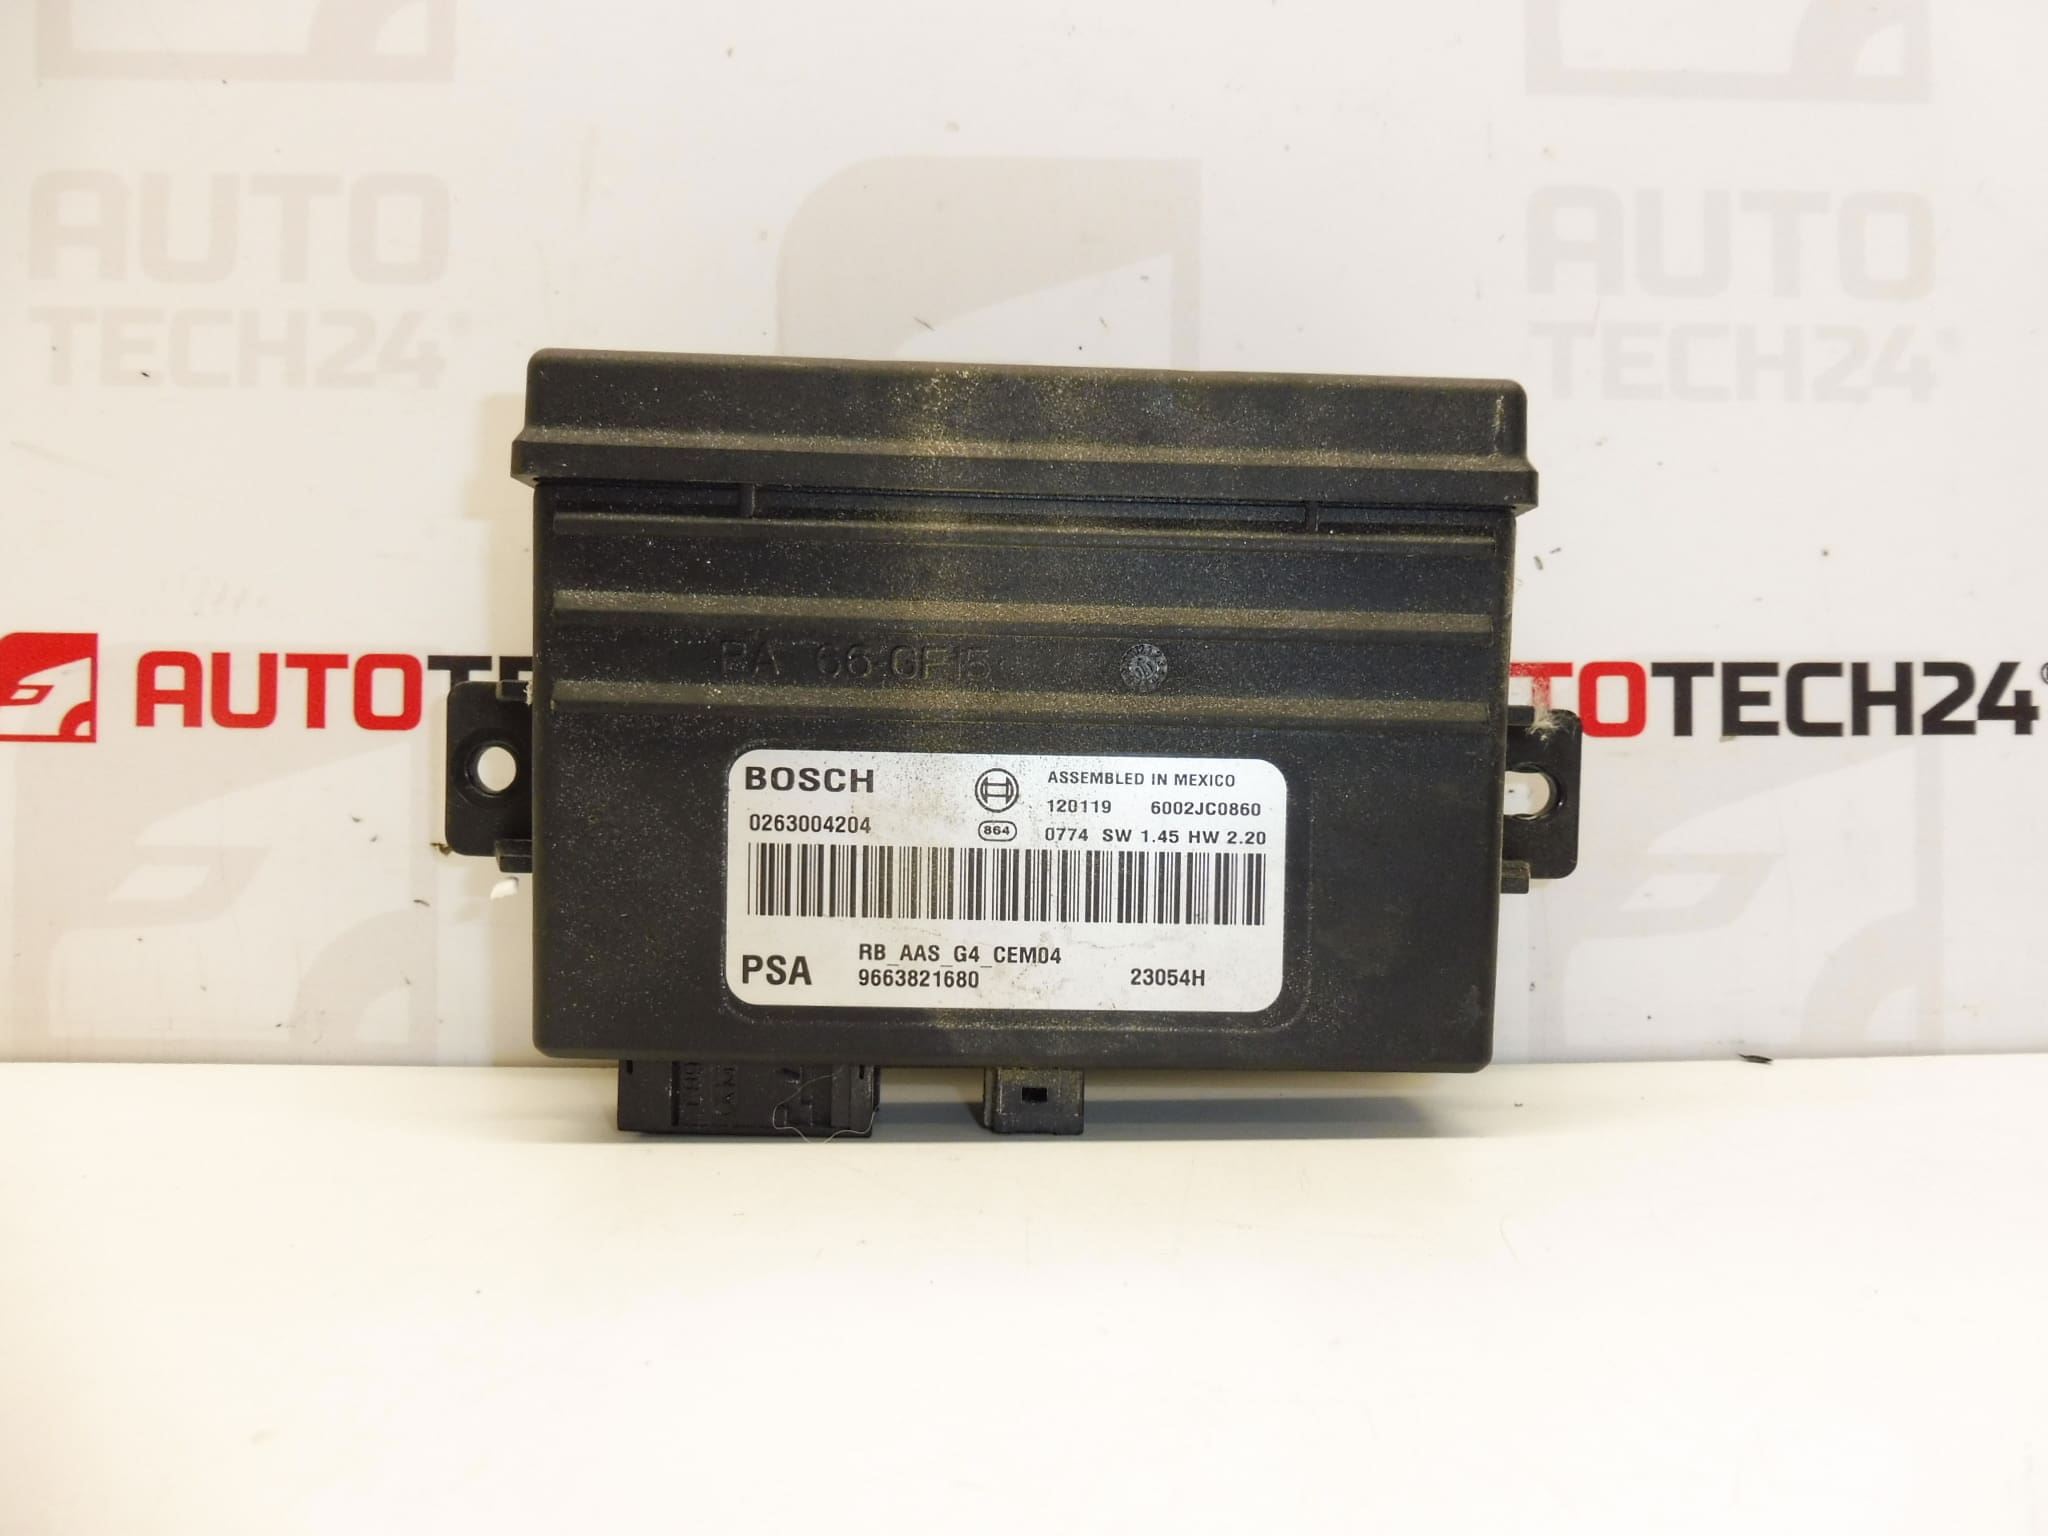
Bosch Control Unit – Parking Assist For Citroën And Peugeot Vehicles.
High-Quality Bosch Parking Assist Control Unit Designed For Professional Workshops And Enthusiast Mechanics. This ECU Manages Ultrasonic Parking Sensors And Processes Distance Information To Deliver Audible And Visual Parking Alerts. It Is A Direct Replacement Option For Several Citroën And Peugeot Applications And Is Often Searched By Its Part Numbers, Making It Easy To Find When Replacing A Faulty Unit.
Technical Information
- Manufacturer: Bosch
- Model: Parking Assist Control Unit
- Product Codes: 0263004204, 9663821680
- Additional Numbers: 1606383380, 1606383480, 1606516180, 1606516380, 263004204, 6590EV, 6590EW
Compatibility
Fits Select Citroën And Peugeot Models Including Citroën C3, Citroën C3 Picasso, Citroën C4 Picasso, Citroën C5, Peugeot 207 And Peugeot 308. Verify The Correct Part Number For Your Specific Version And Year Before Installation.
Function And Typical Symptoms Of Failure
The Parking Assist Control Unit Receives Signals From Ultrasonic Sensors, Interprets Distance Data And Triggers Dashboard Indicators, Audible Beeps And Multimedia Messages To Assist With Parking Maneuvers. Common Symptoms Indicating A Faulty Unit Include:
- Complete Loss Of Parking Sensors Or Intermittent Operation
- Continuous Or Irregular Beeping From The Park Assist System
- Dashboard Warning Messages Related To Parking Assist
- Individual Sensors Reporting Fault Codes Or Showing Incorrect Distances
Replacement Procedure
- Disconnect The Negative Terminal Of The Battery Before Any Work To Prevent Short Circuits And Protect Electronic Modules.
- Locate The Unit. Parking Assist ECUs Are Commonly Mounted Near The Rear Bumper Area Or Inside The Luggage Compartment Behind Trim Panels; Exact Location Varies By Model.
- Remove Interior Trim Panels Carefully To Gain Access. Keep Fasteners And Clips For Reinstallation.
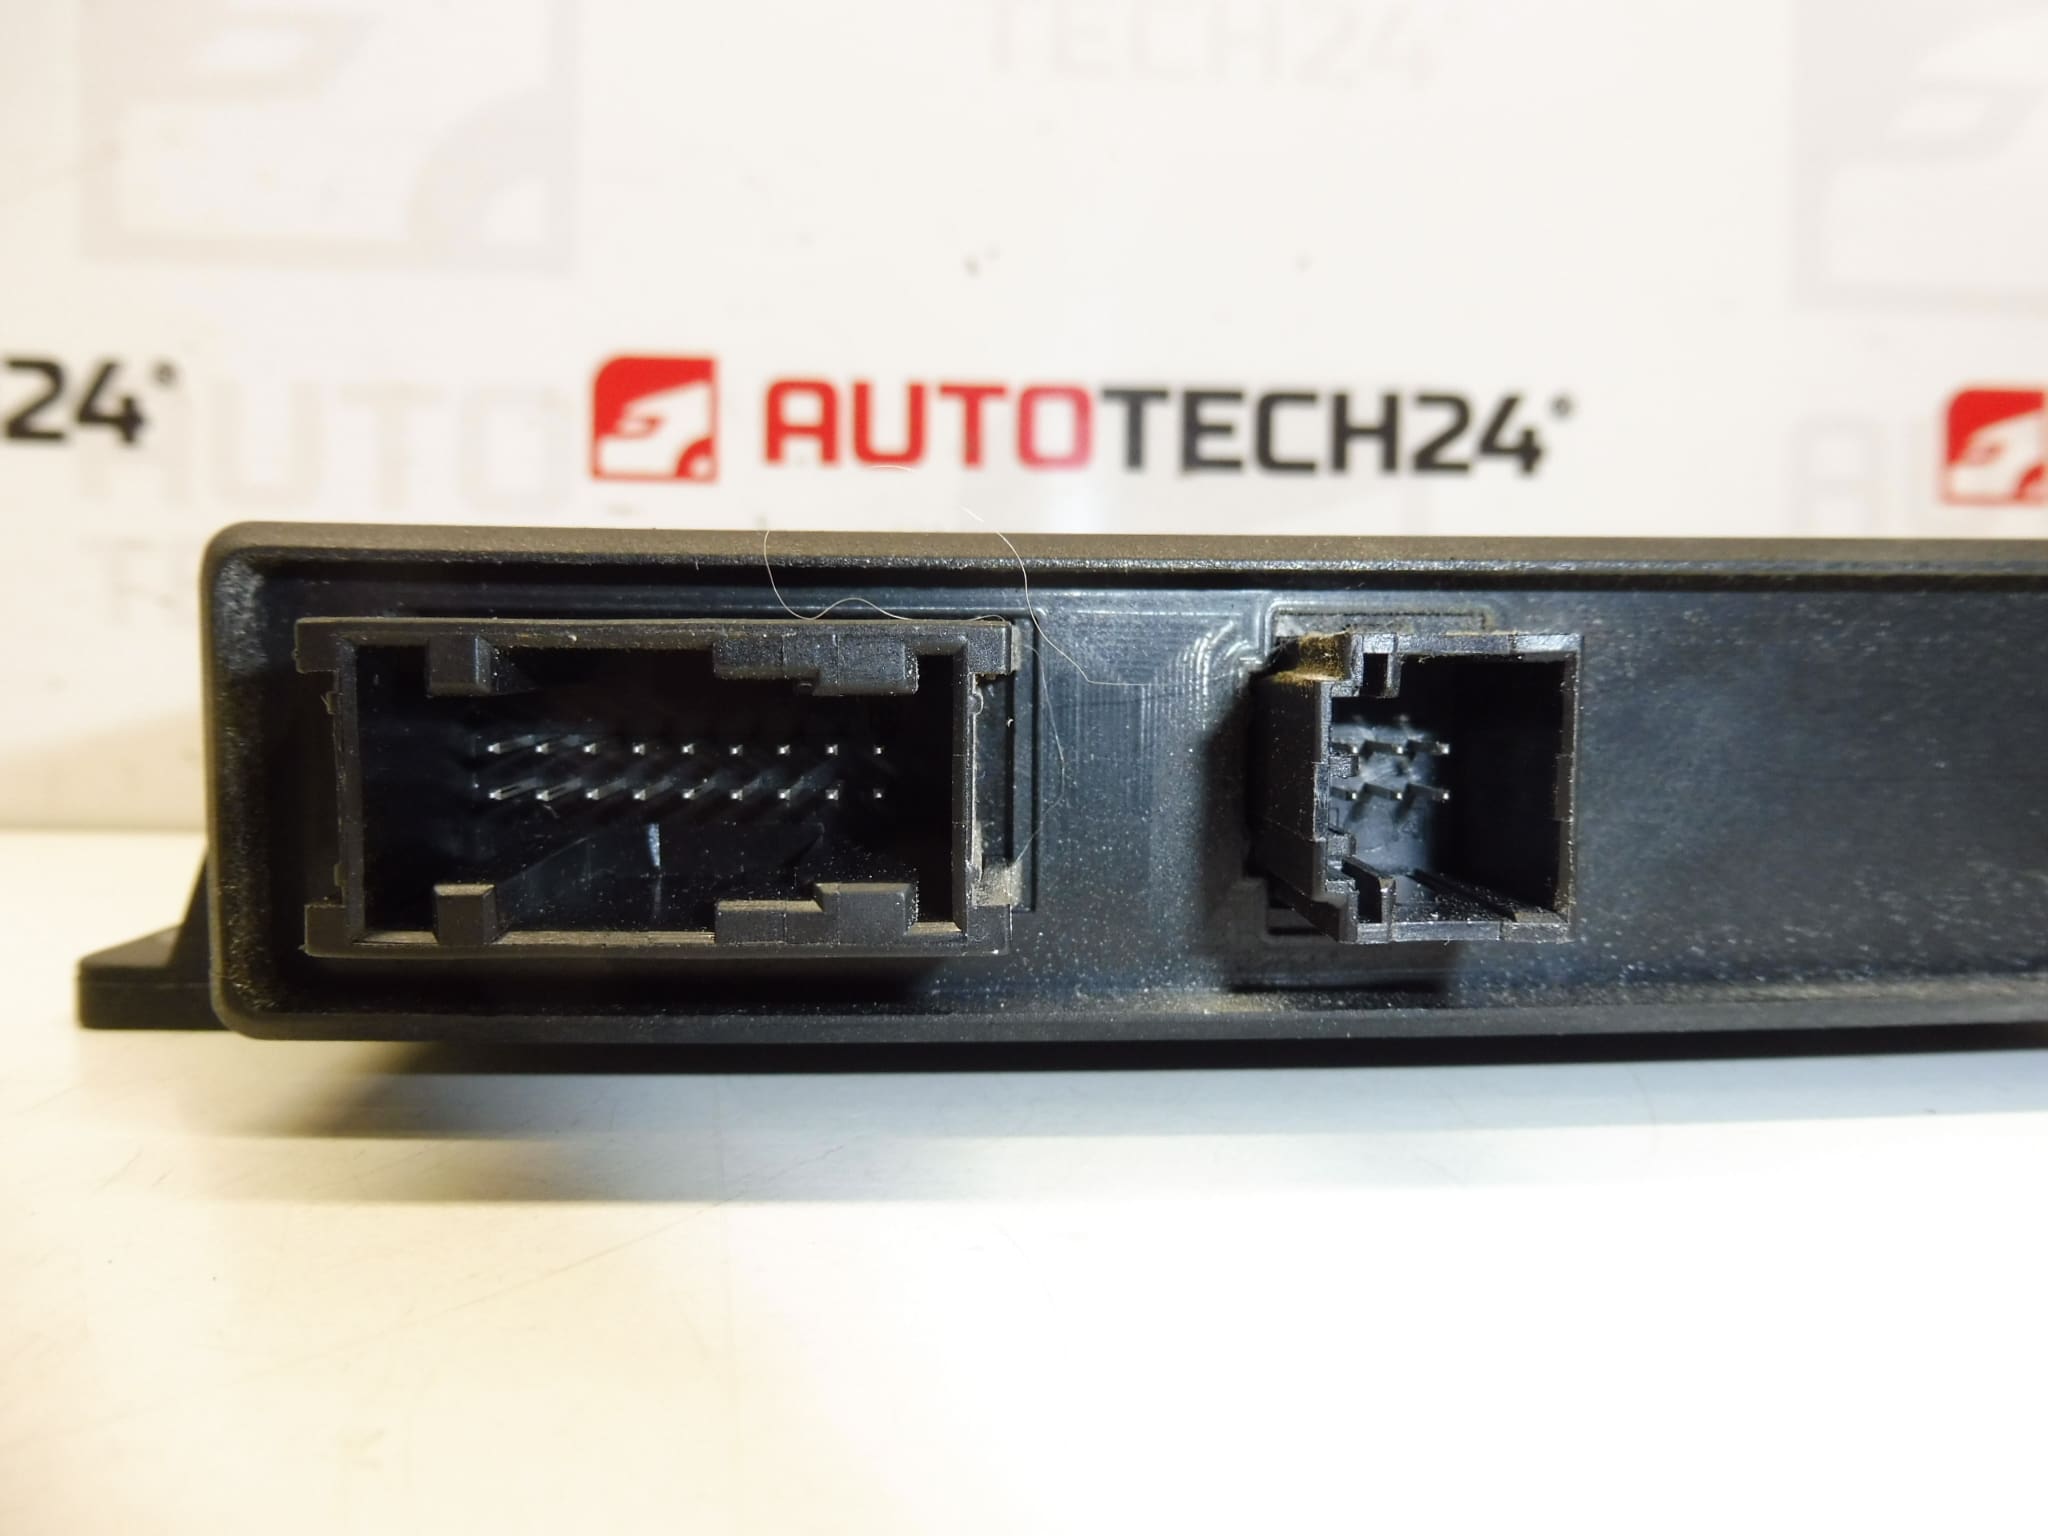
- Disconnect The Wiring Harness And Any Sensor Or Antenna Connectors. Note Connector Positions To Avoid Cross-Connections.
- Remove The Old Unit And Fit The Replacement, Securing It With The Original Brackets Or Fasteners.
- Reconnect All Connectors, Refit Trim, And Reconnect The Battery.
- Perform A Functional Test. Clear Any Stored Fault Codes And Run Diagnostic Checks. Sensor Calibration Or Software Adaptation May Be Required Using Appropriate Diagnostic Equipment.
Installation Recommendations
- Always Isolate The Battery Before Handling Electronic Modules.
- Protect Connectors From Contamination And Use Dielectric Grease Where Recommended To Prevent Corrosion.
- Inspect Sensor Wiring And Ground Connections When Replacing The ECU; Damaged Cables Are A Common Cause Of Recurrent Faults.
- Avoid Applying Excessive Force To Plastic Clips And Connectors; Replace Broken Clips To Ensure Proper Sealing Against Moisture.
- After Installation, Run A Full Diagnostic Sequence To Clear Errors And Verify Sensor Operation Across All Parking Zones.
- For Final Verification, Perform A Live Sensor Test While Operating The Park Assist To Confirm Correct Response.
Most Common Failure Reasons
- Water Ingress And Corrosion In Harsh Environments, Especially If Seals Or Trim Panels Are Damaged.
- Connector Corrosion Or Damaged Wiring Causing Intermittent Signals.
- Impact Damage From Rear Collisions That Affect The Unit Or Sensors.
- Electrical Surges Or Short Circuits Due To Faulty Sensors Or Poor Ground Connections.
- Software Or Communication Errors That Require Diagnostic Intervention And Clearing Of Stored Faults.
Search Tip: This Unit Is Commonly Looked Up By Part Numbers Such As 0263004204, 9663821680, 1606383380, 1606383480, 1606516180, 1606516380, 263004204, 6590EV And 6590EW. Including These Codes In Your Search Increases The Chance Of Finding The Correct Replacement Quickly.