Description
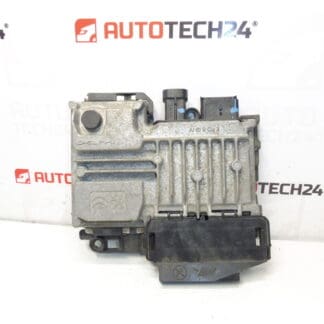
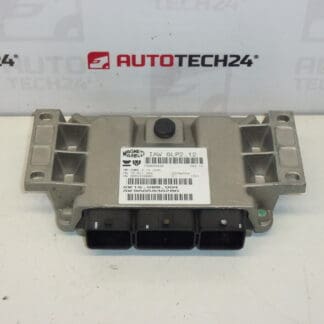
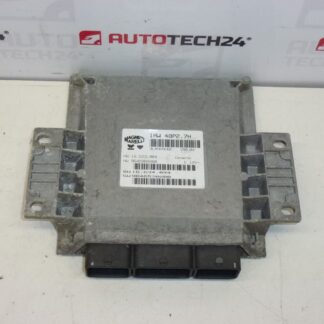
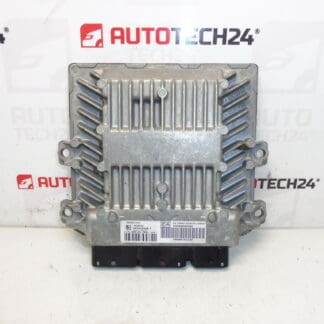
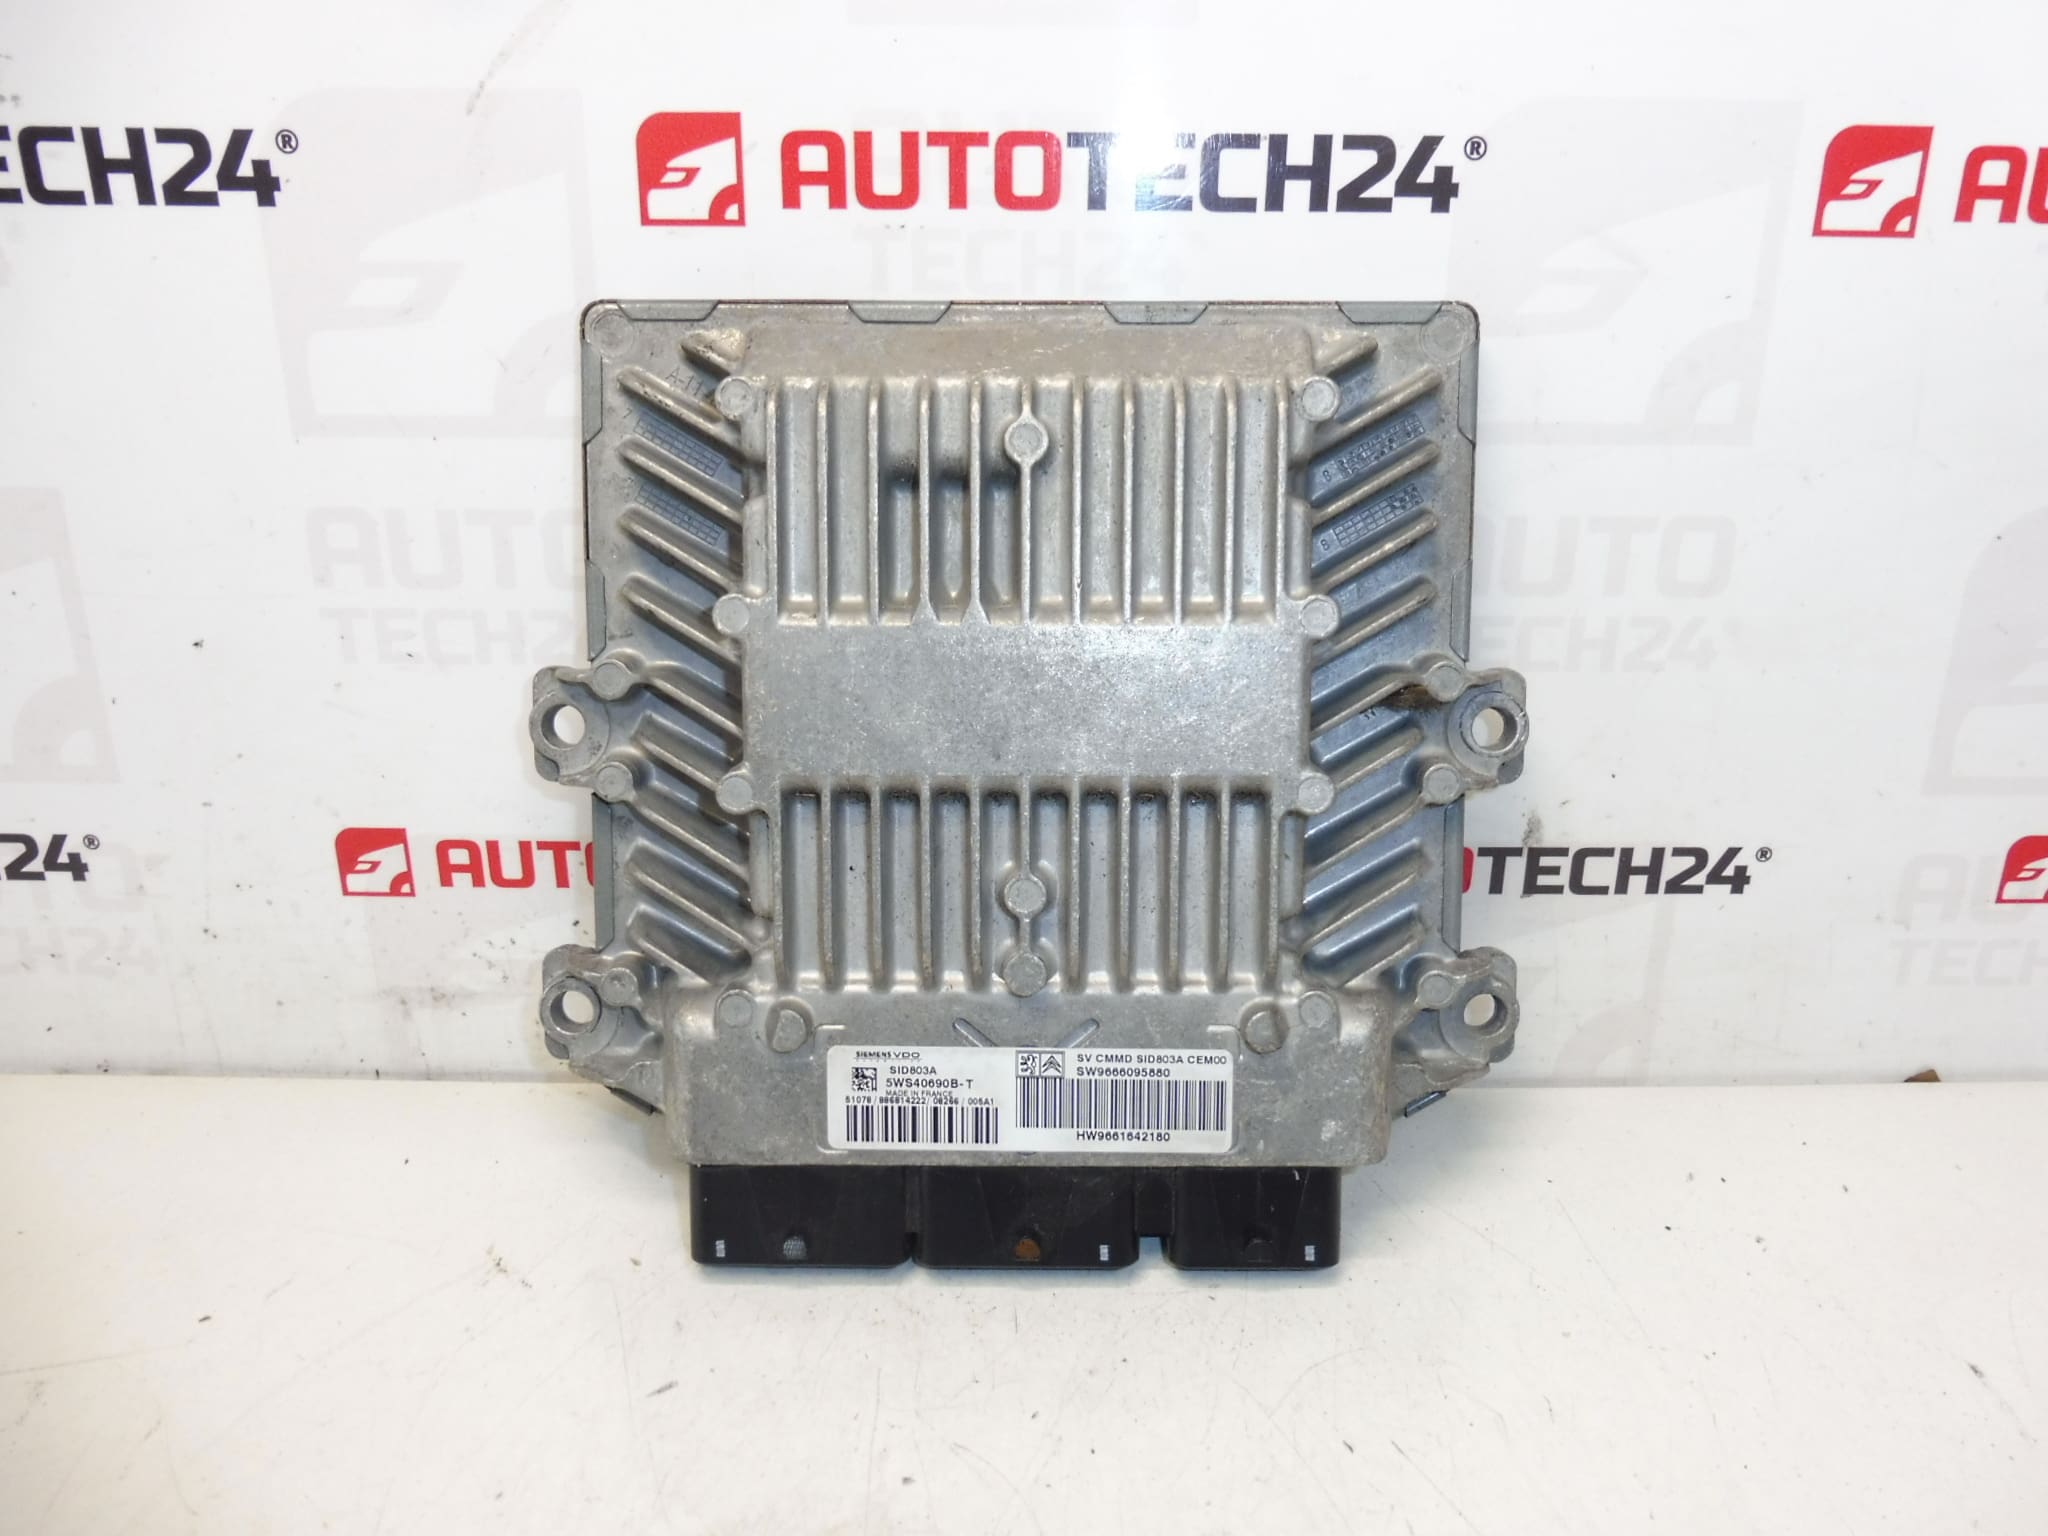
Continental SIEMENS SID 803A injection control unit
It is from a 2010 Citroen C4 PICASSO 2.0 HDI RHE
Part description
The used injection control unit Siemens VDO / Continental SID803A is an original electrical component for Citroën and Peugeot cars. The part is often searched by serial number, so we list 5WS40690B-T, 9661642180, 9666095880, 1943QR and 1943QS.
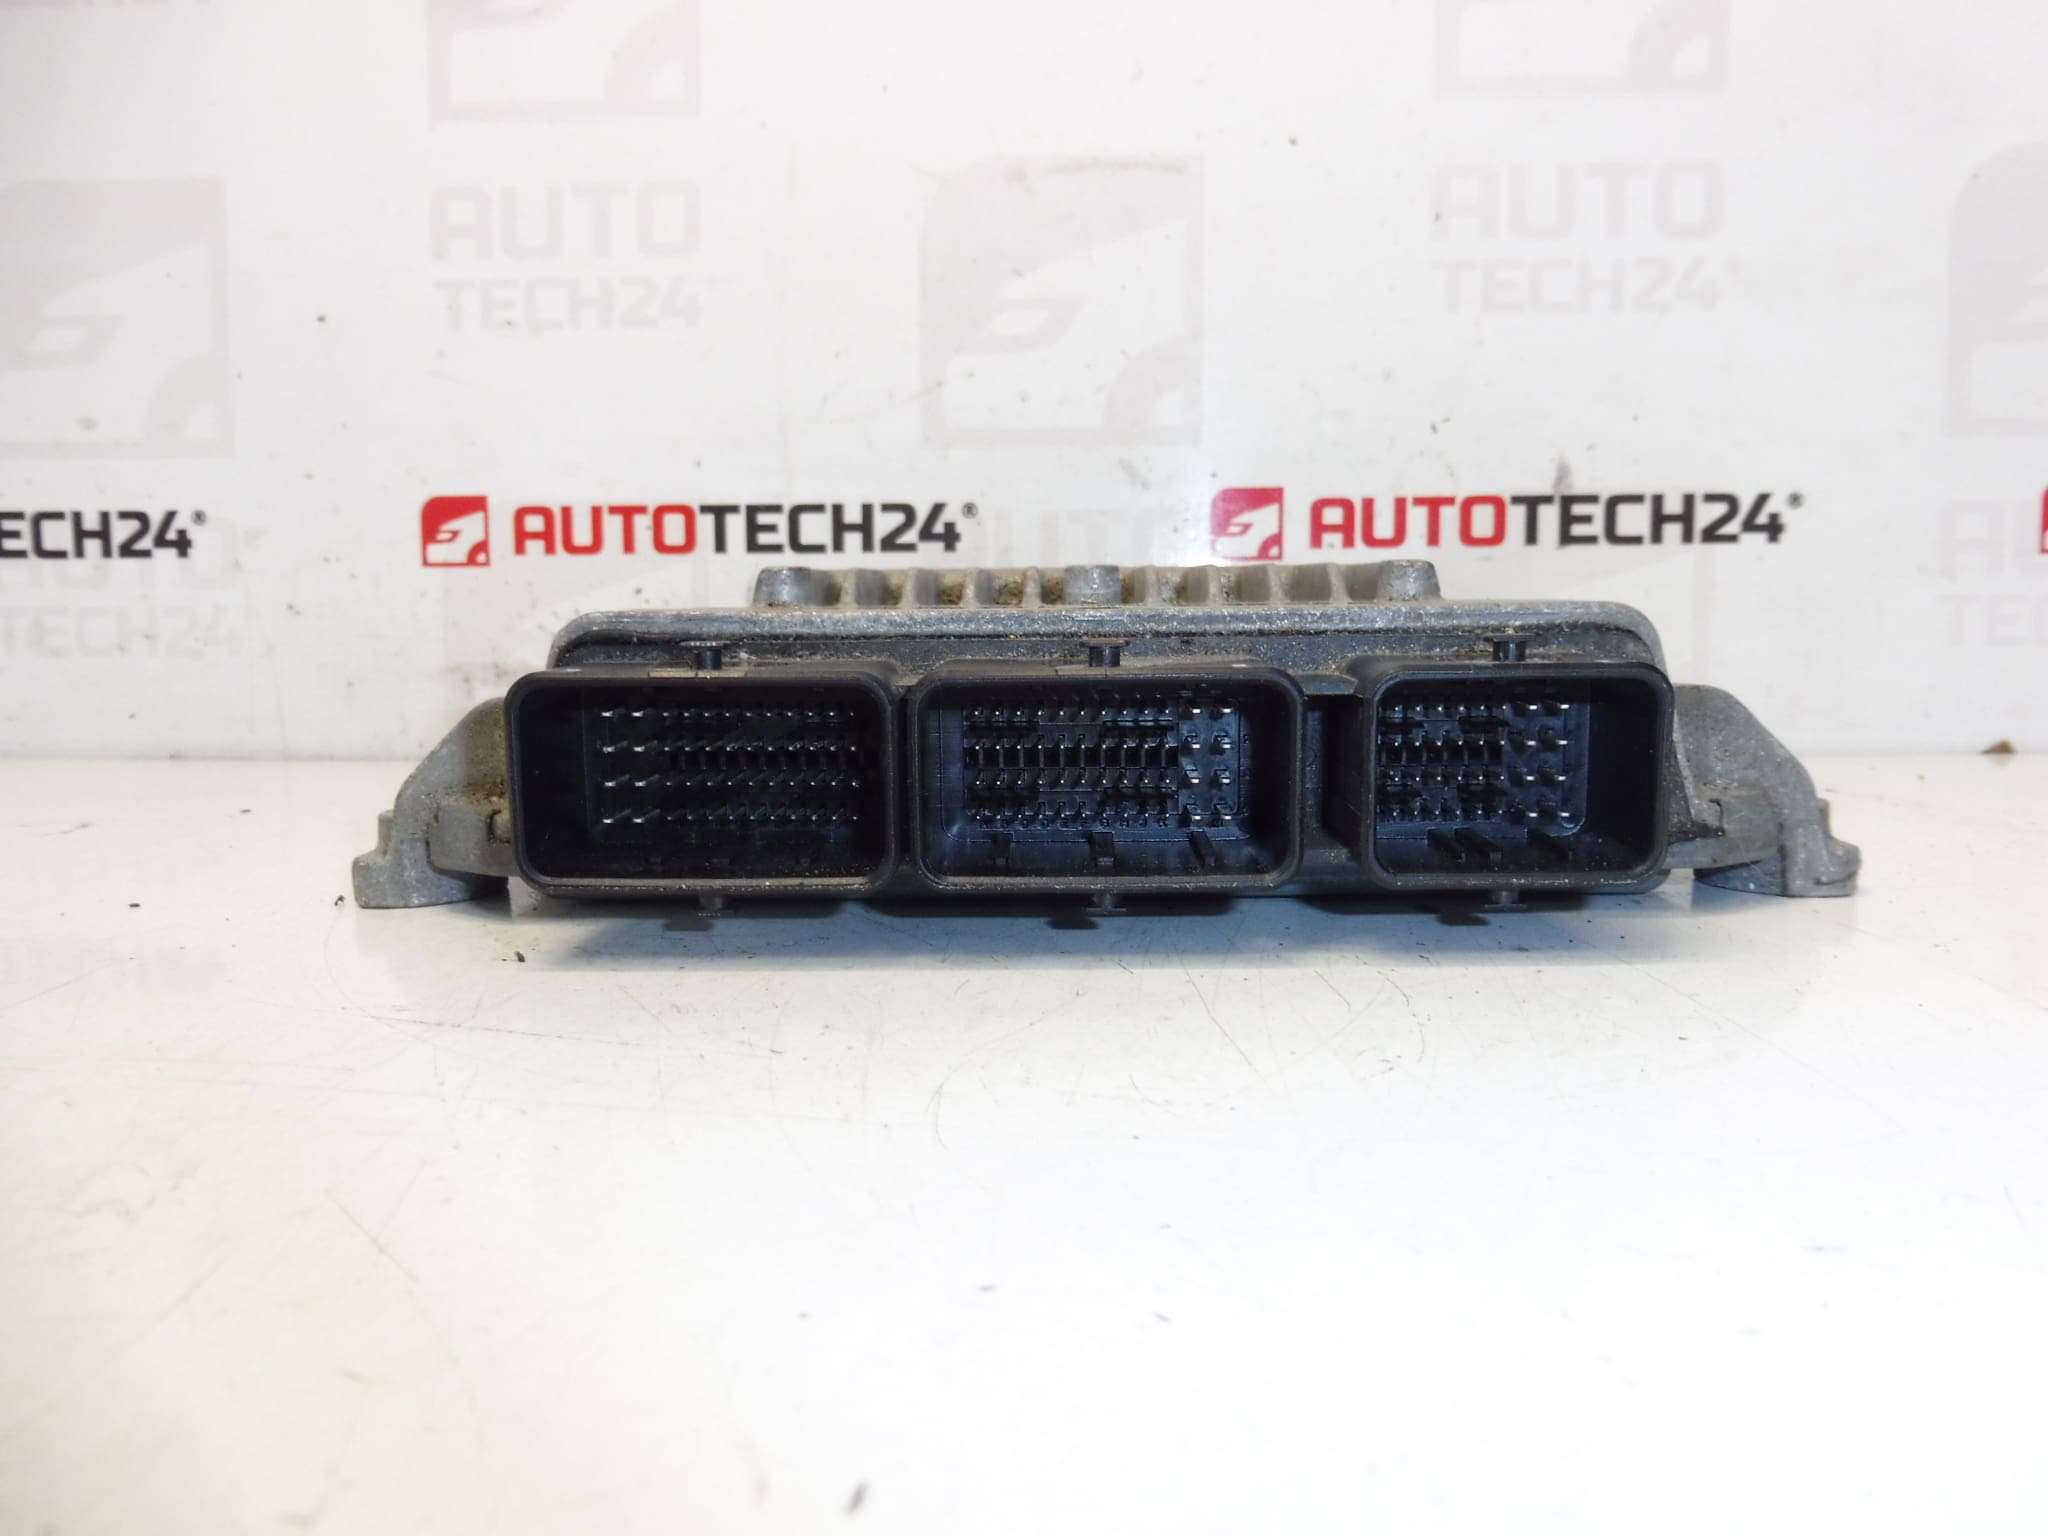
This type of ECU ensures engine injection control and proper cooperation with other vehicle systems. It is important for mechanics and do-it-yourselfers to compare all the codes on the original part, connectors, mounting and the overall design of the unit before assembly.
The unit comes from a Citroën C4 PICASSO, year 2010, engine 2.0 HDI RHE. Thanks to the original marking, it is particularly suitable for searching for a spare part by number.
Technical information
- Manufacturer: Continental SIEMENS
- Model: SID 803A
- Other numbers: 5WS40690B-T, 9661642180, 9666095880, 1943QR, 1943QS
Product codes
- Product codes: 5WS40690B-T, 9661642180, 9666095880, 1943QR, 1943QS
- Models from labels/backgrounds: Citroën C4 PICASSO
Installation recommendations
This part is an injection control unit. The exact procedure may vary by vehicle, but below is a safe and practical installation practice typical of this type of part.
1) Before assembly
- Carefully compare the old and new unit according to all labels and codes.
- Check the compatibility of the connectors, their number, shape and condition of the pins.
- Check for damage to the unit’s packaging, brackets or mounting surfaces.
- Check the connectors for oxidation, moisture, dirt or signs of overheating.
- Before disassembling the original unit, it is advisable to record its designation and the location of the connectors.
2) Necessary tools and materials
- Basic set of hand tools
- Suitable bits and sockets
- Cleaning agent for electrical connectors
- Dry clean cloth or lint-free cloths
- Protective gloves
- Diagnostic equipment for subsequent adjustment and function check
3) Step-by-step assembly procedure
- Turn off the ignition and wait for the vehicle to switch to idle state.
- Disconnect the battery according to normal safety procedure.
- Get access to the original control unit without damaging the surrounding wiring or brackets.
- Carefully disconnect the electrical connectors; do not use excessive force or pry the pins.
- Remove the original unit from the bracket or mount.
- Compare the disassembled piece with the delivered part – especially numbers, connectors, mounting and packaging design.
- If necessary, gently clean the connectors and check that they are dry and undamaged.
- Place the replacement unit in place and fix it in the same way as the original piece.
- Connect the connectors so that they are properly seated and secured.
- Reconnect the battery.
- Perform the necessary diagnostic actions according to the type of vehicle and the condition of the unit.
- After initialization, verify unit communication, basic motor control function and any stored faults.
-
4) Post-assembly checks and test drive/function verification
- Check if the unit is communicating with diagnostics.
- Verify that the connectors are tight and there is no tension in the wiring.
- After startup, watch for any abnormal behavior or warnings.
- Perform a basic check of engine function at rest and during a short test drive.
- After driving, check the stored faults and the stability of the operation again.
5) The most common assembly mistakes + how to avoid them
- Exchange part by incomplete number – always compare all markings on the label.
- Assembly with damaged or oxidized connectors – clean and inspect connectors before fitting.
- Connecting with battery connected – always disconnect power safely first.
- Insufficient seating of the connectors – after connecting, check for locking and proper seating.
- Omission of diagnostic adaptation – after replacement, it is advisable to verify communication and function via diagnostics.
Assembly and Coding – Important
– The unit is used and is “paired” with the original car (VIN/PIN/keys).
– Commissioning options:
1) Cloning data from the old drive (EEPROM/Flash) – after the clone, the drive is plug and play.
2) Virginization and subsequent initialization/telecoding via DiagBox (possibly online) + customization of keys.
– Recommended to be performed by a specialist with PSA service equipment (DiagBox/Lexia/PP2000).
– Always disconnect the battery before disassembly/assembly and follow the manufacturer’s procedure to avoid damaging the unit.Reasons why the part is damaged
- Voltage fluctuations in the vehicle’s electrical system
- Moisture, seepage or long-term effects of condensation
- Oxidation of the connectors and bad contact in the wiring
- Overheating of the unit or its surroundings
- Unprofessional handling during disassembly or assembly
- Short circuit in electrical installation or damaged cabling
- Mechanical damage to packaging, holders or connector parts