Description
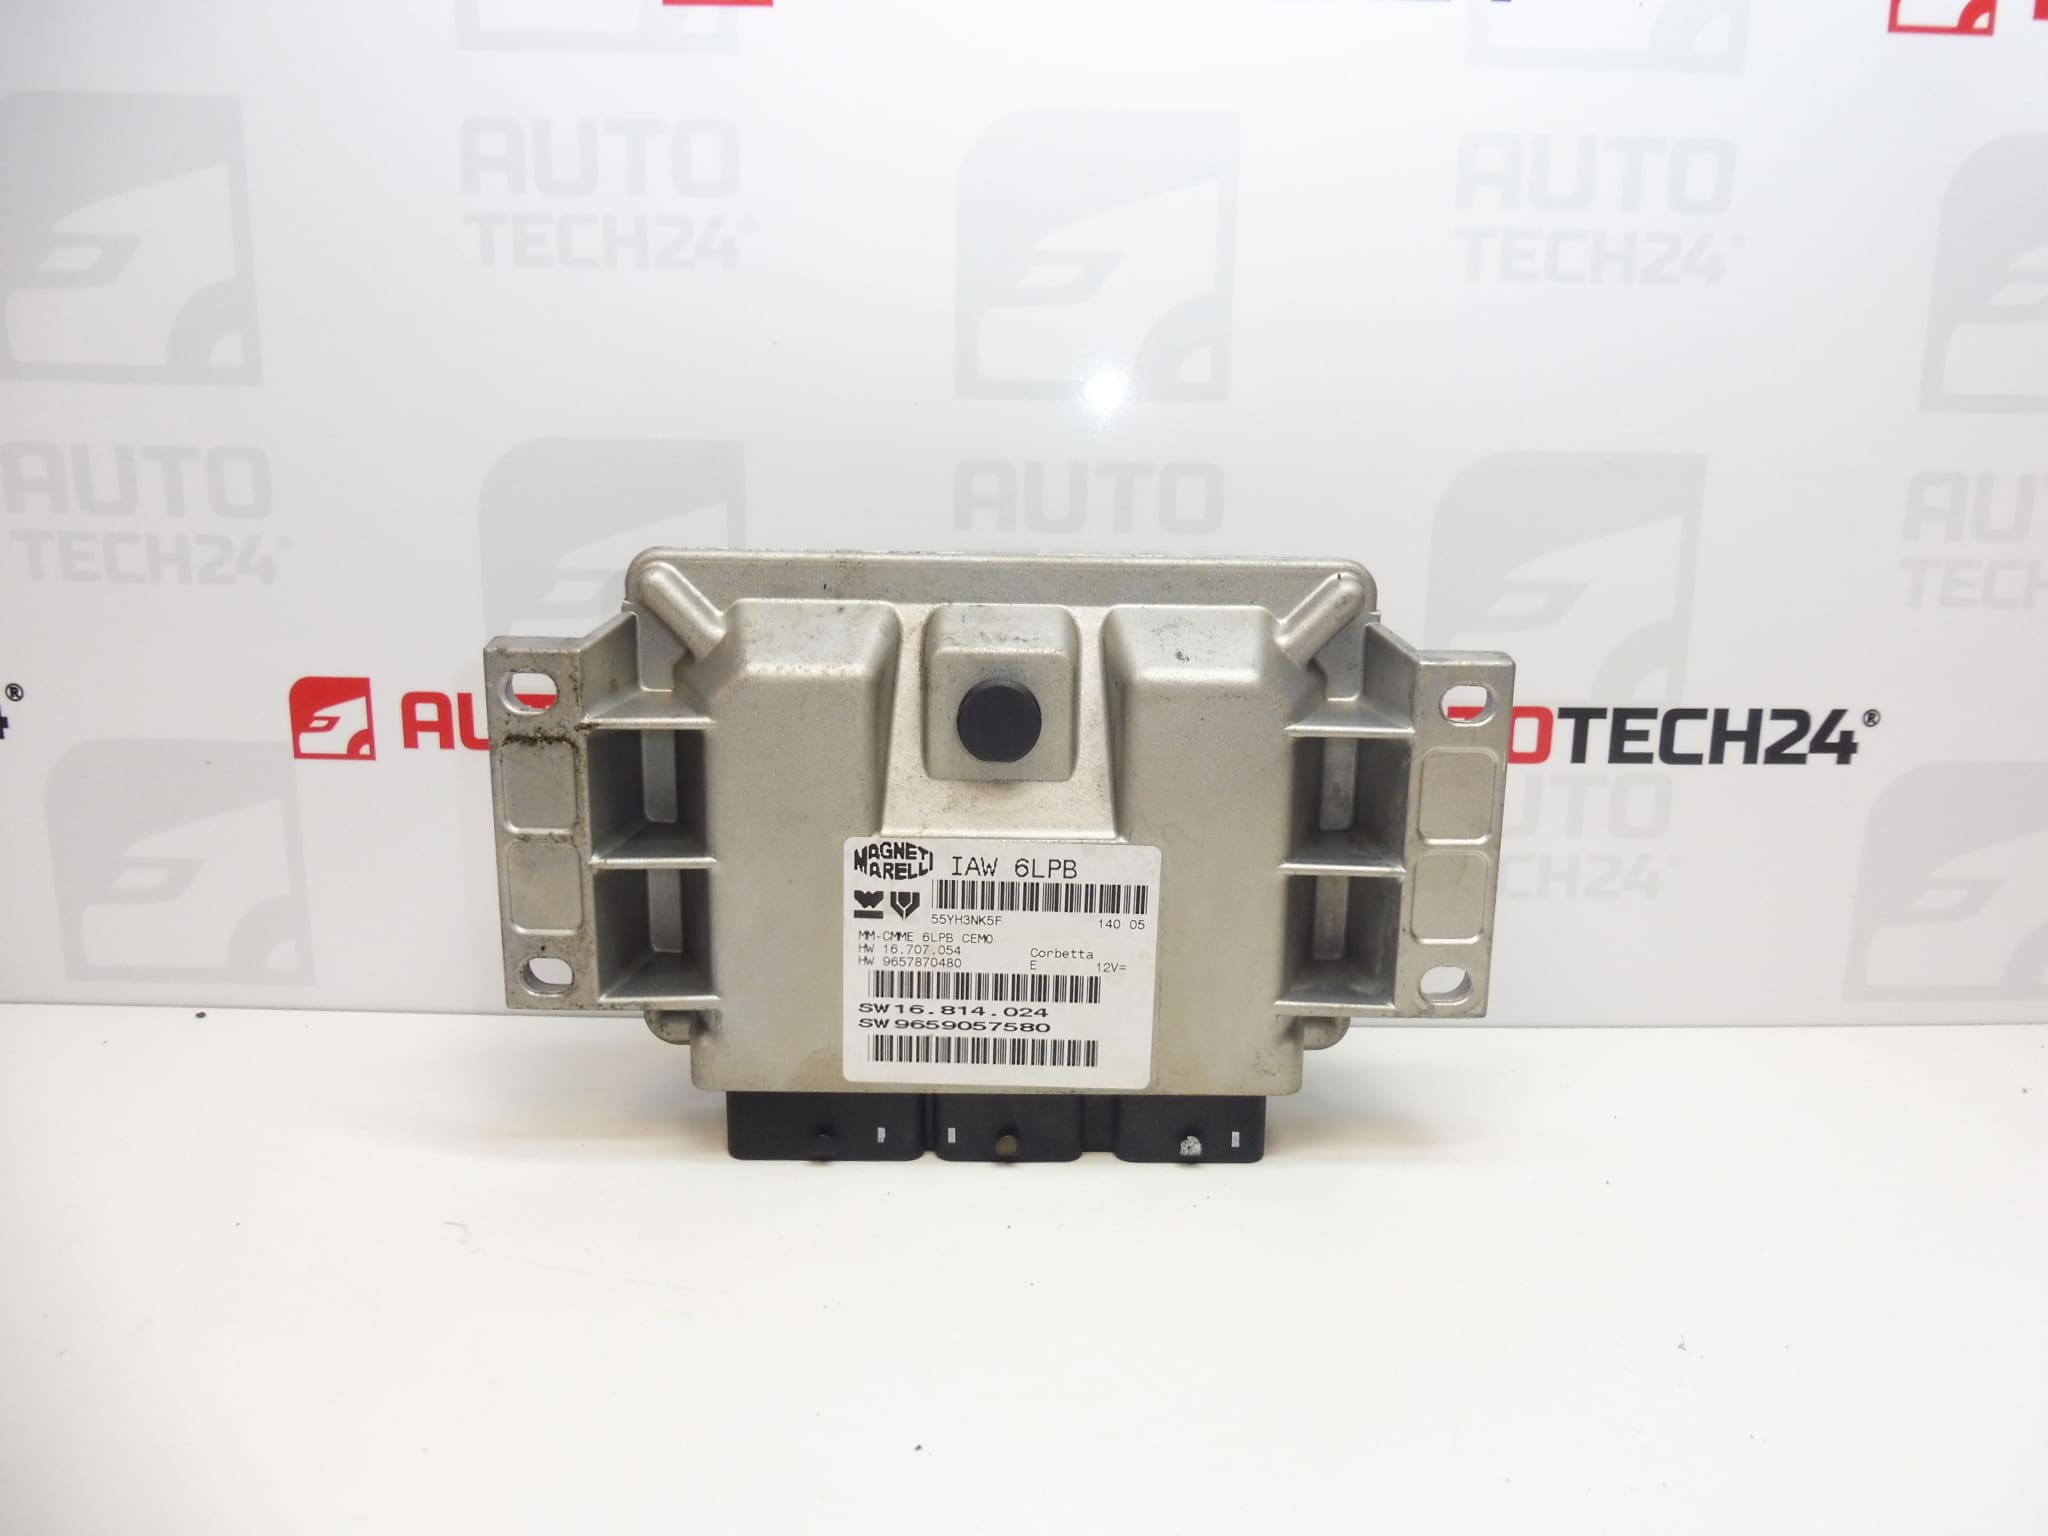
Magneti Marelli IAW 6LPB Control Unit For Citroën And Peugeot Vehicles
The Magneti Marelli IAW 6LPB injection control unit is a direct-fit engine ECU used on a range of Citroën and Peugeot models. This unit, often searched for by its product numbers 9657870480 and 9659057580 or internal references 1943JT, 1943A3, 1942ZR and 1943A2, manages fuel injection, ignition timing and interface with engine sensors to ensure smooth running and emission control. Suitable for professional workshops and competent DIY mechanics, this ECU offers reliable engine management when correctly installed and configured.
Function
The ECU controls fuel injection events, ignition timing, idle control, and reads inputs from sensors such as crankshaft position, engine temperature, air mass, and throttle position. It processes sensor data and sends commands to injectors, ignition coils and actuators to optimize performance and fuel economy. Faulty ECUs commonly produce drivability issues such as misfires, stalling, poor starting, limp mode or incorrect injector/ignition timing.
Technical Information
- Manufacturer: Magneti Marelli
- Model: IAW 6LPB
- Product Codes: 9657870480, 9659057580
- Additional Numbers: 1943JT, 1943A3, 1942ZR, 1943A2
Applications
Commonly fitted to a range of Citroën and Peugeot models. Examples include Citroën C5 and Peugeot 307, 407. Always check the listed product numbers against the unit fitted to the vehicle to confirm compatibility.
Replacement Procedure
- Park the vehicle on a level surface, engage the parking brake and remove the ignition key.
- Disconnect the negative battery terminal and wait a short period to ensure capacitors discharge.
- Locate the ECU (position varies by model: engine bay or under-dash depending on model year and application) and remove any protective covers or trim panels.
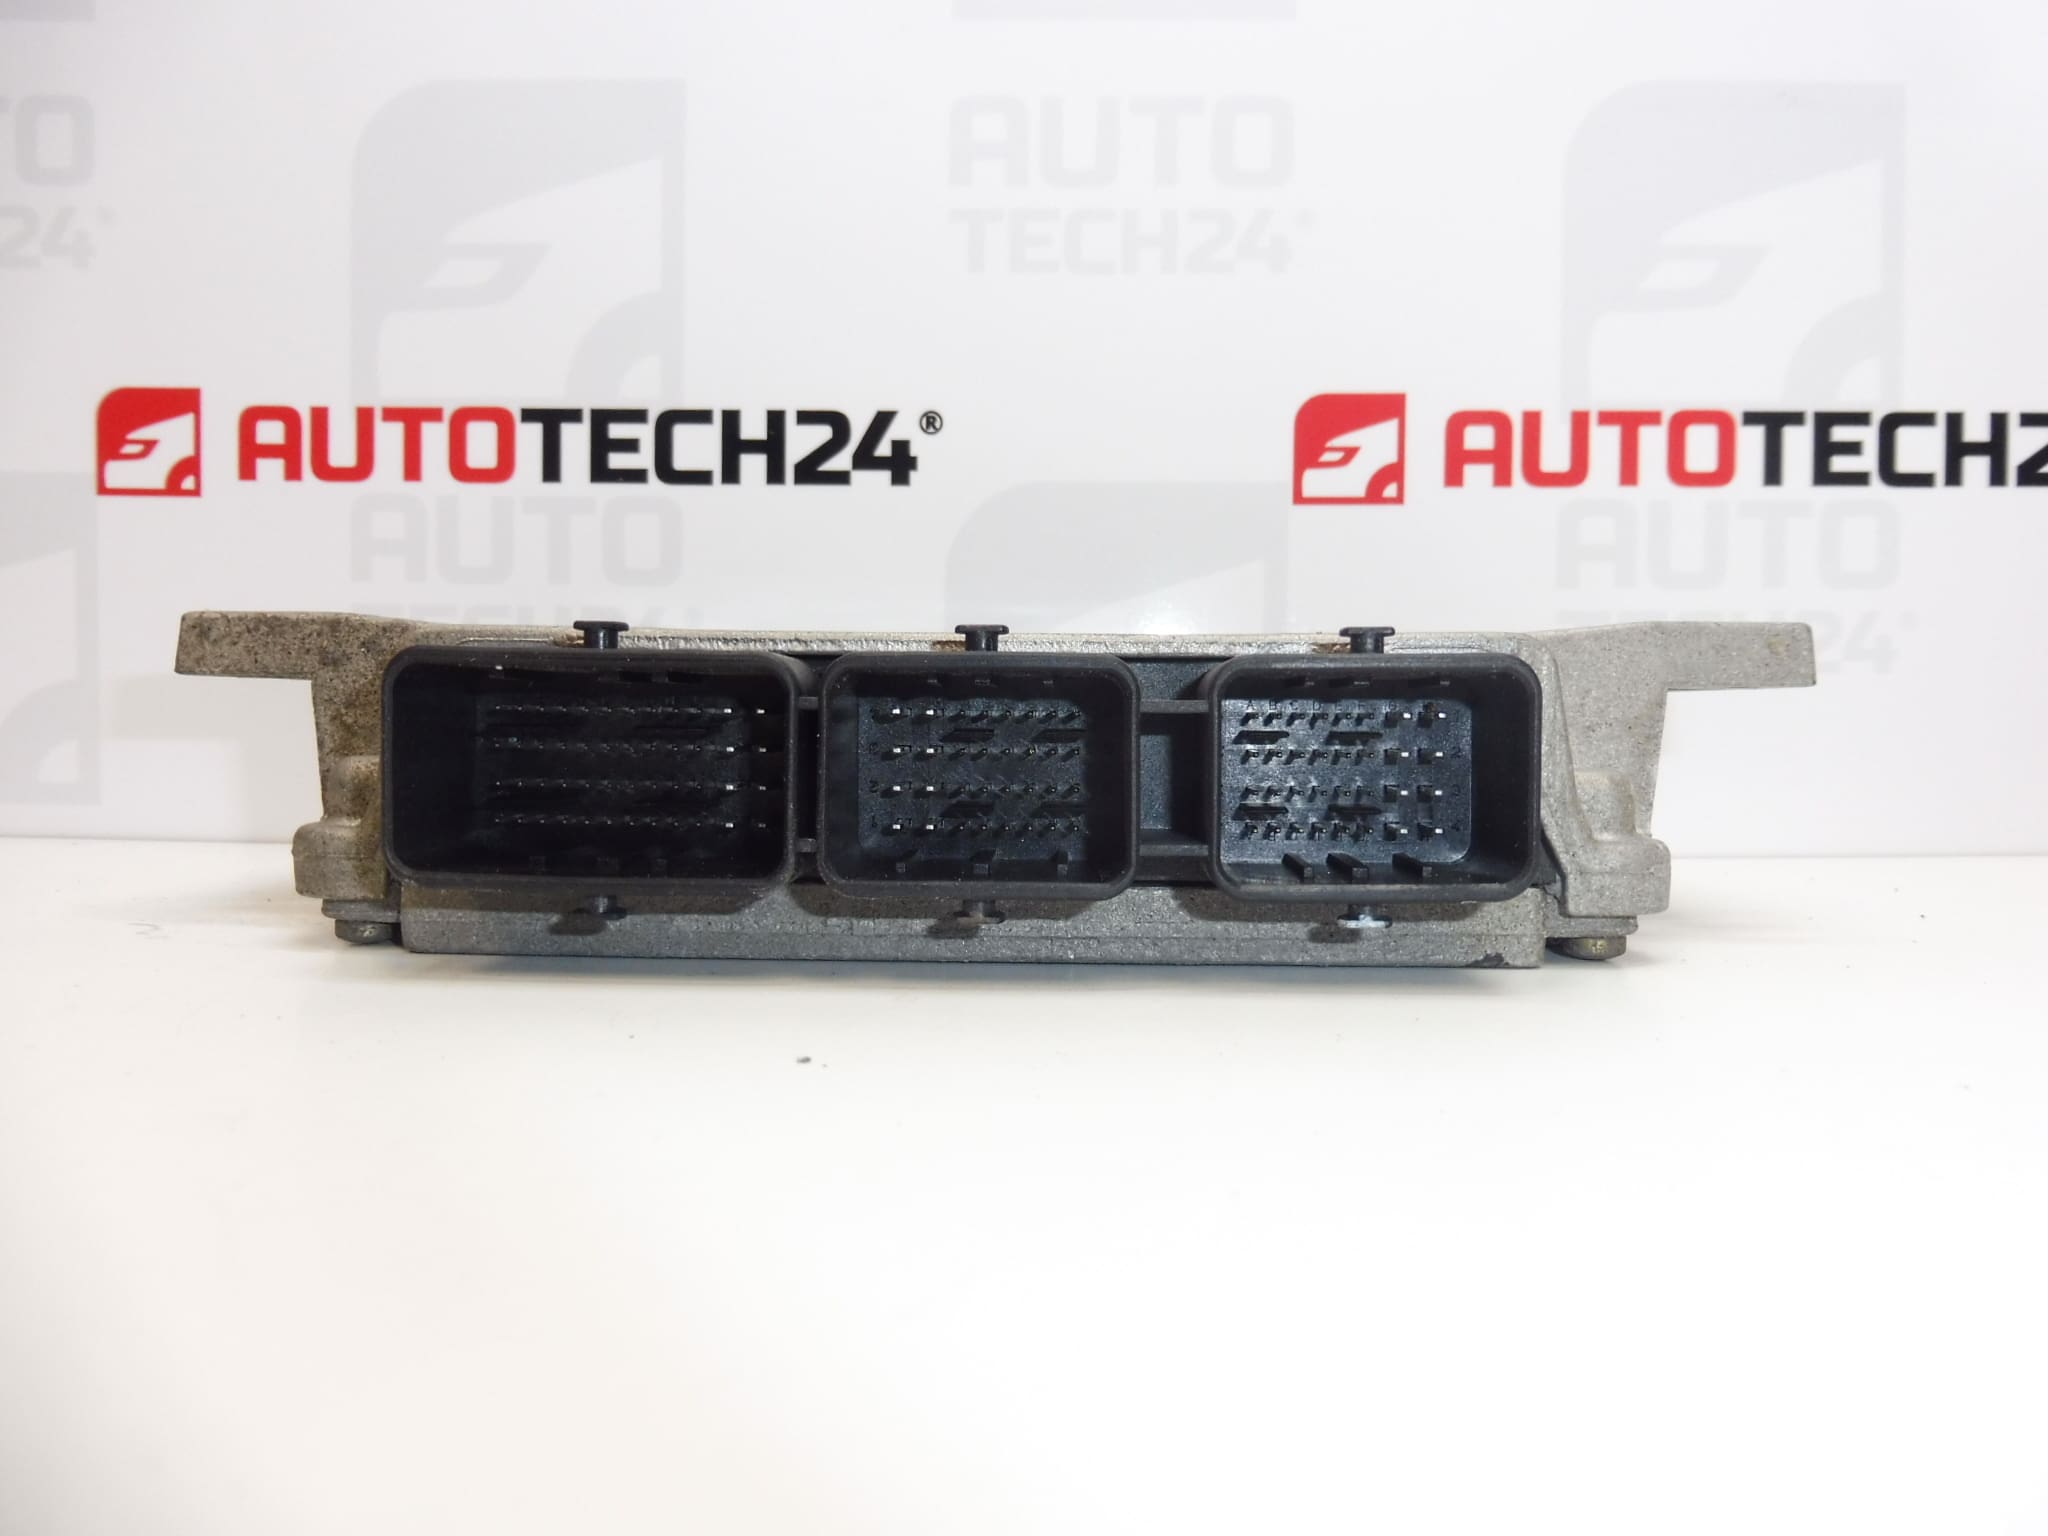
- Carefully unplug the wiring harness connectors, releasing any locking tabs. Avoid pulling on wires; pull the connector body.
- Unbolt the ECU from its mounting bracket and fit the replacement unit in the reverse order.
- Reconnect connectors securely and reinstall covers. Reconnect the battery only after the unit is mechanically secured.
- After physical installation, perform cloning or coding as required (see Installation and Coding – Important below).
Installation Recommendations
Handle the ECU as an electronic component: avoid contact with liquids, protect against electrostatic discharge and ensure connector pins are clean and free of corrosion. Use correct tools, observe connector locking sequences, and do not force connectors. Follow the vehicle manufacturer’s removal and installation torque and fastening guidelines where provided.
Installation and Coding – Important
- The unit is used and is ‘paired’ with the original vehicle (VIN/PIN/keys).
- Options for commissioning:
- Cloning data from the old unit (EEPROM/Flash) – after cloning the unit is plug and play.
- Virginization and subsequent initialization/telecoding via DiagBox (or online) plus key adaptation.
- Recommended to be performed by a specialist with PSA service equipment (DiagBox/Lexia/PP2000).
- Before removal/installation always disconnect the battery and follow the manufacturer’s procedure to avoid damaging the unit.
Why This Part Fails
Common causes of ECU failure include water ingress and corrosion at connectors, thermal stress and degraded solder joints, voltage spikes from charging or starter systems, and damage from improper handling or poor grounding. Symptoms appear as drivability problems, error codes, or complete loss of engine management functions. There is no fixed replacement interval; failures are usually age- and environment-related.
Recommendations
For a successful repair, inspect wiring, connectors and grounds before replacing the ECU. If possible, recover EEPROM/Flash data from the original unit and clone it to the replacement to preserve immobilizer and vehicle-specific settings. If cloning is not possible, professional initialization and telecoding with PSA diagnostic tools is required.