Description
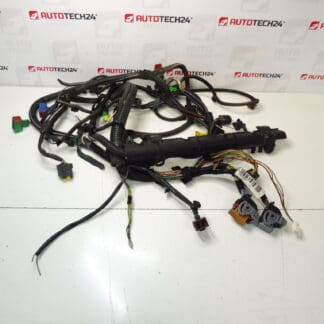
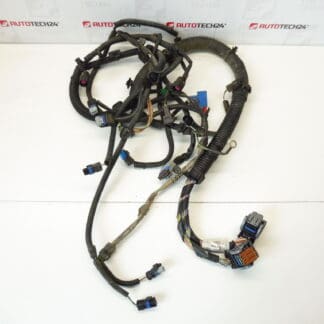
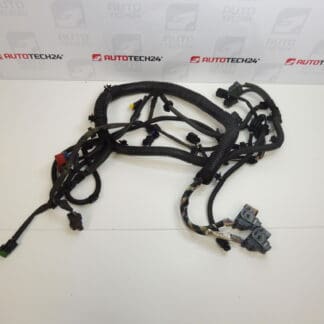
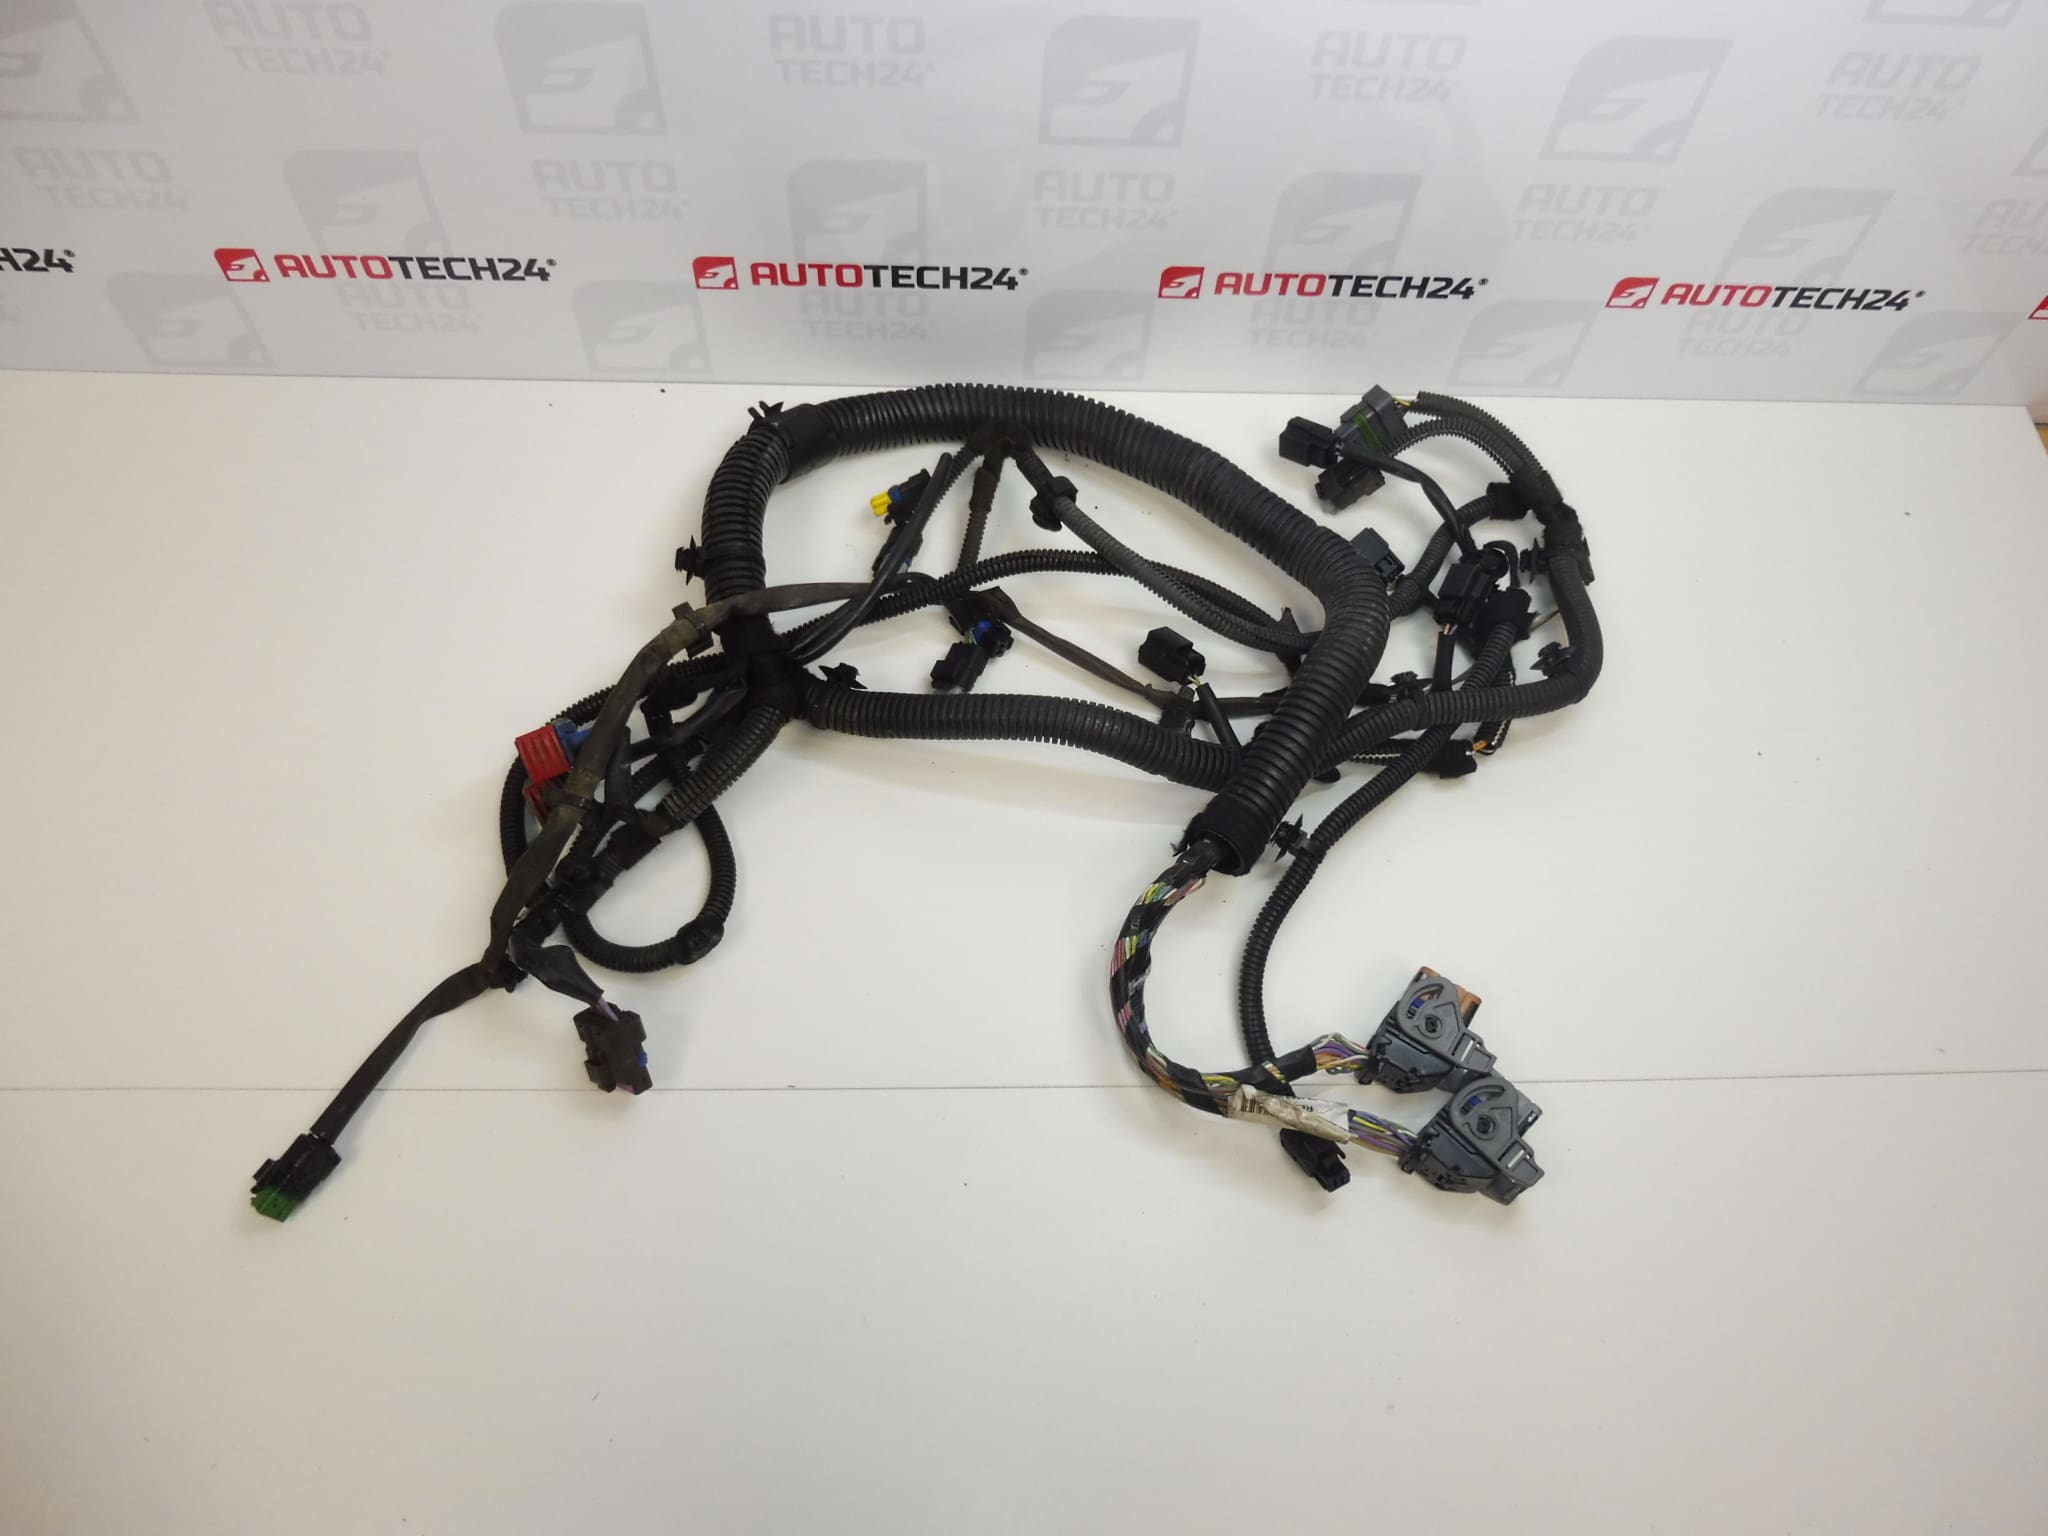
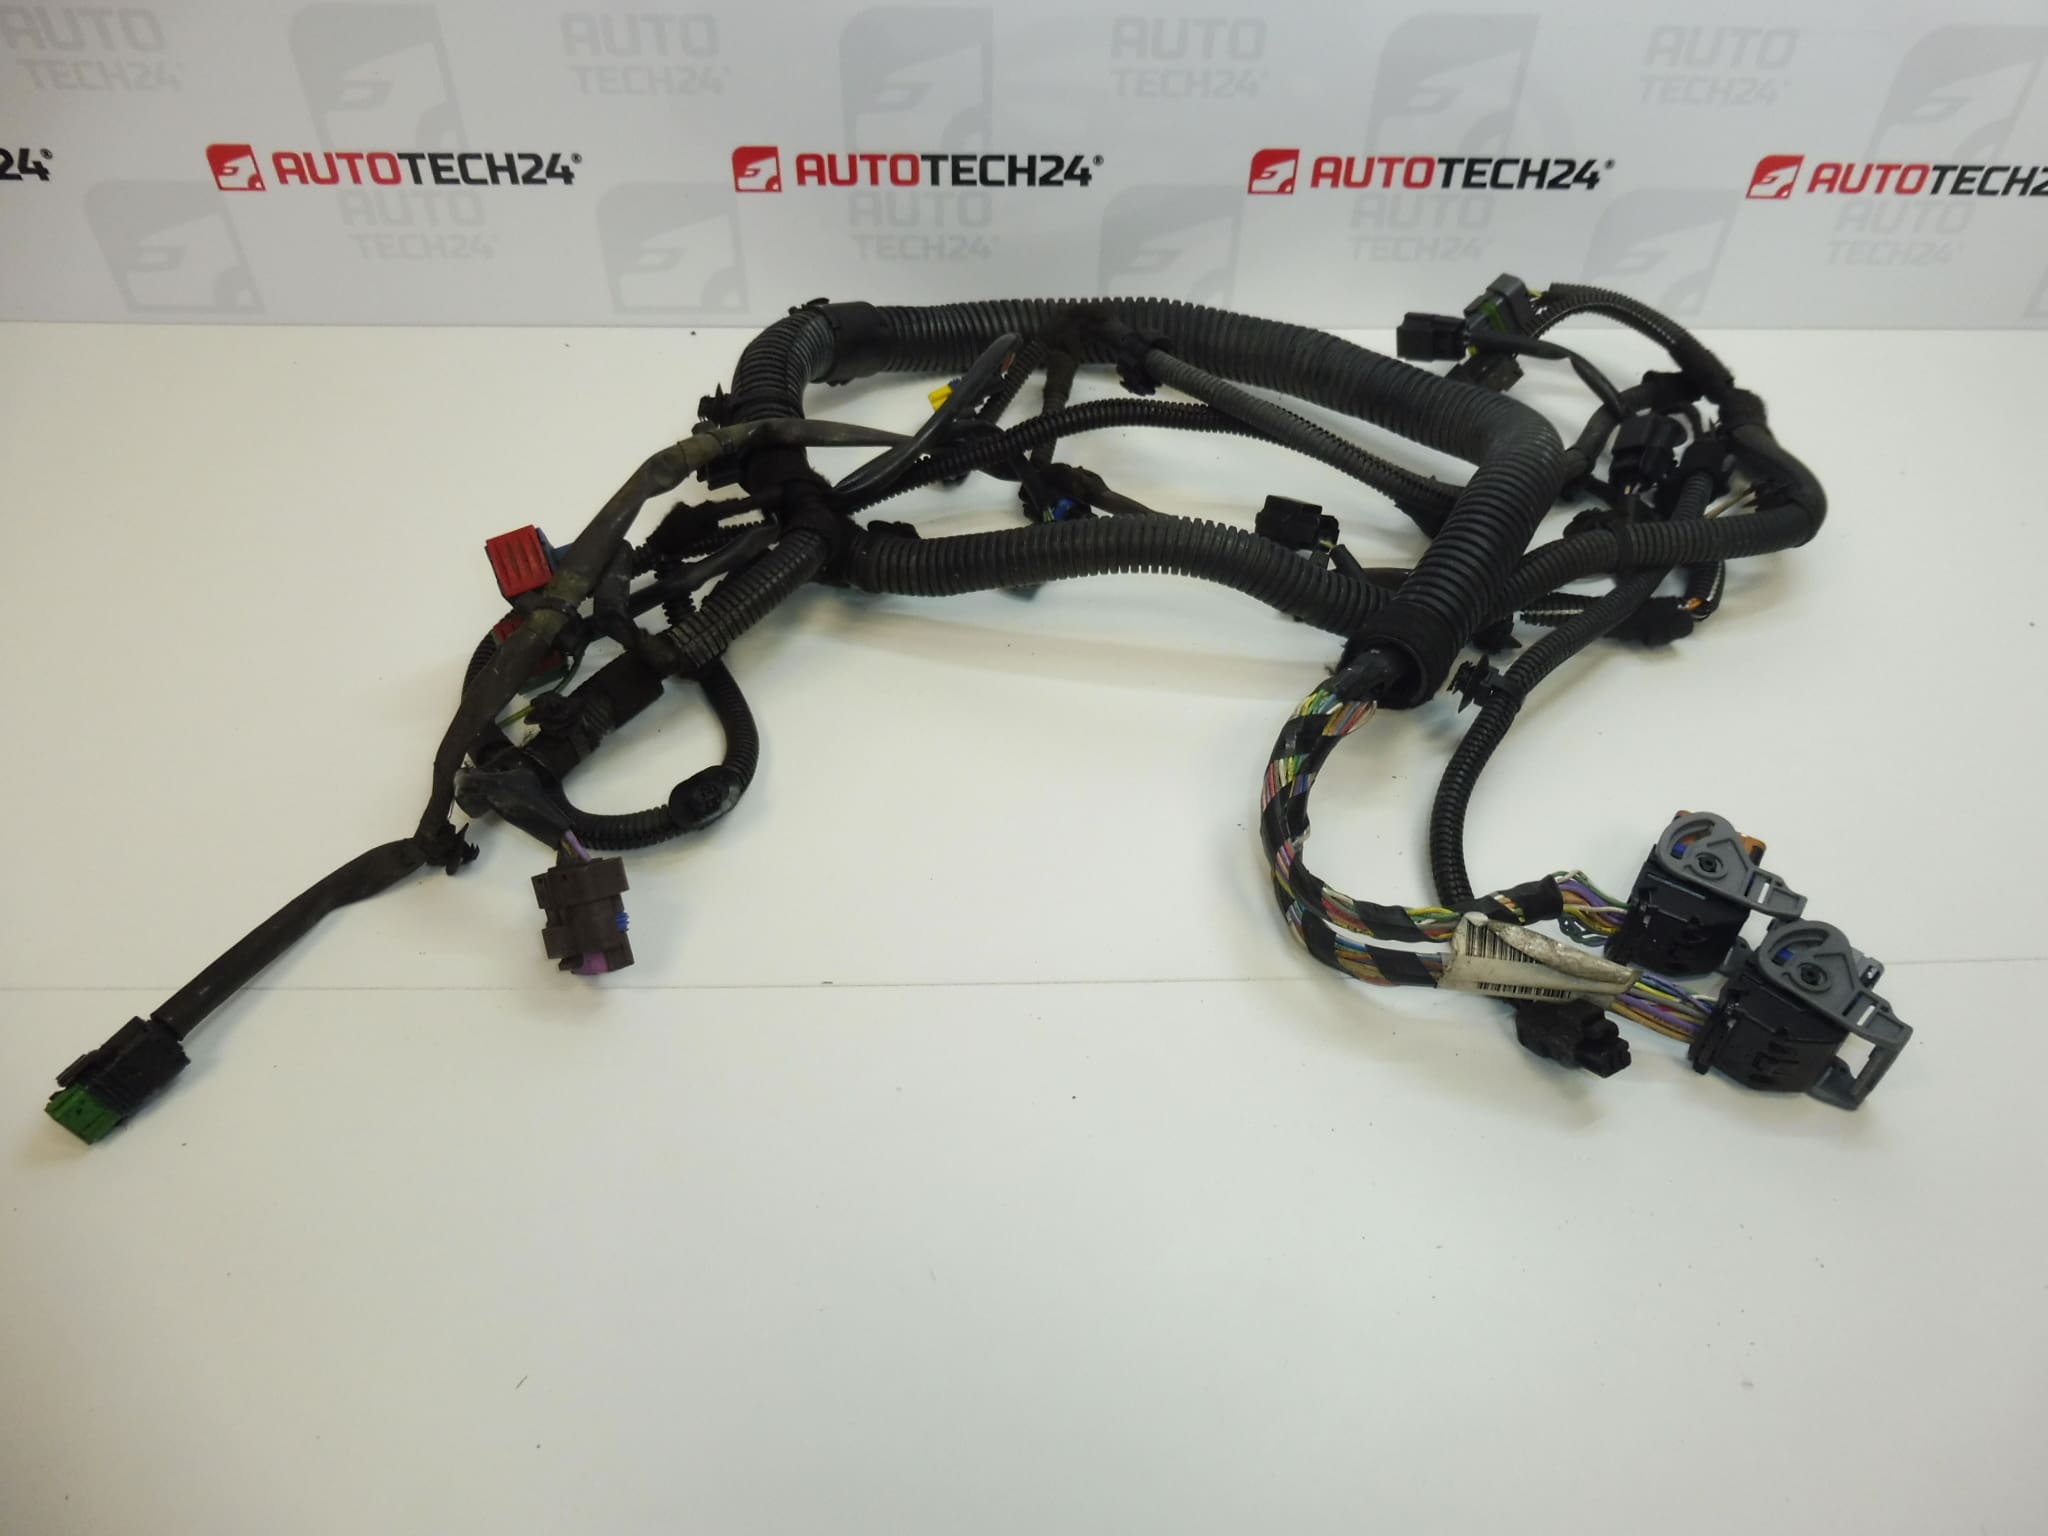
Engine wiring harness for Citroën Peugeot 2.0 16V RFJ engines
From a 2005 PEUGEOT 307 CC
Part description
Used Citroën Peugeot 2.0 16V RFJ engine wiring harness with reference numbers 9658495380 and 6558ZA provides electrical connections between engine components and carries both power and signals. It is a suitable choice for repairing damaged engine wiring, provided it matches the configuration of the original harness.
The part comes from a 2005 PEUGEOT 307 CC. When selecting it, consider not only the engine code, but above all the product numbers, branch layout and connector configuration. Replacing the harness with a matching one may be a more practical solution than repeated local repairs to extensively damaged wiring.
Technical information
- Manufacturer: listed in the documentation as Stellantis / CITROEN PEUGEOT; the manufacturer of the harness itself is not specified.
- Model: Citroën C4, Peugeot 206, Peugeot 307 – designations taken from the product labels.
- Part origin: PEUGEOT 307 CC, year 2005.
- Engine: 2.0 16V RFJ.
- Part type: engine wiring harness.
- Condition: used car part.
- Additional numbers: not specified.
- Additional designation from the documentation: NFP.
The listed models do not confirm that the harness configuration is identical across all their variants. What matters is that the reference numbers and construction match the part being replaced.
Product codes
- Product codes: 9658495380, 6558ZA.
Both reference numbers can be used when searching for an engine wiring harness and comparing it with the original wiring. Also compare the connectors, their pin configuration and the routing of individual branches.
Installation recommendations
As a general rule for this type of part: replacing an engine wiring harness requires careful labelling of connections and maintaining the correct wiring route. The following procedure is general; the exact removal steps, access to connectors and the battery disconnection and reconnection procedure depend on the specific vehicle model and configuration. Follow the manufacturer’s service documentation.
1) Before installation
- Compare the product numbers, number and shape of connectors, their mechanical keying, pin configuration, branch lengths and mounting points.
- Inspect the insulation, protective sleeves, locking elements and contacts. Look for cracks, abrasion, corrosion, signs of overheating and improper modifications.
- Check the cause of the damage to the original wiring. An unresolved short circuit, fluid leak or incorrect routing can also damage the replacement harness.
- Photograph the original wiring route and label the connections before disconnecting them.
2) Required tools and materials
- Standard hand tools suitable for the fasteners on the specific vehicle.
- Suitable tools for safely releasing connector locks and clips.
- Labelling tags, a torch and suitable electrical contact cleaning products as needed.
- A multimeter and, if necessary, a diagnostic tool for subsequently checking electrical functions.
3) Step-by-step installation procedure
- Secure the vehicle safely, switch off the ignition and allow the engine to cool.
- Following the manufacturer’s procedure, wait for the electronic systems to shut down and disconnect the battery.
- Gain access to the wiring by removing only the necessary covers and components according to the service documentation.
- Document the harness route, clip positions and the connections of individual branches. Label similar connectors distinctly.
- Release and disconnect the connectors one by one. Hold them by their housings, do not pull on the wires and do not force them if they resist.
- Release the clips and any other harness connections. Carefully remove the original wiring without damaging surrounding components.
- Lay both harnesses side by side and compare their configurations again. If you find any differences, stop the installation and determine their significance.
- Route the replacement harness along the original path. Keep it clear of hot, moving and sharp parts, and leave enough slack for engine movement.
- Connect the matching connectors, check that their locks are engaged and secure all branches in their designated holders. The wiring must not be taut or pinched.
- Check that all connections are complete, refit the removed components and reconnect the battery using the procedure specified by the manufacturer.
4) Post-installation checks and functional verification
Before starting the engine, check the routing of the entire harness and all accessible connections. After switching on the ignition, watch for any unusual behaviour. If everything is in order, start the engine and check that it runs properly; perform diagnostics as needed. If you notice a smell of overheated insulation, smoke or rough running, stop the test and determine the cause. Only carry out a short test drive after successfully completing the stationary checks. Afterwards, inspect the wiring fastenings again.
5) Common installation mistakes and how to avoid them
- Mixing up similar connectors: use photographs and connection labels; do not rely solely on their appearance.
- Locks not fully engaged: check that every connector is correctly seated and locked.
- Pinched or taut wires: check all branches and their slack before refitting covers.
- Missing clips: restore proper fastening to prevent the wiring from chafing or moving in unsuitable places.
- Unresolved original fault: address the cause of the damage, not just its consequences, before putting the vehicle back into service.
Reasons why the part may become damaged
Common causes of damage to engine wiring harnesses generally include the following factors. This is not a description of faults found in this particular item.
- Heat and ageing of the insulation, which can cause it to harden and crack.
- Vibration and abrasion due to loose clips or incorrect wiring routing.
- Moisture and contamination in connectors, which promote corrosion and impair electrical contact.
- Leaks of operating fluids, which can degrade protective materials and connector seals.
- Short circuits or overloading leading to overheating of wires and contacts.
- Improper repairs and careless removal, such as pulling on wires, damaging locks or making unsuitable connections.
- Rodent damage, especially chewed insulation and severed wires.